
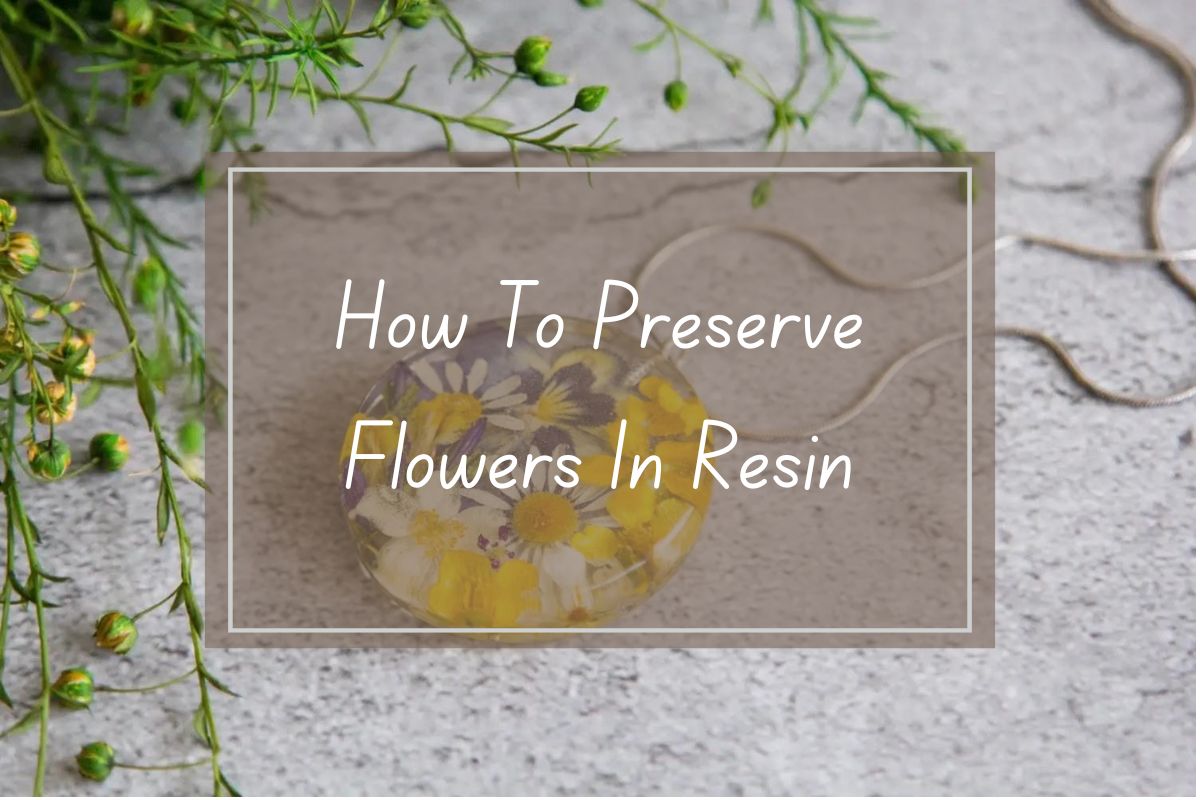
Looking for a beautiful way to preserve your special flowers? Resin crafting offers a perfect solution that captures your blooms in time. Whether it’s a wedding bouquet, a gift from someone special, or flowers from your garden, you can keep them forever in clear epoxy resin.
To preserve flowers in resin, you’ll need to dry them completely first, then seal them with a thin layer of clear sealant or Mod Podge before embedding them in properly mixed epoxy resin. This process helps maintain the flowers’ colors and prevents air bubbles that could ruin your creation.
The result is a stunning keepsake that displays your precious flowers in crystal-clear resin. You can create jewelry, coasters, paperweights, or decorative items that showcase your preserved blooms. With some simple supplies and careful technique, you’ll be able to create professional-looking flower preservation that lasts for years.
Understanding the Basics of Resin Art
Resin art combines creativity with chemistry to preserve beautiful objects like flowers. Working with resin requires knowledge of materials and proper safety measures to ensure successful projects.
Types of Resin
Epoxy resin is the most popular choice for flower preservation. It’s clear, durable, and cures to a hard, glass-like finish that beautifully displays your flowers. This type comes as two components that you mix together – resin and hardener.
Polyester resin works well for larger projects but has a strong odor. It cures faster than epoxy but may yellow over time.
UV resin cures quickly with ultraviolet light exposure. It’s perfect for small projects and doesn’t require mixing. Simply pour it and expose to a UV lamp or sunlight.
Art resin is specially formulated for creative projects. It’s typically non-toxic and designed to resist yellowing, making it ideal for preserving colorful flowers.
Safety Precautions
Always work in a well-ventilated area when using resin. Open windows or use fans to circulate air and remove harmful fumes.
Protective gear is essential for resin art. Wear nitrile gloves (not latex) to prevent skin contact with resin, which can cause irritation or allergic reactions.
A respirator designed for chemical vapors provides necessary protection. Regular dust masks aren’t sufficient for filtering resin fumes.
Always wear goggles to protect your eyes from splashes. Resin can cause serious eye damage if contact occurs.
Cover your work surface with plastic or silicone mats. Resin is extremely sticky and difficult to remove from furniture and clothing.
Selecting Flowers to Preserve
The flowers you choose for your resin project will determine how beautiful your final creation looks. Not all flowers work equally well in resin, and proper preparation is essential for the best results.
Choosing Between Natural and Artificial Flowers
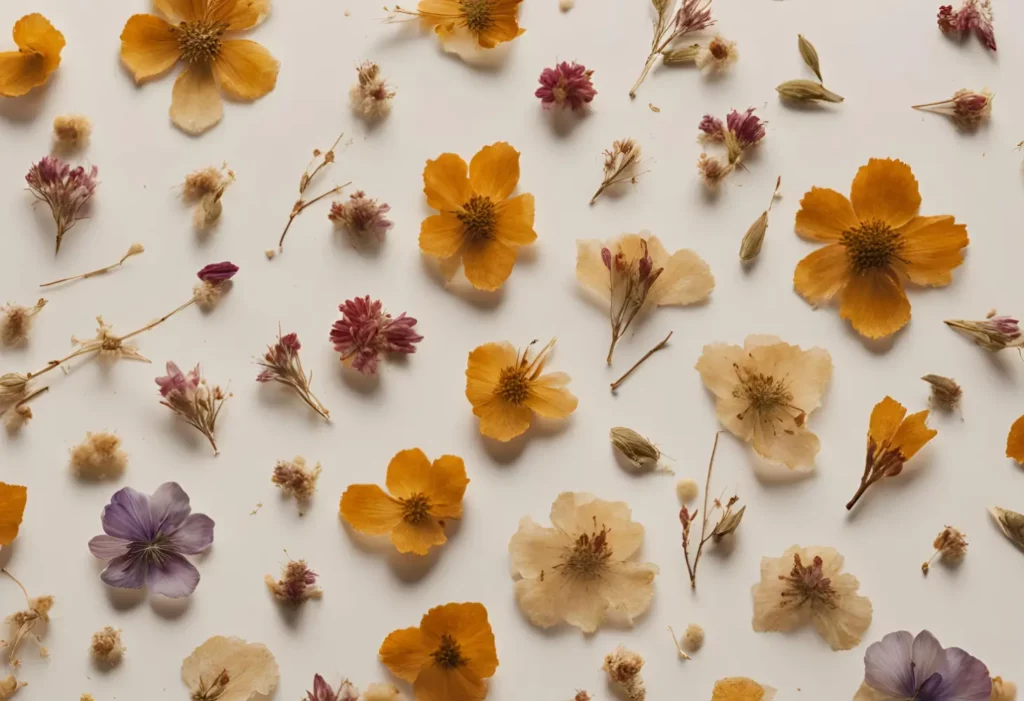
Natural flowers bring authentic beauty to your resin projects. Look for flowers with flat profiles like daisies, pansies, and forget-me-nots, as they’re easier to work with. Avoid thick flowers like roses unless you plan to press them first.
When selecting natural flowers, pick ones that are fully bloomed but not wilting. Fresh flowers need proper drying before using in resin, or they’ll turn brown over time.
Artificial flowers are a beginner-friendly alternative. They maintain their color perfectly and don’t require drying time. Silk flowers work best, but avoid plastic ones as they may not bond well with resin.
If you want vibrant colors without maintenance worries, artificial flowers are your best bet. For a more authentic, natural look, dried real flowers create a timeless charm.
Preparing Flowers for Resin Embedding
Drying your natural flowers properly is crucial for successful preservation. You have several methods to try:
Pressing technique: Place flowers between absorbent paper inside a heavy book for 2-3 weeks. This works best for thin, delicate flowers and creates flat specimens perfect for pendants or coasters.
Silica gel method: Cover flowers completely in silica gel for 3-7 days. This preserves the 3D structure and works well for fuller blooms.
Once dried, seal your natural flowers with a thin layer of Mod Podge or clear sealant. This extra step helps preserve colors and prevents air bubbles when you pour resin.
Remove any excess stems, leaves, or parts you don’t want in your final piece. The cleaner your preparation, the better your finished project will look!
Preparation of Flowers
Before preserving flowers in resin, proper preparation is crucial. The way you dry and press your flowers will determine how beautiful they look in your final creation.
Drying Techniques
Air drying is the simplest method to prepare flowers for resin. Hang your flowers upside down in a dark, dry place for 1-2 weeks. This works well for roses, lavender, and baby’s breath.
For faster results, try using silica gel. This amazing material pulls moisture from your flowers while preserving their shape and color. Simply cover your flowers in silica gel inside an airtight container for 2-7 days, depending on the flower thickness.
You can also use a microwave with silica gel for quick drying. Place your flowers in a microwave-safe container with silica gel, then heat in 30-second bursts. Check between each heating until the flowers are completely dry.
Remember to handle dried flowers very gently! They become fragile and can break easily.
Pressing Flowers for Best Results
Pressing flowers creates thin, flat specimens perfect for resin projects. A flower press is ideal, but you can also use heavy books. Place your flowers between absorbent paper like parchment or coffee filters.
Layer your flowers carefully, making sure they don’t overlap. Close your press or stack heavy books on top and leave them for 2-3 weeks. The paper helps draw out moisture while the pressure flattens the blooms.
For delicate flowers with vibrant colors, try pressing them with silica gel first, then transferring to a press. This helps preserve their natural colors better.
Test your flowers before placing in resin by touching them gently. They should feel paper-thin and completely dry with no moisture. Any remaining moisture will cause cloudiness in your resin project.
Mixing and Handling Resin
Working with resin requires careful measurement and proper techniques to achieve beautiful results. Getting the mixture right and eliminating bubbles are key steps for successful flower preservation.
Correct Proportions of Resin and Hardener
Mixing resin properly is crucial for your flower preservation project. Most epoxy resins come as two-part systems that require exact measurements. Check your product’s instructions, as ratios typically range from 1:1 to 2:1 (resin to hardener).
Use separate measuring cups for each component to avoid contamination. Digital scales can give you more accurate measurements than volume-based tools.
Important tip: Temperature affects your resin mixture! Work in a room between 70-75°F (21-24°C) for best results. If your resin is too cold, warm the bottles in warm water (not hot) before mixing.
Mix thoroughly but gently for 3-5 minutes, scraping the sides and bottom of your container. Incomplete mixing leads to soft spots that won’t cure properly.
Techniques for Bubble-Free Resin
Bubbles can ruin your flower preservation, but there are several ways to prevent them. Start by mixing slowly and deliberately to minimize air incorporation. After mixing, let your resin sit for 5-10 minutes to allow larger bubbles to rise.
Helpful tools for bubble removal:
- Heat gun (hold 6-8 inches away from surface)
- Toothpick (pop individual bubbles)
- Alcohol spray (lightly mist surface)
- Torch (move quickly across surface)
Pour resin in a thin stream from about 6 inches above your mold to help bubbles pop as they fall. Working in thin layers can also reduce bubble formation. For stubborn bubbles around your dried flowers, gently use a toothpick to nudge them to the surface.
Remember to work in a dust-free environment, as dust can attract bubbles and mar your final piece.
Creating the Perfect Mold
The mold you choose will determine the final shape of your preserved flower creation. Getting this part right makes a big difference in how your project turns out.
Choosing the Right Silicone Mold
Silicone molds work best for resin projects because they’re flexible and make it easy to remove your finished piece. Look for molds specifically designed for resin crafting, as they’ll be more durable and heat-resistant.
You can find silicone molds in many shapes – round coasters, jewelry pendants, bookmarks, or even custom shapes. Clear molds help you see how your flowers are positioned before the resin sets.
When picking a mold, think about how deep it is. Flowers need enough space to be fully covered by resin. Shallower molds work better for pressed flowers, while deeper molds are good for bulkier blooms.
For beginners, simple shapes like round or square coasters are forgiving and practical. As you gain confidence, try more complex shapes!
Prepping the Mold for Use
Before pouring any resin, your mold needs proper preparation. Start by cleaning it with mild soap and water, then dry it completely. Any moisture can interfere with how the resin cures.
Next, apply a thin layer of mold release spray or a bit of cooking spray. This step isn’t always necessary with silicone, but it helps ensure your creation pops out easily.
Check your mold for dust or hair and remove any particles with tape. Even tiny specks will show in clear resin!
Place your mold on a level, flat surface before you begin. Use a small level tool if needed. This prevents resin from pooling to one side.
For extra protection, put down a silicone mat or wax paper under your workspace. Resin spills are difficult to clean up once hardened!

Embedding Flowers in Resin
Once your flowers are properly dried, it’s time for the fun part – embedding them in resin! This process allows you to capture the beauty of your flowers in a clear, glass-like display that will last for years to come.
Layering Techniques for Floral Arrangement
Start by pouring a thin base layer of resin in your mold and let it cure until tacky (about 2-4 hours). This gives you a stable foundation for arranging your flowers.
When placing your dried flowers, use tweezers for precise positioning. You can create depth by arranging some flowers on the base layer and others in subsequent layers.
For a natural look, try placing larger blooms first, then fill in with smaller flowers and leaves. Don’t crowd your design – leave some empty space for the resin to flow around each element.
If your flowers float up, gently press them down with a toothpick. For extra security, you can use a laminating pouch cut into small pieces to sandwich delicate petals before placing them in resin.
Adding Inclusions for Aesthetic Appeal
Beyond dried flowers in resin, consider adding complementary elements to enhance your creation. Gold flakes add a touch of luxury and catch the light beautifully. Sprinkle them sparingly for an elegant effect.
Other popular inclusions are:
- Glitter (fine or chunky)
- Dried herbs or leaves
- Small shells or stones
- Decorative beads
For a more personal touch, try embedding small mementos like ticket stubs or written notes. Make sure any paper inclusions are sealed with a thin layer of clear glue first to prevent discoloration.
Apply inclusions in layers between pours of resin for a three-dimensional effect. Remember that less is often more – you want your dried flowers to remain the star of the show!
Curing and De-molding
The final steps of preserving flowers in resin involve patience during curing and careful technique when removing your creation from its mold. Getting these steps right will ensure your floral keepsake turns out beautifully.
Curing Time and Conditions
Most casting resins need 24-72 hours to fully cure, but always check your product’s specific instructions. Temperature matters a lot in this process! Keep your resin project in a warm area between 70-75°F (21-24°C) for optimal curing.
Avoid touching your piece during this time, as fingerprints can leave permanent marks. Some resins cure faster with UV light, so placing them in sunlight might speed up the process.
If your project feels sticky after the recommended cure time, it probably needs more time. Don’t rush this step! Properly cured resin should feel completely hard and have no tacky spots.
Tips for Successful De-molding
Before attempting to remove your creation, make sure it’s fully cured. Press gently on an inconspicuous area – if it leaves an indentation, wait longer.
For silicone molds, carefully peel back each corner first. Then slowly pull the sides away from your resin piece. Don’t force it or you might crack your beautiful creation!
Spraying a tiny bit of mold release before casting makes de-molding much easier.
If your piece seems stuck, try putting it in the freezer for 15 minutes. The resin will contract slightly, making it easier to remove.
Use a soft cloth when handling your newly de-molded piece to avoid fingerprints on the shiny surface.
Finishing Touches and Polishing
Once your resin piece has fully cured, it’s time to transform it from good to great! The finishing process makes all the difference in how your preserved flowers will look in their resin display.
Sanding and Polishing Resin
Start with wet sanding using fine-grit sandpaper. Begin with 400 grit and gradually work your way up to 3000 grit for best results. Always keep the sandpaper wet during this process to prevent scratching.
Move the sandpaper in small circles rather than back and forth. This technique helps avoid visible scratching patterns on your resin surface.
After sanding, use a resin polishing compound with a soft cloth. Apply the compound in circular motions with gentle pressure. This brings out the shine and clarity that makes your preserved flowers truly pop!
For intricate pieces, you might need a rotary tool with polishing attachments to reach difficult areas.
Protecting the Resin Surface
Apply a thin coat of resin sealer to provide long-lasting protection. This prevents yellowing and maintains clarity around your preserved flowers.
Mod Podge can work as an alternative sealer for your resin pieces. Choose the clear gloss formula and apply a thin, even coat with a foam brush. Let it dry completely between applications.
Keep your polished resin pieces away from direct sunlight to prevent yellowing over time. UV protection sprays designed for plastic can add another layer of protection.
Clean your finished pieces with a microfiber cloth only. Avoid chemical cleaners that might damage the resin surface. For regular maintenance, a soft cloth with warm water works perfectly.
Creative Applications of Preserved Flowers in Resin
Preserving flowers in resin opens up a world of creative possibilities. These botanical keepsakes can be transformed into wearable art or functional items for your home that showcase nature’s beauty.
Fashioning Resin Flower Jewelry
Resin jewelry featuring preserved flowers makes for unique, personal accessories that capture nature’s beauty. You can create pendants by placing small blooms in circular or teardrop-shaped molds. Delicate flowers like baby’s breath work wonderfully in earrings, while larger blooms make stunning statement pieces.
Rings are particularly popular – you can embed tiny flowers in band-style rings or create adjustable rings with flower-filled circles on top. For a professional finish, sand your pieces with progressively finer sandpaper and polish until they shine.
Remember to use jewelry-grade resin for items that will be worn. Consider adding a touch of glitter, mica powder, or small metallic flakes to enhance your flower’s natural colors and create depth.
Designing Functional Home Decor
Transform preserved flowers in resin into beautiful yet practical home items. Coasters are perfect beginner projects – simply pour a base layer of resin, arrange dried flowers, then cover with more resin. They protect furniture while showcasing your botanical art.
Ring holders and trinket trays provide convenient spots for jewelry while adding natural elegance to your dresser or nightstand. You can make these in various shapes using silicone molds.
For larger statement pieces, try creating serving trays or decorative wall hangings. The clear resin highlights the three-dimensional beauty of your preserved blooms.
When making functional items, ensure you use food-safe resin for anything that might contact food. Apply multiple thin layers rather than one thick pour to prevent air bubbles and achieve professional results.
Transforming Special Occasion Flowers into Treasures
Special moments deserve to be remembered forever. Resin preservation offers a beautiful way to keep your meaningful flowers from weddings, birthdays, and anniversaries as lasting keepsakes.
Capturing Memories with Wedding Bouquet Preservation
Your wedding bouquet holds so much meaning – why let it wither away? Preserving these precious flowers in resin creates a timeless memento of your special day.
Start by drying your flowers with silica gel for 3-7 days to remove moisture. This step is crucial for keeping their color and shape intact. For the best results, choose flat blooms from your bouquet that will fit nicely in your mold.
You can create beautiful coasters by arranging dried flowers in round molds. Another popular option is making paperweights or small decorative blocks that showcase your preserved wedding flowers.
Many brides also love turning their bouquets into jewelry like pendants or earrings. This lets you carry a tiny piece of your wedding day with you always!
Creating Unique Birthday and Anniversary Gifts
Looking for a thoughtful gift that stands out? Preserved flowers in resin make wonderful personalized presents for birthdays and anniversaries.
You can collect flowers from special celebration bouquets and transform them into useful items like bookmarks, key chains, or decorative trays. These gifts feel extra meaningful because they contain actual mementos from the event.
For anniversary gifts, try preserving flowers in heart-shaped molds or small trinket dishes. Add tiny charms, date numbers, or initials to make them even more personal.
Birthday flower preservation works great for milestone celebrations. The recipient will love having their special day flowers transformed into a lasting treasure they can display or use for years to come.
Maintaining Your Resin-Encased Floral Creations
Your resin projects can stay beautiful for years with proper care. Protecting them from harsh environments and regular cleaning will help preserve those special flowers.
Cleaning and Care
Dust is the main enemy of your resin pieces. Clean them gently with a soft microfiber cloth to avoid scratches. For deeper cleaning, use a mild soap solution and a soft cloth, but never harsh chemicals or abrasive materials.
Quick cleaning tips:
- Use a soft, lint-free cloth for regular dusting
- Apply minimal pressure while cleaning
- For fingerprints, breathe a small amount of moisture onto the surface and wipe gently
- Avoid alcohol-based cleaners that might damage the resin surface
If your piece gets scratched, you can apply a thin layer of high-quality casting resin to refresh the surface. This works like a clear coat to restore the shine.
Longevity and Preservation Tips
Sunlight is resin’s biggest threat. UV rays can turn your clear resin yellow and fade the flowers inside. Keep your creations away from direct sunlight and heat sources.
Best practices for preservation:
- Display pieces away from windows and direct sunlight
- Avoid placing near heaters, radiators, or fireplaces
- Store in a cool, dry place with consistent temperature
- Use UV-resistant high-quality casting resin for new projects
If you notice the flowers shifting inside, this means the resin wasn’t fully cured. Unfortunately, this can’t be fixed, so be sure to follow curing instructions carefully when creating new pieces.
Remember that dried flowers preserved in resin will maintain their color much longer than fresh ones. The craft glue you use to secure elements should be completely clear and acid-free to prevent yellowing over time.