
Preserving a dragonfly in resin is a beautiful way to capture these delicate insects for display. The process allows you to create a lasting keepsake of these fascinating creatures with their intricate wings and colorful bodies. To successfully preserve a dragonfly in resin, you’ll need to properly dry the specimen first, then carefully embed it in resin using a two-stage pouring method to prevent it from floating or drifting.
Many collectors recommend soaking your dragonfly in acetone first to dissolve fats that might cause staining later. When working with resin, patience is key! You’ll want to fill your mold halfway, gently place your specimen, and wait before adding more resin. This prevents your dragonfly from floating to the surface or drifting out of position during the curing process.
The results can be stunning, though the process might be tricky at first. Don’t worry if your first attempt doesn’t turn out exactly as planned – even experienced crafters sometimes get unexpected results. With a little practice, you’ll be able to create beautiful resin-preserved dragonflies that showcase their natural beauty for years to come.
Understanding Resin Preservation
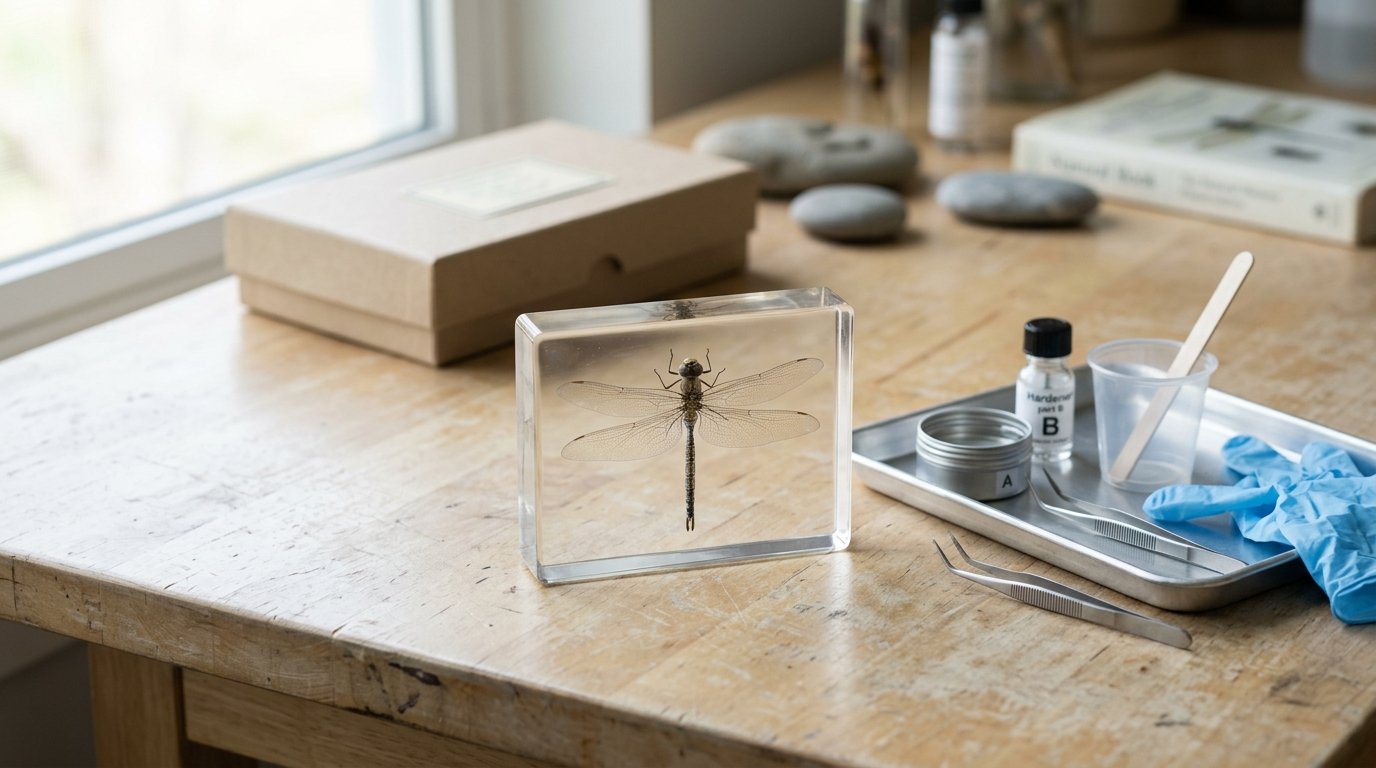
Resin preservation has become a popular way to capture the beauty of dragonflies and other insects. This method creates a stunning display piece while protecting the specimen from decay and damage.
History of Resin Preservation
The practice of preserving specimens in resin dates back thousands of years. Ancient insects trapped in amber—a natural tree resin—inspired modern preservation techniques. These amber specimens have helped scientists study creatures from millions of years ago!
Resin preservation as a craft became popular in the mid-20th century. Artists and scientists alike found value in the clear, hard material that could showcase delicate specimens.
By the 1970s, clearer synthetic resins were developed specifically for preservation. These improved materials allowed hobbyists to create their own preserved specimens at home, making the craft accessible to everyone.
Today’s resin formulas are much safer and easier to use than early versions. You can find special casting resins designed just for embedding biological specimens.
Advantages of Using Resin
Resin preservation offers many benefits over other methods. Unlike pinning or drying, resin completely seals your dragonfly, protecting it from dust, moisture, and pests that would otherwise damage it.
The transparent nature of resin allows you to view your dragonfly from every angle. This 3D effect showcases details that might be hidden in traditional display methods.
Resin pieces are incredibly durable. Your preserved dragonfly becomes a lasting keepsake that won’t fade or deteriorate over time.
You can customize your resin projects in endless ways! Add colors, glitter, or shape the resin into paperweights, jewelry, or decorative items.
Best of all, resin preservation requires no special chemicals for maintaining the specimen once it’s complete. Your dragonfly stays perfectly preserved with no additional care needed.
Preparing the Dragonfly
Before placing your dragonfly in resin, proper preparation is essential for achieving a beautiful finished piece. The right preparation techniques will help preserve the dragonfly’s natural beauty and prevent decay issues that can ruin your project.
Selecting the Right Dragonfly
When choosing a dragonfly for your resin project, look for specimens that are intact and have minimal damage. Freshly deceased dragonflies work best since their colors are still vibrant and their bodies haven’t begun to deteriorate.
If you find a live dragonfly, please don’t harm it! These insects are important pollinators and beneficial to the environment. Instead, keep an eye out for naturally deceased specimens during late summer and early fall.
Larger dragonflies with transparent wings often create the most striking displays in resin. The transparent quality of their wings allows light to pass through beautifully when suspended in clear resin.
Remember to check local regulations before collecting insects, as some species may be protected in your area.
Cleaning and Positioning
Before preserving your dragonfly, gently clean it with a soft brush to remove any dirt or debris. Be extremely careful around the delicate wings, as they tear easily.
To position your dragonfly, create a humid environment using a dampened cotton ball or paper towel in a sealed container. This will relax the specimen and make it easier to arrange.
Once relaxed, carefully position the dragonfly as desired. You might want to:
- Spread the wings outward to display their transparent beauty
- Position the legs in a natural stance
- Arrange the body in a natural flying or resting position
Use pins, tweezers, or toothpicks to achieve your desired pose. Work slowly and patiently to avoid damaging the fragile parts.
Preventing Decay
The most important step in preparing your dragonfly is preventing future decay. Without proper treatment, organic materials will deteriorate even inside resin.
If you’re wondering whether bugs rot in resin, the answer depends on how well the specimen is dried and sealed.
Dry your specimen thoroughly before casting. Place it in a warm, dry location for several days or use a food dehydrator on the lowest setting. A properly dried dragonfly should feel brittle and lightweight.
For added protection, consider treating your dragonfly with a preservation solution:
- A light spray of clear acrylic sealer
- A dip in isopropyl alcohol to remove moisture
- A thin coat of clear nail polish on joints and body
These treatments create a barrier that helps maintain the dragonfly’s structure and prevents bubbles from forming around the specimen during the resin curing process.
Choosing the Right Resin
Selecting the proper resin is crucial for creating a beautiful dragonfly preservation. The resin you choose affects clarity, durability, and how well your dragonfly’s features will display.
Types of Resin
Epoxy resin is the most popular choice for preserving insects. It cures harder than other types and creates a crystal-clear finish perfect for showcasing your dragonfly. Look for casting resin specifically, as it’s designed to pour in thicker layers without overheating.
Polyester resin is another option, often less expensive than epoxy. However, it has a strong odor and might yellow over time.
UV resin works well for small projects and cures quickly under ultraviolet light. This type is great if you’re making a smaller pendant with your dragonfly.
Always check if the resin is labeled “casting resin” rather than “coating resin” since casting types are made for deeper pours.
Color and Transparency Considerations
Transparency is key when preserving dragonflies. Choose a resin labeled “crystal clear” or “water clear” to showcase the delicate wings and body details. Some OEM products specifically advertise their clarity levels for insect preservation.
You can add small amounts of transparent dye if you want a slight tint that complements your dragonfly’s natural colors. Blues and greens often enhance dragonfly specimens.
Be careful with bubble formation! Bubbles reduce transparency. Select a resin that’s formulated to release bubbles easily or that can be heat-treated to remove them.
Test the resin’s clarity by casting a small sample before committing your precious dragonfly specimen to it.
Creating the Resin Cast
Once your dragonfly is properly prepared, it’s time to pour the resin. The casting process requires careful attention to detail to ensure your dragonfly is beautifully preserved and clearly visible within a crystal-clear block.
Molding and Casting Techniques
Choose a mold that fits your dragonfly with enough space around it. Silicone molds work best because they’re flexible and easy to remove once the resin hardens.
Mix your resin according to the package instructions. Most epoxy resins require equal parts of resin and hardener. Measure precisely – incorrect ratios can prevent proper hardening!
Pour a thin base layer (about 1/4 inch) in your mold first. Let this layer become tacky but not fully hard (usually 30-40 minutes). This creates a foundation for your dragonfly.
Carefully place your dried dragonfly onto this tacky layer. Position it exactly how you want it to appear in the final product. Use tweezers or a toothpick for precise placement.
Dealing With Air Bubbles
Air bubbles can ruin your transparent resin cast. Mix your resin slowly to minimize introducing bubbles. Stir in a figure-eight pattern rather than vigorously whisking.
After placing your dragonfly, pour the remaining resin slowly over it. Pour from one corner and let it flow naturally across the specimen.
Bubble Removal Methods:
- Use a heat gun or torch briefly over the surface (keep it moving, don’t burn the resin!)
- Tap the sides of the mold gently
- Use a toothpick to pop surface bubbles
- Place in a pressure pot if available
Curing and Hardening Process
Different resins have different curing times. Most epoxy resins take 24-72 hours to fully harden. Follow your specific product’s instructions.
Place your mold on a level surface in a dust-free area. Cover it with a box or container to prevent dust from settling on the wet surface.
The curing environment matters! Keep your resin between 70-80°F (21-27°C) for optimal results. Too cold and it won’t cure properly; too hot and it might cure too quickly with bubbles trapped inside.
Don’t remove your dragonfly cast from the mold until completely hardened. Once cured, your transparent preservation should showcase the dragonfly’s delicate wings and body perfectly!
Finishing Touches and Display
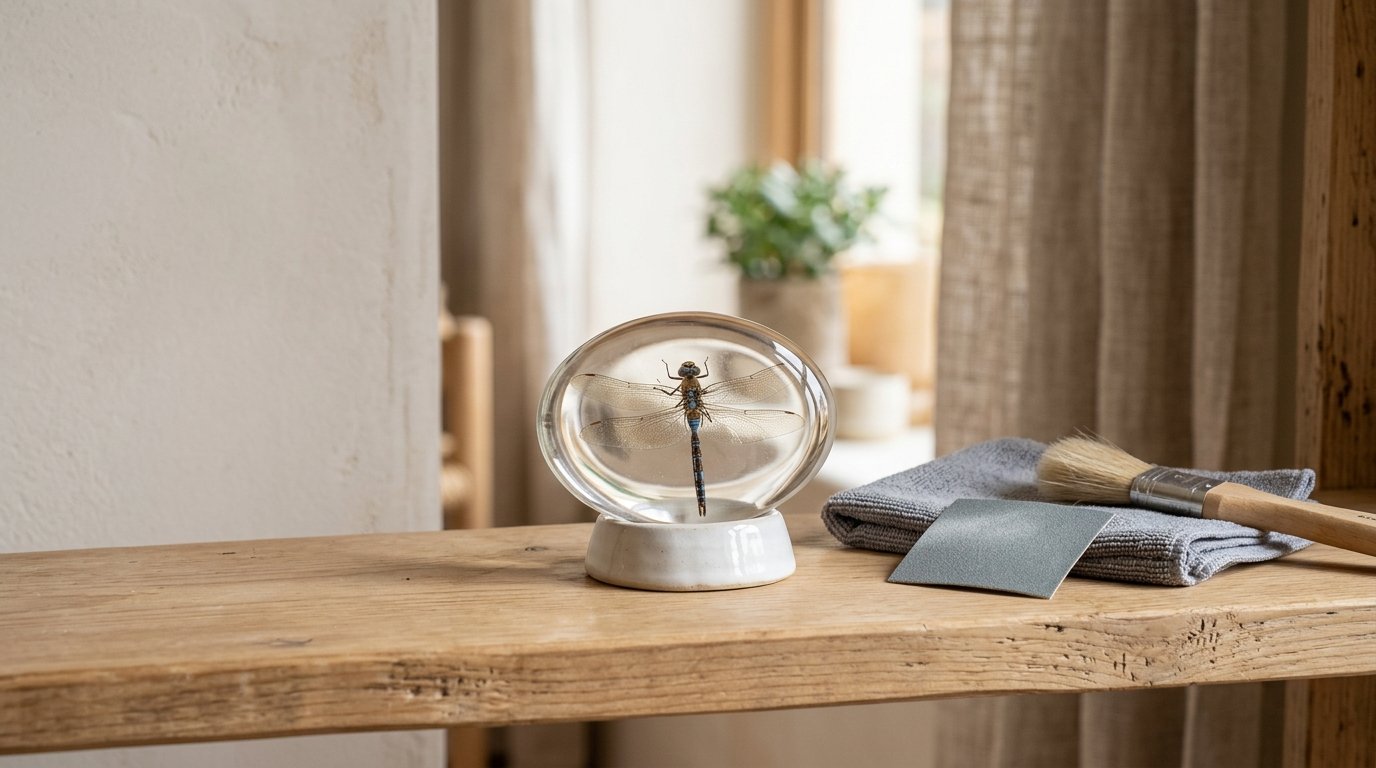
After your dragonfly is fully encased in resin, a few final steps will transform your creation from a simple casting to a stunning display piece. These finishing touches enhance the clarity and appearance while also determining how to best showcase your preserved specimen.
Polishing and Maintenance
Once your resin has fully cured (typically 24-48 hours), you’ll need to sand and polish it to achieve crystal clarity. Start with coarse sandpaper (around 400 grit) to remove any uneven edges or bumps, then gradually work up to finer grits (1000, 2000, and 3000).
Sand in small circular motions, rinsing the piece frequently to avoid scratches. After sanding, apply a specialized resin polish or regular car polish with a soft cloth to bring out the shine. Buff gently until your dragonfly specimen gleams.
For long-term maintenance, dust your resin piece with a soft, dry cloth. Keep it away from direct sunlight to prevent yellowing. If your piece gets minor scratches, you can restore the shine with a small amount of polish.
Creating a Display
Your preserved dragonfly deserves a special place to be admired! Consider mounting your resin piece on a small wooden stand or a metal easel for tabletop display. If you’ve created a pendant or jewelry piece, beautiful chain options can showcase the delicate details of the dragonfly wings.
For a more dramatic presentation, try:
- Backlighting: Place near a window or add small LED lights behind your piece to illuminate the transparent wings
- Grouping: Display alongside other preserved insects or natural elements
- Shadow box: Mount inside a shadow box with a complementary background
If you’ve preserved multiple specimens (like dragonflies and cicada wings), arrange them by size or color for a cohesive collection. Add small information cards about each species to create an educational display that highlights the beauty of these insects in their resin encasements.