
Making your own resin keychains is a fun and easy DIY project that lets you create unique designs for yourself or as gifts. You only need a few supplies like resin, molds, mixing cups, colors, and keychain rings to get started. With a bit of creativity, you can personalize your keychains with glitter, dried flowers, or small charms.
If you have ever wanted to try resin art, this is a great way to start. You will learn how to mix resin safely, pour it into molds, and attach keyring hardware. Whether you want a special accessory for your bag or a handmade gift for a friend, making resin keychains is a simple project you can do at home.
If you want to try a different project, you can also make a keychain with simple materials.
Essential Materials and Tools
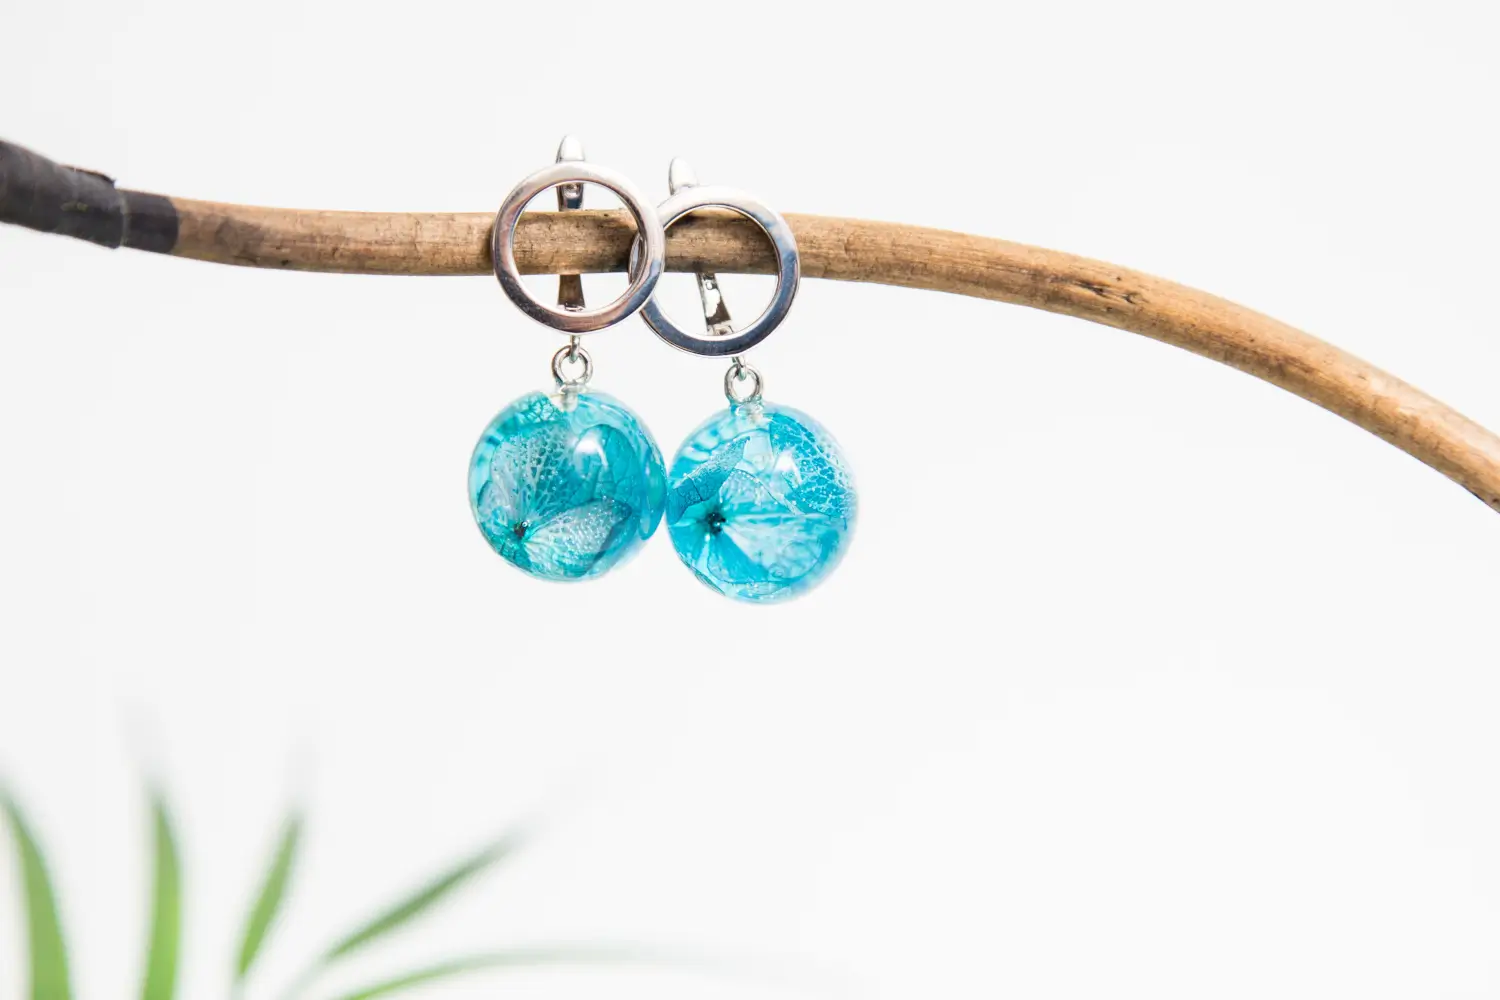
You need the right supplies to make resin keychains that last and look great. Picking your resin, proper hardware, and quality molds can make your craft project easier and more fun.
Choosing the Right Resin
Picking the best resin is the first step. Epoxy resin is popular for beginners because it mixes in two parts and cures clear and solid. It works well for projects where you want bright colors or to add small items like dried flowers or glitter.
Some people use UV resin for quick results. It cures fast under a UV lamp, which means less waiting time. But it works best for thin layers and small keychains. Whichever you use, always wear disposable gloves and work in a ventilated place. This keeps you safe from sticky spills and fumes.
You’ll also need mixing tools. Use mixing cups with measurements and a wooden or plastic stir stick. Take your time mixing, as bubbles can ruin your design.
Keychain Hardware and Accessories
To make your keychain usable, you need keychain hardware. These parts connect your resin piece to your keys or bags. Most kits include split rings, jump rings, and sometimes small chains.
A table of common hardware:
| Hardware | Purpose |
|---|---|
| Split ring | Holds keys securely |
| Jump ring | Connects charms or tags |
| Lobster clasp | Easy add/remove keychains |
Needle nose pliers or jewelry pliers help you open and close rings without scratching them. If your design has small holes, a tiny drill or even a dremel can make clean openings for hardware. Consider adding a tassel or charm for extra style.
Molds and Embellishments
Your silicone mold shapes the resin. You can find molds in many shapes like letters, hearts, or animals. Silicone molds are best because the finished resin pops out easily and keeps a smooth finish.
You can press items into the resin before it cures. Try dried flowers, glitter, tiny beads, or stickers. These embellishments make your craft project unique and colorful. Make sure what you add is dry and clean, so the resin stays clear.
Always clean your mold after each use. Properly cared for, the same resin mold can last through many craft projects.
Safety Guidelines for Resin Crafting
Resin art can be fun, but you need to stay safe. Exposure to resin and hardener can irritate your skin or lungs if you don’t use the right precautions.
Proper Ventilation and Protective Gear
Always work with resin in a room that has lots of fresh air. Open windows and doors to let fumes escape. You can use a fan to help air move around. If possible, set up your workspace near an open window.
Wear gloves made of nitrile, not latex, since nitrile resists resin better. Disposable gloves make cleanup easy and keep resin off your skin. Wearing goggles helps protect your eyes if resin splashes.
A mask or respirator rated for organic vapors is a good idea, especially if the smell is strong. This keeps you from breathing in harmful chemicals. Wear old clothes, because resin will not wash out if it drips onto fabric.
Use a plastic apron for an extra layer of safety. Always tie back long hair to keep it out of your workspace.
Safe Handling and Cleanup
Cover your worktable with cardboard, plastic, or kraft paper before you begin. This protects surfaces and makes spills easier to clean. Never touch resin directly with your hands, even after it cures, since some people may have delayed skin reactions.
Keep these items nearby:
- Paper towels
- Rubbing alcohol or acetone
- Disposable wipes
Clean resin drips right away with paper towels and rubbing alcohol. Do not pour leftover resin or cleaning liquids down the sink, as they can harm the plumbing and water supply.
Place used gloves and wipes into a sealed trash bag. Double-check for resin splatters around your work area before leaving. Always wash your hands with soap and water after finishing, even if you wore gloves.
Preparing Your Workspace and Materials
Getting ready to make resin keychains takes some planning. By preparing your area and collecting the right tools, you stay safe, organized, and make the job easier.
Setting Up a Clean Workspace
Choose a flat, clear surface to work on, like a table with plenty of room. Lay down parchment paper, wax paper, or a silicone mat to catch any spills.
Good ventilation is important. Work near an open window or use a fan to help keep air moving. If possible, wear gloves and a mask to avoid contact with resin or breathing in fumes.
Make sure there is enough light so you can see details while pouring resin and adding decorations. Keep pets, food, and drinks away from your workspace.
Wipe down the surface before setting up, so no dust or hair gets trapped in your resin as it cures.
Organizing Tools and Supplies
Before you start mixing resin, gather everything you need:
- Mixing cups: For measuring and blending resin and hardener.
- Toothpicks: Handy for popping bubbles, steering resin, or adding fine glitter.
- Tweezers: Useful for placing decorations or fixing mistakes.
- Glitter options: Such as gold glitter, chunky glitter, and colors like yellow or purple for unique effects.
Put your supplies in small trays or containers to keep them close. Set molds nearby for easy pouring.
Keep paper towels and a trash bin on hand for quick cleanups. Check that all your tools are dry, since water can ruin your resin. Having everything prepared helps your project go smoothly from start to finish.
Mixing and Coloring Resin
Working with resin lets you make creative keychains with bright colors and fun decorations. The way you mix and color your resin affects how your keychain will look and last.
Measuring and Mixing Techniques
Always read the instructions for your resin before you begin. Most resin products have two parts: the resin and the hardener. Measure your resin and hardener carefully, usually in equal parts, using separate cups or a digital scale for accuracy.
Pour the hardener into the mixing cup first, followed by the resin. Stir with a wooden stick or silicone spatula for at least 3 minutes. Scrape the sides and bottom to mix everything well. Clear mixing helps your resin cure hard and prevents sticky spots. Work slowly to avoid adding air bubbles.
If you want a deep pour or high gloss finish, choose a high gloss or deep pour resin made for this. These formulas are built to cure smoothly in molds for keychains and charms.
Adding Color, Glitter, and Embellishments
After mixing, you can add color. Alcohol ink blends smoothly into resin and gives rich color without clumping. Start with a drop or two and mix—it’s better to add too little at first because you can always deepen the color.
To make your keychains sparkle, try adding glitter or sparkly glitter. Stir it in evenly so it spreads through the resin. For a special touch, add pieces of gold leaf in small pinches. Use a toothpick to move them into the right spot in the mold.
Other choices for color include resin color pigments and mica powder. Don’t use too much color; if you add too much, the resin may not harden correctly. If you want more than one color in a keychain, pour them side by side or swirl gently with a stick.
Dealing with Bubbles
Bubbles form if you mix too quickly or trap air while pouring. To help prevent bubbles, mix the resin slowly and let it rest for a minute before you pour into your mold.
If you see bubbles after pouring, use a heat gun or kitchen torch to gently pass over the surface. The heat pops the bubbles so the resin stays clear and smooth. Don’t hold the heat too close or too long, or you might scorch your resin.
You can also try blowing on small bubbles with a straw, or poke them with a toothpick for better control. If working with deep pour resin, check for bubbles every few minutes in the first hour, as bubbles rise through thick layers more slowly.
Pouring and Curing Resin Keychains
Getting the pour and cure process right is important for making resin keychains that look smooth and last long. The steps below will help you get clear results with silicone molds and resin kits.
Pouring Resin Into Molds
Start by making sure your silicone mold is clean and dry. Dust or water drops can leave marks on the finished keychain.
Mix your resin according to the instructions on your resin kit. If you use EasyCast resin, the mix is usually equal parts. Stir slowly to avoid trapping air bubbles.
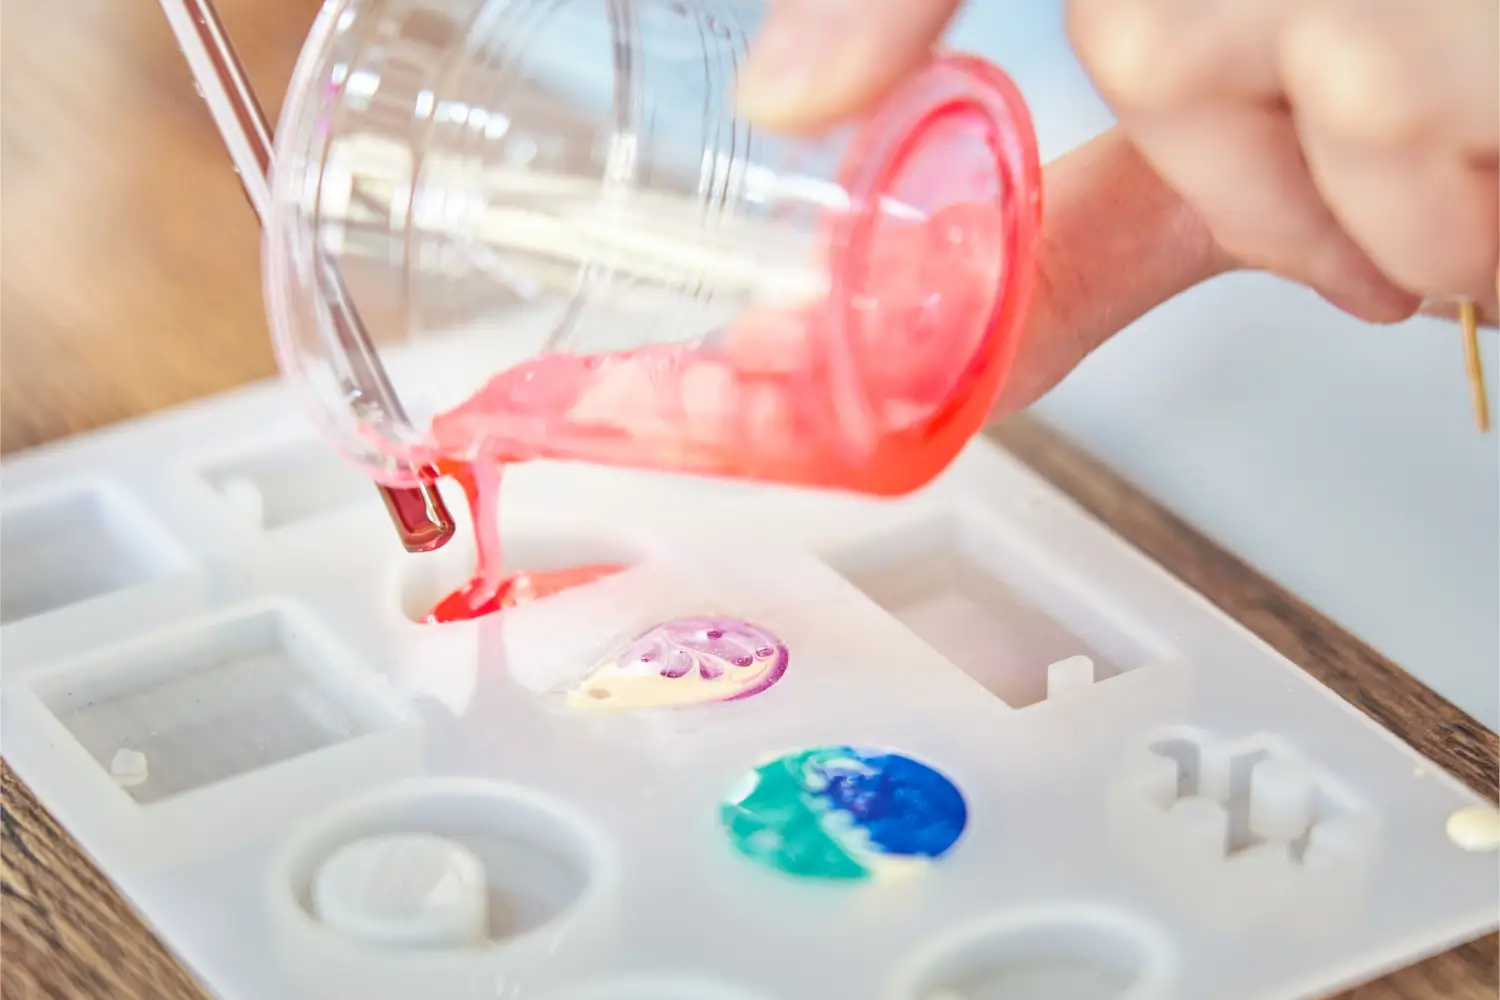
Set your mold on a flat, level surface. Pour the resin mixture into the mold in a thin, steady stream. This helps push out air and avoids spills.
If you want to add items like glitter, tiny flowers, or foil flakes, sprinkle them in layers as you pour. Use a toothpick to move decorations or pop surface bubbles.
Fill each shape almost to the top for a solid keychain. Don’t overfill, as resin will expand a bit while curing.
Proper Curing and Demolding
Curing time is key for strong, shiny resin crafts. Most resin keychains set in 24–48 hours, but check your resin kit’s label for exact times.
Put the filled molds on a flat space that no one will bump. Cover them with a box to keep out dust while they cure.
If you are using UV resin instead of epoxy, cure under a UV light for 2–5 minutes. UV resin cures quickly, but epoxy resins need more time and patience.
Once the resin is fully hard and not sticky, gently flex the silicone mold to remove each keychain. If the keychain feels soft or bends, leave it in the mold longer.
If there are sharp edges, you can sand them down with fine sandpaper. Wash the finished piece with soap and water before adding key rings or findings.
Adding Hardware and Finishing Touches
Once your resin keychains have cured, it’s time to turn them into finished pieces you can use. Adding the right hardware and decorations gives each keychain a unique touch and makes sure it’s strong enough for daily use.
Drilling and Attaching Jump Rings
Start by checking if your resin piece has a small hole for hardware. If not, use a small drill bit or a Dremel tool to gently make one near the top.
Go slow to avoid cracking the resin. Clean away any dust after drilling. Take a jump ring—a small metal ring used in jewelry—and open it using needle nose pliers or jewelry pliers. Slide it through the hole and close the ring tightly so it won’t slip out.
This step lets you easily add more pieces, such as key rings or charms, to your design.
Securing Key Rings and Charms
With the jump ring in place, you can now attach a sturdy key ring. Use your pliers again to open a larger jump ring if you need more space, or attach the key ring straight to the original jump ring.
Add extra items like a charm or a tassel for decoration. Slide these straight onto the jump ring before closing it.
Make sure all the rings are closed tightly to keep everything secure. Double-check with your pliers so none of the hardware comes loose over time.
Personalizing With Vinyl and Decorative Elements
Personalizing your keychain makes it special. Use vinyl to add names, words, or patterns. A Cricut, such as the Cricut Joy, can cut detailed vinyl shapes and text for you.
Peel and stick the vinyl to your cured resin. Press it down firmly to help it last.
You can also glue on extra embellishments like glitter, rhinestones, or tiny beads. Let any glue dry completely for the best hold. Your finished keychain will reflect your style and creativity.
Inspiring Project Ideas for Custom Keychains
You can create unique resin keychains tailored to your taste or to give as gifts. Simple items like beads, flowers, and holiday symbols help make each keychain special.
Letter Beads and Friendship Themes
Personalize your keychains using letter beads. Spell out names, initials, or short messages.
You can mix in colors and patterns that you and your friends love. Add small charms or glitter for extra fun.
Try making friendship keychains as a way to show someone you care. Just choose matching colors or themes, similar to making friendship bracelets.
Here is a simple list of ideas:
- Names or nicknames with letter beads
- Friendship quotes
- Small charms, like hearts or stars
Include your favorite colors or even mini photos. These touches make your keychains truly one-of-a-kind.
Seasonal and Holiday Designs
Switch up your resin keychains for the time of year. Winter can have snowflakes, while spring can have flowers.
For summer, add mini seashells or bright colors. During fall, try using leaves or small pumpkins.
Holiday designs make great gifts. Add tiny holly leaves or bells for Christmas. Use red and pink glitter for Valentine’s Day.
You can even add little themed stickers or confetti before adding resin. A small chart can help keep ideas clear:
| Season | Ideas |
|---|---|
| Spring | Flowers, pastel beads |
| Summer | Seashells, bright hues |
| Fall | Leaves, oranges/browns |
| Winter | Snowflakes, silver |
These small changes let you enjoy decorating for every season.
Lucky Charms and St. Patrick’s Day Keychains
Make your own lucky keychain to carry with you. Use tiny shamrock or clover shapes for good luck.
For St. Patrick’s Day, green glitter and themed stickers stand out. Add small gold coins or a rainbow mix to the resin for extra fun.
Try these lucky ideas:
- Green beads and shamrock slices
- Mini horseshoe charms
- Clovers and small rainbow pieces
These designs are not just for March. Carry your lucky charm year-round for a boost of positive vibes.
Handmade Gifts for Friends and Family
A handmade resin keychain makes a thoughtful gift. Choose designs and colors that mean something to the person.
Personalize your keychains with their initials, favorite colors, or small objects that remind you of them. Include letter beads to spell a nickname, or embed dried flowers for a natural look.
Some ideas for handmade gifts:
- Keychains with mini photos inside
- Favorite sports charms
- Glitter in their favorite colors
Wrap your finished keychains in cute boxes or small gift bags. Taking time to make something by hand shows you care.
Tips for Mastering Resin Keychains
Making resin keychains takes patience, practice, and attention to detail. Knowing how to avoid mistakes, try new techniques, and care for your finished projects can help you enjoy resin crafting and make beautiful keychains every time.
Common Mistakes and Troubleshooting
Air bubbles, uneven surfaces, and sticky results are some of the common issues people face in resin craft. Air bubbles often happen when you mix your resin and hardener too fast. To fix this, mix slowly and let your project rest for a few minutes before pouring. You can also use a heat gun or toothpick to pop bubbles.
Sticky or soft resin means the mix ratio was off or parts were not mixed well. Always measure carefully and follow your resin tutorial’s directions. If your project is still sticky after curing, you may need to remove the soft layer and try again with a fresh batch.
If your resin keychains won’t come out of the mold easily, spray your molds with a little mold release before pouring. This helps your finished piece pop out cleanly without damage. Having a checklist for each step can help prevent simple mistakes.
Advanced Techniques and Resin Tutorials
Once you’re comfortable with basic DIY resin keychains, try adding colorants, glitter, or small charms for extra style. Use alcohol inks for bold color effects. Layering is also popular: pour one color, let it set, and then pour another on top to make cool patterns.
For a personal touch, embed tiny photos, beads, or dried flowers in your resin craft. You can watch a variety of step-by-step tutorials online for techniques like the “dirty pour,” marbling, or making letters and shapes. Try experimenting in small batches before starting bigger projects.
Tips:
- Keep your workspace neat
- Wear gloves and a mask
- Protect your surfaces with plastic or parchment paper
Caring for and Maintaining Resin Keychains
Resin keychains are fairly strong but can scratch or yellow over time. To keep yours looking nice, keep them out of direct sunlight for long periods. UV rays can cause yellowing and fading.
Wipe the keychain with a soft, damp cloth if it gets dirty. Avoid using harsh cleaners, alcohol, or rough sponges. Store your resin crafts away from sharp objects and heat sources.
If small scratches appear, you can use a bit of clear car polish or resin polish to buff them out. Regular care will help your DIY keychains keep their shine and last longer.