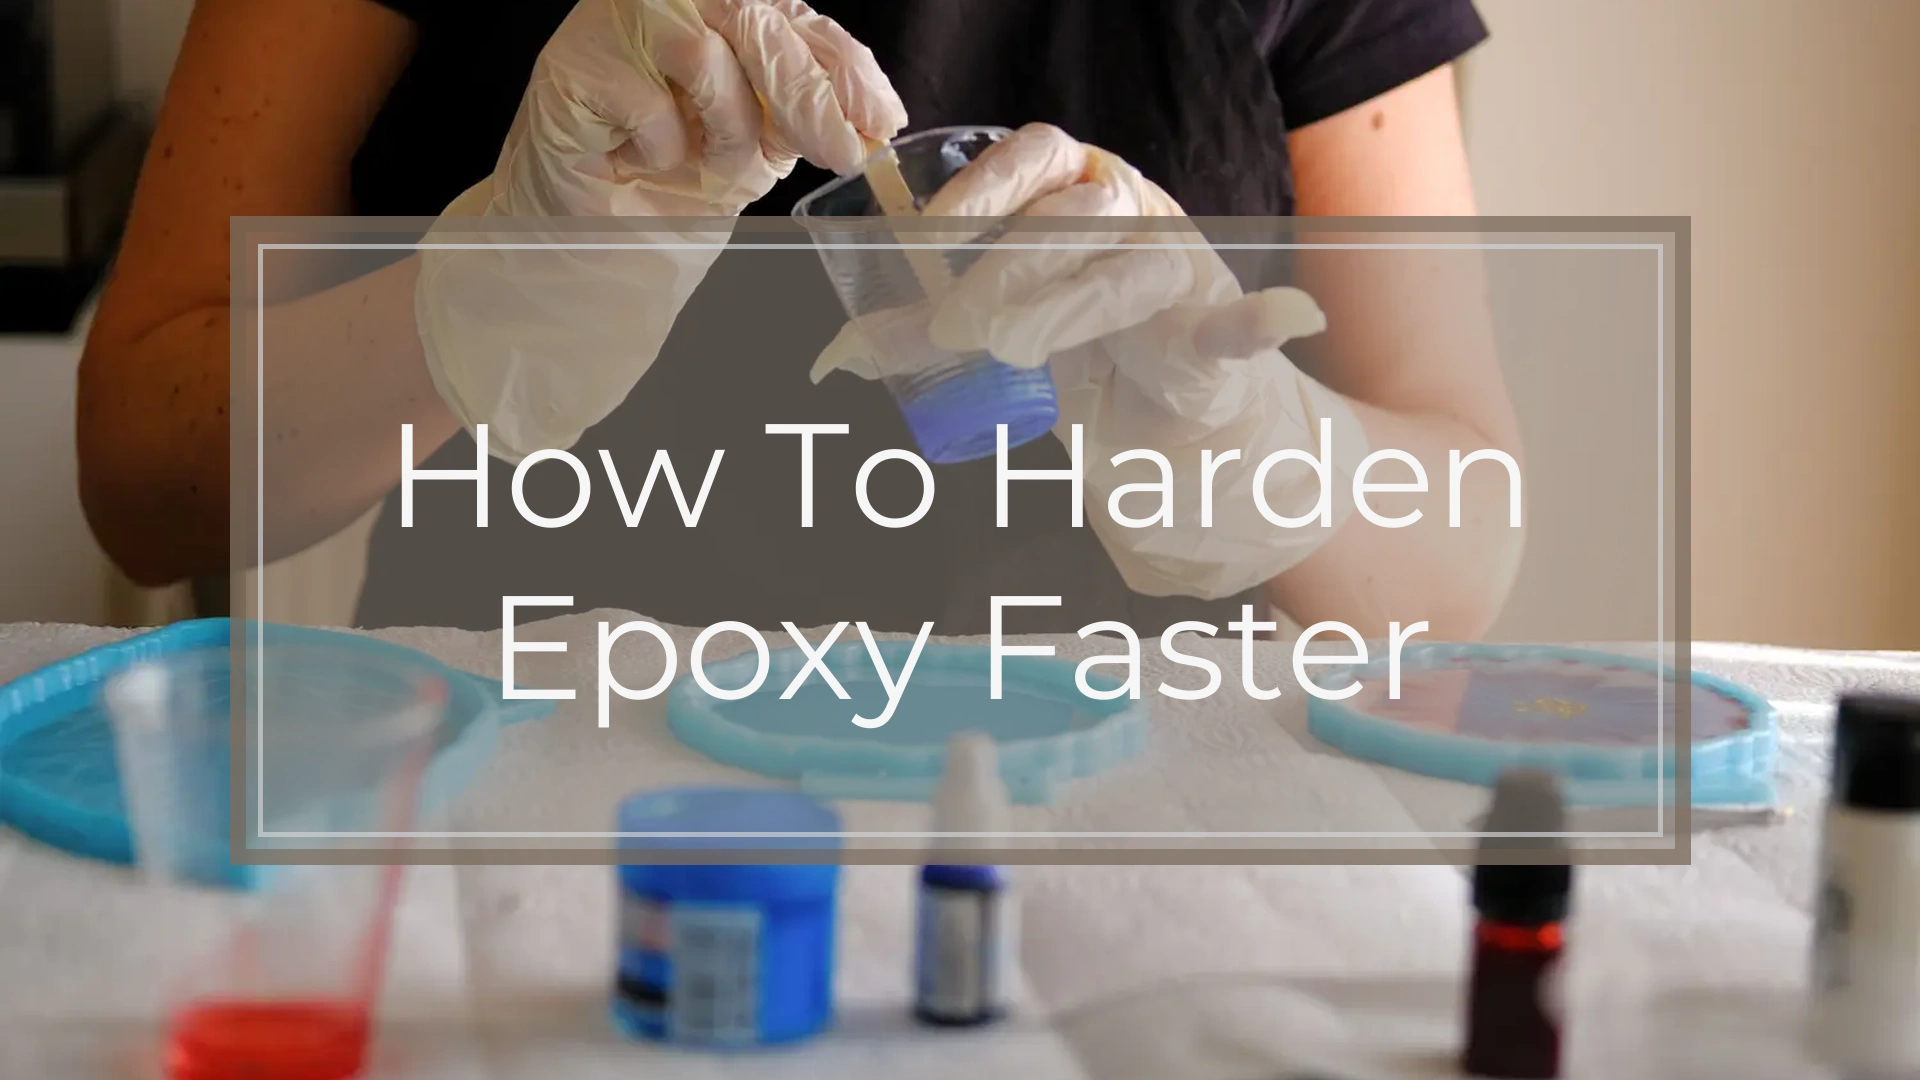
Waiting for epoxy to harden can feel slow, especially when you’re excited to see your finished project. Maybe you have limited time or just want to get things done faster. You can speed up the curing process with simple steps like adding gentle heat or using special types of resin.
Finding the right method can be easy and safe when you know what works. With a few tips, you’ll be able to make your epoxy harden more quickly and avoid common mistakes. Stay tuned to learn how to get faster results without ruining your work.
Understanding Epoxy Curing
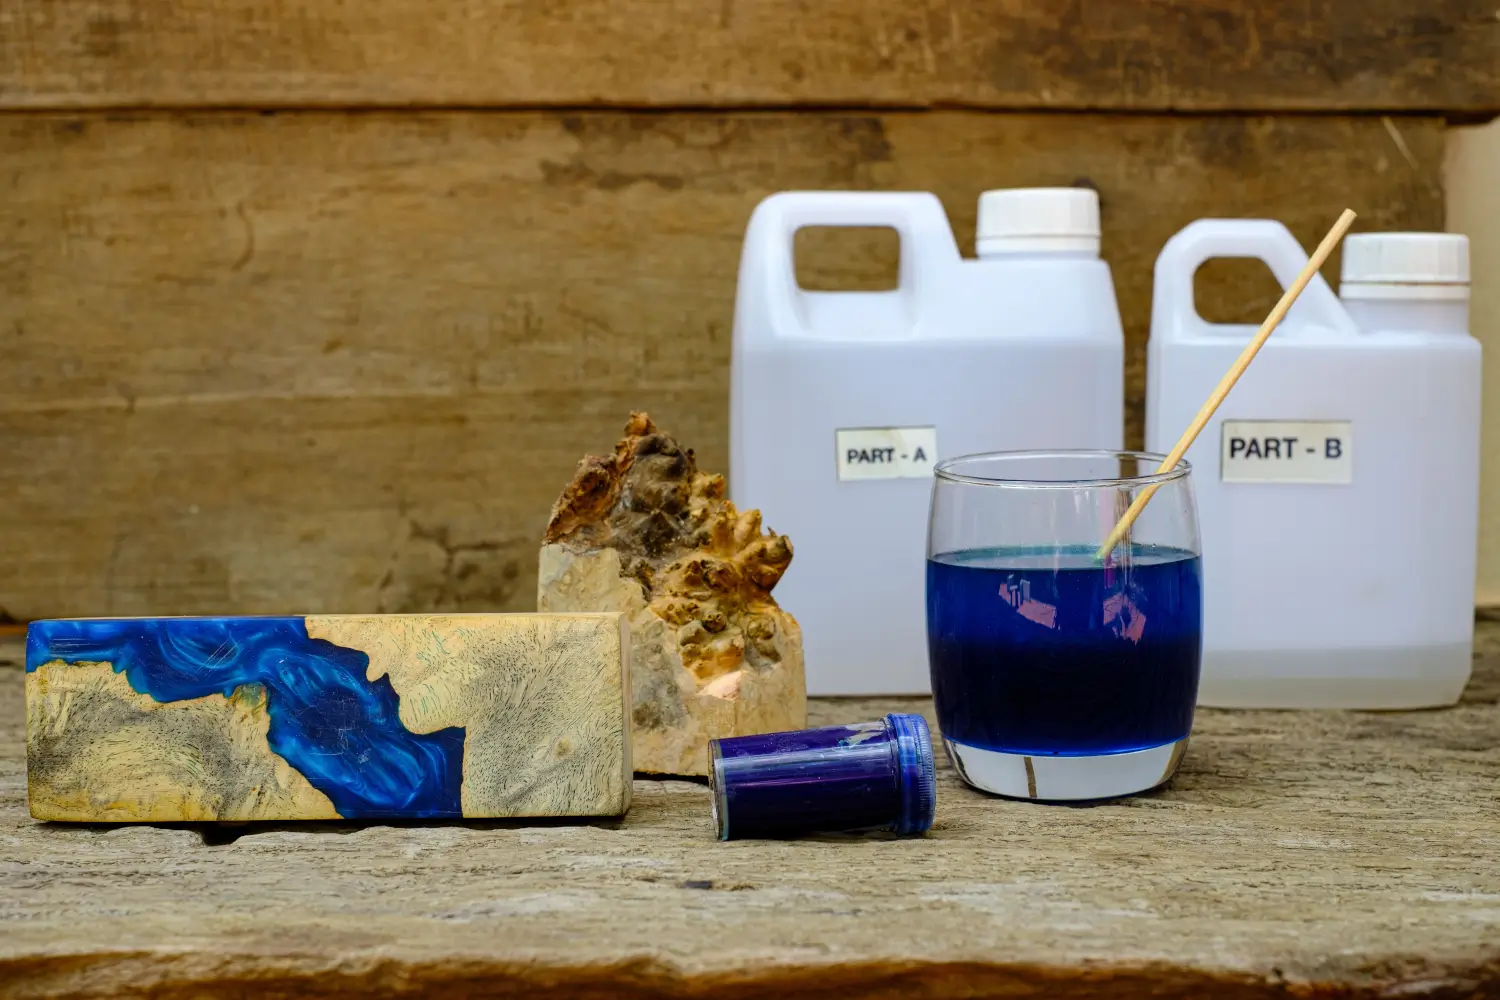
Epoxy resin changes from a liquid to a hard, durable solid due to a chemical reaction with hardener. The speed and quality of curing depend on the ingredients, how you mix them, and the environment.
How Epoxy and Hardener React
When you combine epoxy resin with its hardener, a chemical process starts called an exothermic reaction. This reaction gives off heat and slowly turns the mixture into a solid.
The resin acts as the base, while the hardener contains chemicals that trigger the reaction. As soon as you mix the two products, the clock starts ticking. The mixture’s temperature will start to rise, showing the reaction is working.
How fast this happens can depend on the exact formula of the resin and hardener you choose. Some products are made to cure quickly, while others are slow. Using more or less material also changes how much heat is produced during curing.
Factors Affecting Cure Time
Several things affect how quickly your epoxy cures. Temperature is a big factor. Warmer temperatures usually speed up the cure time, while cooler air slows it down.
Humidity can affect some epoxy systems, but temperature is often the most important. Mixing larger batches will create more heat, which can also make the epoxy cure faster.
The size and thickness of your project play a role. Pouring epoxy too thick can cause it to overheat or even crack. Small batches, thin layers, and good airflow help keep everything under control.
If you need faster results, you can use a faster hardener or add heat using a lamp or heater. Just watch out—not all resins handle higher temperatures well. Make sure to follow the manufacturer’s guidelines to avoid problems.
Importance of Proper Mix Ratio
Getting the mix ratio right is one of the most important steps when working with epoxy resin. Most epoxy systems call for precise amounts of resin and hardener, like 2:1 or 1:1.
If you use too much or too little hardener, the epoxy may not harden completely. Adding extra hardener will not make epoxy cure faster; instead, it can leave your project sticky or weak.
Always measure carefully. Inaccurate mixing can cause a poor finish, weak spots, or even a failed bond. For best results, use a measuring cup or scale and stir slowly for a few minutes to make sure everything blends well.
Proper mixing means the chemical reaction can finish and give you the strongest, hardest final result. This simple step ensures your epoxy project turns out smooth, tough, and long-lasting.
Accelerating the Hardening Process
Getting epoxy to harden faster often depends on how you manage heat, temperature, humidity, and timing. Using the right approaches helps you save time and avoid sticky or soft results.
Applying Heat Safely
Adding heat is one of the most effective ways to speed up the hardening of epoxy. You can do this with a heat gun, a hair dryer, or by placing your project near a gentle heat source. Never use an open flame or overheat the area, as this can damage your work or create safety hazards.
If you want a closer look at this method, see using a heat gun to cure epoxy faster.
Keep the heat moving and avoid keeping it focused on one spot. Warm air helps the resin cure faster by raising its temperature, but use only low or medium settings. Extreme heat can create bubbles or yellowing in the finish.
A small table can help you compare methods:
| Heat Source | Safety Level | Effectiveness |
|---|---|---|
| Heat gun | Moderate | High |
| Hair dryer | High | Moderate |
| Oven (low heat) | Low/Moderate | High |
Make sure the area is well-ventilated and follow the directions on your epoxy packaging.
Optimizing Temperature and Humidity
Epoxy cures faster in warm, dry environments. Most epoxy products work best at room temperatures between 70°F to 80°F (21°C to 27°C). Working in a cold space slows down the hardening process, and high humidity can lead to cloudy finishes or poor curing.
If your workspace is cold, consider using a space heater to reach the ideal temperature. Keep windows closed if it is humid outside, or use a dehumidifier. Some people even warm their resin parts or molds before mixing to boost early curing.
Checklist for a quick cure:
- Room temperature: 70°F–80°F (21°C–27°C)
- Low humidity: under 50%
- Avoid working in damp or cold basements
Controlling Working Time
Epoxy “working time” is how long you can shape or move the resin before it begins to harden. You can control this by choosing fast hardeners, which are made to cure quicker but shorten the time you have to work.
If you need more time, use slow hardeners. But for faster results, always pick those labeled as “fast cure” or “quick set.” Keep in mind: adding heat will make resin set up even faster, so only mix what you can use quickly.
Plan each step so you do not rush before the epoxy hardens. Read product instructions carefully to learn how long you have before the mixture becomes too thick. This helps you avoid mistakes and sticky messes.
Using Fast-Curing Epoxy Products
You can get quicker results with your projects by picking the right epoxy. Some products are made to set fast and still give a strong bond.
Choosing 5 Minute Epoxy
5 minute epoxy is made to harden very quickly. Once you mix the resin and hardener, you usually get about 5 minutes to place your items before it starts to set. This makes it a good choice for quick repairs or small projects.
Here are some key points to keep in mind:
- Work Time: You need to mix and apply it quickly because it begins to gel fast.
- Strength: While it cures fast, 5 minute epoxy is not as strong as slower-setting kinds.
- Best Uses: Fixing broken items, small crafts, or jobs that don’t need high strength. It’s not great for large areas or heavy-duty repairs.
5 minute epoxy often comes in easy-to-use syringes. Clean up is simple if you do it before the epoxy hardens. Most brands dry clear or slightly yellow.
Comparing JB Weld and Gorilla Glue Epoxy
JB Weld and Gorilla Glue Epoxy are popular fast-curing epoxies. Both come with two parts—a resin and a hardener—and are mixed right before use.
| Product | Set Time | Full Cure | Best For |
|---|---|---|---|
| JB Weld Quick Set | 6 minutes | 4-6 hours | Metal, wood, plastic, glass |
| Gorilla Glue Epoxy | 5 minutes | 24 hours | Wood, metal, ceramics, glass |
JB Weld Quick Set forms a tough bond and works well on more surfaces that need strength, like metal or automotive repairs. Gorilla Glue Epoxy is also strong and bonds to lots of materials, but is best for lighter repairs and crafts.
Both products are waterproof and resist chemicals. You should clamp your parts together for best results while the epoxy sets.
Remember, true “fast-cure” epoxies like these save time but may not always match the strength of slower-curing formulas for heavy-duty work.
Common Mistakes That Slow Hardening
Epoxy can stay sticky or soft if you make mistakes while mixing or measuring. Knowing why this happens can save you time and frustration.
Incorrect Mixing Techniques
Proper mixing helps epoxy harden as it should. If you do not mix your resin and hardener thoroughly, the epoxy may never cure completely. You might see sticky or soft patches that never harden, even if you wait a long time.
It is important to scrape the sides and bottom of your mixing cup. If you miss these spots, unmixed material can cling to the container, leading to uneven hardening.
Use a clean mixing tool, such as a wooden stick or plastic spatula. Stir slowly but continuously for at least 2-3 minutes, making sure the mixture looks clear and even, not cloudy or streaky.
If you rush or skip mixing steps, some parts of the epoxy may stay liquid or look cloudy. In cold conditions, un-mixed areas may even crystalize and harden unevenly.
Mix Ratio Errors
Getting the right mix ratio is just as important as mixing thoroughly. Most epoxy resins have a specific resin-to-hardener ratio, such as 2:1 or 1:1. Pouring too much of one part, or not enough of another, keeps the chemical reaction from happening as it should.
Always check the product directions before you start. Measure each part carefully—use marked cups or a digital scale for precise amounts. Even small mistakes in the mix ratio can result in epoxy that does not harden or stays tacky.
If your mix ratio is off, the epoxy may stay soft or never set at all. It will also be more likely to have cloudy spots or crystalize. For best results, double-check your measurements every single time.
Special Techniques to Harden Epoxy Faster
You can make epoxy cure faster by using certain household items and additives. These methods can help save time and may also change the bonding strength or consistency of your final product.
Baking Soda as an Accelerator
Baking soda is a common additive that can help epoxy set up faster. If you mix a small amount of baking soda into the epoxy, it will start to thicken more quickly. This works well for doing quick repairs or filling gaps, like with putty or body filler.
To use this method, sprinkle a small pinch of baking soda directly onto the mixing surface before adding your mixed epoxy. Stir the two together. You will notice the mixture becomes thicker and harder much quicker than usual.
This trick is useful for tasks like fixing small surfaces or filling cracks. Remember that adding too much baking soda can make the epoxy brittle. It’s best to use it only in places where extra strength is not needed.
Enhancing Bonds With Additives
Several additives can improve the bond and speed up the hardening of epoxy. For example, applying a small amount of specially-made fillers, like microballoons or body filler powders, can make the mixture cure faster and become thicker, almost like putty.
Additives are mixed into the epoxy after you combine the resin and hardener. They not only help the epoxy set faster, but can also help it stay in place on curved or vertical surfaces. For bonding tasks where strength is important, use additives that are meant for epoxy use, as others may weaken the final bond.
Always follow manufacturer guidelines when using additives. This will help make sure your epoxy cures well and bonds properly to the surfaces you are working with.
Surface Preparation and Application Tips
Good results with epoxy resin depend on doing careful surface prep and following smart application steps. Proper prep helps your epoxy bond well, dry harder, and last longer.
Prepping Surfaces for Better Adhesion
Start by cleaning the surface. Dirt, grease, or oil can stop your epoxy from sticking. Use a simple household cleaner and rinse with water. Let the surface dry fully.
Next, if you are working with metal or smooth surfaces, roughen the area with sandpaper or a sanding block. This gives the epoxy resin a better grip.
After sanding, wipe away all dust using a tack cloth or a damp rag. Even small particles can cause bonding problems.
If you need even stronger adhesion, try applying a thin “scratch coat” of mixed epoxy resin before your main coat. Let it get sticky, then add the main layer. This helps if you are gluing slippery items.
For wood, make sure it is dry. Moist wood can cause bubbles or weak spots. For best results, work in a dry area with low humidity.
Working With Fiberglass and Glue
Fiberglass is often used with epoxy resin for repairs and builds. Before you begin, cut your fiberglass cloth or mat to the right shape and size.
Lay the dry fiberglass where you want it to go. Mix your epoxy resin and hardener. Spread a thin, even layer of epoxy over the surface using a roller or brush.
Lay the fiberglass onto the wet epoxy. Use a plastic spreader or squeegee to smooth it out. Avoid trapping air bubbles, as they can weaken your project.
Apply more epoxy to fully soak the fiberglass—this is called “wetting out.” You may need to add more layers for strength.
If you are using epoxy glue, follow the instructions for mixing and spreading. Press your materials together and clamp if needed. Clean up spills right away before the glue hardens.
Curing Safety and Cleanup
When working with epoxy, safety and cleanliness can help prevent injuries and keep your workspace in good shape. It’s important to know how to handle heat from exothermic reactions and to use the right process for cleaning up, especially when epoxy is still sticky.
Handling Exothermic Reactions Safely
Mixing epoxy resin and hardener starts an exothermic reaction. This reaction gives off heat. If you mix large amounts, the heat can build up fast and may even cause the mixture to smoke or bubble.
To avoid burns or fire, always mix small batches at a time. Use shallow trays or containers to help spread out the heat. Keep the workspace well-ventilated and away from flammable objects.
If epoxy gets hot, move it to a cooler area or spread it out thinner to help the heat escape. Never touch hot resin with bare skin. Wearing gloves and eye protection is smart.
Alcohol for Easy Cleanup
Rubbing alcohol (isopropyl alcohol) makes cleaning up uncured epoxy much easier. Before the resin hardens, use it to wipe tools, surfaces, and even drips from your skin.
Here’s a simple cleanup tip:
| What to Clean | Use Rubbing Alcohol? | Notes |
|---|---|---|
| Tools | Yes | Wipe before resin cures |
| Surfaces | Yes | Test on small area first |
| Skin | Yes (small spots) | Wash with soap after |
| Cured Epoxy | No | You need scraping or sanding |
Dispose of wipes or paper towels in a safe way, since they may still have sticky resin on them. Always wash your hands with soap and water after using alcohol to finish cleanup.
Selecting the Right Epoxy System
Choosing the right epoxy system depends on curing speed, working temperature, and the final strength you want. Different hardeners, like slow or fast, suit different projects and needs.
When To Choose Slow Hardener
A slow hardener gives you more time to mix, position, or coat before the epoxy sets. This is useful when working on large surfaces or detailed projects where rushing could cause mistakes.
Slow hardeners are best when you work in warm rooms or outdoors in the summer. They let you take your time and still reach full cure and strength.
If you’re making repairs or building something that needs a smooth, bubble-free finish, a slow hardener is a safe choice. Be aware that curing times depend on factors like temperature and layer thickness. Warmer conditions and thin layers will cure a bit faster, even with slow hardener.
Comparing Popular Brands Like WEST SYSTEM
Brands like WEST SYSTEM offer different hardeners and base resins. Popular options include the 105 Resin matched with either a fast, medium, or slow hardener. For example, the 206 Slow Hardener works well in warmer climates or for tasks needing a long working time.
One reason people like WEST SYSTEM is for their clear instructions and reliability. They clearly list the mix ratios you need for proper strength and full cure. WEST SYSTEM also offers the 207 Special Clear Hardener, which is good for projects needing a see-through finish.
The mix ratio is important. With WEST SYSTEM and most brands, sticking to the recommended ratios ensures your project reaches its full cure and maximum strength. Always compare data sheets for each brand because cure times and physical properties may vary.