
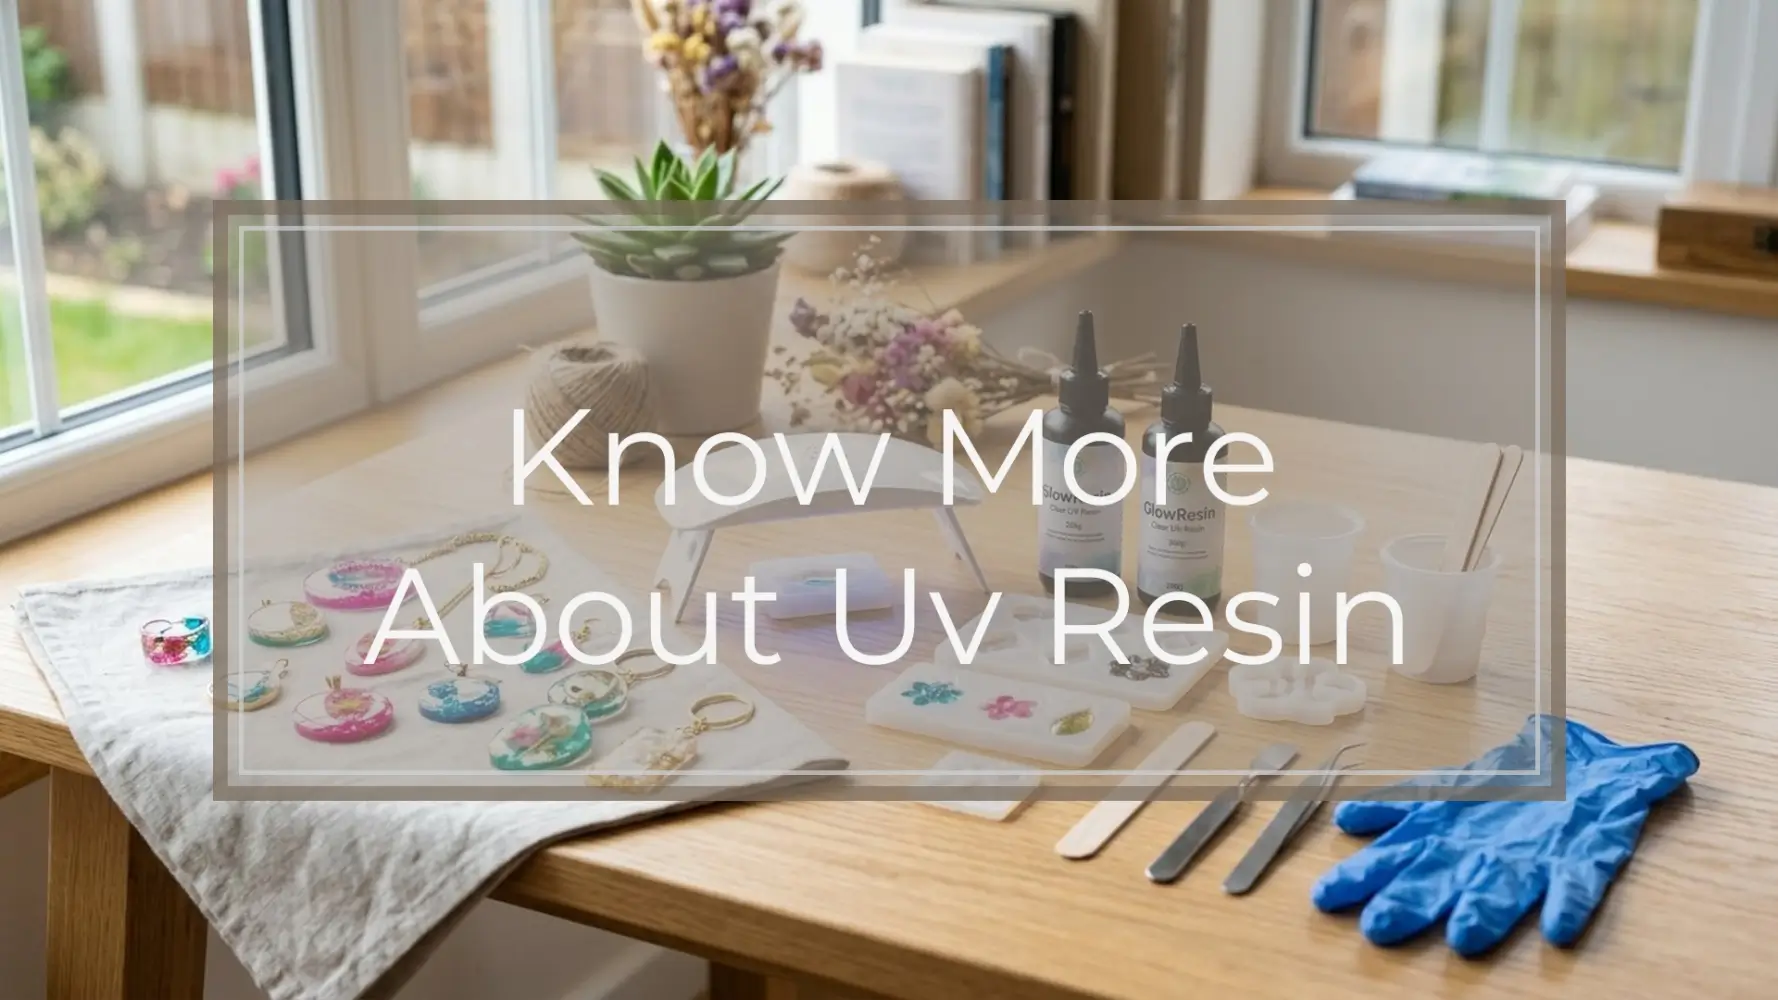
UV resin is a ready-to-use resin that cures quickly when exposed to ultraviolet light. If you want to know more about UV resin before using it in your crafts, the most important thing to understand is this: it is best for small, thin, clear projects where fast curing and precise detail matter.
Unlike two-part epoxy resin, UV resin does not need to be mixed with a hardener. You pour or apply it straight from the bottle, place it under a UV lamp or strong UV sunlight, and it hardens in minutes. That makes it popular for jewelry, charms, doming, small molds, keychains, coating artwork, and quick repairs.
What Is UV Resin?
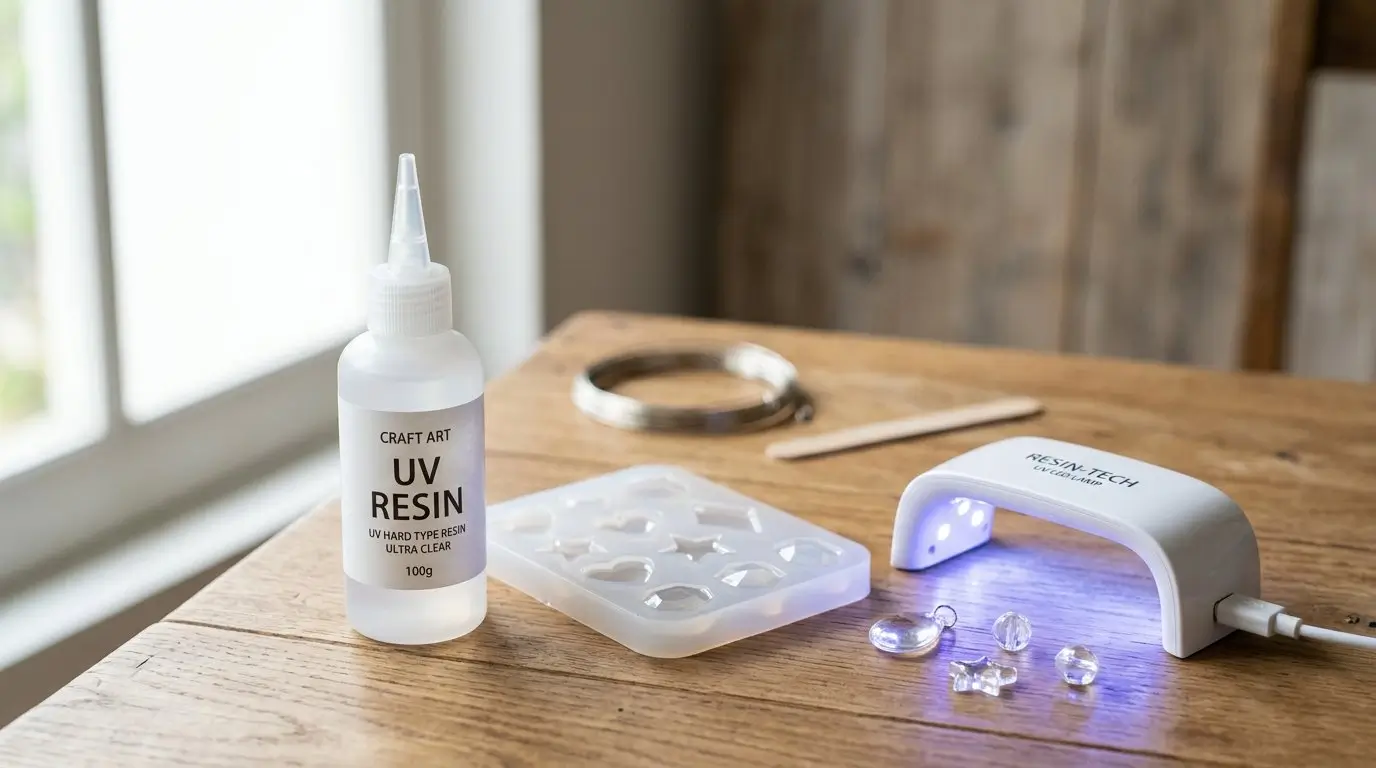
UV resin is a type of synthetic resin formulated to cure under ultraviolet light. It usually comes as a single liquid in a bottle with a nozzle or cap. Because it is already blended with photoinitiators, it begins to harden when exposed to UV light.
For crafters, this means less waiting and less measuring. You do not have to mix equal parts or worry as much about incorrect ratios. However, UV resin still has limits. It works best in thin layers, and it needs enough UV light to cure properly all the way through.
Common UV resin craft uses include:
- Pendant jewelry
- Earrings and rings
- Keychains
- Miniature decorations
- Nail art charms
- Small silicone mold projects
- Doming stickers or printed images
- Sealing dried flowers or glitter designs
- Adding glossy details to polymer clay pieces
UV resin is especially useful when you want to make a small item quickly or build up layers with embedded decorations.
How UV Resin Works
UV resin cures through a light-triggered reaction. When UV light reaches the resin, it activates ingredients that cause the liquid to harden. This is why UV resin can stay liquid in the bottle but cure quickly under a lamp.
The cure depends on several factors:
- The strength of your UV lamp
- The thickness of the resin layer
- The color and transparency of the resin
- The type of mold used
- The amount of pigment or glitter added
- The distance between the resin and the light
Clear, thin layers cure fastest. Thick pours, dark pigments, and opaque molds can block UV light and leave sticky or soft spots.
UV Resin vs Epoxy Resin
UV resin and epoxy resin are both used in crafts, but they are not interchangeable for every project. Choosing the right one helps you avoid frustration.
| Feature | UV Resin | Two-Part Epoxy Resin |
|---|---|---|
| Mixing required | No mixing needed | Resin and hardener must be measured and mixed |
| Cure method | UV lamp or sunlight | Chemical cure over time |
| Cure time | Usually minutes for thin layers | Often several hours to days |
| Best for | Small, thin projects and details | Larger pours, coasters, trays, art panels |
| Working time | Unlimited until exposed to UV light | Limited pot life after mixing |
| Layer thickness | Best in thin layers | Can handle thicker pours depending on formula |
| Equipment | UV lamp recommended | Mixing cups, stir sticks, protective surface |
| Beginner friendliness | Easy for small items | Easy with practice, but ratio matters |
| Common issue | Sticky surface if under-cured | Bubbles, soft cure from poor mixing |
If you make jewelry, charms, or small decorative pieces, UV resin is convenient. If you want to make large coasters, trays, geodes, river tables, or deep molds, epoxy resin is usually the better choice.
When Should You Use UV Resin?
UV resin is a great choice when you want speed, detail, and control. It is especially handy for projects where mixing a full batch of epoxy would be wasteful.
Use UV resin for small projects
UV resin shines in small molds and shallow designs. You can fill a pendant mold, cure it, add another layer, and continue building your design without waiting overnight.
Good examples include:
- Small flower pendants
- Glitter earrings
- Alphabet charms
- Mini keychain accents
- Cabochons
- Decorative bezels
Use UV resin for coating and doming
UV resin can create a raised glossy coating over flat surfaces. This is called doming. It works well on stickers, printed designs, shrink plastic, acrylic blanks, and polymer clay.
A small amount of resin can be spread over the surface, then cured to create a smooth, glass-like finish.
Use UV resin for quick fixes
Because it cures quickly, UV resin can be useful for minor repairs or strengthening details in crafts. For example, you might use it to attach a small charm, seal an edge, or reinforce a delicate decorative piece.
It is not a replacement for heavy-duty glue in every situation, but it can be helpful for resin-compatible craft materials.
When UV Resin Is Not the Best Choice
UV resin is versatile, but it has clear limits. It is not ideal for every resin project.
Avoid using UV resin for:
- Large deep molds
- Thick pours
- Big trays or coasters
- Projects with very dark pigment
- Opaque molds that block UV light
- Items that need long working manipulation under bright light
- Large batches where epoxy is more economical
If UV light cannot reach the resin evenly, the piece may remain tacky, bendy, cloudy, or uncured inside. For deep projects, use a resin designed for deep casting or standard epoxy resin instead.
What Supplies Do You Need for UV Resin?
You do not need a huge setup to begin, but the right tools make the process smoother.
Basic supplies
- UV resin
- UV lamp
- Silicone molds or bezels
- Gloves
- Protective mat or work surface
- Toothpicks or silicone tools
- Tweezers
- Small cups or palette for pigments
- Alcohol wipes for cleanup
- Dust cover
Optional decorative supplies
- Mica powder
- Alcohol ink suitable for resin
- Resin pigment paste
- Fine glitter
- Dried flowers
- Foil flakes
- Stickers or decals
- Small charms
- Pearl powder
- Color shifting pigment
Use additives sparingly. Too much pigment, glitter, or ink can block UV light and prevent full curing.
How to Use UV Resin Step by Step
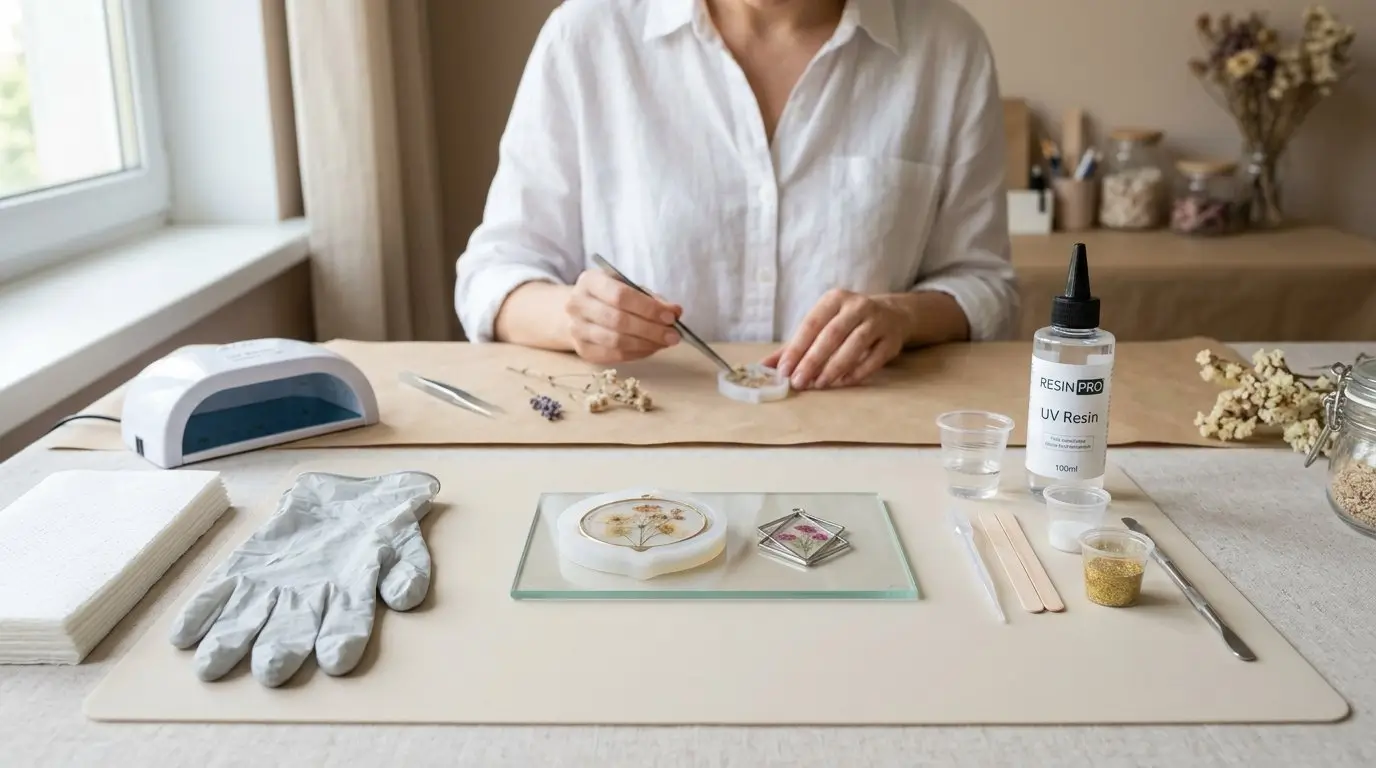
UV resin is beginner-friendly, but careful handling makes a big difference.
1. Prepare your workspace
Work on a flat, protected surface. Keep paper towels, gloves, and tools nearby. Make sure your mold or bezel is clean and dry before adding resin.
A dusty mold can leave specks in your finished piece, so it helps to use tape or a lint-free cloth to remove debris.
2. Add a thin layer of resin
Pour or squeeze a small amount of UV resin into the mold or bezel. Do not overfill at the start. Thin layers cure more reliably than thick ones.
If you are filling a mold, spread the resin into corners with a toothpick or silicone tool.
3. Remove bubbles
Small bubbles can be moved to the surface with a toothpick. You can also let the resin sit briefly before curing. Some crafters gently warm the resin bottle in warm water before use, but avoid overheating it.
Do not use an open flame around resin. A heat tool may be used carefully, but too much heat can damage molds or create fumes.
4. Add decorations
Place glitter, dried flowers, flakes, or tiny charms into the resin. Use tweezers for better control. Keep decorations flat if possible so they do not stick out of the finished surface.
For layered designs, add only a few elements at a time and cure between layers.
5. Cure under a UV lamp
Place the piece under a UV lamp according to your resin’s instructions. Thin layers usually cure faster than thick layers. If the surface is still sticky, cure it longer and make sure the lamp reaches all areas.
For molds, you may need to cure both the front and back after demolding, especially if the mold is cloudy or the piece is thick.
6. Add more layers if needed
If you want depth, build the piece in layers. Add resin, decorations, or color, then cure before continuing. This helps avoid uncured pockets inside the project.
7. Finish the piece
After the resin is fully cured, remove it from the mold. Sand rough edges if needed, then add a final thin coat of UV resin for shine. Cure again until the surface is hard and no longer tacky.
Tips for Better UV Resin Results
Small technique changes can improve clarity, finish, and durability.
Work in thin layers
This is the most important UV resin tip. Thick layers may cure on the outside while staying soft inside. Thin layers allow UV light to reach the resin more evenly.
Use clear or translucent molds
Opaque molds can block UV light. Clear or semi-clear silicone molds are better for UV resin because they allow light to pass through.
Be careful with pigment
Dark colors, heavy mica, and too much glitter can prevent curing. Start with a tiny amount of color and test before making a full piece.
Cure from multiple angles
If your project is dimensional, cure the front, back, and sides. This is especially useful for charms, rings, and pieces with raised edges.
Keep the bottle away from sunlight
UV resin can cure in the bottle if exposed to sunlight or a UV lamp. Keep the cap closed and store it in a cool, dark place.
Clean sticky residue properly
If a piece remains slightly tacky, it may need more curing. If it is fully cured but has a minor surface film, wipe it with isopropyl alcohol if recommended for your resin. Always follow the product instructions.
Common UV Resin Problems and How to Fix Them
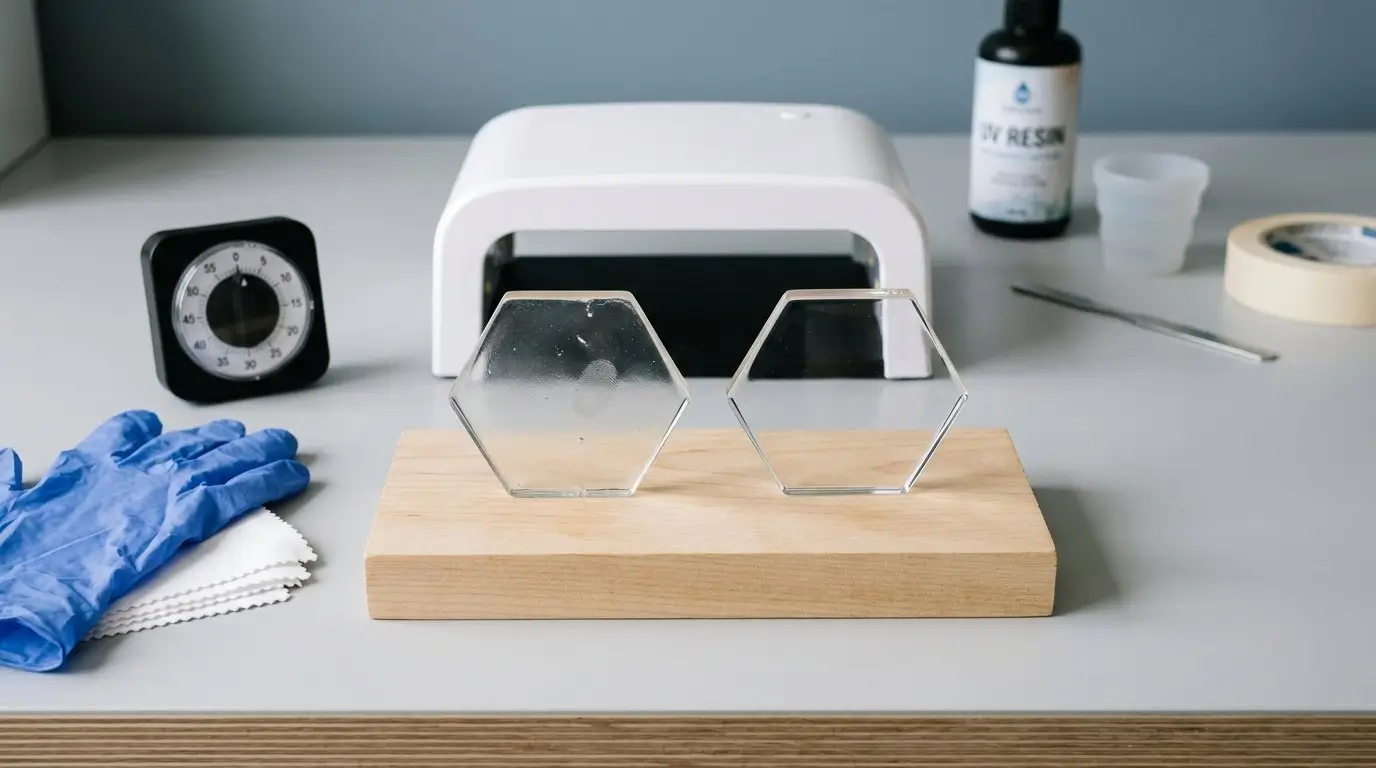
Even experienced crafters run into issues. Here are the most common problems and practical fixes.
Sticky or tacky surface
A sticky surface usually means the resin did not cure fully.
Possible causes:
- Not enough curing time
- Weak UV lamp
- Resin layer is too thick
- Too much pigment
- Mold blocked the UV light
Try curing longer, curing from both sides, or placing the piece closer to the lamp. For future projects, use thinner layers.
Soft or bendy pieces
Some UV resin pieces may feel slightly flexible if they are thin, but they should not be wet or gooey. If the piece is soft inside, UV light may not have reached the center.
Use less pigment, choose shallower molds, and build layers gradually.
Bubbles
Bubbles can happen when resin is squeezed too quickly, stirred aggressively, or poured into detailed molds.
To reduce bubbles:
- Pour slowly
- Use a toothpick to guide resin into corners
- Let resin rest before curing
- Warm the resin bottle slightly in warm water
- Avoid shaking the bottle
Yellowing
Some resin can yellow over time, especially with sunlight exposure. To reduce yellowing, use a quality UV resin, avoid over-curing with excessive heat, and store finished pieces away from harsh direct sunlight when possible.
Cloudy finish
Cloudiness can come from moisture, incompatible additives, scratched molds, or trapped bubbles. Make sure inclusions are dry, use resin-safe colorants, and keep tools clean.
UV Resin Safety Tips
UV resin is convenient, but it should still be handled carefully. Always read the instructions and safety information for the specific product you are using.
Follow these basic safety habits:
- Wear nitrile gloves when handling uncured resin
- Work in a well-ventilated area
- Avoid touching uncured resin with bare skin
- Keep resin away from children and pets
- Do not eat or drink while working with resin
- Protect your table from spills
- Avoid looking directly into UV lamps
- Clean spills promptly according to product directions
Once resin is fully cured, it is much easier to handle. The main caution is during the liquid, uncured stage.
How to Choose UV Resin for Crafts
When shopping for UV resin, look for a product that matches your project style.
Consider these factors:
- Clarity: Clear resin is best for flowers, glitter, and transparent designs.
- Viscosity: Thicker resin is good for doming; thinner resin flows better into tiny mold details.
- Cure speed: Some formulas cure faster depending on lamp strength.
- Yellowing resistance: Useful for clear jewelry and light-colored designs.
- Bottle design: A nozzle tip helps with small details and controlled application.
- Surface finish: Most craft UV resin cures glossy, but results vary by formula.
If you are new, start with small jewelry or charm projects before moving to layered designs. This lets you learn how the resin behaves without wasting materials.
Best Beginner Projects for UV Resin
If you are just getting started, choose simple projects that do not require deep curing.
Try these first:
- Glitter pendant: Fill a small bezel with clear UV resin and fine glitter.
- Pressed flower charm: Layer a dried flower between two thin coats of resin.
- Domed sticker keychain: Apply a clear coat over a printed design or acrylic blank.
- Mini cabochons: Use a shallow silicone mold and pearl mica.
- Polymer clay coating: Add a glossy UV resin finish to small clay earrings.
These projects help you practice pouring, bubble removal, curing, and layering.
FAQ
Is UV resin good for beginners?
Yes, UV resin is good for beginners because it does not require measuring or mixing. It is best to start with small, thin projects like charms, pendants, and domed decorations.
Do I need a UV lamp for UV resin?
A UV lamp is strongly recommended because it gives more consistent curing than sunlight. Sunlight can work, but curing time depends on weather, season, and light strength.
Why is my UV resin still sticky after curing?
Sticky UV resin is usually under-cured. Cure it longer, use thinner layers, reduce pigment, and make sure your UV lamp can reach the entire piece.
Can UV resin be used in deep molds?
UV resin is not ideal for deep molds because UV light may not reach the center. For deep molds, use a casting resin or epoxy resin designed for thicker pours.
Can I color UV resin?
Yes, you can color UV resin with resin-safe pigments, mica powder, or suitable inks. Use only a small amount because too much color can block UV light and prevent curing.
How should I store UV resin?
Store UV resin tightly closed in a cool, dark place away from sunlight and UV lamps. Exposure to UV light can cure the resin inside the bottle.