Making UV resin jewelry pendants is beginner-friendly if you set up correctly, work in thin layers, and cure each layer fully before adding the next. For a basic pendant, choose a mold or bezel, place your decorations, add UV resin slowly, pop bubbles, then cure under a UV lamp until hard. Finish by adding a top coat, attaching findings, and checking that the piece is smooth, clear, and not sticky. The keys to success are dry inclusions, a strong enough lamp, and patience with layering. If something goes wrong, most issues, like bubbles, tackiness, or shifting decorations, can be fixed before the pendant is finished.
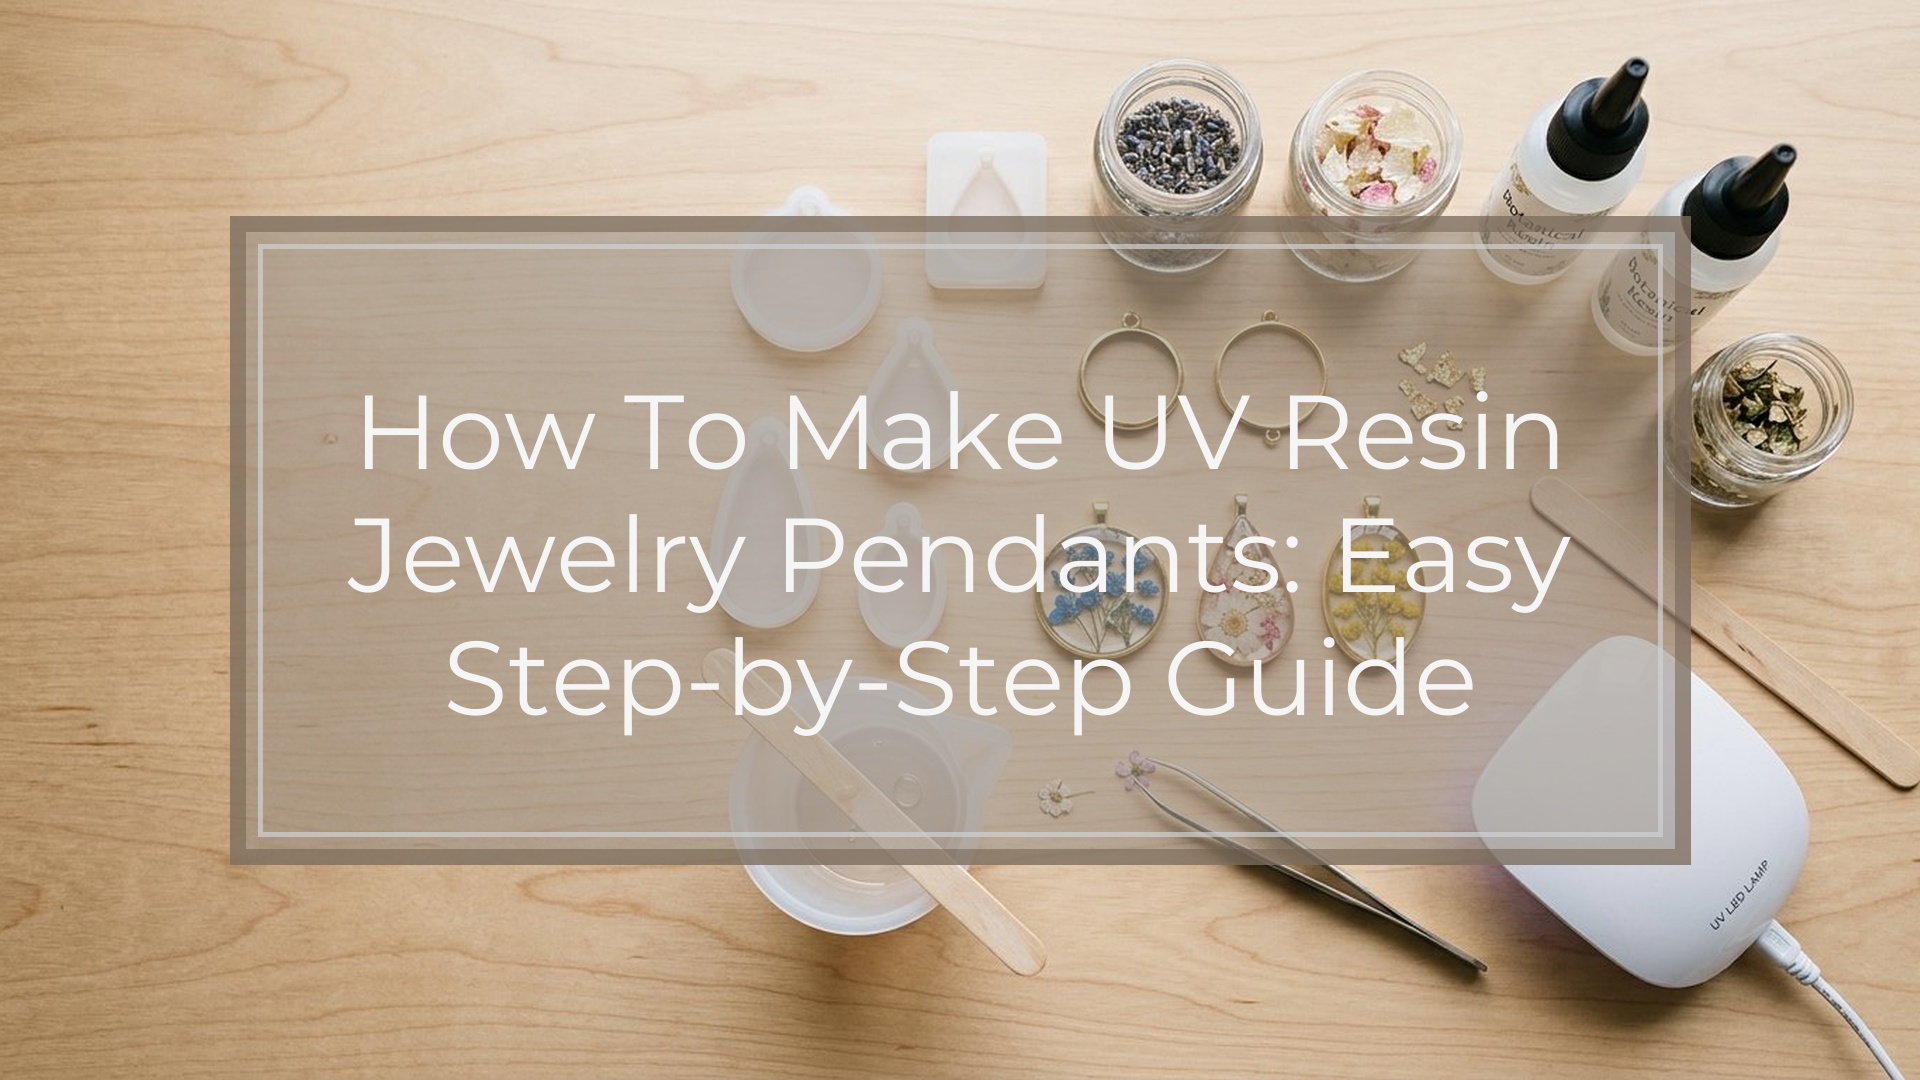
What You Need Before You Start
Gather everything before opening the resin. UV resin cures quickly under the right light, so you do not want to stop midway to hunt for a jump ring or toothpick.
You will need:
- UV resin made for jewelry
- A UV lamp, usually 36W or higher for reliable curing
- Silicone pendant molds or open bezels
- Packing tape or resin tape if you use open bezels
- Dried flowers, glitter, foil, stickers, charms, or pigment
- Tweezers for placing small items
- Toothpicks or a silicone stir stick
- Small scissors for trimming inclusions
- Sanding pads or fine grit sandpaper
- Jewelry findings such as jump rings, bails, and chains
- Rubbing alcohol or lint-free wipes for cleanup
- Nitrile gloves and a protected work surface
Your workspace matters too. Work on a flat table in a dust-free room with decent airflow. Keep the resin out of direct sunlight, because natural UV can start curing it before you are ready. If you are using dried flowers, paper, or wood pieces, make sure they are fully dry. Trapped moisture can cause cloudiness, bubbles, or poor curing.
Before you begin, decide which style you are making:
- Mold pendant: easiest for beginners, since the shape is built in
- Open bezel pendant: great for framed designs, but you must seal the back first
One practical warning: do not pour a thick, deep blob of UV resin all at once. UV resin cures best in thinner layers, especially if the pendant includes opaque pigment or lots of decorations.
Step 1
1. Prep the Mold or Bezel
Place your mold on a level surface. If you are using an open bezel, press the bezel firmly onto clear tape or resin tape so the bottom is fully sealed. Run a finger around the edges to prevent leaks.
Check from the side before pouring. If the bezel is tilted, the resin will cure unevenly and may collect thicker on one edge.
2. Plan the Design First
Lay out your decorations dry before adding resin. Test where the flower, glitter, foil, or charm will sit. This saves you from fishing items out of wet resin later.
Trim dried flowers or paper pieces so they fit comfortably inside the mold or bezel. If a flower petal sticks up above the surface, it can trap air or leave a rough top that needs extra coating.
3. Pour a Thin Base Layer
Add a small amount of UV resin to the bottom, just enough to coat the surface. Use a toothpick to spread it into corners. This base layer helps hold your inclusions in place.
Pop visible bubbles by nudging them with a toothpick. You can also let the resin sit for a minute so tiny bubbles rise. If your lamp tends to heat resin quickly, avoid overfilling now. A thin first layer cures more evenly.
4. Cure the Base Briefly
Cure the base layer under the UV lamp just until it is set enough to support decorations. This often takes 30 to 90 seconds, depending on the resin brand, lamp strength, and layer thickness.
Do not aim for a fully finished cure yet. You just want a stable layer so flowers, glitter, or charms do not sink or drift when you add more resin.
Step 2
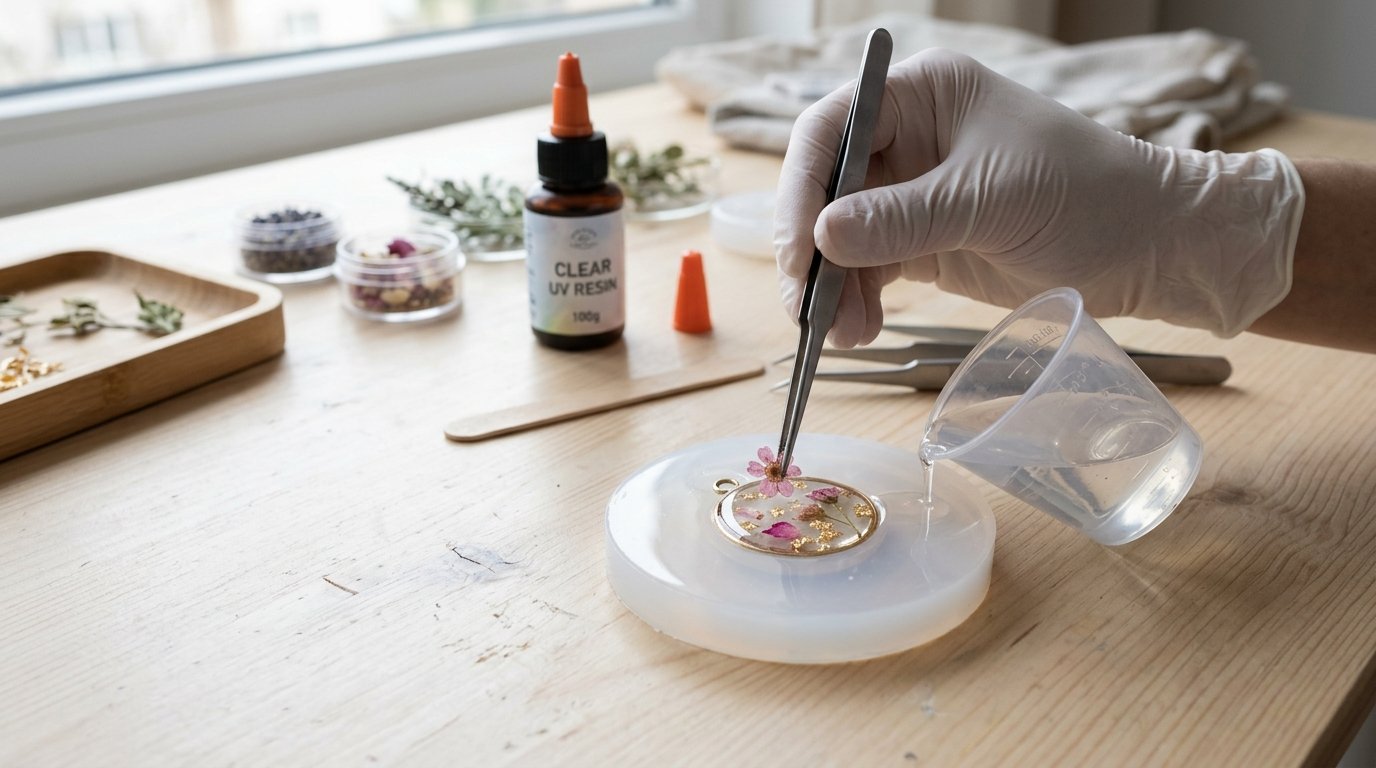
5. Add Inclusions and Build the Pendant in Layers
Place your decorations onto the partially cured base using tweezers. Press them down gently so they sit flat. If you are using glitter or foil, sprinkle lightly rather than dumping it in one spot.
Now add more UV resin in another thin layer. Cover the inclusions, guide the resin to the edges, and check for trapped air under petals, stickers, or charms. Use a toothpick to lift bubbles out from tight corners.
Caution: if you pour too much resin in one layer, the top may harden while the inside stays soft. Thick pours are a common reason pendants feel cured but later bend or stay gummy.
If your design is deep, repeat the process: add a little resin, cure, then add another layer. This staged method is slower, but it gives clearer, stronger results.
6. Do the Final Cure and Seal the Surface
Once the pendant is filled to the height you want, cure it fully under the lamp. Rotate the piece if needed so all sides get even exposure. For a mold, you may need to demold after the first full cure and then cure the back for extra insurance. For an open bezel, cure from the top, then carefully peel off the tape and inspect the underside.
If the top looks slightly uneven, add a final doming coat. Spread a small amount of resin across the surface and guide it close to the edge without letting it spill over. Cure again until hard.
This is also the stage to fix small surface flaws. If you see a dip, add a drop of resin. If you see dust, remove it with tweezers before curing.
7. Finish and Attach Hardware
Remove the pendant from the mold, or lift the cured bezel off the tape. If there are rough edges, sand them lightly with fine grit paper. Wipe away dust, then add a thin finishing coat if needed for shine.
Attach a bail or jump ring. Some mold shapes include a built-in hole; if yours does not, use a glue-on bail designed for jewelry. Let any adhesive cure or set fully before wearing.
Quick Fixes for Common Problems
- Sticky surface: cure longer, then add a fresh thin top coat if needed
- Cloudy look: check for moisture in flowers, paper, or resin contamination
- Bubbles around decorations: place inclusions on a tacky base layer and press gently
- Leaking bezel: reseal with fresh tape and press edges down firmly before refilling
- Shifted inclusions: cure a base layer first so pieces have something to grip
- Yellowing later: store resin and finished pieces away from heat and sun, and choose a quality low-yellowing resin
How to Check the Result
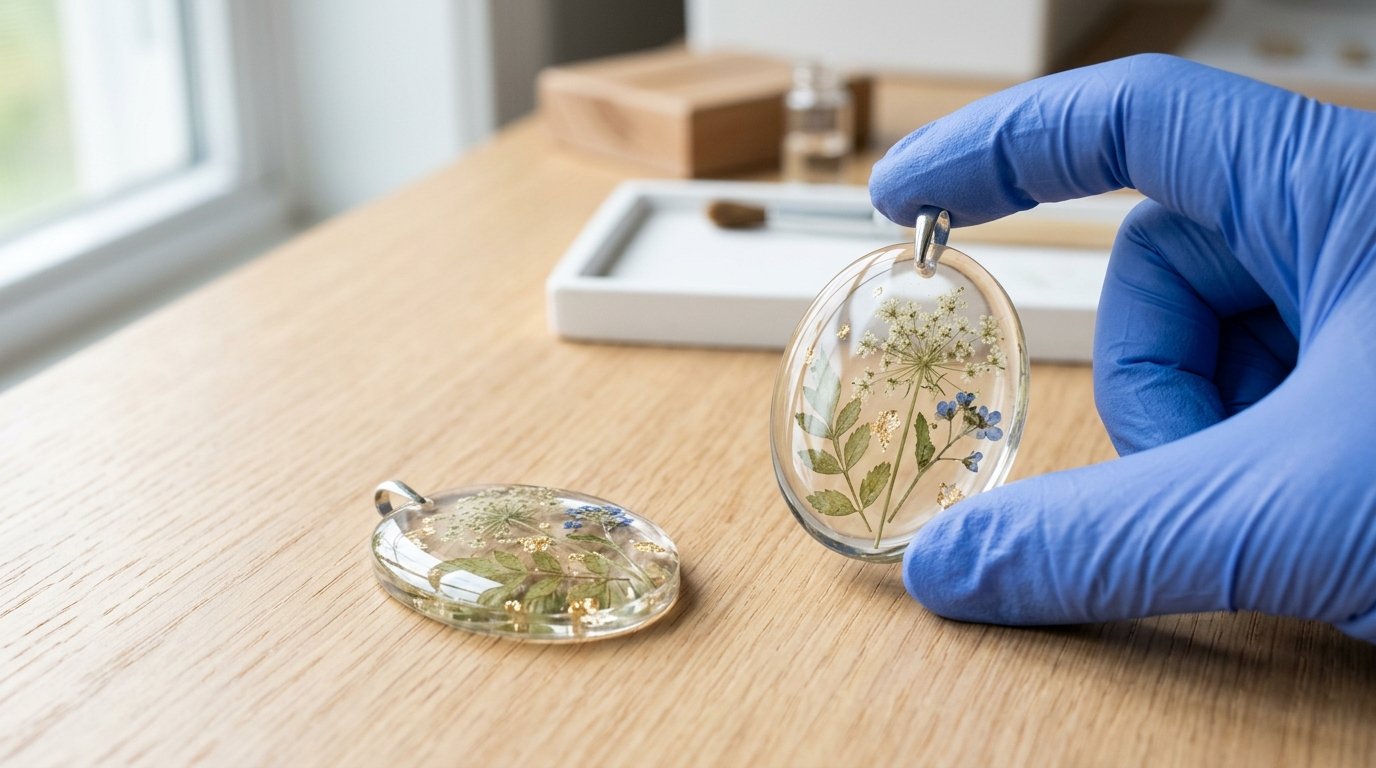
A finished UV resin pendant should feel hard, smooth, and fully set on every side. Touch the surface lightly with a gloved finger. It should not feel sticky, rubbery, or leave a fingerprint. Look across the top under bright light. A good result appears even, glossy, and free of deep dents or uncured patches.
Check these points before calling it done:
- The pendant holds its shape without bending
- Decorations are sealed inside with no loose edges sticking up
- The front and back are cured, not tacky
- There are no sharp flashing edges that could scratch skin
- The bail, hole, or jump ring connection feels secure
- Bubbles, if any, are tiny and do not weaken the design
If the piece still feels soft in the center, cure again and reassess. If the top is cured but the back is underdone, cure the back separately. If the surface is mostly good but slightly uneven, a final thin coat usually fixes it.
The pendant is ready to wear or gift when it feels solid, looks clear or intentionally designed, and has secure hardware that does not wiggle.
FAQ
How Long Does Uv Resin Take to Cure for Jewelry Pendants?
Most thin jewelry layers cure in about 30 to 120 seconds under a proper UV lamp. Full pendants usually need multiple rounds because each layer should cure separately. Dark pigments, thick pours, and dense inclusions can increase curing time.
Can I Make Uv Resin Pendants Without a Mold?
Yes. Open bezels are the most common mold-free option. Seal the back with clear tape, add resin and decorations in layers, then cure. You can also dome resin on flat blanks, but bezels are easier for beginners to control.
Why Is My Uv Resin Pendant Still Tacky After Curing?
Usually the layer was too thick, the lamp was too weak, or the resin was blocked by dark pigment or opaque inclusions. Cure longer, turn the piece, and add a thin fresh top coat if needed. Make sure your lamp matches UV resin use.
What Can I Put Inside a Uv Resin Pendant?
You can use dried flowers, glitter, foil flakes, tiny charms, sequins, stickers, mica, small shells, and printed images. Keep items small, dry, and lightweight. Bulky or wet inclusions can create bubbles, cloudiness, or uncured pockets inside the pendant.
Do I Need to Seal Dried Flowers Before Putting Them in Uv Resin?
It helps, especially for delicate or porous flowers. A thin coat of sealant can reduce bubbles, color bleed, and moisture issues. Even if you seal them, make sure the flowers are completely dry before embedding them in the resin.
How Do I Get Bubbles Out of Uv Resin Pendants?
Work in thin layers, pour slowly, and use a toothpick to drag bubbles to the surface. Let the resin sit briefly before curing. Press inclusions flat onto a partly cured base layer so air does not get trapped underneath them.