If you want resin coasters with a deliberate airy, foamy look, the trick is not to remove every bubble. Instead, you control where bubbles form, how large they get, and when to stop them from escaping. Use a casting or coaster-safe epoxy, mix accurately, let the resin rest briefly, then build the bubble effect with stirring, white pigment, layering, or a small amount of heat used selectively. Keep the bubbles inside the design area, but clear the top surface so the cured coaster still feels smooth. The best results come from planning the look first, working in small batches, and watching the cure window closely during the first 20 to 40 minutes.
What You Need Before You Start
Gather everything before you mix resin, because once epoxy is combined, your working time starts immediately.
You will need:
- Epoxy resin suitable for coasters or shallow pours
- Silicone coaster molds
- Accurate measuring cups or a digital scale if your resin uses weight ratios
- Mixing cups and stir sticks
- Nitrile gloves
- Silicone mat or protected work surface
- White pigment paste, alcohol ink, mica, or transparent tint if you want a bubble-in-water look
- Toothpicks, skewer, or silicone tool for directing bubbles
- Small spray bottle with isopropyl alcohol or a heat gun/mini torch
- Dust cover such as a box or plastic tub
- Level workspace
- Optional: UV flashlight for spotting debris, painter’s tape for mold edges, and a room thermometer
Your room matters as much as your materials. Work in a clean, dry, well-ventilated area around 72 to 78°F. Cold resin traps random bubbles and thickens too fast; very warm rooms make bubbles rise and pop before you can keep the effect.
Plan your finish before mixing. Decide whether you want:
- fine foam-like bubbles,
- larger trapped air pockets,
- a shoreline or ocean-wave bubble band,
- or scattered bubbles across a clear coaster.
Do a quick mold check too. Make sure the molds are clean, fully dry, and sitting level. Even a slight tilt will pull bubbles to one side and make the coaster thickness uneven. As a safety rule, wear gloves, protect the table, and avoid using food tools for resin projects.
Step 1
Set up, mix, and build the bubble effect in a controlled way.
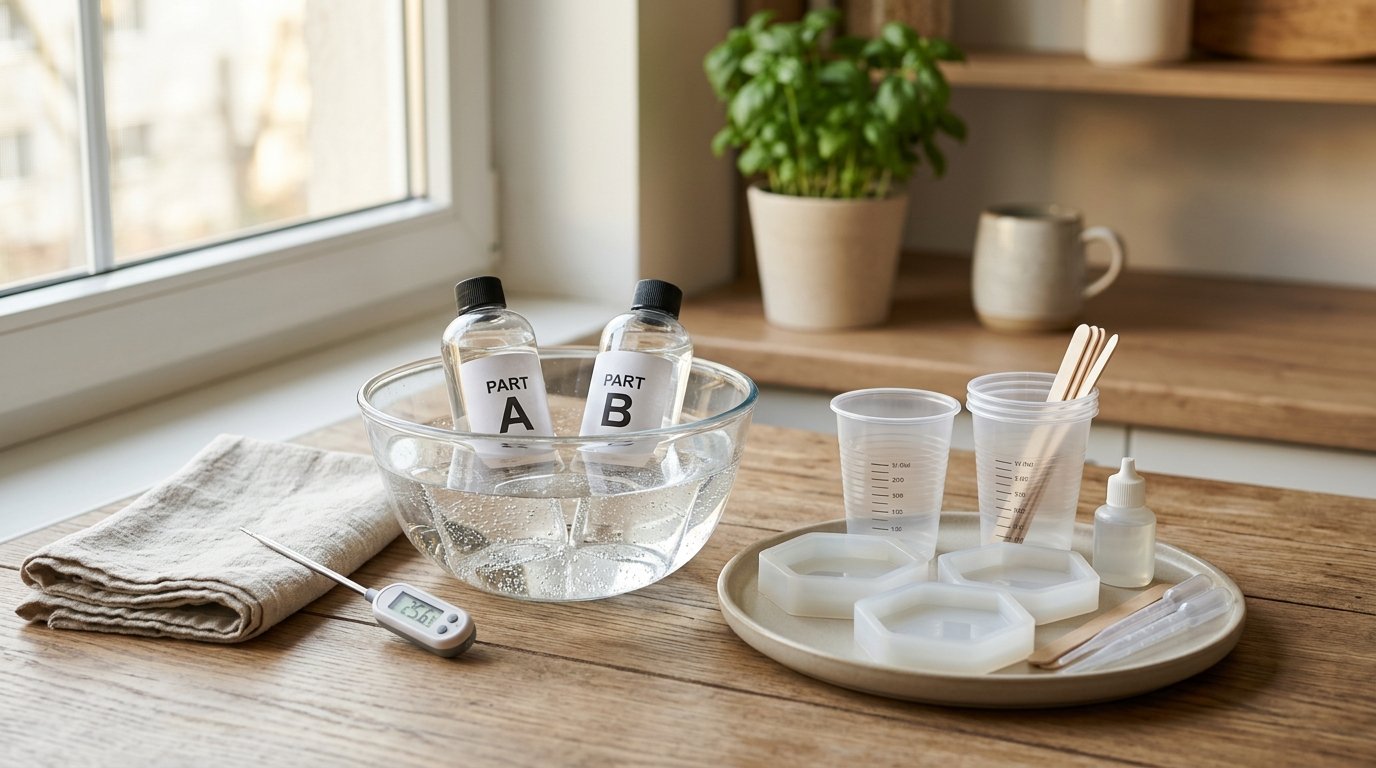
First, warm the unopened resin bottles slightly if your resin is cool. Place them in warm water for 5 to 10 minutes, then dry the bottles completely before opening. This helps the resin pour smoothly. Do not overheat it; hot resin cures faster and can yellow or crack.
Measure the resin exactly according to the manufacturer’s ratio. Pour Part A and Part B into a mixing cup and stir slowly but thoroughly for the full recommended time, usually 3 to 5 minutes. Scrape the sides and bottom. An incomplete mix can leave sticky soft spots in the coaster.
Now decide how much bubble texture you want:
For fine foam bubbles:
After the resin is fully mixed, stir one small portion a little faster than usual for 10 to 20 seconds. This intentionally introduces tiny air bubbles. Add a touch of white pigment paste to that portion and mix until the color is even.
For larger trapped bubbles:
Use a thicker portion of resin and fold it more than stir it. You can also drizzle it from slightly higher above the mold so air pockets form as it lands. Keep this controlled; too much force creates ugly cratered surfaces.
For ocean-style bubble bands:
Pour a clear or tinted base layer first. Then add a white-pigmented portion in a curved line where you want the “wave” or foam edge. Use a stick or gloved fingertip tool to nudge the line into place.
Fill the mold only to the level the mold is designed for. Overfilling increases surface doming and lets bubbles escape unevenly.
Caution: do not torch the whole piece immediately if your goal is to keep internal bubbles. A broad early pass with heat can erase the effect before the resin starts to thicken enough to hold it.
Step 2
Shape the bubbles, clean the surface, and cure the coaster without losing the look.
Once the resin is in the mold, wait 3 to 8 minutes and watch how the bubbles behave. Tiny bubbles will usually start rising on their own. Your job is to remove only the distracting surface bubbles while keeping the decorative ones inside the design.
If you want a soft foamy texture, lightly drag a toothpick through the white section in short arcs or wisps. This stretches the pigmented resin and traps microbubbles in natural-looking clusters. For larger air pockets, gently tap the side of the mold once or twice, then stop. Too much tapping releases the very bubbles you wanted to keep.
Now clear the top surface selectively:
- Use a quick pass of a heat gun held high above the mold, or
- Mist a very small amount of isopropyl alcohol on the top only.
Focus on obvious surface domes and pinhole bubbles that would cure into rough spots. Avoid lingering in one area. Too much heat can flatten your foam effect, distort the edge, or push pigment outward in muddy streaks.
As the resin begins to thicken, usually within 10 to 25 minutes depending on the formula, check the coaster again. If the bubbles are disappearing, add a tiny fresh line of pigmented resin and swirl it minimally. If the bubbles are getting too big, stop touching the piece and let it settle.
Cover the mold to keep out dust and leave it on a level surface for the full cure time. Most coaster resins need 12 to 24 hours before demolding and up to 72 hours for a harder final cure. Do not move the mold during the first hour; motion shifts bubble placement and can create sloped edges.
If you want extra durability, demold after the initial cure, inspect the underside, and add a thin clear sealing coat only if the design surface cured too textured. Keep that final coat thin so it smooths the coaster without burying the bubble look.
How to Check the Result
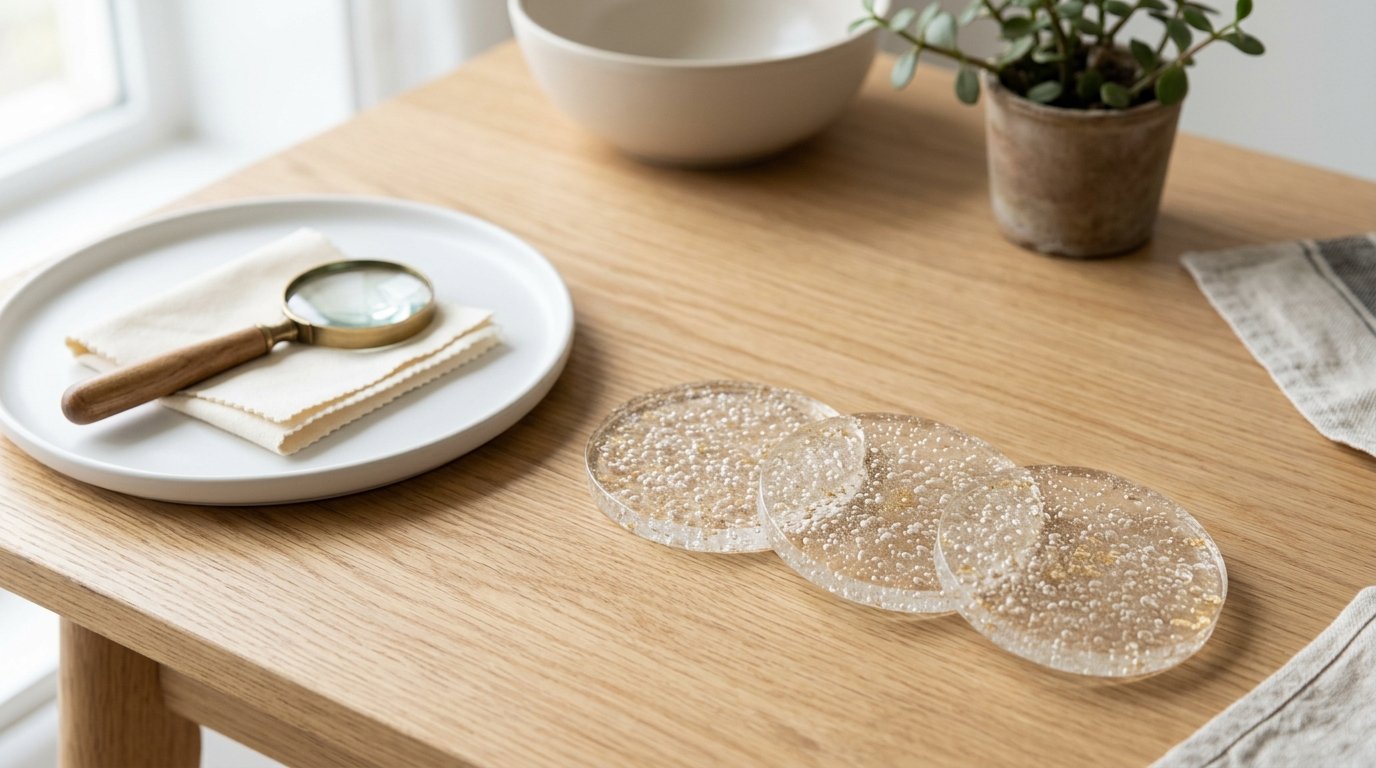
A successful air bubbles coaster should look intentional, not accidental.
Check these points after demolding:
- The bubble pattern matches the design area. Bubbles should appear where you planned them, such as a wave line, a cloudy band, or scattered pockets.
- The top feels mostly smooth. You may see bubbles inside the resin, but the surface should not feel prickly, sharp, or cratered.
- The cure is firm. Press the center and edge lightly with a fingernail. It should feel hard, not rubbery or tacky.
- The coaster sits flat. Place it on a table. It should not rock.
- The edge is clean. Slight flashing can be trimmed, but the rim should not be heavily warped from overfilling or overheating.
- The white or tinted areas stay distinct. Muddy color usually means too much mixing after pouring or too much heat.
If something went wrong, match the problem to the likely cause. A rough top usually means you kept too many surface bubbles. No visible bubble effect often means the resin was too warm, too thin, or over-heated. Sticky spots point to inaccurate measuring or incomplete mixing. Large hollow voids usually come from aggressive stirring or pouring too forcefully into a shallow mold.
Your coaster is ready to use once it reaches the manufacturer’s full cure time and no longer feels flexible.
FAQ
Can You Make Bubble Effect Resin Coasters Without Ruining the Cure?
Yes, if you keep the resin ratio exact and mix thoroughly first. The bubble effect should come from controlled stirring, layering, or pigment placement, not from under-mixing. You can keep decorative internal bubbles while still removing rough surface bubbles.
What Resin Works Best for Air Bubbles Coasters?
A clear epoxy made for coasters or shallow casting works best. It should have enough working time to let you place bubbles before the resin thickens. Very thin fast-curing resin often lets bubbles rise and disappear too quickly for this effect.
How Do I Keep Some Bubbles but Remove Ugly Surface Ones?
Let the poured resin sit briefly, then use heat or alcohol only on the top surface and only in short passes. Avoid heating the entire piece for too long. That clears the rough surface bubbles while leaving many internal design bubbles in place.
Why Did My Bubbles Disappear Before the Resin Cured?
Usually the resin was too warm, too thin, or hit with too much heat early on. In a warm room, bubbles rise and pop fast. Work in smaller batches, use less heat, and create the bubble effect closer to the point when resin begins to thicken.
Can I Use White Pigment to Make Ocean-style Bubble Coasters?
Yes. White pigment paste is one of the easiest ways to make ocean-style bubble coasters because it highlights tiny air pockets and creates visible foam lines. Use a small amount, place it over a clear or blue base, and swirl gently rather than overmixing.