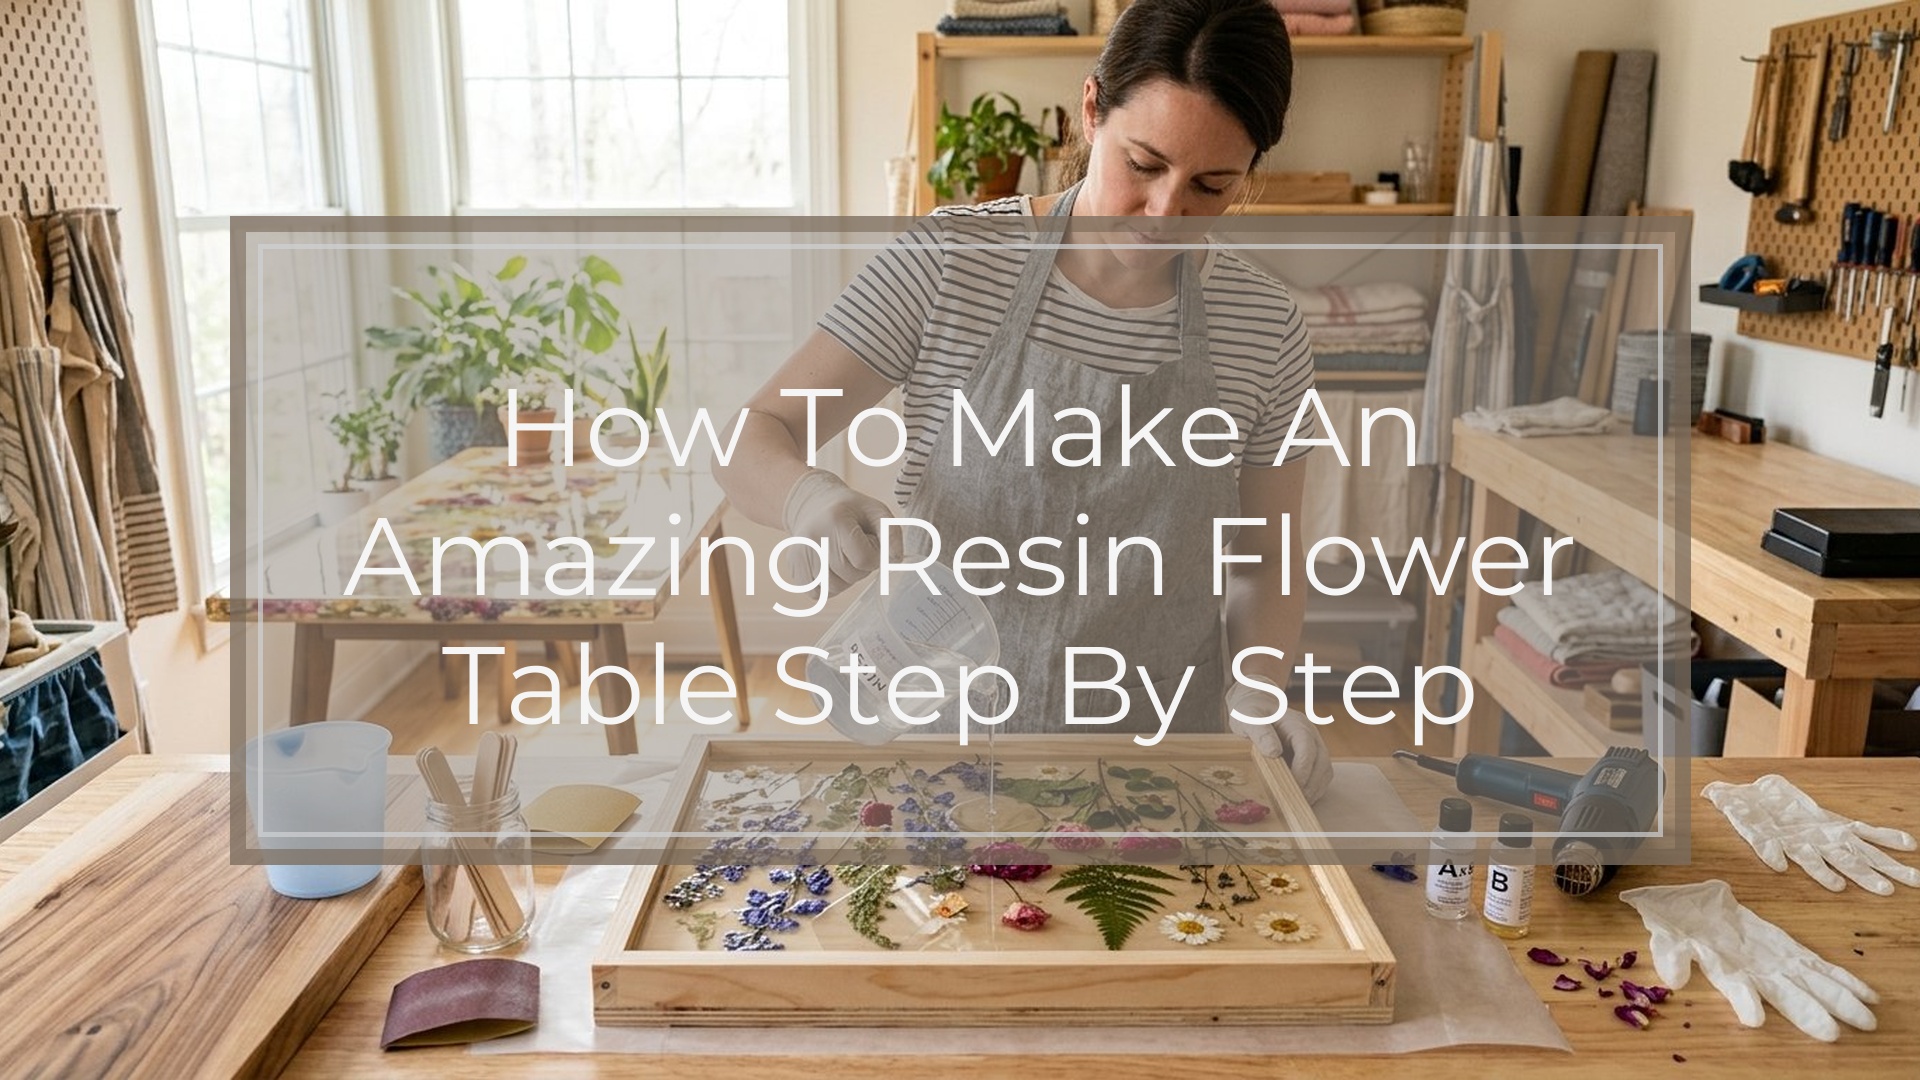
To make an amazing flower resin table, use fully dried and sealed flowers, a leak-proof mold or recessed tabletop, and a casting epoxy made for the depth you plan to pour. Arrange the flowers before mixing, pour a thin base layer, and place the flowers when that layer becomes tacky so they do not float. Then build the table in controlled layers, staying within the resin maker’s maximum pour depth. After full cure, sand, polish, and finish the surface. Most failures come from wet flowers, wrong mix ratios, dust, overheating, or moving the piece too soon. If you work in stages and check each layer before continuing, you can make a clear, durable resin table with flowers suspended neatly inside.
What You Need Before You Start
Good prep decides whether this project looks professional or turns cloudy, soft, or full of bubbles. Gather everything before mixing.
You will need:
- A base or mold
- Wood slab with a routed recess
- Melamine mold
- Leak-proof tabletop frame
- Casting epoxy resin and matching hardener
- Choose a deep-pour or table casting epoxy, not a thin craft coating resin
- Dried flowers and foliage
- Pressed flowers for flat designs
- Silica-dried blooms for more dimension
- Sealant for flowers
- Clear acrylic spray, Mod Podge, or a very thin seal coat of resin
- Mixing and placement tools
- Graduated buckets
- Stir sticks
- Digital scale if your product is mixed by weight
- Tweezers
- Toothpicks or silicone tools
- Surface prep and finishing supplies
- Sandpaper from coarse to fine grit
- Orbital sander or sanding block
- Vacuum or tack cloth
- Polishing compound or final topcoat
- Safety gear
- Nitrile gloves
- Eye protection
- Respirator if your resin label requires it
Set up the workspace too:
- Keep the room at the resin manufacturer’s recommended temperature, often 70 to 75°F
- Work on a level, dust-controlled surface
- Make sure the flowers are completely dry
- Read the mix ratio, working time, and max pour depth before starting
Important caution: Never guess the resin ratio or pour thickness. Soft spots, yellowing, and overheating usually start there.
Step 1
Prepare the Base, Flowers, and Layout
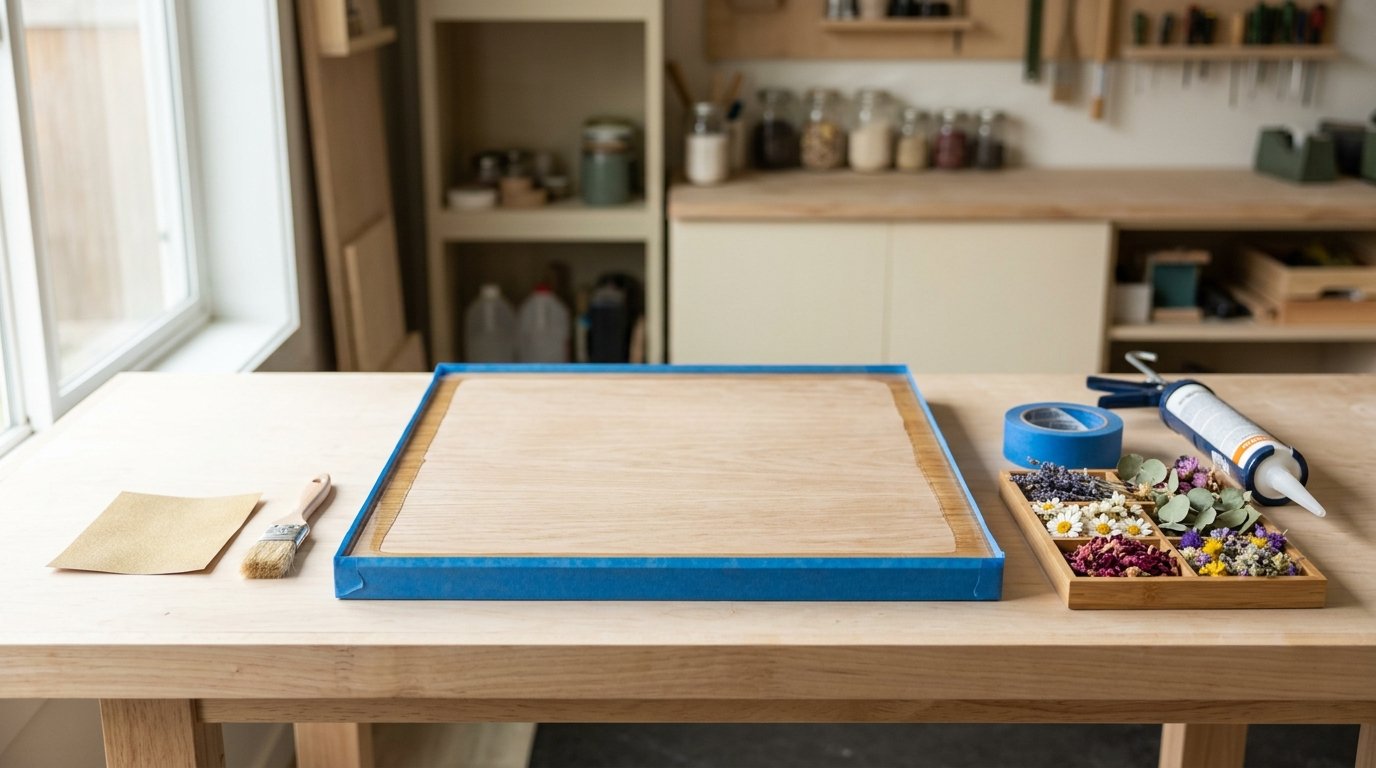
Start with a stable, sealed form. If you are using wood, sand it flat, remove dust, and seal porous edges with a thin coat of epoxy or wood sealer. If you are using a mold, tape and caulk every seam. Check for leaks before pouring resin, then dry the form completely.
Next, prepare the flowers. Avoid fresh flowers for this project. Moisture inside petals causes browning, haze, and bubbles. Use flowers that are:
- Pressed for a flat botanical look
- Silica dried for fuller blooms
- Air dried only if they are thin and crisp
Seal delicate flowers in light coats on both sides and let them dry fully. This helps reduce escaping air and color shift.
Before mixing resin, build the full design dry:
- Place the largest flowers first
- Fill gaps with smaller blooms and leaves
- Check spacing from several angles
- Take a photo so you can recreate the layout quickly
If you want visible depth, plan the flowers in layers instead of one flat arrangement.
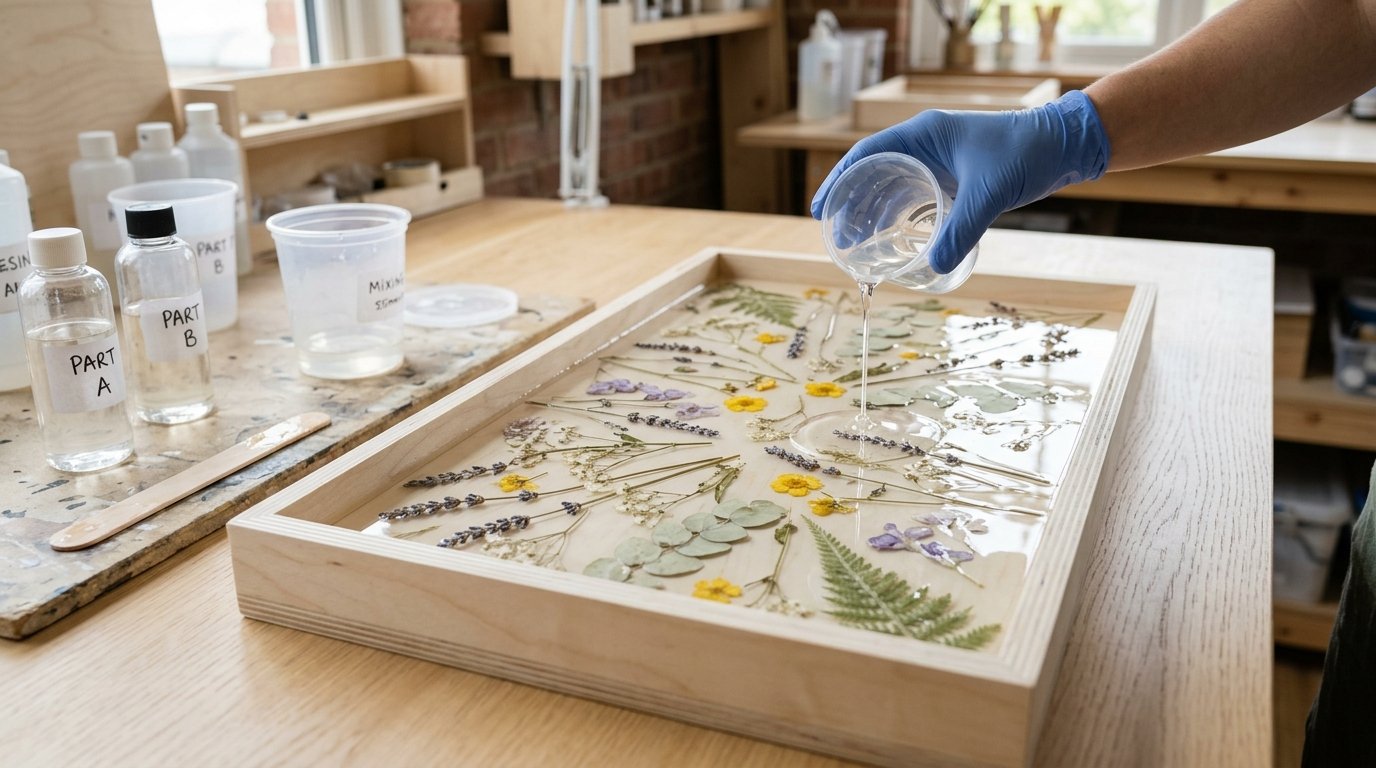
Pour a Base Layer and Lock the Flowers in Place
Mix a small batch of resin exactly as directed, scraping the sides and bottom of the container as you stir. Pour a thin base layer into the mold or recess. Pass a heat gun or torch lightly over the surface to release bubbles.
Wait until the resin reaches a tacky or gel stage, then place the flowers with tweezers. Press them gently into the surface and guide trapped air out from under petals with a toothpick. For thicker blooms, brush or dab a little resin over the top to hold them down.
Caution: Too much heat can scorch petals and ripple the resin. Use quick passes, not prolonged blasting.
If something goes wrong:
- Flowers float: wait for the resin to thicken more before resetting them
- Bubbles sit under petals: lift the edge slightly and work resin underneath
- Flowers darken fast: they were likely under-dried or unsealed
Step 2
Build the Table in Layers, Then Cure and Finish
Once the flowers are anchored, continue with controlled pours instead of filling the whole table at once. Follow the product’s maximum single-pour depth. That is what prevents overheating, cracking, and yellowing.
For each layer:
- Measure and mix accurately
- Pour slowly to avoid trapping air
- Remove surface bubbles with gentle heat
- Cover the project to keep out dust
- Add the next layer within the recoat window if possible
If you are embedding thicker flowers or creating a deep clear top, inspect again after 15 to 30 minutes. New bubbles often rise late from flower centers and leaf veins.
Common problems while pouring:
- Resin gets too hot: the layer is too deep, the room is too warm, or the batch is too large
- Cloudy resin: moisture, cold conditions, or poor mixing can cause it
- Visible layer lines: the earlier layer cured too far before recoating
- Dust on the surface: the project was left uncovered
- Flowers drift upward: they needed a better lock layer first
Important caution: Do not exceed the manufacturer’s maximum pour depth to save time. Deep epoxy can overheat and ruin both the flowers and the mold.
Let It Cure, Then Sand and Polish
After the final pour, leave the table flat and untouched during early cure. Many resins feel firm in a day or two, but full cure usually takes several days. Follow the label, not guesswork.
When fully cured, remove the mold or containment edges and inspect the surface. If it is not perfectly flat, sand it level. Start with the coarsest grit needed, then move through finer grits until the scratches are gone. For many projects, a progression such as 120, 220, 400, 800, 1500, and 3000 works well. Finish with polishing compound or a final topcoat for a glassy surface.
Also smooth the edges. Sharp resin lips chip easily in daily use.
How to Check the Result
A finished resin flower table should pass both a visual check and a use check.
Look for these signs of success:
- The surface is flat and level
- The resin is clear, not milky or hazy
- The flowers are fully embedded and not floating
- The top feels hard, not rubbery or tacky
- The edges are smooth and safe to touch
- The layout looks balanced and intentional
Do a final check before regular use:
- Leave the table in a warm room for a few hours
- Press lightly on a hidden area
- Wipe the top with a soft cloth
- Set a light object on it briefly
If the table stays hard, clear, and stable, it is ready. If you notice tackiness, strong uncured odor, new dents, or cloudy spots, give it more cure time or correct the finish before use.
FAQ
Can You Use Fresh Flowers in a Resin Table?
You can, but it usually causes trouble. Fresh flowers hold moisture, which leads to browning, bubbles, and cloudy resin. Dry them first, then seal them before embedding.
What Is the Best Resin for a Flower Table?
A casting epoxy resin rated for deeper pours is usually best. It cures more slowly and generates less heat than a thin coating resin, which makes it safer for thicker tabletop builds.
How Do You Stop Flowers from Floating in Resin?
Set them into a tacky base layer first, then add a light lock coat before deeper pours. Flowers usually float when they are placed into fully liquid resin too early.
Why Did My Flowers Turn Brown in Resin?
The most common causes are moisture left in the flowers, lack of sealing, or overheating from too much torch heat. Light flowers are especially prone to color change.
How Long Should a Resin Flower Table Cure Before Use?
Most flower resin tables need several days before normal use, even if they feel hard sooner. Wait for the manufacturer’s full-cure time before placing heavy items on the surface.