For a clean, even epoxy pour, first set up a warm, dust-free workspace and confirm your resin’s mix ratio and working time. Measure resin and hardener exactly, mix them thoroughly, then divide into cups for color. Add resin-safe pigment in very small amounts and stir until the shade is uniform with no streaks. Let the mixed resin sit briefly so larger bubbles can rise, then pour in a thin stream. Pop surface bubbles with a heat gun or torch using quick passes only. Before curing, check that the color looks even, the surface is mostly bubble-free, and no unmixed resin clings to the cup walls. Accurate measuring, gentle mixing, and controlled heat do more for clarity than aggressive bubble chasing.
What You Need Before You Start
Gather everything before you open the bottles. Epoxy has a limited working time, so stopping mid-mix usually creates more bubbles and measuring mistakes.
You need:
- A casting or coating epoxy suited to your project
- The product instructions for mix ratio, pot life, and ideal temperature
- Graduated mixing cups
- Stir sticks with flat edges
- A digital scale if your resin is measured by weight
- Small cups for splitting and tinting colors
- Resin-safe pigments such as mica powder, liquid epoxy dye, or resin paste
- Nitrile gloves, apron, and silicone mat or plastic-covered table
- Heat gun or small butane torch
- Toothpicks or a silicone tool for spot bubble removal
- Dust cover, box, or tote to protect the cure
Keep the room around 72 to 78°F (22 to 26°C) unless your resin label says otherwise. Cold resin traps bubbles and mixes poorly. If your bottles are cool, stand them closed in warm water for 10 to 15 minutes, then dry them fully before opening.
Caution: do not guess ratios, swap random colorants into epoxy, or use a torch over flammable items. Also check whether your mold, tray, or bezel is level before mixing; a tilted piece makes even perfect resin look wrong.
Step 1
Prepare the resin, measure accurately, and mix before you add any color.
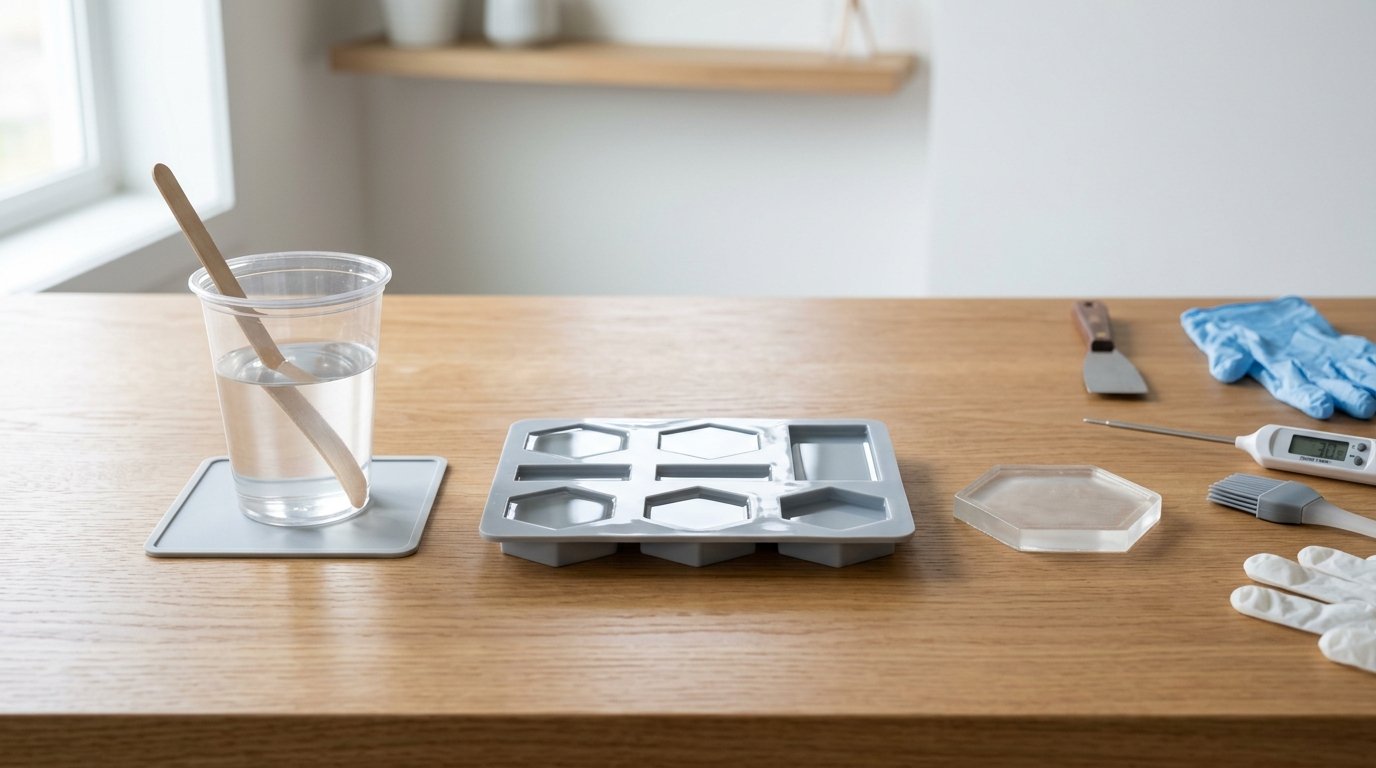
- Protect and level your workspace. Lay down a mat, put on gloves, and place your mold or piece on a flat, level surface. Set your pigments, tools, and heat source within reach.
- Warm the resin if needed. If the bottles feel cool or thick, warm the sealed containers in mildly warm water. This lowers viscosity and helps bubbles release later. Dry the bottles completely so no water drips into the resin.
- Measure resin and hardener exactly. Follow the label precisely, whether it uses volume or weight. Pour slowly to avoid whipping in air. Scrape measuring cups only if the brand allows it; some makers recommend pouring fresh rather than scraping residue.
- Mix with slow, deliberate strokes. Stir for the full time listed by the manufacturer, usually 3 to 5 minutes. Drag the stick across the bottom and sides so no unmixed material remains. Rotate the cup as you stir instead of beating the liquid.
- Transfer and mix again if clarity matters. For best results, pour the mixed resin into a second clean cup and stir for another 30 to 60 seconds. This “double-cup” method reduces sticky spots caused by unmixed resin stuck to the first cup wall.
- Divide for color only after the base mix is uniform. If you want multiple shades, split the clear mixed resin into smaller cups now.
A good mix at this stage should look consistent, not cloudy with streaks of separate parts. You will still see bubbles, but they should be small and scattered, not frothy.
Step 2
Add color in controlled amounts, pour carefully, and remove bubbles with the least heat needed.
- Start with a tiny amount of pigment. For mica, begin with a small scoop or the tip of a craft stick. For liquid dye, start with one drop at a time. For paste pigment, use a small dab. Stir fully before adding more.
- Match the pigment type to the effect you want. Use liquid epoxy dye for transparent color, mica for shimmer and opaque coverage, and resin paste for bold opaque tones. If you need several colors, tint each cup separately rather than trying to correct one overloaded batch.
- Stir until the color is completely even. Scrape the sides and bottom again. Look for hidden streaks, dark specks of mica, or ribbons of concentrated dye. If the shade is too light, add a little more pigment and mix again. If it is too dark, dilute with more clear mixed resin instead of adding hardener or resin separately.
- Pause briefly before pouring. Let the cup sit for 1 to 3 minutes so larger bubbles can rise. Do not wait so long that the resin thickens past its working time.
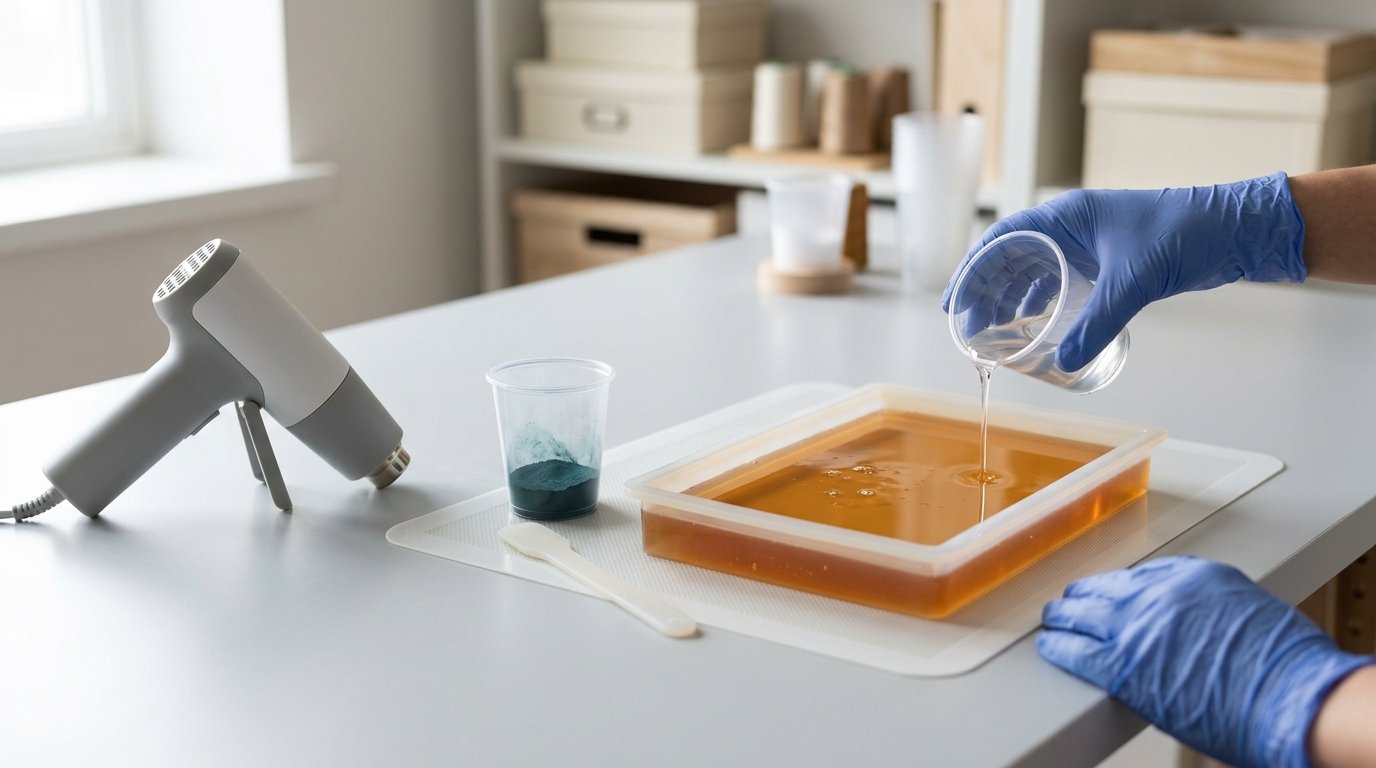
- Pour in a thin stream. A narrow stream helps break some bubbles on the way down. For molds with corners, pour into one spot and let the resin flow outward, then guide it with a stick instead of sloshing it around.
- Use heat sparingly to pop surface bubbles. Sweep a heat gun or torch quickly across the top. Keep it moving. One or two light passes are usually enough, then wait a few seconds and inspect again.
Caution: too much pigment can weaken cure, and too much heat can scorch the surface, create ripples, yellow the resin, or damage silicone molds. If you see bubbles returning, the resin may be releasing trapped air from the mold, additives, or a textured surface. Pop only the surface bubbles you can see; do not keep blasting the piece.
If problems appear, correct them fast:
- Foamy top after stirring: you mixed too aggressively; let it rest briefly, then use light heat.
- Pigment clumps: crush and stir longer, or choose a finer pigment next time.
- Microbubbles in thick pours: warm the resin slightly before mixing and pour in thinner layers if your product allows.
- Cloudy color: the pigment load is too high or not fully dispersed.
How to Check the Result
Check your work in three moments: right after mixing, right after pouring, and during early cure.
After mixing: the resin should look fully combined, with no oily swirls, cloudy ribbons, or sticky-looking streaks on the cup wall. The color should appear even from top to bottom.
After pouring: inspect from above and from the side under good light. Surface bubbles should be minimal and easy to spot. Corners and edges should not hold pale streaks, pigment clumps, or dry gaps. If you see a trapped bubble in a corner, lift it with a toothpick and pass heat lightly again.
During the first 15 to 30 minutes: recheck once or twice if your resin’s pot life allows it. Some bubbles rise late, especially in molds, wood, glitter mixes, and thicker pours. Remove only visible surface bubbles.
A successful result usually looks like this:
- Smooth, even color with no marbling unless intended
- No obvious surface craters or foam
- Clean edges without sticky unmixed spots
- A level surface with consistent gloss
After full cure, press a fingernail lightly in an inconspicuous area. Properly cured resin should feel hard for its formula, not rubbery, tacky, or wet. If the surface is clear, even, and firm, your color mixing and defoaming process worked.
FAQ
How Much Pigment Can I Add to Epoxy Resin Without Causing Problems?
Use the smallest amount that gives the effect you want. Many makers stay around 1% to 6% pigment by weight, depending on pigment type. Check your brand’s limit. Overloading pigment can slow cure, cause softness, or make the finish cloudy.
Why Does My Resin Still Have Tiny Bubbles After Mixing Slowly?
Slow mixing helps, but cold resin, textured molds, wood, glitter, and thick pours still trap air. Warm the sealed bottles first, mix thoroughly, let the cup rest briefly, pour in a thin stream, and use light heat only on surface bubbles.
Is a Heat Gun or Torch Better for Removing Epoxy Resin Bubbles?
A torch pops surface bubbles fast and works well on open, flat pours. A heat gun is gentler and safer around some molds, cups, and detailed pieces. Use whichever you can control best, and keep it moving to avoid scorching.
Can I Use Acrylic Paint, Food Coloring, or Alcohol Ink to Color Epoxy Resin?
Use resin-safe colorants first. Small amounts of acrylic paint or alcohol ink may work in some projects, but they can change cure, opacity, or stability. Avoid water-based food coloring. If you experiment, test a tiny batch before coloring a full pour.
Why Did My Colored Resin Cure Soft or Sticky?
The most common causes are bad measuring, incomplete mixing, too much pigment, or using a non-compatible colorant. Cold temperatures can worsen the issue. Measure exactly, mix the full time, keep pigment low, and cure the piece within the temperature range on the label.