If you want to stop epoxy resin layers from separating, focus on three things: clean surfaces, correct timing, and controlled cleanup. Measure resin accurately, mix thoroughly, pour within the product’s working time, and recoat during the manufacturer’s recoat window when possible. If the first layer is already fully cured, wash off any amine blush, sand for tooth, remove dust, and then apply the next coat. For cleanup, wipe uncured resin quickly with paper towels, then use isopropyl alcohol on tools and hard surfaces if your resin maker allows it. Do not pour leftover resin or solvents down the drain. When a layer has already lifted or peeled, remove weak material, sand the edges, clean again, and recoat only after the surface is sound.
What You Need Before You Start
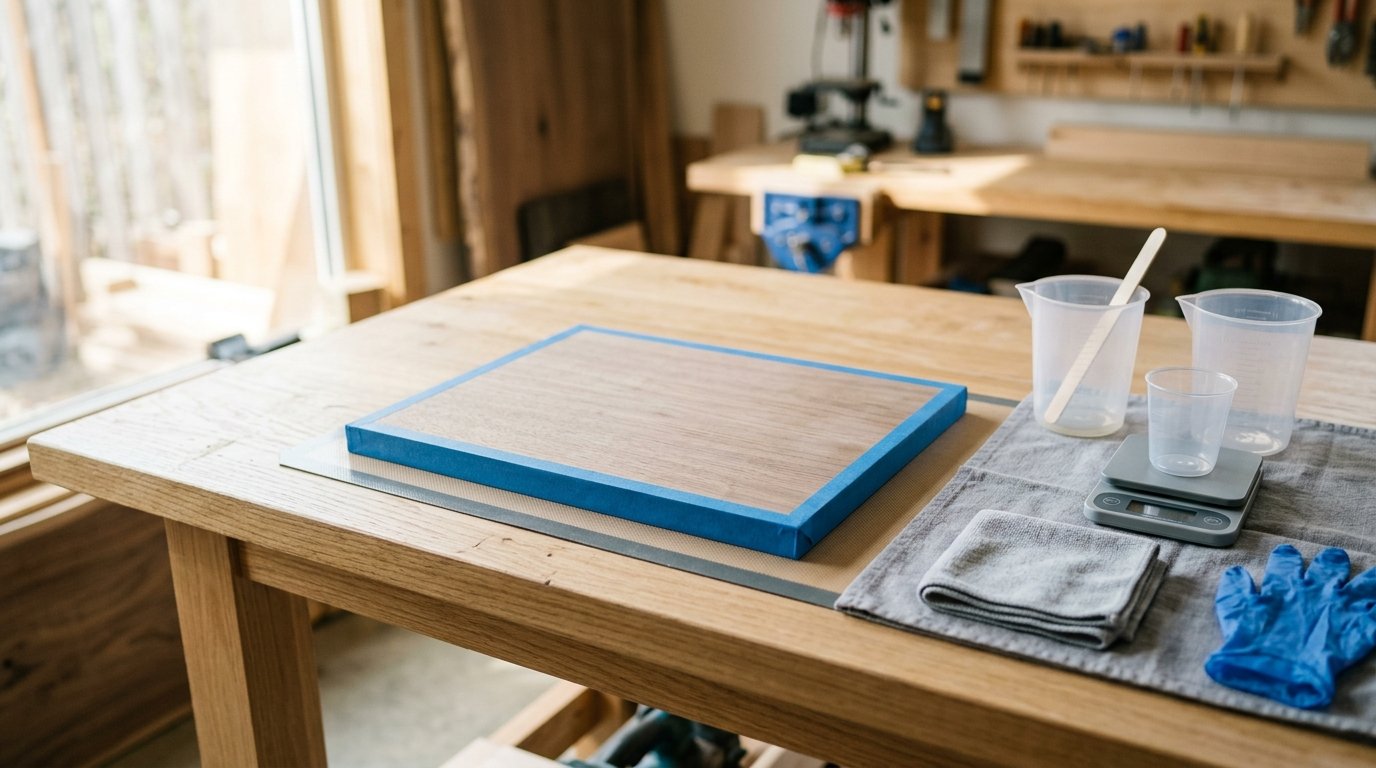
Gather everything first so you are not rushing once the resin clock starts.
Materials
- Epoxy resin and hardener from the same system
- Clean mixing cups
- Stir sticks
- Nitrile gloves
- Paper towels
- Plastic spreader or silicone tool
- Painter’s tape
- 120- to 220-grit sandpaper
- Lint-free cloths
- Vacuum or soft brush for dust
- Isopropyl alcohol, if approved by the resin manufacturer
- Mild soap and water for blush removal
- Trash bag or metal-lined waste container for messy towels
Recommended conditions
- Stable room temperature, usually in the range listed on your resin label
- Low humidity if possible
- Level work surface
- Good ventilation
- Dust control while curing
Before you pour
- Read the mix ratio exactly as printed
- Check the resin’s pot life and recoat window
- Confirm the substrate is dry, clean, and not oily
- Test on a scrap piece if you are coating wood, paint, or a sealed artwork surface
Common causes of delamination to prevent upfront
- Wrong resin-to-hardener ratio
- Incomplete mixing
- Pouring over wax, oil, silicone, dust, or moisture
- Waiting too long between coats without sanding
- Pouring too thick and trapping heat
Safety caution: Wear gloves and keep solvent use minimal. Cleanup is easier when resin is still wet, but skin contact is never part of the process.
Step 1
Prepare the surface and plan the pour so each layer has the best chance to bond.
- Inspect the base. Look for grease, fingerprints, sanding residue, old tape adhesive, and moisture. Resin sticks poorly to contamination, even when the surface looks clean.
- Wash or wipe correctly. If the piece has cured resin already on it, first check for amine blush. This can feel waxy or cloudy. Wash it with mild soap and water, then dry completely. Do not sand blush into the surface.
- Sand when needed. If you are recoating inside the manufacturer’s recoat window, you may not need sanding. If the layer is fully cured, scuff it with 120- to 220-grit sandpaper until the gloss is evenly dulled. Sand edges where peeling started until no loose material remains.
- Remove all dust. Vacuum or brush away sanding dust, then wipe with a lint-free cloth. If your resin brand permits alcohol, use a light final wipe and let it evaporate fully. A dusty surface is one of the fastest ways to get weak bonding.
- Measure and mix carefully. Pour resin and hardener exactly by volume or weight as instructed. Stir slowly but thoroughly, scraping sides and bottom for the full recommended time. If your product requires a second cup mix, do it.
- Set up for drips and errors. Tape edges if needed, place your project on risers, and keep towels nearby for immediate cleanup.
Caution: Do not guess the mix ratio or shorten the mixing time to save minutes. Many “mystery” peeling and sticky spots start right there, not at the surface.
Step 2
Apply the resin in controlled layers and clean up mistakes before they turn into repairs.
- Pour within working time. After mixing, spread the resin promptly. Leaving a large batch sitting in the cup can overheat it, shorten pot life, and affect cure quality.
- Use thin, even coats. Spread the resin with a spreader or gloved hand if appropriate for your project. Follow the depth limit on the label. Thin, even coats bond more predictably than one heavy flood coat.
- Respect the recoat window. If you plan a second layer, apply it when the first is at the proper stage listed by the manufacturer. This often gives the strongest bond with the least prep. If you miss that window and the coat cures hard, go back to washing, sanding, and dust removal before recoating.
- Watch for early defects. In the first 15 to 30 minutes, check for dry spots, fisheyes, crawling, and edge pullback. These often signal contamination. If you catch them early, you may be able to wipe back the area and correct the surface before the resin sets.
- Blot excess resin with paper towels
- Lift drips from tools and silicone mats while still wet
- Use a small amount of approved alcohol on hard non-porous surfaces if needed
- Wash reusable silicone tools after the bulk is removed
- Clean uncured spills immediately.
- Handle partially cured messes differently. If resin has reached a gummy stage, scrape it off rather than smearing it with solvent. Then let the surface cure fully before sanding or recoating.
- Fix lifting or peeling areas. Cut away loose resin, feather the edge with sandpaper, clean thoroughly, and reapply a fresh coat only over solid material.
Caution: Never pour leftover mixed epoxy, resin sludge, or solvent-soaked cleanup liquid into a sink. Let small leftover batches cure in a safe container, then dispose of them according to local rules.
How to Check the Result
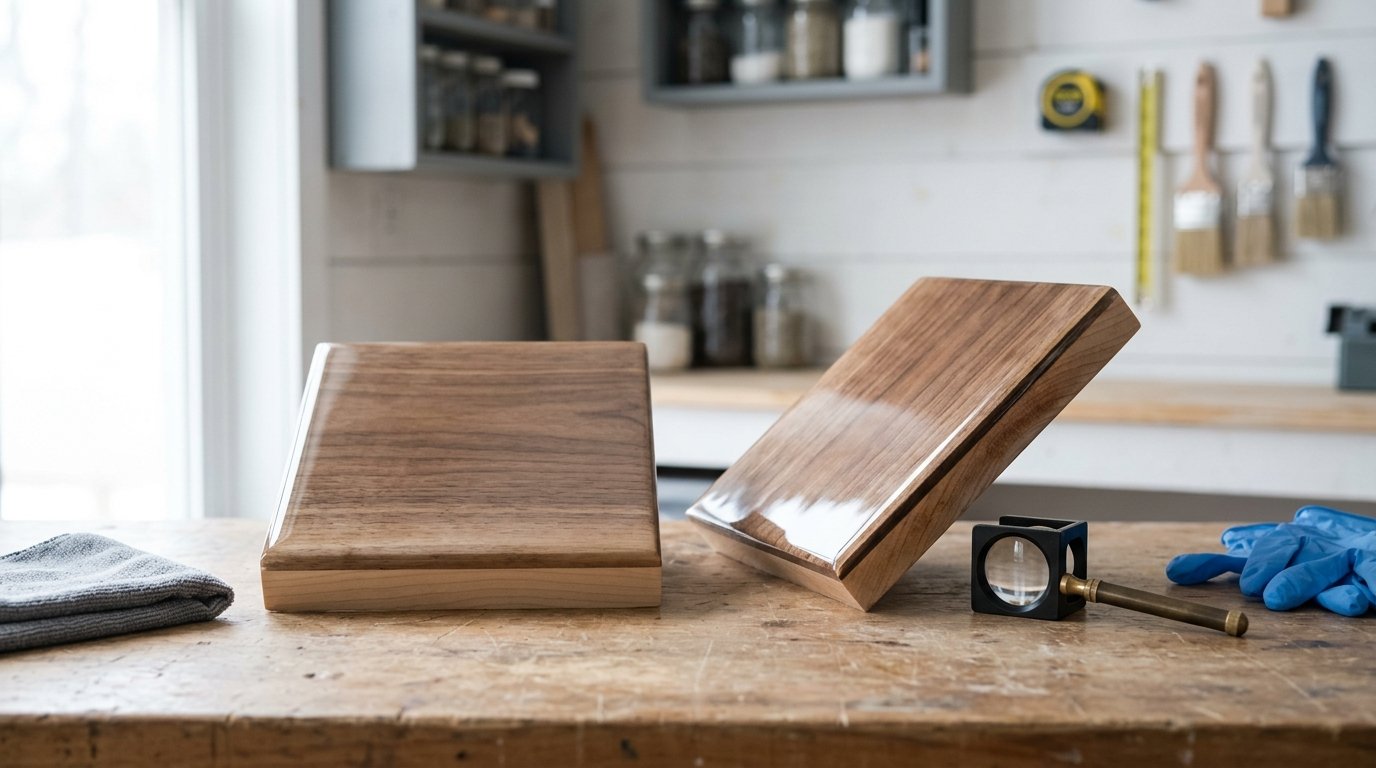
A successful epoxy job is easy to verify if you know what to look for.
Signs your layers bonded well
- No visible peeling at corners or edges
- No cloudy line between coats
- Surface looks continuous rather than stacked
- Gloss is even after cure
- The new layer does not lift when you press lightly at an edge
Simple result check
- Let the project cure for the full time listed by the manufacturer, not just until it feels dry.
- Inspect under angled light for ridges, fisheyes, or dry patches.
- Run a fingernail gently across a transition area. You should not feel a loose edge.
- Press painter’s tape onto an inconspicuous spot and remove it. A properly bonded coat should not peel up with the tape.
- Check the underside and edges for drips you missed and trim or sand them after full cure.
If the result is not right
- Sticky areas: usually mean bad ratio, poor mixing, or contamination; remove uncured resin before recoating
- Peeling spots: remove loose sections, sand to a solid edge, clean, and patch
- Fish-eyes or bare craters: stop and address contamination before adding more coats
If the surface is smooth, fully cured, and firmly attached all the way to the edges, your prevention steps worked.
FAQ
Why Does Epoxy Resin Delaminate Between Layers?
Most delamination comes from poor surface prep, missed recoat timing, amine blush, dust, oil, moisture, or incorrect mixing. If a previous layer cured fully, you usually need to wash, sand, and clean it before adding another coat.
Can I Pour a New Epoxy Layer Over Fully Cured Resin?
Yes, but prep it first. Wash off blush if present, sand the surface to a uniform dull finish, remove all dust, and then apply the new layer. Pouring directly over glossy fully cured resin often leads to weak bonding.
What Removes Sticky Uncured Epoxy Resin?
Start with paper towels to lift as much as possible. On hard non-porous surfaces, use isopropyl alcohol only if your manufacturer allows it. For skin, wash with soap and water, not solvent. Let residue cure only if safe removal is no longer practical.
Do I Need to Sand Between Epoxy Coats Every Time?
No. If you recoat inside the product’s recoat window, sanding may not be necessary. If the previous coat is fully cured or contaminated, sanding is the safer choice because it gives the next layer a mechanical bond.
How Do I Fix Small Areas Where Epoxy Is Peeling?
Remove every loose piece first. Sand the damaged spot and feather the edges into solid resin. Clean away dust and any blush, then apply a fresh patch coat. Do not coat over lifting resin, because the failure will usually spread.