
If your resin turns sticky, cloudy, bubbly, cracked, or soft, the fastest fix is to diagnose the visible symptom first, then match it to one likely cause before attempting a repair. Start by checking your mix ratio, room temperature, pour depth, and surface contamination. Next, decide whether the piece can be saved with scraping, sanding, warming, recoating, or a full repour. Do not seal a bad layer under fresh resin until you know it is stable enough to hold it. Most resin problems come from inaccurate measuring, under-mixing, trapped air, moisture, or excess heat. With a simple inspection and a staged repair process, you can rescue many projects and prevent the same issue on the next pour.
What You Need Before You Start
Gather everything before you touch the piece, because resin troubleshooting goes better when you can inspect, repair, and recoat in one controlled session.
Tools and supplies
- Nitrile gloves
- Respirator rated for resin fumes if required by your product
- Safety glasses
- Plastic scraper or craft stick
- Sandpaper in several grits, such as 120, 220, and 400
- Isopropyl alcohol and lint-free wipes
- Heat gun or small torch for surface bubbles
- Mixing cups with measurement marks
- Silicone stir sticks or wooden sticks
- Fresh resin and hardener from the same system
- Timer
- Infrared thermometer or room thermometer
- Dust cover or box
Conditions to check
- Room temperature: usually about 70 to 75°F, or the range on your resin label
- Humidity: low to moderate if possible
- Level work surface
- Clean, dry molds, cups, and add-ins
Before repairing, inspect the piece
- Press a gloved fingernail into an edge.
- Look for tackiness, flex, milkiness, crater holes, yellowing, or cracks.
- Smell it. A strong uncured odor often signals undercure.
- Check your notes: mix ratio, brand, pigment amount, pour depth, and cure time.
Important warning: If resin is still liquid or heavily undercured, do not sand it yet. Scrape and remove the unstable material first, or you will spread a mess and trap uncured resin deeper into the project.
Step 1
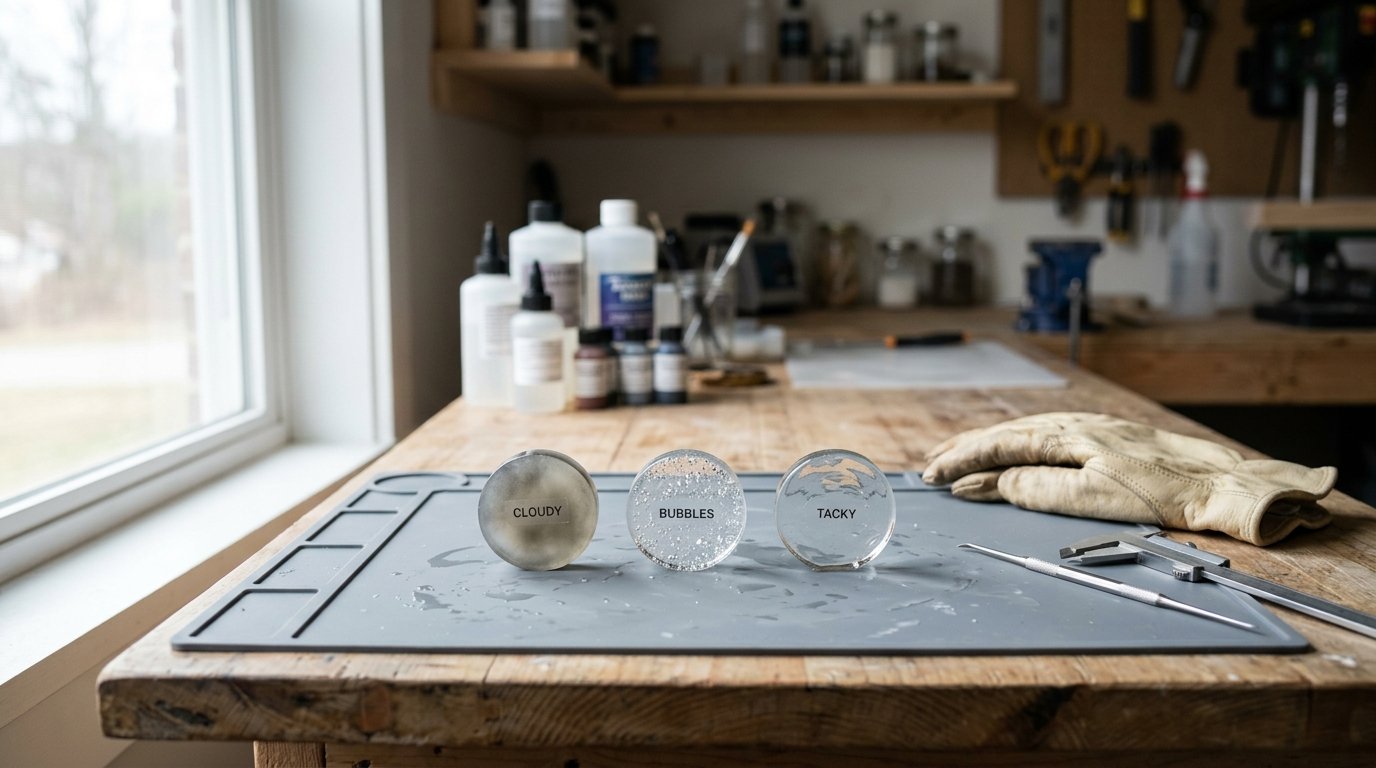
Use the visible symptom to identify the most likely problem before choosing a fix. Work in order so you do not waste time on the wrong repair.
- What it looks like: Wet-feeling surface, fingerprints stay in it, edges bend too easily.
- Likely cause: Wrong ratio, poor mixing, cold room, or too much colorant.
- Exact fix: Move the piece to a warmer room for another 12 to 24 hours if it is only slightly soft. If it stays tacky, scrape off the bad layer, wipe the surface clean, sand once firm enough, and prepare for a new coat.
- Prevention tip: Measure exactly and scrape the cup sides and bottom while mixing for the full time listed.
- If the resin is sticky or soft
- What it looks like: Surface pinholes, clusters, or deeper trapped air.
- Likely cause: Fast stirring, cold resin, porous surfaces, or no bubble release pass.
- Exact fix: For fresh pours, pass a heat gun or torch quickly over the top. For cured pinholes, sand lightly and apply a thin flood coat.
- Prevention tip: Warm sealed bottles slightly, stir slowly, and seal porous wood first.
- If you see bubbles
- What it looks like: Hazy, milky, or frosted areas.
- Likely cause: Moisture, overworked mixing, incompatible additives, or heat shock.
- Exact fix: If haze is only on the surface, sand and recoat. If the entire pour is internally cloudy, repouring is often faster than spot repair.
- Prevention tip: Keep water away from cups, molds, glitter, and dried flowers.
- If the resin is cloudy
- What it looks like: Deep fractures, sunken center, yellowed hot spots, or bent mold shape.
- Likely cause: Pouring too deep, high ambient heat, or too much resin in one batch.
- Exact fix: Let it cool completely. Remove unstable sections, sand the edges smooth, and refill in thinner layers.
- Prevention tip: Follow maximum pour depth exactly.
- If it cracked, warped, or overheated
Step 2
Apply the repair that fits the diagnosis, then set up the next pour so the problem does not repeat. Follow these actions in sequence.
- Move it to a clean, dust-free, level area.
- If it is only slightly undercured, give it controlled warmth within the product’s safe range.
- If it is runny or smeary, scrape away the bad resin with a plastic tool.
- Stabilize the piece
- Wipe away residue after scraping.
- Sand cured or semi-cured rough areas until the surface feels even.
- Remove dust completely before recoating.
- Prepare the surface
- Use the manufacturer’s exact ratio by volume or weight.
- Mix in a clean cup for the full stated time.
- Transfer to a second cup and mix again if you often get sticky spots; this helps avoid unmixed material from the cup walls.
- Mix a fresh batch correctly
- Sticky top layer: Sand or scrape off the unstable layer, then pour a thin recoat.
- Pinholes or fisheyes: Sand the affected zone, clean well, then apply a seal coat or thin topcoat.
- Cloudy surface: Sand until uniformly dull, then recoat clear.
- Cracks or low spots: Fill in stages, letting each layer cure before the next.
- Repair by problem type
- Cover the piece against dust.
- Keep room temperature steady.
- Leave it untouched for the full cure window.
- Control the cure
Caution: Do not pour fresh resin over a layer that is still wet, oily, or deeply soft. That traps the failure underneath and can lead to long-term weakness, waves, or permanent tackiness.
- Pre-warm resin bottles if your room runs cool.
- Seal porous blanks like wood, paper, and dried botanicals.
- Use shallow pours for deep projects unless your resin is labeled for deep casting.
- Keep pigments within the maker’s recommended load.
- Prevent the same problem next time
How to Check the Result
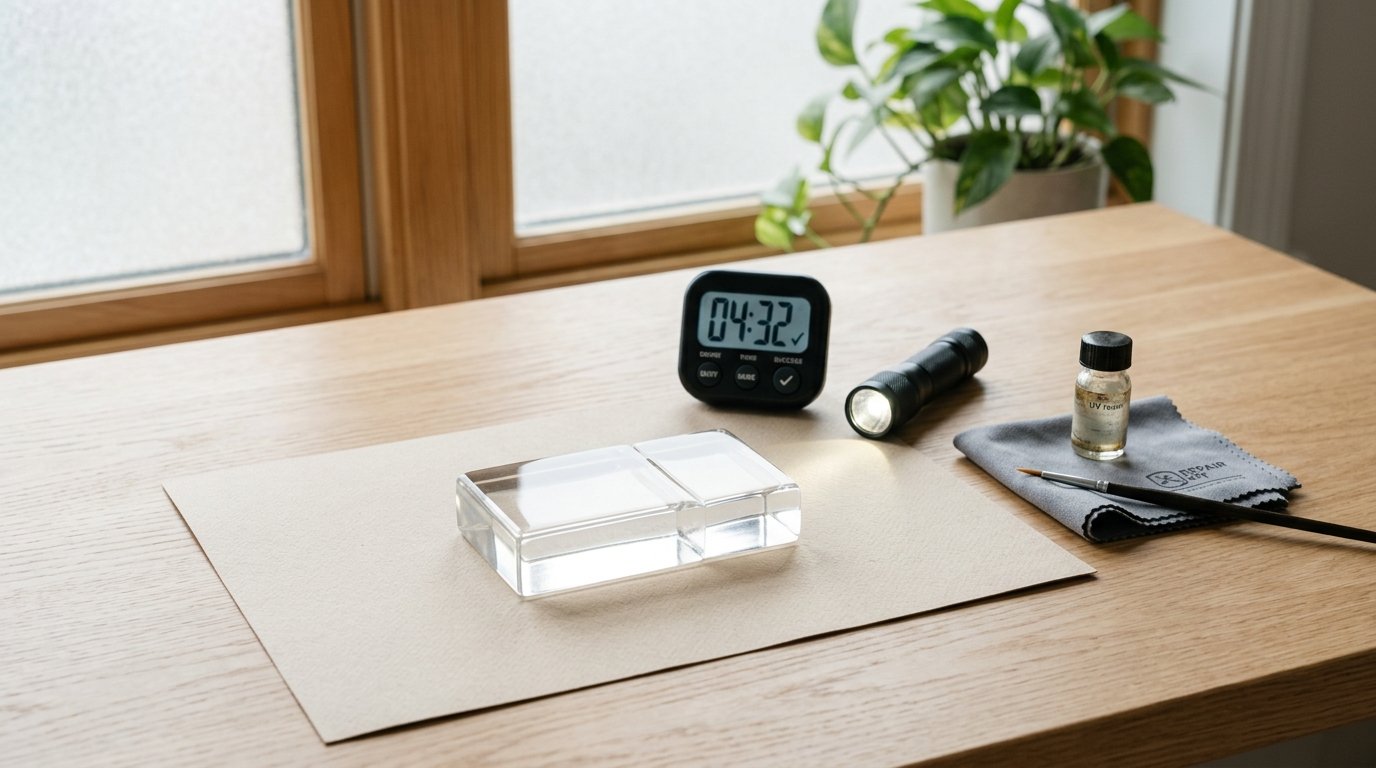
Before you call the repair finished, verify that the resin is actually cured, clear, and stable.
A successful repair looks like this
- Surface feels dry, not rubbery or greasy
- No strong uncured smell
- Gloss is even across the whole piece
- Sanded areas disappear after recoating
- No new bubbles rise after the first cure hours
- Piece stays flat and does not sag at the edges
Do these checks
- Touch test: Press a gloved fingertip on an edge. It should feel firm and smooth.
- Nail test: Press lightly with a fingernail in a hidden area. It should not leave a deep mark.
- Clarity check: Hold the piece under side light. Look for haze, pinholes, ripples, or oily patches.
- Bond check: If you added a new layer, inspect the join line. It should look continuous, not separated.
- Time check: Compare the cure time to the label, including full cure, not just demold time.
If the piece passes all five checks, you can usually move on to sanding, polishing, drilling, or a final coat. If it fails one check, stop and correct that issue before adding more work. A small recoat now is easier than rebuilding the whole project later.
FAQ
Why Is My Resin Still Sticky After 24 Hours?
Usually the mix ratio was off, the resin was under-mixed, the room was too cold, or too much pigment was added. If it is only slightly soft, warm it and wait longer. If it stays tacky, remove the bad layer and recoat properly.
Can You Pour New Resin Over Tacky Resin?
Only if the layer is fully stable and just needs a surface key, which tacky resin usually is not. If it feels wet or smears, scrape or sand it off first. Pouring over unstable resin often traps the problem and causes future failure.
How Do I Stop Bubbles in Resin Without Ruining the Surface?
Stir slowly, warm bottles slightly, and seal porous surfaces before pouring. After pouring, use a quick pass with a heat gun or torch rather than holding heat in one spot. Too much heat can scorch the surface or trigger waves and microbubbles.
What Causes Cloudy Resin?
Cloudiness usually comes from moisture, trapped air, incompatible additives, or excessive mixing. A hazy top layer can often be sanded and recoated. If the whole pour is milky inside, the clearest fix is often to repour with dry materials and better temperature control.
Why Did My Resin Overheat or Crack?
The most common cause is pouring too much resin at once. Thick pours build heat fast, especially in warm rooms or deep molds. Let the piece cool, remove damaged areas, and refill in thinner layers using a resin designed for that pour depth.
How Long Should Resin Cure Before Sanding or Recoating?
Follow the product label first. Many resins can be recoated after the initial cure window and sanded after a firmer cure, but full hardness often takes longer. If in doubt, wait until the piece is dry, firm, and no longer marks under light nail pressure.