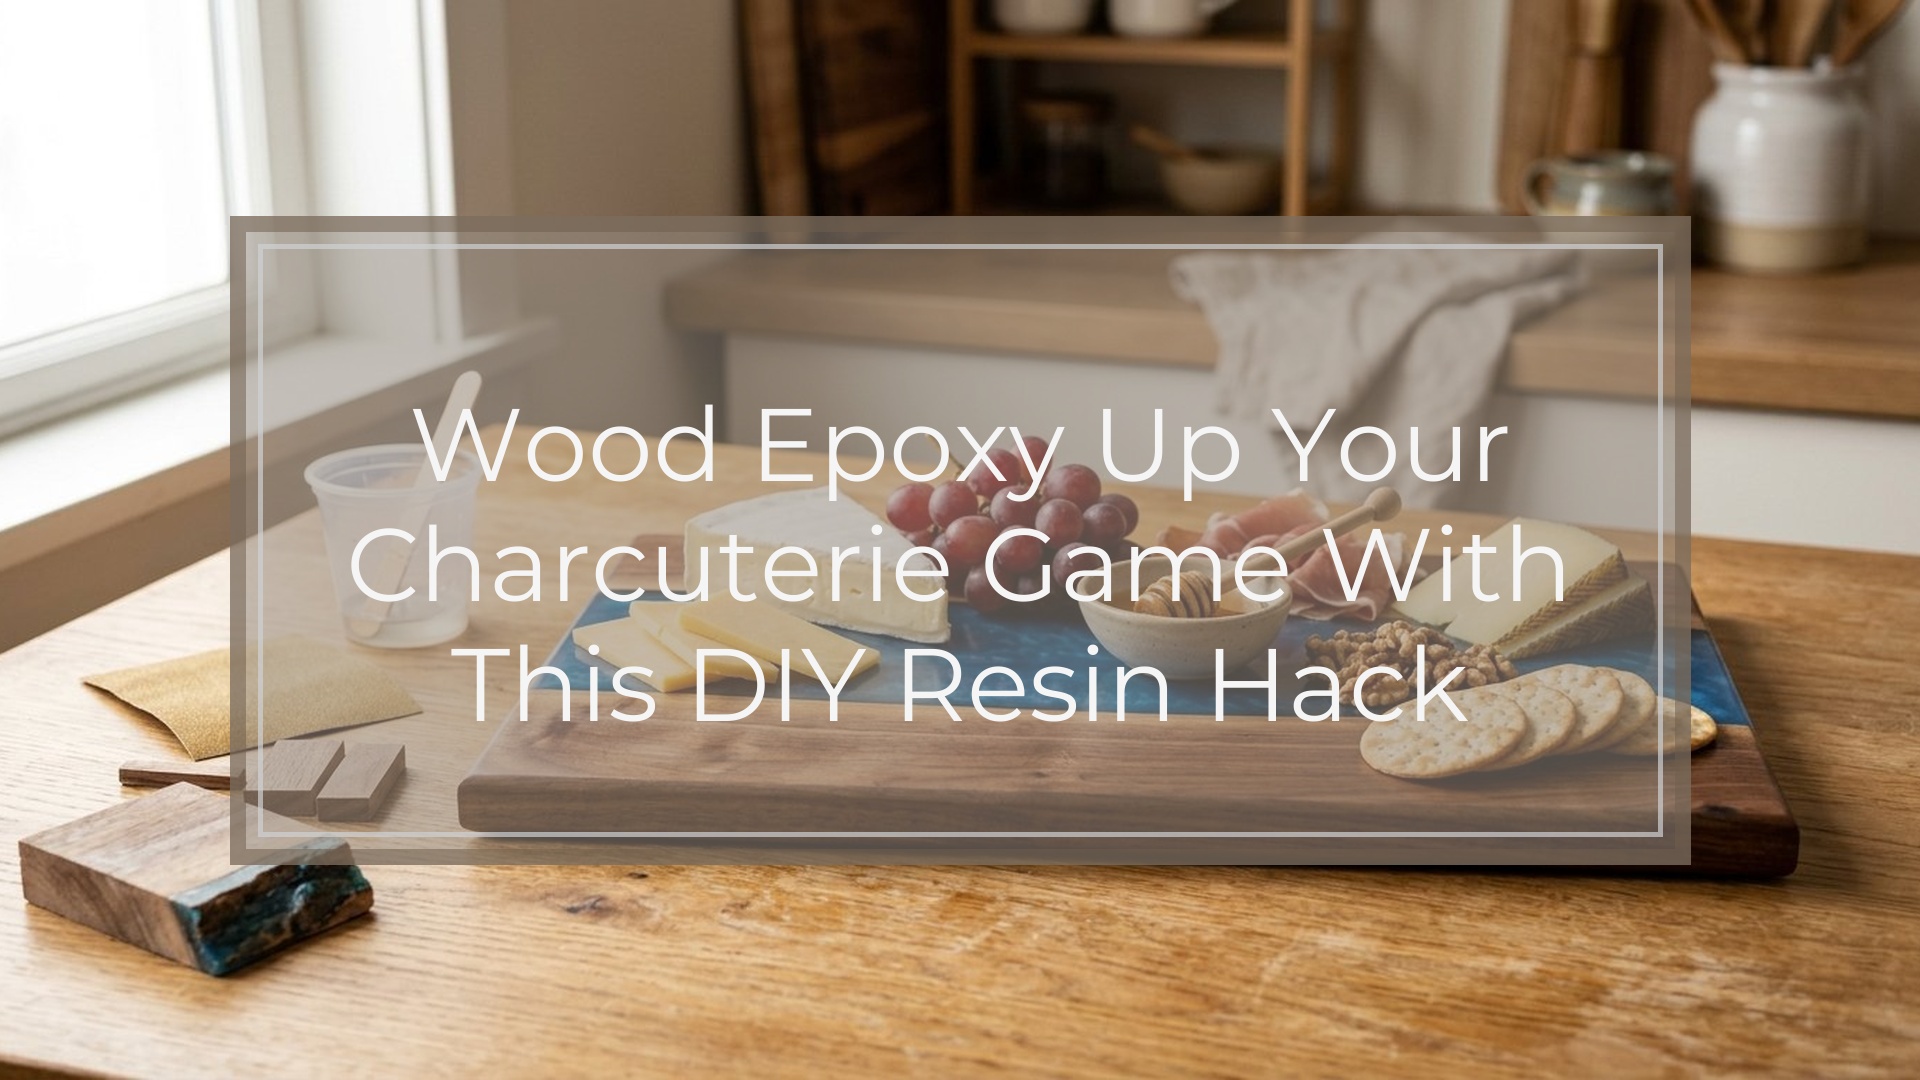
Want to wood epoxy up your charcuterie game with this DIY hack? Add a decorative, food-safe epoxy inlay to a plain wooden serving board. The idea is simple: prep the wood, seal any gaps, pour tinted epoxy into a routed groove, crack, knot, or shallow design area, let it cure fully, sand it flush, then finish the board with food-safe oil and wax. The resin should be decorative, not your main cutting surface, and it must be fully cured before it touches food.
Introduction: the Simple Resin Hack That Makes a Board Look Custom
A resin inlay can turn a basic wood board into a custom-looking charcuterie piece without building a full river table. You can fill a natural knot, create a small “river” channel, or add a subtle colored accent along one edge. The trick is keeping the epoxy contained, level, fully cured, and finished properly so the board remains practical for serving cheese, fruit, crackers, and snacks.
Before You Start: What Makes a Resin Charcuterie Board Food-safe?
Use epoxy that is labeled food-safe or compliant for incidental food contact after full cure. “Non-toxic” during marketing is not the same as food-safe after curing, so read the product data sheet. Wear gloves, eye protection, and work in a ventilated area while mixing and pouring. Keep resin away from direct food contact until it has cured for the full manufacturer-recommended time. Also, avoid using resin as a heavy knife-cutting zone because blades can scratch it.
Choose Your Board and Design
Choose a hardwood board such as maple, walnut, cherry, or acacia. Avoid soft, oily, or unstable wood that may dent, bleed oils, or warp. For your first project, use a shallow inlay, small knot fill, or narrow channel instead of a deep pour. Mark your design with pencil and decide where food will sit. A decorative resin accent works best near an edge or in a contained feature, leaving plenty of plain wood for serving.
Supplies You’ll Need
Gather everything before opening the resin containers. Epoxy has a working time, so you do not want to search for tape, pigments, or mixing sticks halfway through.
| Supply | Why You Need It |
|---|---|
| Hardwood charcuterie board | The base for the project |
| Food-safe epoxy resin | Decorative inlay or fill |
| Pigment, mica, or alcohol ink | Adds color or shimmer |
| Painter’s tape or sheathing tape | Seals edges and prevents leaks |
| Mixing cups and stir sticks | Accurate mixing |
| Gloves and eye protection | Resin safety |
| Sandpaper, 120 to 400 grit | Smoothing wood and resin |
| Food-safe mineral oil and board wax | Final finish |
| Heat gun or torch | Bubble removal |
If you do not own a router, choose a board with an existing knot, crack, or shallow recess.
Step 1: Prep and Sand the Wood
Start with a clean, dry board. If you are adding a channel, rout or carve the design shallowly and remove all dust. Sand the wood around the inlay area with 120 to 180 grit sandpaper so the surface is even. Vacuum the dust, then wipe with a lint-free cloth. Do not use a wet rag right before pouring; trapped moisture can cause cloudy resin, bubbles, or poor adhesion.
Step 2: Seal the Back, Edges, and Any Gaps
Epoxy will find tiny openings, so seal the board carefully. Apply strong tape to the underside of cracks, knots, routed channels, and edges where resin could leak. Press the tape firmly, especially along uneven wood grain. For porous areas, brush on a thin seal coat of clear epoxy and let it become tacky or cure as directed. This reduces bubbles rising from the wood and helps the final pour look cleaner.
Step 3: Mix and Tint the Epoxy
Read your epoxy instructions before mixing. Measure resin and hardener exactly by the required ratio, usually by volume or weight depending on the brand. Stir slowly for the full recommended time, scraping the sides and bottom of the cup. If your product suggests a second cup, transfer the mixture and stir again. Add pigment sparingly; too much colorant can interfere with curing. Aim for a pourable, evenly tinted mixture without streaks.
Step 4: Pour the Resin Into the Board Design

Place the board on a level surface and protect your work area. Pour slowly into the prepared crack, groove, knot, or channel. Use a stir stick or toothpick to guide resin into corners. Slightly overfill shallow areas because epoxy can shrink or settle as bubbles escape. If you want a marbled look, add a second tinted resin and swirl gently; do not overmix or the colors will turn muddy. Check underneath and around the edges for leaks during the first 15 to 30 minutes.
Step 5: Remove Bubbles and Let It Cure
After pouring, let bubbles rise for a few minutes. Pass a heat gun or torch quickly over the surface to pop them. Keep the heat moving; holding it too close can scorch wood, ripple the resin, or damage tape. Cover the board with a clean box or dust cover. Let it cure in a level, dust-free space within the epoxy’s recommended temperature range. Do not sand, oil, or use the board before the resin is hard.
Step 6: Sand the Resin Flush
Once the epoxy is fully cured, remove the tape and inspect the surface. If there are raised areas, level them with 120 or 150 grit sandpaper. Work up through 180, 220, 320, and 400 grit for a smooth finish. Sand with the grain on the wood areas when possible. If the resin looks hazy, continue with finer grits or use a polishing compound only on the resin. Wipe away all dust before finishing.
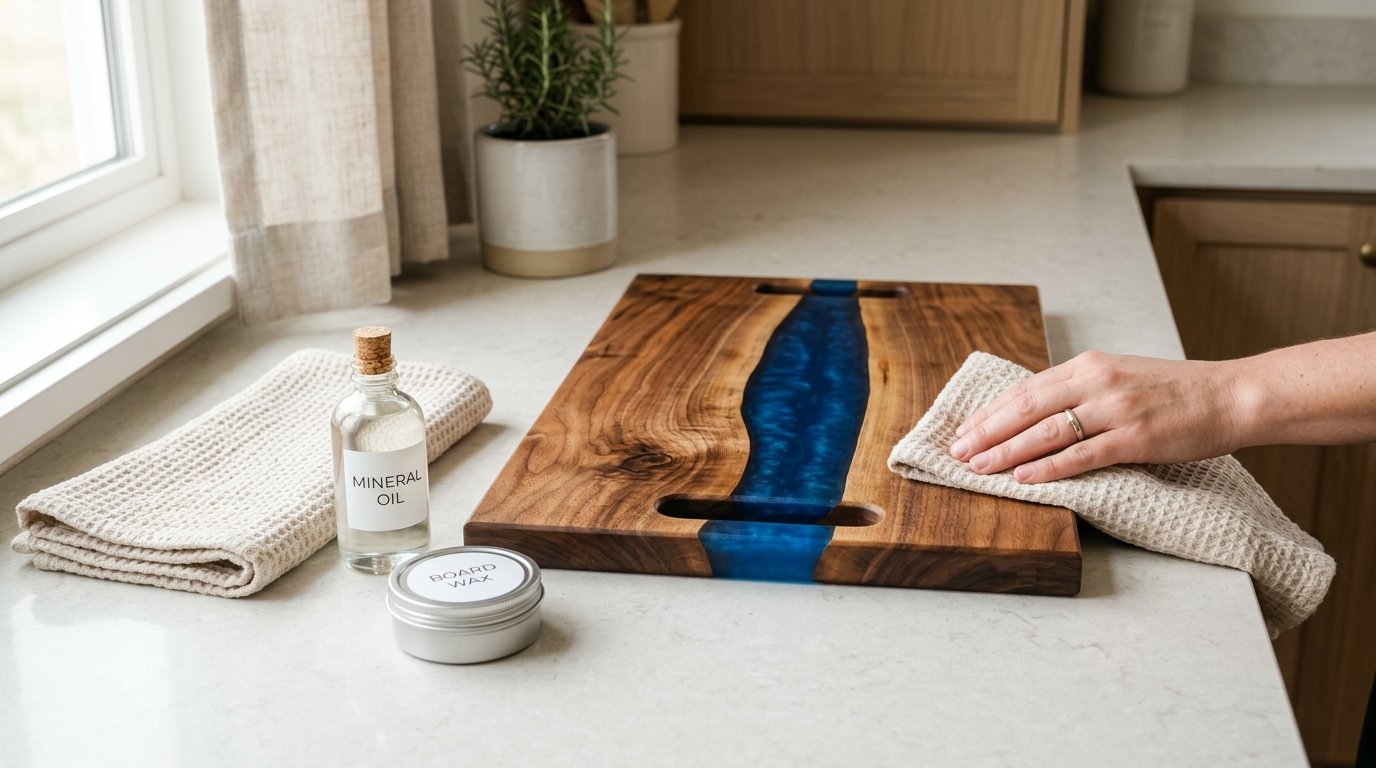
Step 7: Finish the Board with Food-safe Oil and Wax
Apply food-safe mineral oil generously to the wood, letting it soak in for several hours or overnight. Wipe off any excess. Follow with a board wax or a blend of beeswax and mineral oil to add water resistance and a soft sheen. Buff with a clean cloth. Do not use vegetable oils, which can turn rancid. The finish should protect the wood, not create a sticky coating over the resin.
Result Check: How to Know Your Diy Resin Charcuterie Board Is Ready
Your board is ready when the epoxy is hard, smooth, and no longer tacky. There should be no chemical smell, soft spots, cloudy wet-looking areas, or leaking edges. The resin should sit flush with the wood, and the board should feel smooth to the touch after oiling and waxing. If the manufacturer requires a longer cure time for food contact, wait the full period before serving anything on it.
Common Mistakes and Troubleshooting
Sticky epoxy usually means the resin was measured incorrectly, mixed poorly, tinted too heavily, or cured in a cold room. If only a small surface area is tacky, scrape or sand it off and recoat with properly mixed epoxy. If the whole pour is soft, you may need to remove it and start again.
Leaks happen when tape is loose or gaps are not sealed. Stop active leaks with more tape or hot glue outside the food-contact area, then sand cleanup later.
Bubbles often come from porous wood or aggressive stirring. Use a seal coat, mix slowly, and apply gentle heat. If dust lands in the resin, wait until cured, sand it out, and polish or topcoat if needed.
Care Tips for a Wood Epoxy Charcuterie Board
Hand wash only with mild soap and warm water. Never soak the board, run it through the dishwasher, or leave it in direct sun for long periods. Dry it immediately after washing. Reapply mineral oil when the wood looks dry or faded, then refresh with board wax as needed. Use the board for serving, not chopping. If you need to slice cheese, cut on the wood area gently or use a separate knife-safe board.
FAQ
Can You Use Epoxy Resin on a Charcuterie Board?
Yes, you can use epoxy resin on a charcuterie board as a decorative inlay, knot fill, or accent, as long as the epoxy is suitable for food contact after full cure. Keep it mostly decorative and avoid using the resin area as a cutting surface.
What Kind of Epoxy Is Safe for Charcuterie Boards?
Use a high-quality epoxy specifically labeled food-safe after curing or compliant for incidental food contact. Check the manufacturer’s technical information, not just the front label. The resin must be mixed correctly, cured fully, and used according to the product directions to be considered safe.
How Long Should Epoxy Cure Before Using the Board for Food?
Follow the epoxy manufacturer’s cure schedule. Some resins feel hard within 24 hours but need several days or longer before food contact. If the board smells like chemicals, feels tacky, or has soft areas, it is not ready to use.
Can I Cut on a Resin Charcuterie Board?
It is better not to cut directly on the resin. Knives can scratch, dull, or mark the epoxy surface. Use the board mainly for serving. If you need to cut, use a separate cutting board or slice gently on the wooden portion only.
Why Is My Epoxy Sticky After Curing?
Sticky epoxy is usually caused by inaccurate measuring, incomplete mixing, too much pigment, cold curing conditions, or using the wrong resin ratio. Let it cure longer if conditions were cool. If it remains tacky, remove the bad layer and recoat with properly mixed epoxy.