Deep pour epoxy is resin made for thick pours, such as river tables, casting molds, embedded objects, and other projects where regular coating resin would overheat, bubble, or cure poorly. The beginner’s guide to deep pour epoxy starts with one simple rule: match the resin to the depth of the project. Deep pour formulas cure slower, release heat more gently, and give bubbles more time to rise. That makes them easier to use for thick, clear projects, but they still require careful measuring, mixing, temperature control, and patience while curing.
What Is Deep Pour Epoxy?
Deep pour epoxy is a two-part resin system designed to be poured thicker than standard tabletop or coating epoxy. You mix resin and hardener together, pour it into a mold or prepared space, and let it cure into a hard, glass-like solid.
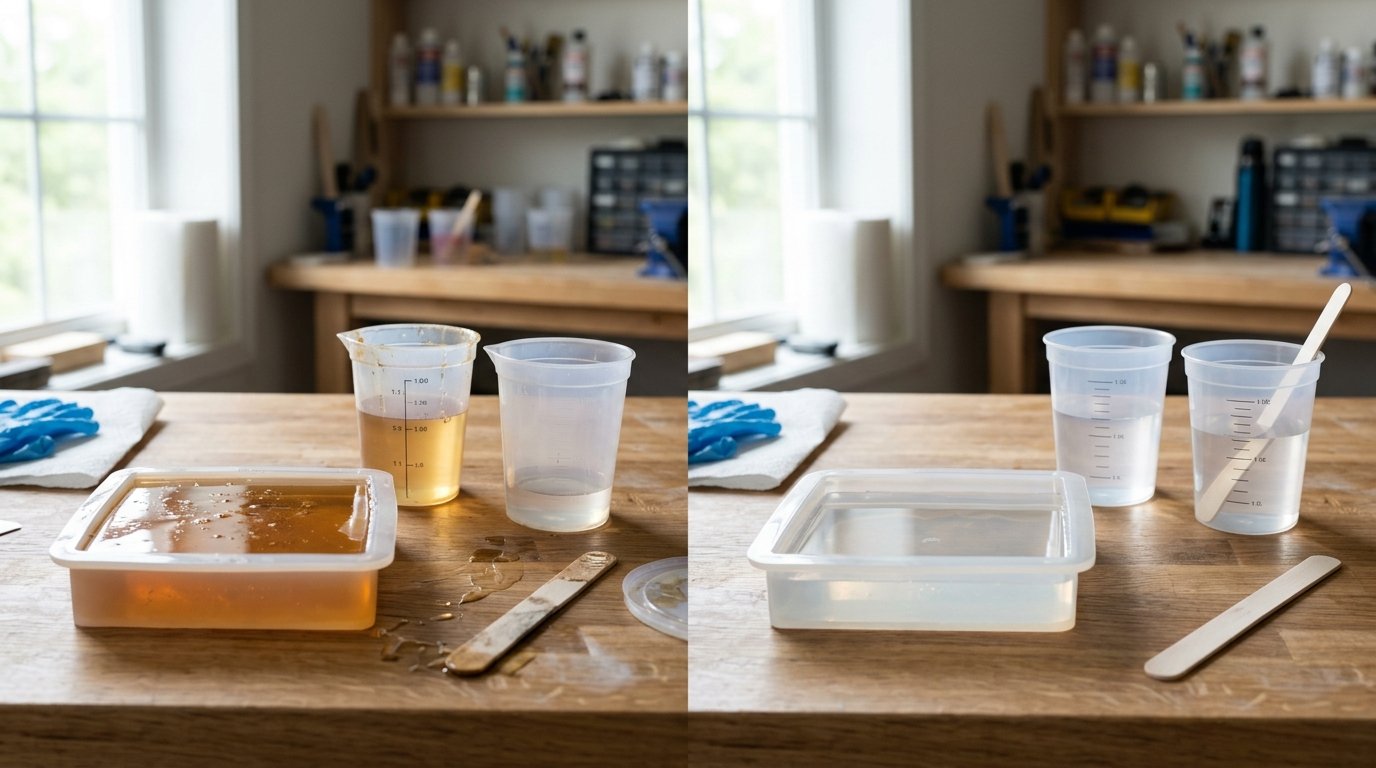
The key difference is cure speed. Deep pour epoxy cures slowly, which helps control heat buildup. When epoxy cures, it creates an exothermic reaction, meaning it gives off heat. In a thick pour, too much heat can cause cracks, yellowing, bubbles, or a smoky-looking cure. Deep pour resin is formulated to reduce that risk.
Think of it as casting resin for depth, not a quick surface coating.
Deep Pour Epoxy Vs Regular Epoxy
Using the wrong epoxy is one of the easiest beginner mistakes. Regular epoxy is usually made for thin coats, sealing surfaces, art layers, countertops, tumblers, or tabletops. Deep pour epoxy is made for volume.
| Feature | Deep Pour Epoxy | Regular Epoxy |
|---|---|---|
| Best use | Thick casting, river tables, molds | Thin coating, sealing, art layers |
| Typical pour depth | Often 1/2 inch to several inches, depending on brand | Usually thin coats, often 1/8 inch or less |
| Cure speed | Slower | Faster |
| Heat buildup | Lower when used correctly | Can overheat in thick pours |
| Bubble release | More time for bubbles to rise | Less working time |
| Finish use | Often needs sanding/topcoat | Often used as final glossy coat |
If your project has depth, choose deep pour. If your project needs a glossy surface layer, regular coating epoxy may be better.
Best Beginner Projects for Deep Pour Epoxy
Good beginner projects are small enough to manage but deep enough to justify deep pour resin. Try casting coasters in silicone molds, making small river-style serving boards, embedding dried flowers or shells, filling wood voids, or creating paperweights.
Avoid starting with a full dining table or a very large slab. Bigger pours magnify every issue: leaks, heat, bubbles, dust, uneven color, and cure time. A small mold or wood blank teaches the same skills with less resin, less cost, and less stress.
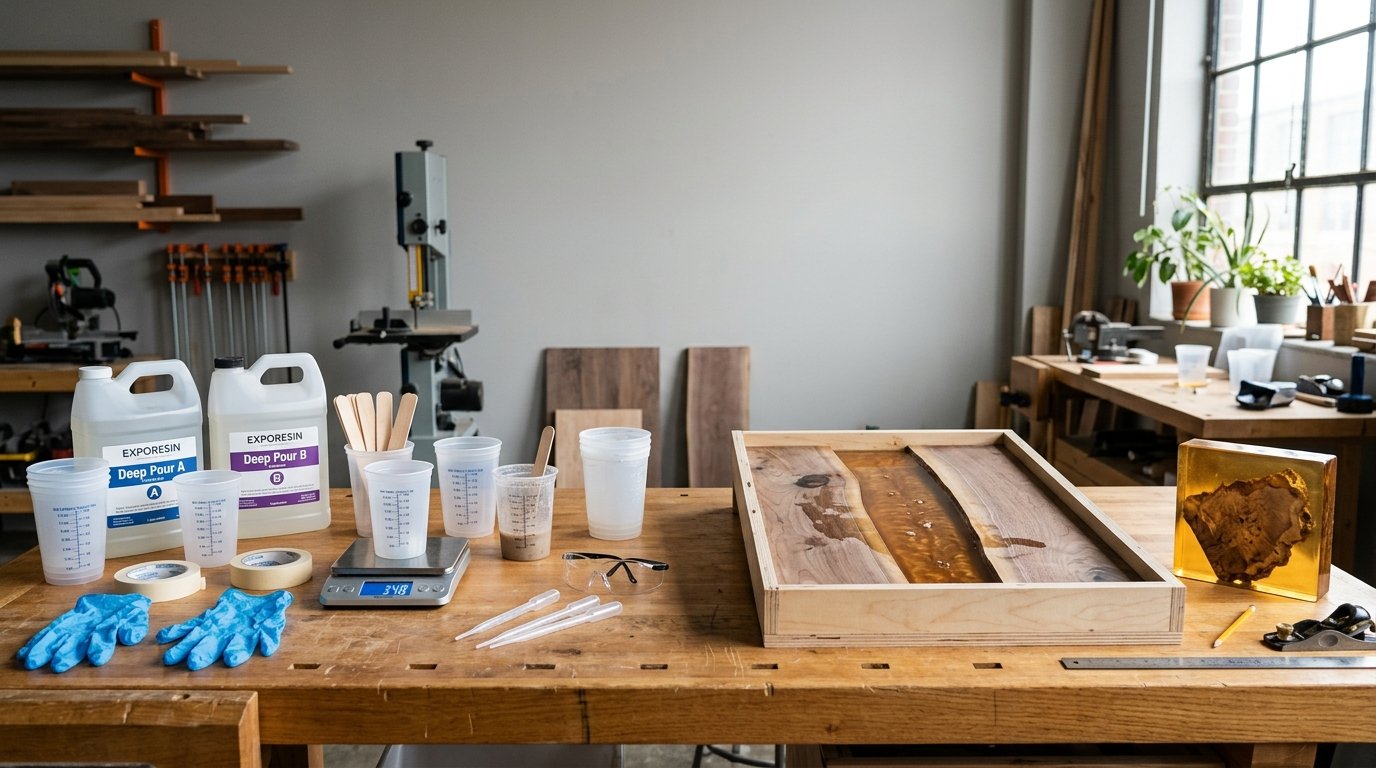
Supplies You Need Before You Pour
Before opening the bottles, prepare your workspace and tools. You need deep pour epoxy, accurate measuring cups or a scale if your resin allows weight measurement, mixing cups, stir sticks, gloves, eye protection, and a level work surface.
For most projects, also have a silicone mold or sealed form, painter’s tape, plastic sheeting, pigment or dye if coloring, a bubble tool such as a heat gun, and a dust cover. If pouring into wood, seal cracks and porous areas first. Deep pour epoxy is thin and can leak through tiny gaps, so mold sealing is part of the setup, not an afterthought.
How to Use Deep Pour Epoxy Step by Step

Start by reading your resin’s instructions. Deep pour products vary in mix ratio, maximum depth, working time, and cure time. Do not assume all brands behave the same.
- Plan the pour depth. Measure the mold or cavity and calculate how much resin you need. Stay within the manufacturer’s recommended depth.
- Prepare the mold or project. Make sure the form is sealed, level, clean, and dry. If using wood, seal porous grain and cracks to reduce bubbles.
- Condition the resin and room. Work in the temperature range listed on the label. Resin that is too cold can be thick and bubbly; a room that is too warm can speed the cure.
- Measure accurately. Use the correct resin-to-hardener ratio. Guessing or “close enough” measuring can leave soft, sticky, or uncured spots.
- Mix slowly and thoroughly. Scrape the sides and bottom of the cup. Stirring too fast whips in bubbles, but undermixing causes cure problems.
- Add color carefully. Use resin-safe pigments or dyes. Too much colorant can affect curing, especially in deep casts.
- Pour steadily. Pour in one area and let the resin flow. For embedded objects, place them carefully and check for trapped air.
- Remove surface bubbles. Use gentle heat if needed, but do not overheat the resin.
- Cover and let cure. Protect the project from dust and movement. Deep pour epoxy needs patience; disturbing it too soon can ruin the finish.
How Deep Can You Pour Epoxy?
The safe pour depth depends on the specific deep pour epoxy. Some formulas are designed for about 1/2 inch to 1 inch per pour, while others can handle 2 inches or more under the right conditions. Always follow the label, not a general rule from another project.
Depth is also affected by mold size, room temperature, and total resin volume. A narrow 2-inch pour may behave differently from a wide, heavy pour. When in doubt, pour shallower layers instead of pushing the limit.
Temperature, Bubbles, and Cure Time: the Three Things Beginners Must Control
Most deep pour problems come from three variables: temperature, bubbles, and cure time.
Temperature controls how fast the resin reacts. A cold room can make resin thick, cloudy, and slow to cure. A hot room can make it cure too quickly and overheat. Work within the product’s recommended range.
Bubbles come from mixing, porous materials, embedded objects, and leaks. Seal wood first, mix slowly, and give bubbles time to rise. Use gentle heat only at the surface.
Cure time requires patience. Deep pour epoxy may stay soft or flexible for longer than regular epoxy. Full hardness can take several days. Moving, sanding, or demolding too early can bend, mark, or distort the project.
Common Deep Pour Epoxy Mistakes and How to Avoid Them
The most common mistake is pouring too deep for the product. This can cause overheating, cracks, or yellowing. Stay within the recommended depth or pour in layers.
Another mistake is inaccurate measuring. Epoxy depends on the correct resin-to-hardener ratio, so use marked cups and check the instructions carefully.
Beginners also stir too aggressively, which adds bubbles, or not thoroughly enough, which leaves sticky areas. Mix slowly, scrape well, and transfer to a second cup if recommended.
Finally, many leaks happen because molds are not sealed. Test forms before pouring expensive resin.
When to Pour in Layers Instead of One Deep Pour
Layering is safer when the project is near the maximum depth, the room is warm, the mold is wide, or you are embedding objects that may float or trap air. Layers also give more control over color effects, suspended items, and bubble removal.
Let each layer reach the stage recommended by the manufacturer before adding the next. Some layers bond best while slightly tacky; others need sanding if fully cured. Follow the product directions for timing between pours.
Beginner Safety Tips for Deep Pour Epoxy
Work in a well-ventilated area and wear nitrile gloves, eye protection, and clothing you do not mind staining. Avoid skin contact, and do not use resin tools for food afterward. Keep resin away from children, pets, and open flames.
Read the safety data and product label before starting. Even low-odor epoxy can still require ventilation and careful handling. If sanding cured resin, wear a suitable dust mask or respirator and collect dust with a vacuum or wet-sanding method.
FAQ
Can Beginners Use Deep Pour Epoxy?
Yes, beginners can use deep pour epoxy, especially on small projects like coasters, small molds, wood voids, or sample river boards. The key is to choose a true deep pour formula, measure accurately, stay within the recommended depth, and give the resin enough time to cure.
What Happens If You Pour Epoxy Too Deep?
If epoxy is poured deeper than recommended, it can overheat during curing. That may cause cracks, bubbles, yellowing, warping, smoking, or a cloudy finish. In severe cases, the project may cure unevenly or become unsafe from excess heat. Pour thinner layers when unsure.
How Long Does Deep Pour Epoxy Take to Cure?
Deep pour epoxy often takes longer than regular epoxy. It may be firm enough to demold in 24 to 72 hours, but full cure can take several days or more depending on the product, pour depth, and room temperature. Always check the brand’s cure schedule.
Can I Add Color to Deep Pour Epoxy?
Yes, you can add color with resin-safe pigments, mica powders, alcohol inks, or dyes, depending on the look you want. Use colorants sparingly and follow product guidance. Too much pigment or the wrong additive can interfere with curing or make a deep pour look muddy.
Do I Need a Torch for Deep Pour Epoxy Bubbles?
You do not always need a torch. A heat gun, careful mixing, sealed wood, and patience can remove many bubbles. If using a torch, use quick, light passes only at the surface. Too much heat can damage the resin, mold, or embedded materials.