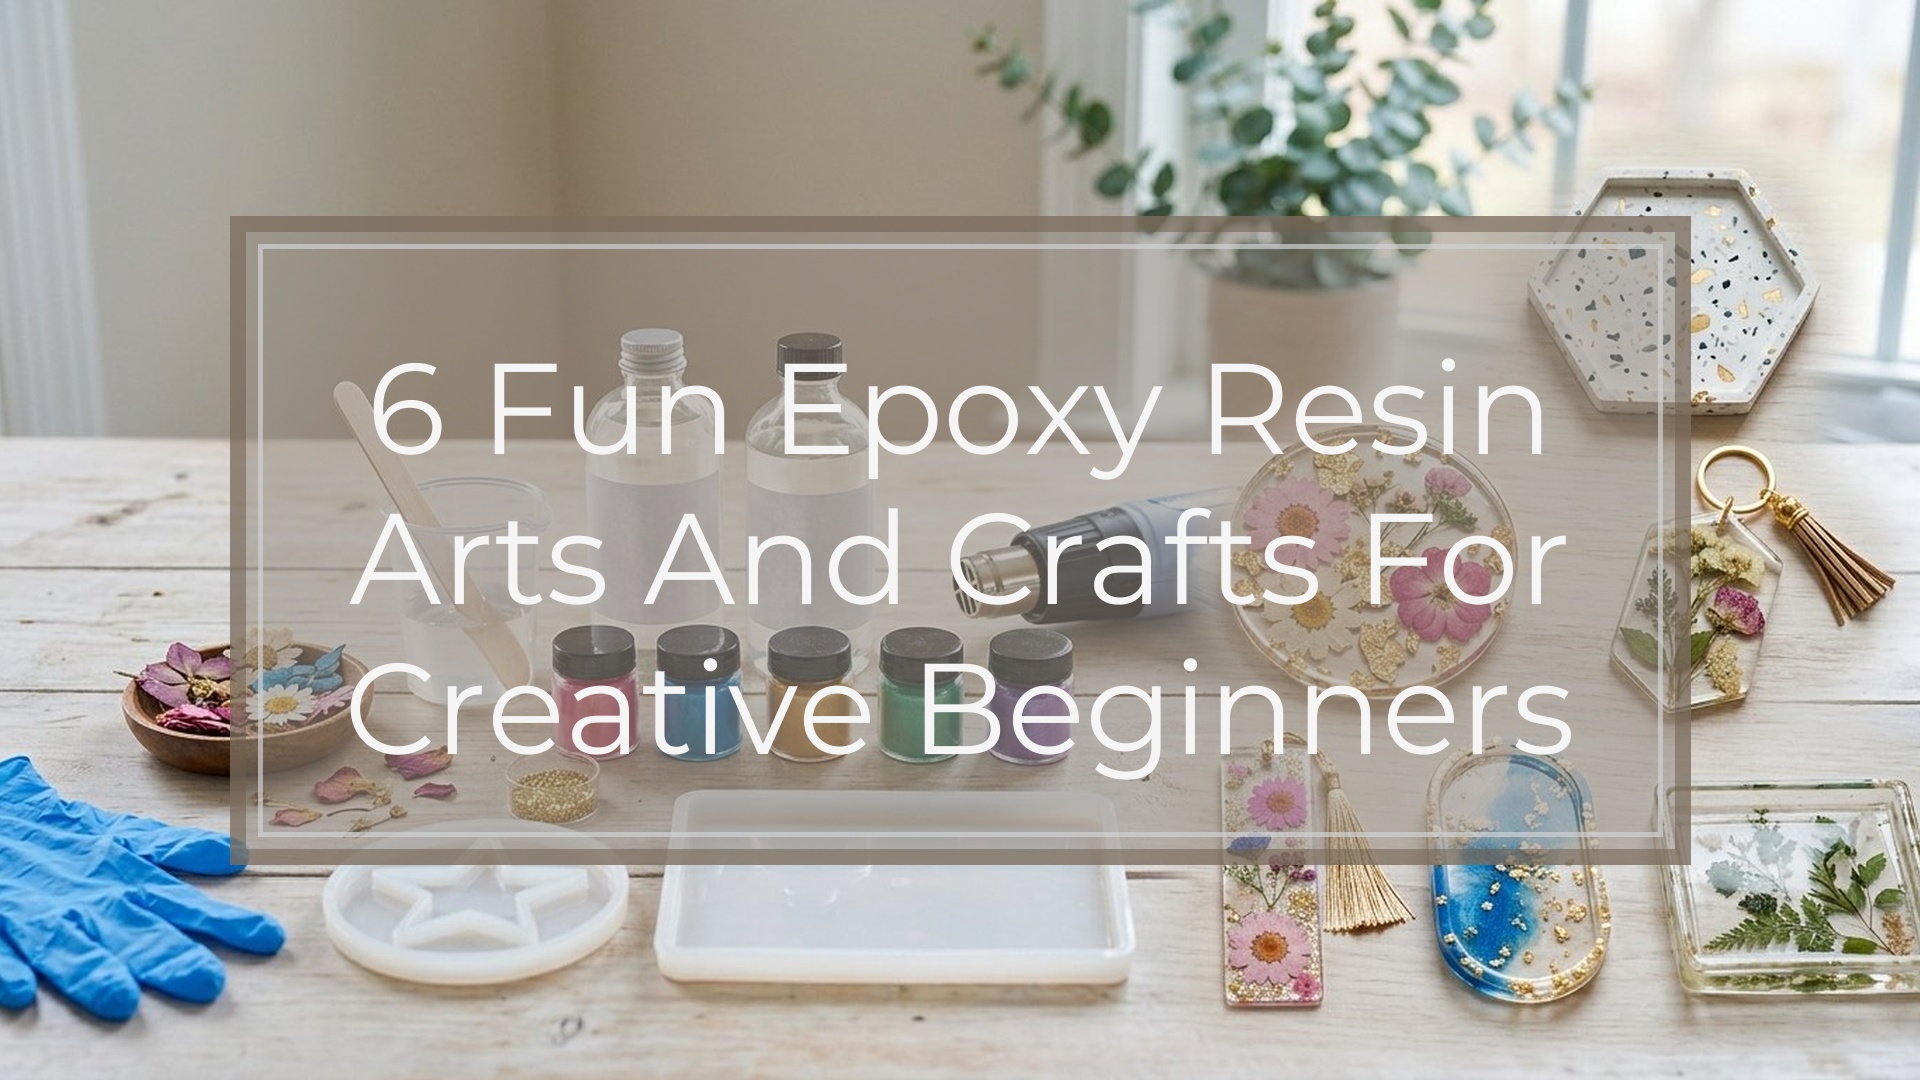
Looking for 6 fun epoxy resin arts and crafts that are actually practical to start? Try resin coasters, jewelry, keychains, bookmarks, trays, and ocean art. Coasters are the best overall beginner project because they are useful, forgiving, and easy to personalize. Jewelry and keychains are best for small gifts, while bookmarks suit flat, elegant designs. Trays give you more functional impact, and ocean art is best when you want a more artistic challenge with waves, layers, and color movement.
| Project | Best for | Main tradeoff |
|---|---|---|
| Resin coasters | First resin project | Needs level curing space |
| Resin jewelry | Small personalized pieces | Tiny bubbles show easily |
| Resin keychains | Gifts and playful designs | Hardware adds extra steps |
| Resin bookmarks | Flat elegant projects | Thin pours can flex |
| Resin trays | Functional home decor | Uses more resin |
| Resin ocean art | Artistic statement pieces | Harder to control |
How to Choose the Best Epoxy Resin Craft for You

Choose your resin project by matching it to your skill level, available time, mold size, and tolerance for detail work. Beginners usually do best with silicone molds that are shallow, simple, and easy to demold, such as coasters or keychains. If you like precision, jewelry and bookmarks let you work small, but every bubble, speck of dust, and uneven color choice becomes more visible.
Also consider curing space. Resin needs a flat, protected area where it can sit undisturbed according to the product label. Larger pieces, like trays and wall art, require more resin, more mixing accuracy, and more patience. Finally, think about the finished use: decorative pieces can be experimental, but functional items should cure fully and be sealed or finished as needed before handling, gifting, or using.
1. Resin Coasters
Resin coasters are the best overall beginner epoxy resin craft because they are useful, affordable to make in sets, and forgiving enough for simple designs. Start with round or square silicone coaster molds, clear epoxy resin, pigment, and optional add-ins such as dried flowers, mica powder, glitter, alcohol ink, or gold flakes.
A simple method is to mix your resin according to the label, divide it into small cups, tint each cup, then pour colors into the mold in sections or swirls. Use a toothpick or stir stick to move color gently without overmixing. After curing, demold and check the edges; you can lightly sand rough spots if needed.
Best for: beginners who want a practical first project or handmade gifts.
Tradeoff: coasters need a perfectly level surface while curing. If your table tilts, the resin can cure thicker on one side.
2. Resin Jewelry
Resin jewelry is best for makers who enjoy small, personalized crafts. Pendants, earrings, rings, and charms can hold tiny flowers, birthstone colors, glitter, photos, foil, or miniature designs. Because the pieces are small, you can make several from one resin batch, which is helpful when you are learning how pigments behave.
Use jewelry molds or bezel blanks. For clear embedded designs, add a thin layer of resin first, place the inclusion with tweezers, then cover it with more resin. This helps reduce floating and gives the piece depth. Keep inclusions completely dry, especially flowers or paper, because moisture can cause cloudiness or curing problems.
Best for: personalized gifts, wearable art, and small-batch experimenting.
Tradeoff: tiny molds make imperfections more obvious. Bubbles, dust, and uneven placement are easier to see than they are in larger decorative projects.
3. Resin Keychains
Resin keychains are playful, customizable, and great for gifts, party favors, craft fairs, or bag charms. They work well with alphabet molds, animal shapes, hearts, stars, and small themed molds. You can add glitter, confetti, dried flowers, vinyl names, small stickers, or color layers.
The basic process is simple: pour tinted or clear resin into a keychain mold, add decorations, cure, then attach hardware. Some molds include a hole for the jump ring, while others require drilling after curing. If you plan to use vinyl decals, apply them after demolding and seal with a thin resin coat if needed.
Best for: quick personalized projects with lots of design variety.
Tradeoff: the hardware step matters. Jump rings, chains, tassels, and drilled holes can make the project look polished, but they also add time and require small pliers or a hand drill.
4. Resin Bookmarks
Resin bookmarks are best for readers, teachers, stationery lovers, and anyone who prefers slim, elegant crafts. They look beautiful with pressed flowers, soft pigments, metallic flakes, translucent color, or minimalist line art. Since bookmarks are flat, they are also a good project for practicing even pouring and careful placement.
Use a bookmark mold and avoid overfilling it. Thin pieces can become messy if resin spills over the mold edge. Place dried flowers or paper elements carefully with tweezers, then use a toothpick to position them before the resin thickens. After curing, add a tassel through the hole if the mold includes one.
Best for: elegant gifts and flat designs that do not need much resin.
Tradeoff: bookmarks are thin, so some resins may cure slightly flexible. Choose a resin suitable for thin pours, and let it cure fully before testing its strength.
5. Resin Trays
Resin trays are a step up from small beginner molds and are best for makers who want a functional home decor piece. A tray can hold jewelry, candles, perfume bottles, keys, wrapped treats, or desk items. You can make it modern with white and gold, bold with alcohol inks, or natural with dried botanicals and neutral pigments.
Because trays are larger, measure resin carefully and mix thoroughly. Pour slowly into the mold, working around handles or raised edges. If the tray has deep areas, check the resin’s recommended maximum pour depth before filling it all at once. Larger molds also benefit from a dust cover while curing.
Best for: functional decor and more impressive handmade gifts.
Tradeoff: trays use more resin, so mistakes cost more. They also reveal uneven surfaces, unmixed streaks, and trapped bubbles more clearly than tiny keychains.
6. Resin Ocean Art
Resin ocean art is the most artistic option on this list. It can be made in a shallow mold, on a wood panel, or over a prepared art board. The classic look uses sand-colored pigment, blue and teal resin, and white resin pushed into wave lines to create sea foam.
Work in layers for better control. Pour the beach and water colors first, then add a small amount of white resin where the waves should break. Many makers use a heat gun or careful air movement to push the white across the blue. Practice on a small panel before attempting a large wall piece, because timing and resin thickness affect the wave effect.
Best for: creative makers who want statement art rather than simple molded items.
Tradeoff: ocean art is less predictable. Beautiful cells and lacing take practice, and too much heat or air can muddy the colors.
Basic Supplies for These Epoxy Resin Crafts
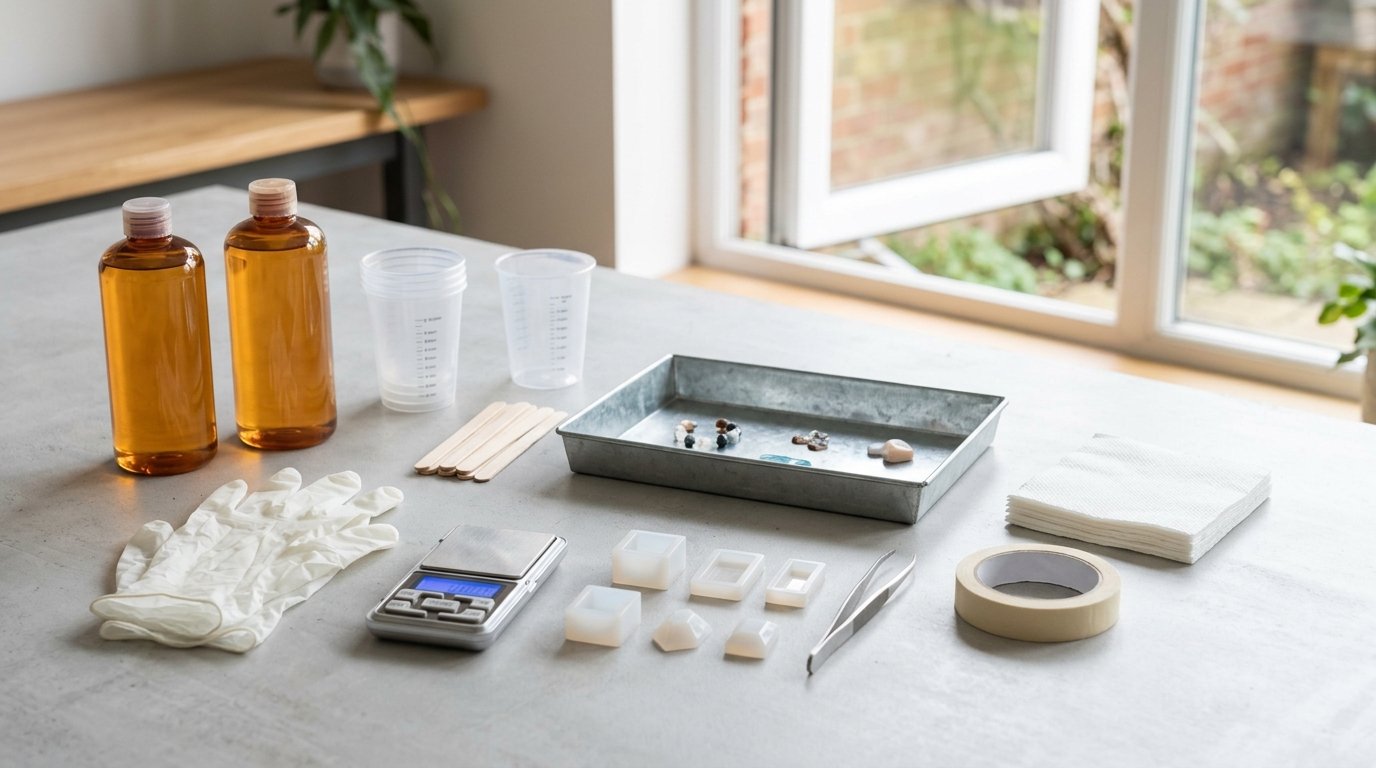
For most of these projects, you will need:
- Epoxy resin and hardener
- Silicone molds or a prepared art surface
- Graduated mixing cups
- Stir sticks
- Nitrile gloves
- Pigments, mica powder, glitter, inks, or inclusions
- Tweezers for small decorations
- A level curing surface
- A dust cover
- Keychain hardware, jewelry findings, or tassels if needed
Always follow the resin label for mixing ratio, working time, curing time, ventilation, and safe handling. Do not guess measurements. Resin crafts usually fail because of inaccurate measuring, incomplete mixing, moisture in add-ins, or moving the project before it has cured enough.
Which Project Should You Start with?
Start with resin coasters if you want the best balance of fun, usefulness, and beginner-friendly technique. Choose keychains if you want fast gifts, jewelry if you like tiny detailed work, and bookmarks if you prefer slim, pretty designs. Move to trays when you are ready to use more resin, and try ocean art when you want a creative challenge with less predictable results.
FAQ
What Should a Beginner Know First About 6 Fun Epoxy Resin Arts and Crafts?
Start small, measure accurately, and use simple silicone molds. Coasters, keychains, and bookmarks are the easiest entry points because they do not require advanced layering. Read your resin label before mixing so you know the correct ratio, working time, and curing time.
What Matters Most When Evaluating 6 Fun Epoxy Resin Arts and Crafts?
The most important factors are skill level, mold size, resin amount, curing space, and how detailed the design is. A fun project should match your patience and supplies. Small projects are cheaper to practice, while trays and ocean art create bigger visual impact.
What Mistakes Should Readers Avoid with 6 Fun Epoxy Resin Arts and Crafts?
Avoid guessing the resin ratio, rushing the mixing process, adding wet flowers or paper, and curing on an uneven surface. Also avoid overfilling molds. Most beginner problems come from inaccurate measuring, trapped bubbles, dust, or moving the piece before it has cured.
What Is the Next Logical Step After Learning About 6 Fun Epoxy Resin Arts and Crafts?
Pick one project and make a simple version before adding complicated effects. A coaster or keychain set is a smart first step. Once you understand mixing, bubbles, pigments, and curing, you can move into layered designs, trays, jewelry sets, or ocean art.