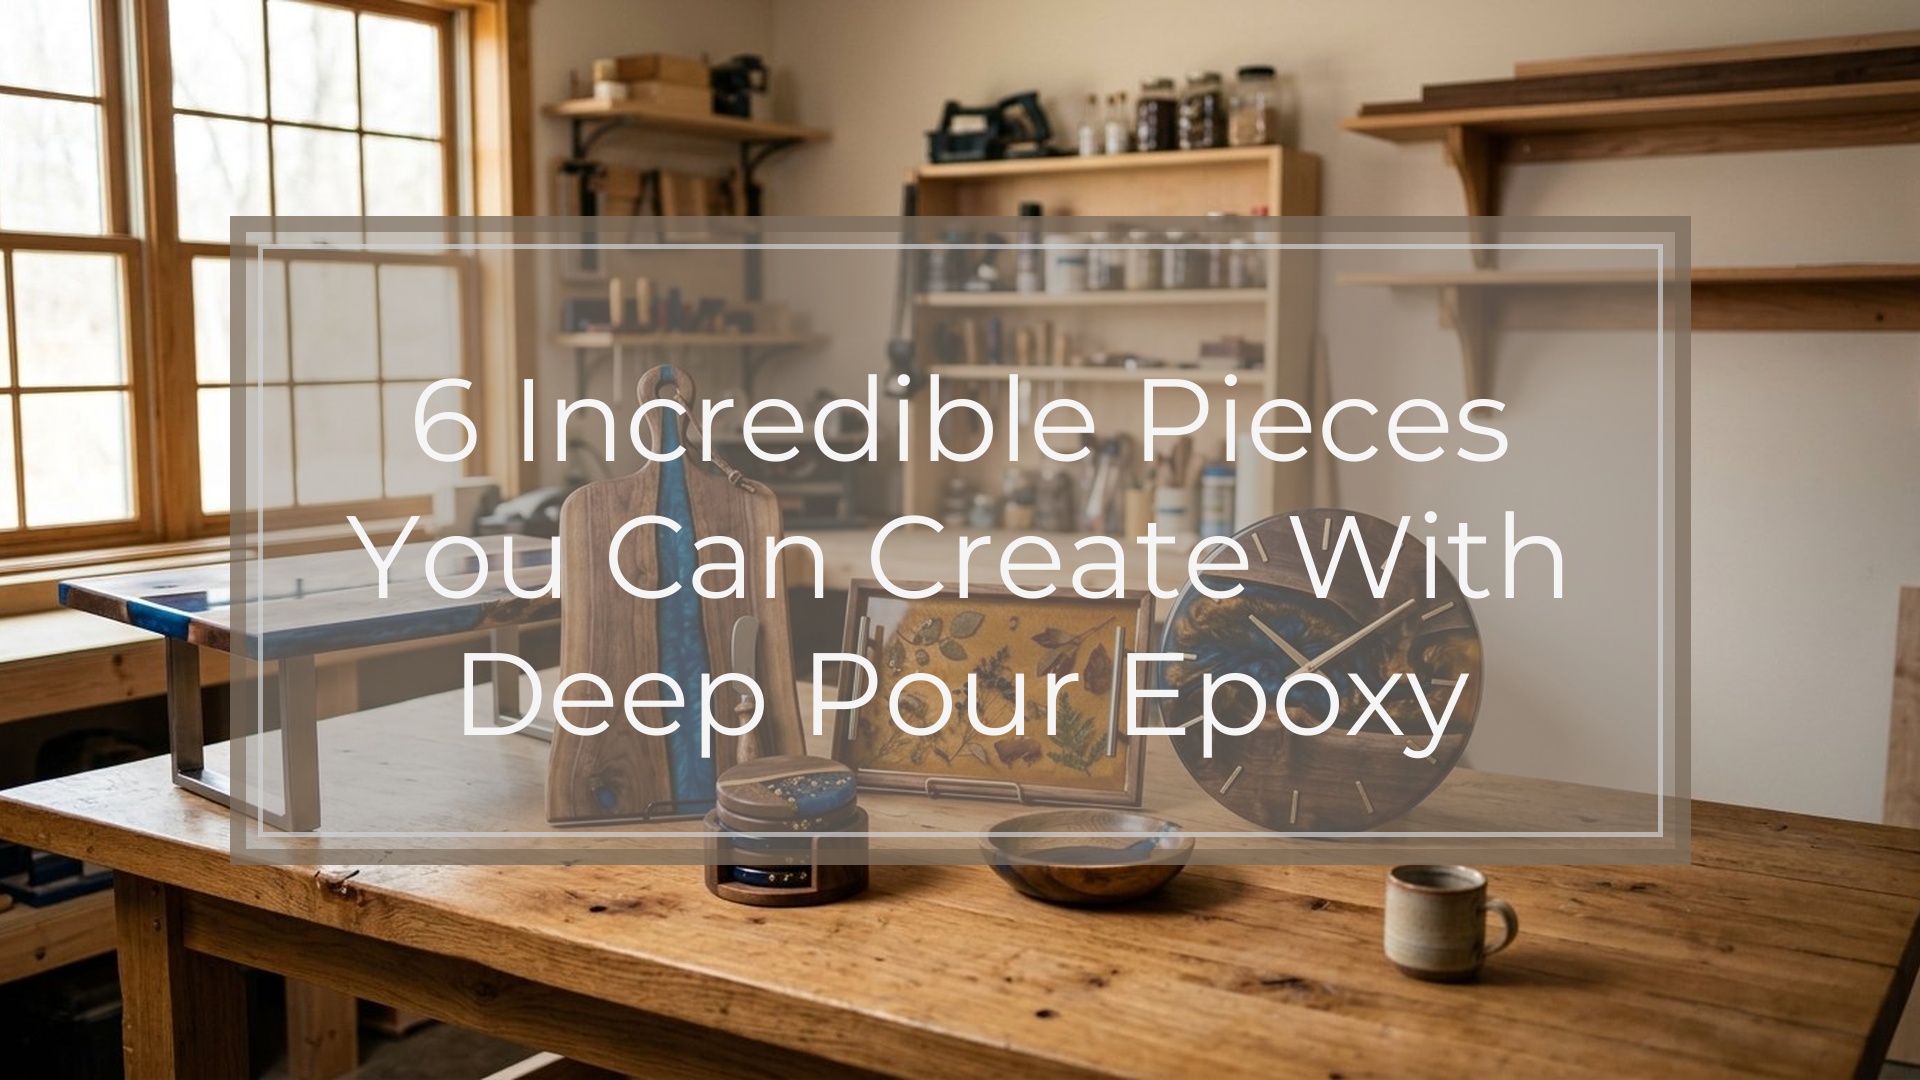
Deep pour epoxy is made for projects that need thickness, depth, and suspended details—not just a shiny surface coat. If you want to cast dimensional pieces, preserve objects, or create the look of water, it gives you more creative room than standard coating resin. Six incredible pieces you can create with deep pour epoxy include river tables, ocean wall art, floral preservation blocks, deep trays, keepsake cubes, and layered scene sculptures. The best choice depends on your workspace, mold size, experience level, curing time, and how much finishing work you are ready to do.
Why Deep Pour Epoxy Changes What You Can Make
If you have only used resin for thin coatings, deep pour epoxy opens a different set of project options. It is designed to cure in thicker layers, which helps when you want a clear casting, a “river” between wood slabs, or objects suspended inside a block.
The key advantage is depth. Instead of decorating only the surface, you can build dimension through color, layers, embeds, and negative space. That makes deep pour epoxy especially useful for statement pieces, keepsakes, and functional decor where the thickness is part of the design.
Before Choosing a Project: Match the Idea to Your Setup
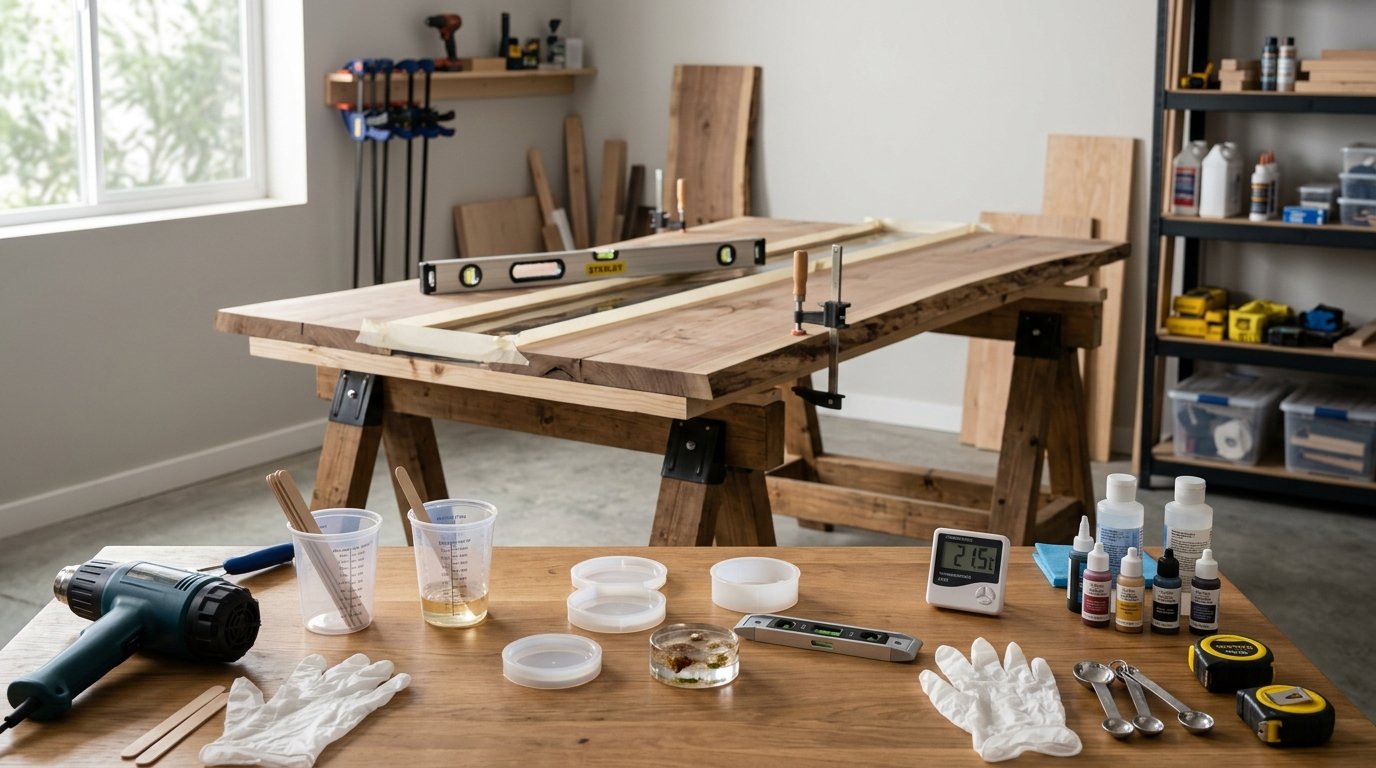
Before picking a project, look at your current setup honestly. A small, level craft table is enough for keepsakes or paperweights, but river tables need more space, stronger forms, and careful support. Large pours also need good temperature control and a resin system rated for the thickness you plan to pour.
Consider your comfort level, too. Beginners usually do better with small molds, simple pigments, and fewer embeds. Intermediate makers can move into trays or wall art. Large furniture and layered sculptures are better when you are already comfortable measuring, mixing, sealing, demolding, sanding, and troubleshooting bubbles.
1. River Tables and River Serving Boards
River tables are one of the most dramatic deep pour epoxy projects because the resin becomes a visible design feature between pieces of wood. This project fits you if you want a functional statement piece and have room for a sturdy mold, clamps, sealing steps, and finishing tools.
A serving board is a more manageable version of the same idea. It uses less resin, cures faster, and is easier to sand and polish. For either version, plan your wood moisture, seal porous edges, and avoid rushing the pour. The main caveat is scale: bigger pieces increase cost, heat concerns, and finishing time.
2. Dimensional Ocean Wall Art
Deep pour epoxy works well for ocean-inspired wall art because it can create the illusion of water depth. You can tint the base layers with transparent blues and greens, add sand or stones, then use white pigment near the top to suggest foam or movement.
This project fits makers who want decorative art without building furniture. It also gives you room to practice layering and color control on a smaller panel or mold. Keep expectations flexible, though. Resin movement can be unpredictable, and ocean effects often look best when you allow some organic variation rather than trying to control every line.
3. Floral Preservation Blocks
Floral preservation blocks are a meaningful use for deep pour epoxy, especially for wedding bouquets, memorial flowers, anniversary flowers, or special garden blooms. The depth allows flowers to be arranged inside a clear casting instead of pressed flat.
This project fits patient makers, because flowers must usually be fully dried before casting. Fresh flowers can discolor, wilt, or release moisture into the resin. Work with small test blooms first, use a mold shape that supports your arrangement, and pour in stages if needed. The main caveat is that delicate petals may still shift, trap bubbles, or change color over time.
4. Deep Resin Trays with Embedded Details
A deep resin tray is a good middle-ground project: more substantial than a coaster, but usually less demanding than furniture. It fits makers who want functional decor and have some experience with molds, pigments, and embedded items.
You can embed shells, stones, dried botanicals, glitter, metallic flakes, photos sealed properly, or small decorative objects. Because trays are handled often, think beyond appearance. Choose a mold with enough structure, avoid sharp or loose embeds near the surface, and consider whether the finished piece needs a topcoat. For best results, keep the design balanced so the tray remains usable, not just decorative.
5. Paperweights, Display Cubes, and Small Keepsake Castings
If you are new to deep pour epoxy, small castings are often the safest place to start. Paperweights, display cubes, and keepsake blocks let you practice measuring, mixing, bubble management, and demolding without committing to a large volume of resin.
These projects fit small workspaces and limited tool collections. You can preserve tiny shells, charms, dried flowers, miniatures, game pieces, or small mementos. The biggest challenge is clarity. Dust, fingerprints, trapped bubbles, and poorly sealed embeds are more noticeable in clear castings. Start with simple shapes and one or two focal items before attempting crowded designs.
6. Layered Landscape or Scene Sculptures
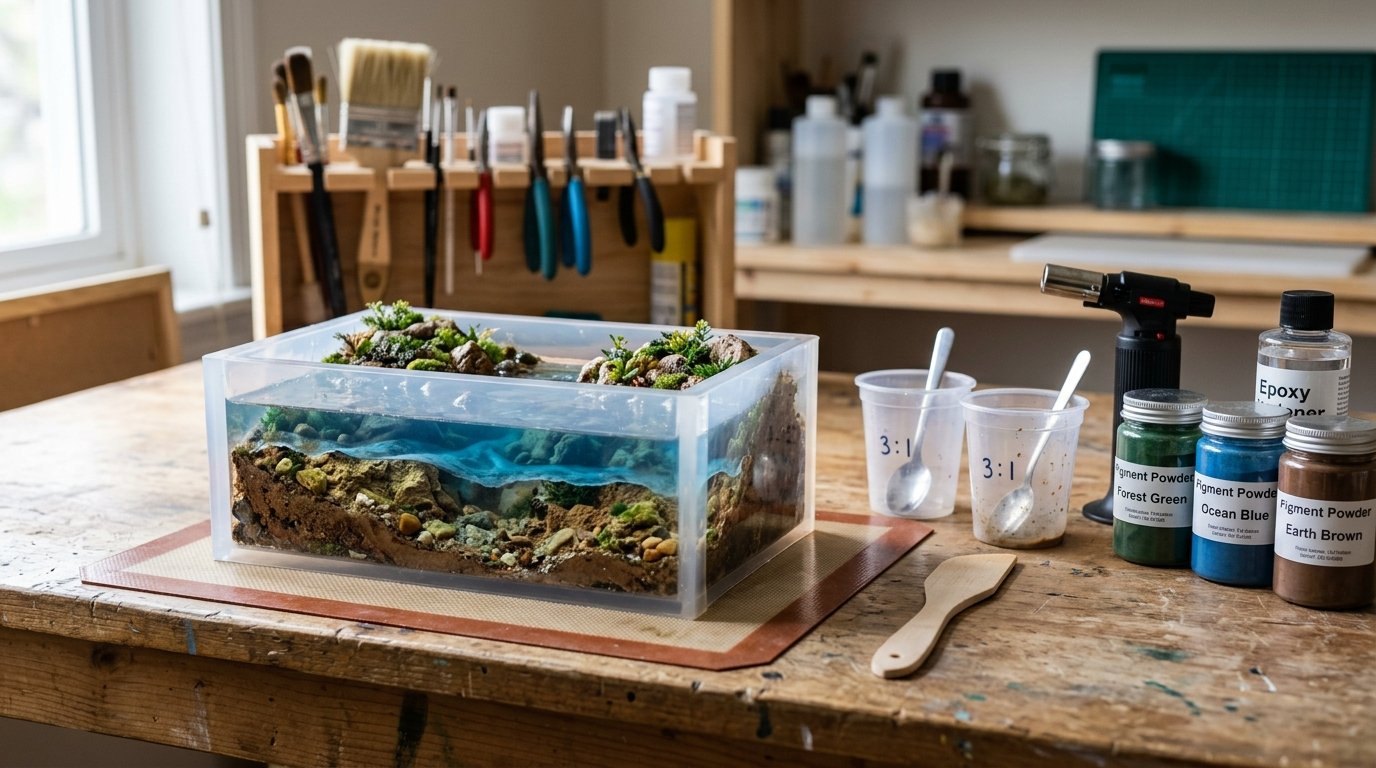
Layered scene sculptures are an advanced way to use deep pour epoxy. Instead of casting everything at once, you build a miniature landscape, underwater scene, fantasy world, or abstract environment through staged pours. Each layer can add color, objects, texture, or depth.
This project fits artistic makers who enjoy planning and are comfortable waiting between layers. It can be done in small molds, but the process requires patience and careful placement. If you add too much at once, details can float, sink, or blur. Use shallow test layers, seal porous materials, and sketch the scene before mixing resin.
Common Caveats Before You Pour
Deep pour epoxy is forgiving in some ways, but it is not a shortcut. Always follow the manufacturer’s ratio, maximum pour depth, temperature range, and cure time. A product labeled “deep pour” can still overheat, cloud, crack, or cure poorly if poured outside its limits.
Work in a ventilated area, wear appropriate protective gear, and protect your surface from spills. Seal porous items like wood, dried flowers, paper, and some natural objects before embedding them. Also remember that bubbles are normal; the goal is to reduce them, not assume every pour will be perfectly clear. Small tests can save expensive mistakes.
Next Steps: Pick One Project and Scale It Wisely
Choose the project that matches your current setup, not just the one that looks most impressive. If you are new, start with a paperweight or small keepsake. If you have mold experience, try a tray or ocean panel. If you have space, tools, and patience, move toward serving boards or tables.
Buy enough resin for a test piece, read the technical directions, and practice your pour before scaling up.
FAQ
What Is Deep Pour Epoxy Best Used for?
Deep pour epoxy is best used for thicker castings where depth matters. It is commonly used for river tables, wood void filling, clear blocks, floral preservation, embedded keepsakes, trays, and layered art. It is usually not the best choice for very thin surface coatings.
Can Beginners Use Deep Pour Epoxy?
Yes, beginners can use deep pour epoxy, but small projects are a better starting point. Try paperweights, small display cubes, or simple molds before attempting furniture. This helps you learn mixing, bubbles, cure time, and demolding with less resin and lower cost.
Do You Have to Pour Deep Pour Epoxy All at Once?
Not always. Some deep pour epoxies are designed for thicker single pours, but staged pours are often useful for embeds, layers, and better control. Always check the product’s maximum pour depth and recoat window so the layers bond properly.
What Can You Embed in Deep Pour Epoxy?
You can embed dried flowers, shells, stones, wood, charms, small keepsakes, glitter, metallic flakes, and many sealed decorative items. Avoid wet, oily, or unsealed porous materials. When in doubt, test first because some objects can release bubbles, discolor, or interfere with curing.
Why Did My Deep Pour Epoxy Get Bubbles?
Bubbles can come from vigorous mixing, porous embeds, unsealed wood, cold resin, or pouring too quickly. Some bubbles are normal, especially in deep clear castings. Sealing materials, mixing slowly, warming the resin as directed, and using suitable bubble-removal methods can help reduce them.