
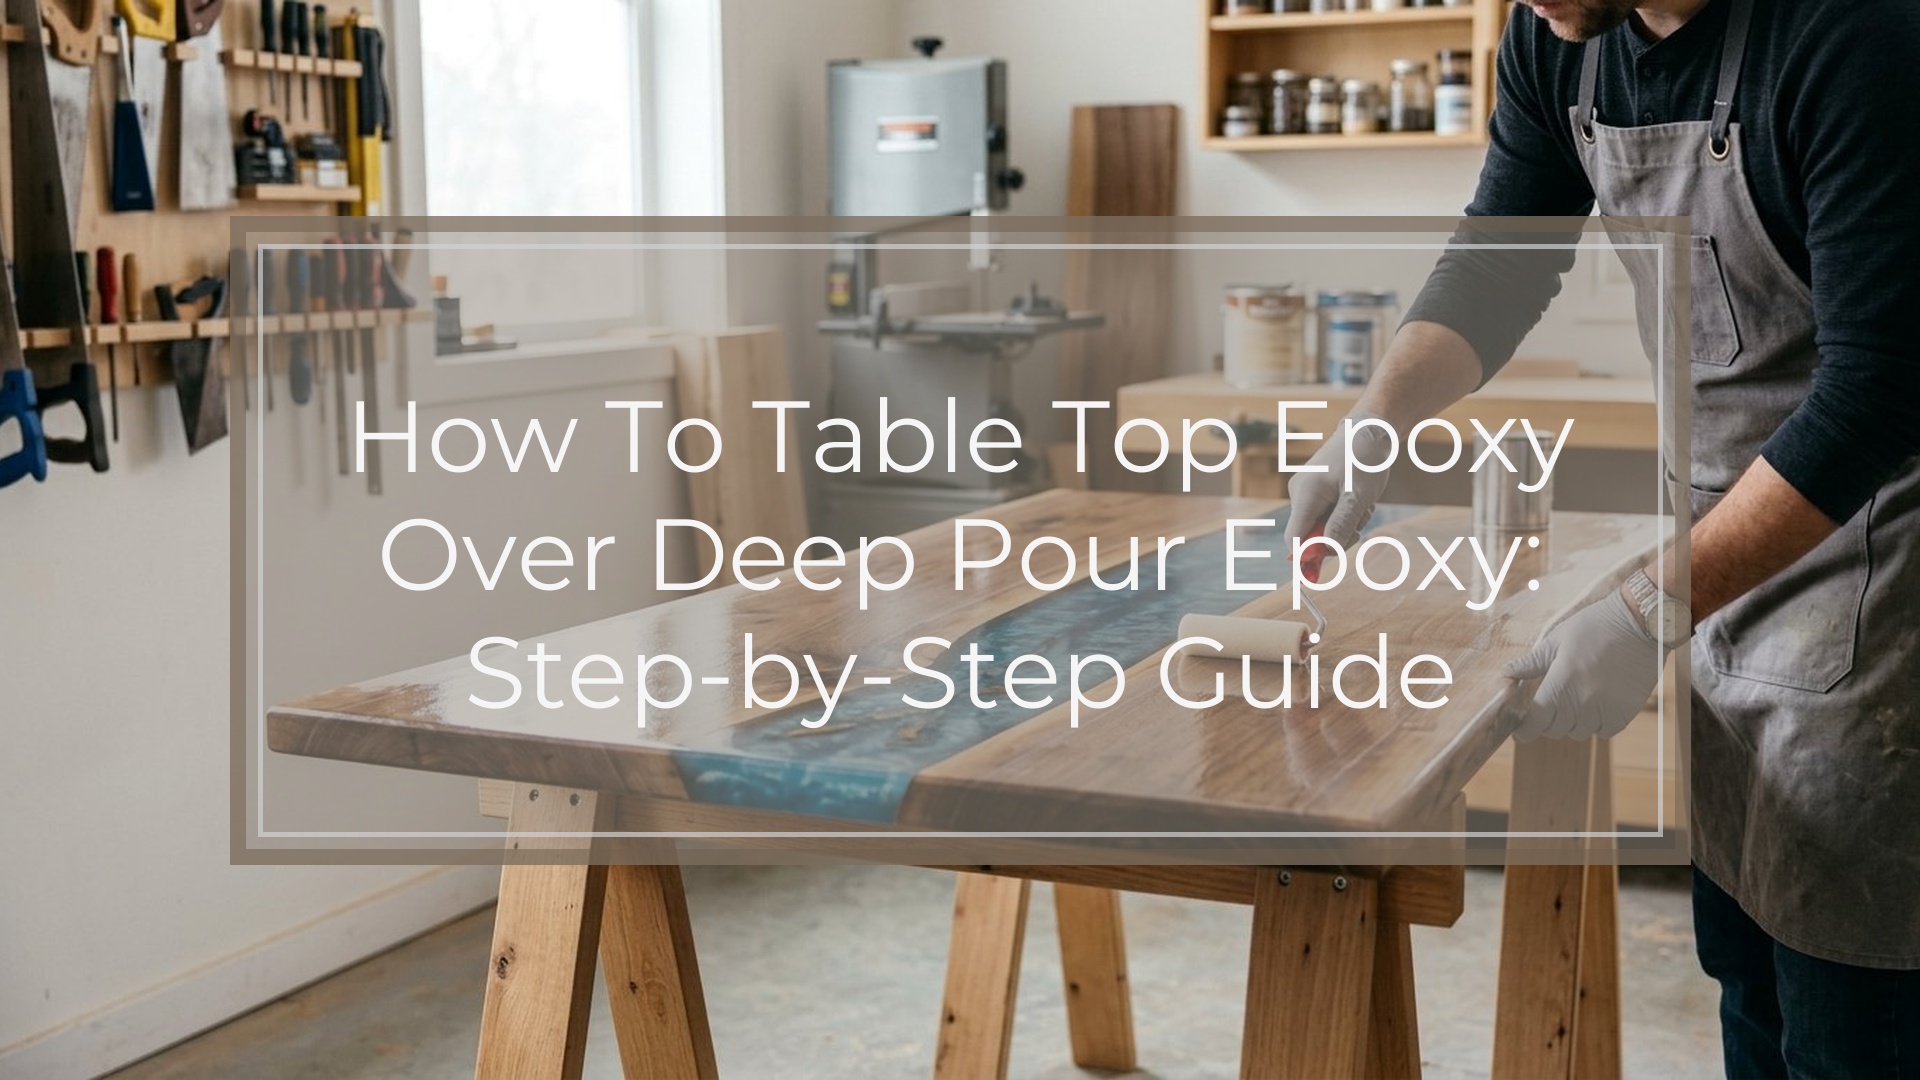
Yes, you can apply tabletop epoxy over deep pour epoxy, but the deep pour layer must be ready to accept a new coat. The surface needs to be fully cured, clean, level, and either still inside the manufacturer’s recoat window or sanded to create mechanical adhesion.
Think of deep pour epoxy as the structural fill layer and tabletop epoxy as the glossy wear layer. Deep pour resin is made for thicker pours, such as river table gaps, while tabletop epoxy is designed to self-level in thinner flood coats. The topcoat will not “melt into” an old cured surface on its own. If the recoat window has passed, sanding is what gives the new epoxy something to grip.
| Product | Best use | What it means for topcoating |
|---|---|---|
| Deep pour epoxy | Thick river pours, void filling, embedded areas | Must cure fully before finishing |
| Tabletop epoxy | Thin glossy flood coats on tables, counters, bars | Needs a clean, scuffed, level base |
Before You Pour: Make Sure the Deep Pour Epoxy Is Ready
The success of a tabletop epoxy coat depends more on preparation than on the pour itself. A glossy topcoat can only look as flat and clear as the layer underneath it allows.
Before adding tabletop epoxy, check three things: cure state, surface condition, and timing. If the deep pour epoxy is still soft, rubbery, oily, or giving off an odor, it is not ready. If the surface has dust, amine blush, fingerprints, sanding residue, wax, polish, or silicone contamination, the topcoat may fisheye or separate.
For most river tables, bar tops, and wood-resin slabs, the safest approach is to let the deep pour cure completely, sand it evenly, clean it thoroughly, then pour the tabletop coat.
What You’ll Need
Gather everything before mixing epoxy. Once tabletop resin is mixed, the clock is running.
You’ll need:
- Tabletop epoxy resin and hardener
- Clean mixing buckets
- Graduated measuring cups or a scale, depending on product directions
- Stir sticks or mixing paddles
- Nitrile gloves and eye protection
- 80- to 220-grit sandpaper or sanding discs
- Random orbital sander or sanding block
- Vacuum or dust extractor
- Lint-free cloths
- Isopropyl alcohol, if approved by your epoxy brand
- Painter’s tape or sheathing tape
- Plastic drop cloth
- Notched spreader, foam brush, or gloved hand
- Heat gun or torch for bubble release
Work in a ventilated, dust-controlled space within the epoxy’s recommended temperature range.
Step 1: Check the Recoat Window
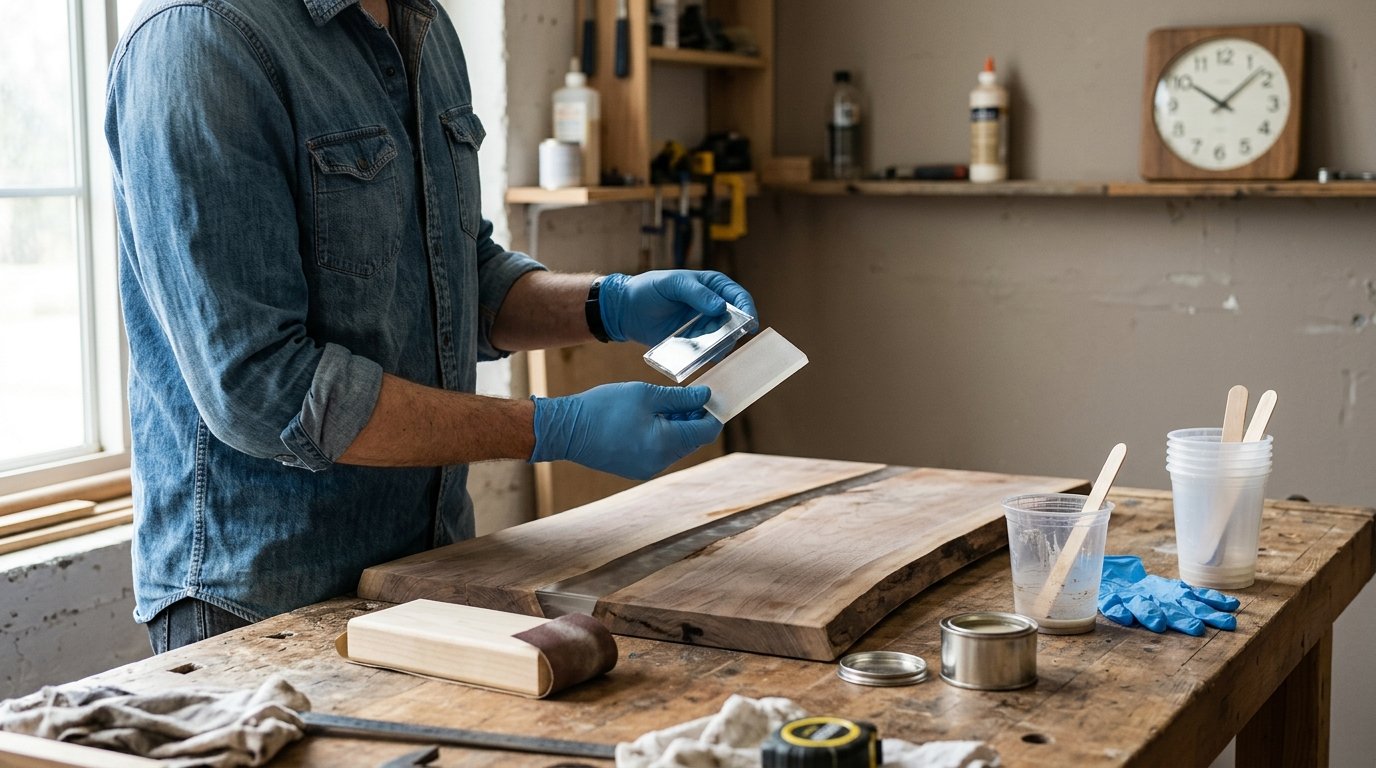
Start by reading the technical instructions for both epoxies. Many products have a recoat window, which is the period when another layer can chemically bond without sanding. This might be within several hours or up to a day, depending on the formula.
If the deep pour epoxy is still within that window and the surface is clean, you may be able to pour the tabletop coat directly. However, the surface should not be liquid, easily dented, or unstable.
If the recoat window has passed, sand before topcoating. When in doubt, sand. A light but complete scuff is much safer than hoping a cured glossy surface will bond.
Step 2: Level and Inspect the Surface
Tabletop epoxy self-levels, but it does not fix major unevenness. If the deep pour layer has ridges, high spots, sunken areas, or raised edges where it meets wood, correct those before the flood coat.
Set the project on a stable, level work surface. Use a bubble level in multiple directions. If the table is tilted, the topcoat will flow to one side, leaving thin areas and heavy drips.
Inspect the surface under strong side lighting. Look for dust nibs, bubbles, craters, soft spots, or glossy patches. Mark defects with painter’s tape near the area, not on the area you plan to coat. Anything you can feel with your fingers may show through the final finish.
Step 3: Sand the Deep Pour Epoxy for Adhesion
Sanding is the key step when applying tabletop epoxy over cured deep pour epoxy. Cured epoxy is often too slick for a reliable bond. Sanding creates fine scratches that the new coat can lock into.
For most tabletop topcoats, sand the entire surface with 120- to 220-grit paper. Use the grit recommended by your epoxy manufacturer if it differs. Start coarser only if you need to flatten ridges or remove defects, then progress to a finer grit before coating.
Do not polish the surface before epoxy. Very fine sanding or buffing can make the surface too smooth. You want a dull, evenly scuffed look with no shiny islands. Shiny spots usually mean the sander missed that area.
On a river table, pay attention to the transition between wood and resin. Sand both materials evenly so the tabletop epoxy bonds across the whole surface, not just the resin channel.
Step 4: Clean Off Dust and Contaminants
After sanding, remove all dust before pouring. Dust trapped under a tabletop coat can create cloudy areas, bumps, or weak adhesion.
Vacuum the surface thoroughly, including cracks, knots, live edges, and the underside lip where dust may cling. Then wipe with a clean, lint-free cloth. If your epoxy manufacturer allows it, use isopropyl alcohol on a cloth, not poured directly onto the surface. Let the solvent evaporate completely before coating.
Avoid household cleaners, tack cloths with wax, furniture polish, mineral oil, or silicone-based products. These can cause fisheyes, bare spots, or crawling in the flood coat. After cleaning, do not touch the surface with bare hands. Skin oils can interfere with adhesion.
Step 5: Tape, Seal, and Prepare the Edges
Prepare for overflow before mixing. Tabletop epoxy is usually poured slightly heavy so it can flow over the edges or be guided to the edge for a full flood coat.
Cover the floor with plastic. Tape the underside edges of the tabletop to catch drips and make cleanup easier. Many makers use sheathing tape or painter’s tape along the bottom perimeter, then remove it at the correct stage of cure.
If your tabletop has open cracks, end grain, knots, or porous wood exposed, seal them first with a thin coat of epoxy. This helps prevent air from escaping into the final flood coat and forming bubbles.
Step 6: Mix the Tabletop Epoxy Correctly
Measure the resin and hardener exactly according to the product ratio. Some tabletop epoxies are mixed by volume, such as 1:1, while others require weight measurements. Do not guess or adjust the ratio to change cure speed.
Mix slowly and thoroughly, scraping the sides and bottom of the container. Rushing can create streaks, soft spots, or cloudy areas. Many tabletop epoxy failures come from unmixed material stuck to the bucket wall.
For best results, use a two-cup mixing method: mix in the first container, scrape into a second clean container, then mix again. This reduces the chance of pouring unmixed resin onto your tabletop. Avoid whipping air into the epoxy. Slow, steady stirring is better than fast mixing.
Step 7: Pour and Spread the Tabletop Epoxy
Pour the mixed tabletop epoxy onto the center of the surface in a controlled ribbon. Do not dump the whole bucket in one spot if the piece is large; move across the table so the resin is easier to spread.
Use a notched spreader, foam brush, plastic squeegee, or gloved hand to guide the epoxy across the surface. Work it toward the edges and into corners. The goal is an even flood coat at the thickness recommended by the manufacturer, often around 1/8 inch for tabletop formulas.
Watch the edges. You can let epoxy flow over for a coated edge or hold it back for a top-only finish, depending on your design. On river tables, make sure the coat bridges evenly from wood to resin so there is no visible ridge or dry strip.
Stop overworking once the surface is covered. Excessive brushing can introduce bubbles and texture.
Step 8: Remove Bubbles Without Damaging the Coat
After pouring, bubbles will rise to the surface. Use a heat gun or torch lightly and quickly to pop them. Keep the tool moving and avoid holding heat in one place.
Too much heat can scorch epoxy, create ripples, thin the coat, or pull air from porous wood. Make one pass, wait a few minutes, then inspect again. Repeat only as needed.
Look closely around knots, cracks, live edges, and the resin-wood boundary. These areas often release bubbles longer than the flat resin surface.
Step 9: Protect the Finish While It Cures
Once the surface looks smooth, protect it from dust, insects, pet hair, and drafts. A clean cover, tented plastic, or large dust shield works well as long as it does not touch the epoxy.
Keep the room within the recommended cure temperature. Cold conditions can slow curing and leave the surface soft. Excess heat can shorten working time and increase bubble problems.
Do not move the piece during the early cure. Avoid touching or trimming drips until the epoxy reaches the stage recommended by the product instructions. Full hardness may take several days, even if the surface feels dry sooner.
Common Problems and How to Fix Them
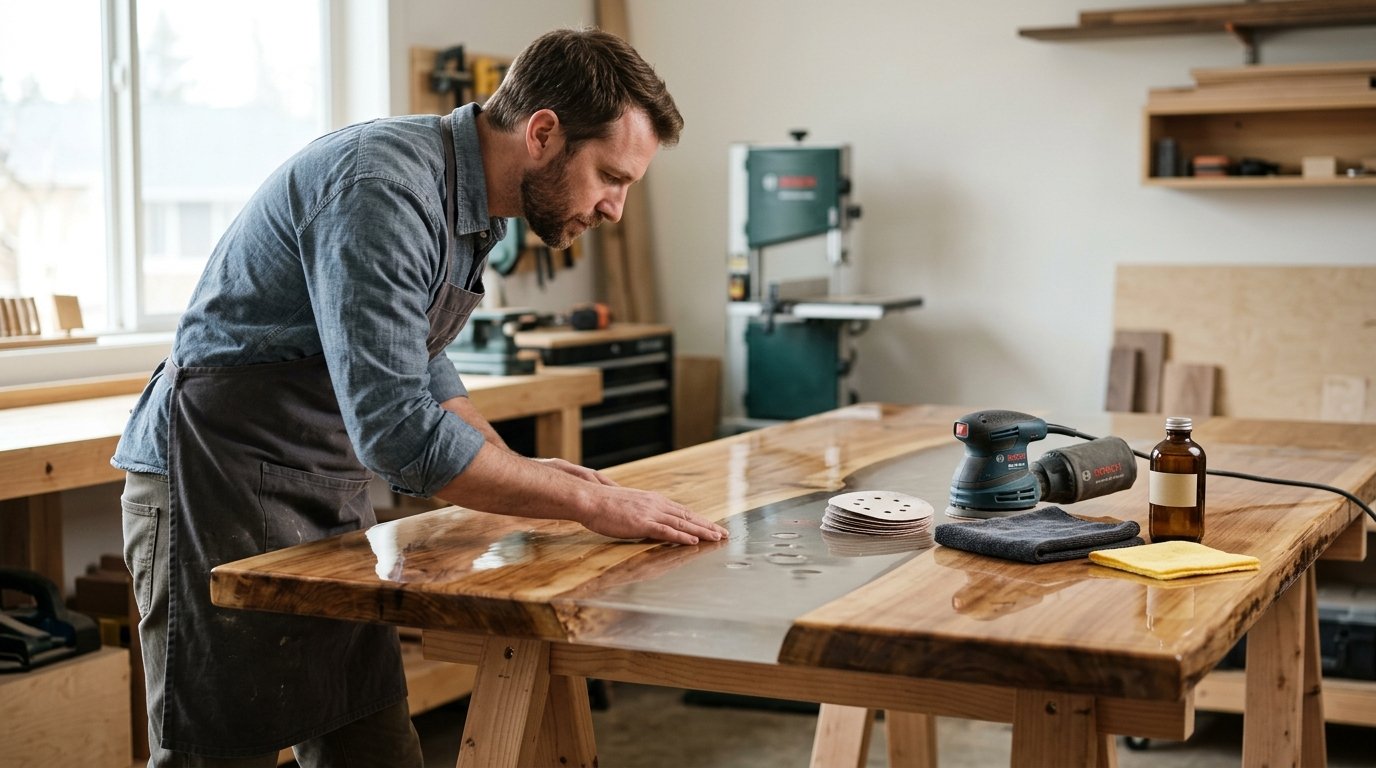
The tabletop epoxy is separating or forming fisheyes. The surface may be contaminated with oil, silicone, wax, or cleaner residue. If the coat is still wet, you may be able to guide epoxy back over the area, but severe fisheyes usually require curing, sanding, cleaning, and recoating.
The topcoat peels or scratches off easily. The cured deep pour layer was probably not sanded enough, or the recoat window had passed. Sand back to a stable surface and reapply.
The finish has cloudy patches. This can come from sanding dust, moisture, poor mixing, or trapped microbubbles. Let it cure, sand the surface, and apply a new properly mixed coat.
The coat is uneven or thin on one side. The table was likely not level. Correct the level before recoating.
Bubbles keep appearing. Porous wood or cracks may be releasing air. Seal those areas before the next flood coat.
FAQ
What Should a Beginner Know First About How to Table Top Epoxy Over Deep Pour Epoxy?
A beginner should know that tabletop epoxy can go over deep pour epoxy only when the base is ready. If the deep pour layer is cured and outside the recoat window, sand it to a uniformly dull surface, clean it well, then pour the topcoat.
What Matters Most When Evaluating How to Table Top Epoxy Over Deep Pour Epoxy?
Adhesion matters most. Check whether the deep pour epoxy is fully cured, whether the recoat window is still open, and whether the surface is clean and scuffed. A perfect pour over a contaminated or glossy cured surface can still fail.
What Mistakes Should Readers Avoid with How to Table Top Epoxy Over Deep Pour Epoxy?
Avoid pouring over soft epoxy, skipping sanding, using household cleaners, touching the cleaned surface with bare hands, mixing inaccurately, or overheating bubbles with a torch. These mistakes can cause peeling, fisheyes, sticky spots, bubbles, or a cloudy finish.
What Is the Next Logical Step After Learning About How to Table Top Epoxy Over Deep Pour Epoxy?
The next step is to check your specific epoxy instructions for cure time, recoat window, sanding grit, mix ratio, and flood coat thickness. Then test your process on a small sample board before coating a finished river table or tabletop.