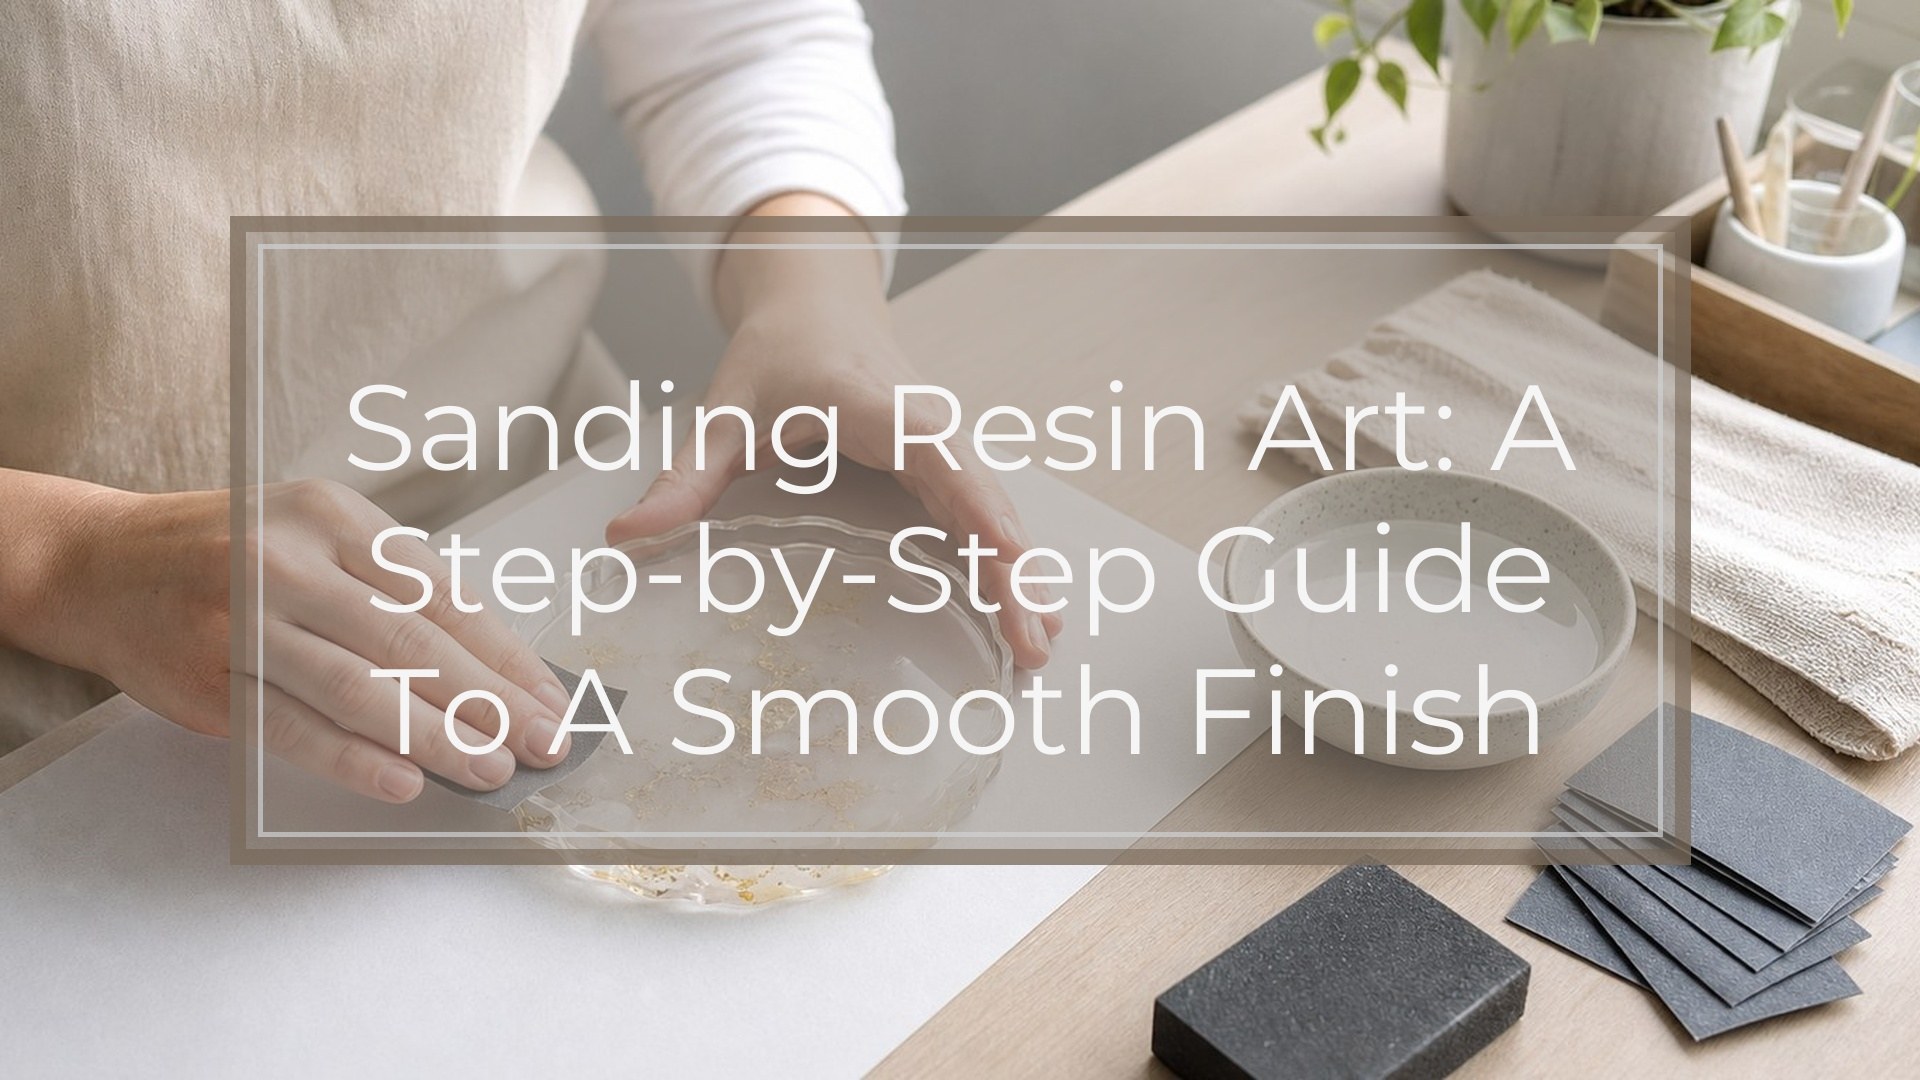
Sanding resin art works best when the resin is fully cured, the surface is kept wet, and you move through grits gradually instead of trying to fix everything with one coarse sheet. Start with the least aggressive grit that will remove the problem, sand with light even pressure, rinse or wipe the surface between grits, then continue finer until the scratches are uniform and shallow. Sanding will make glossy resin look dull, so plan to restore the finish afterward with polishing compound or a fresh clear coat of resin. The key is patience: clean often, inspect often, and never jump too far between grits.
Before You Start: Make Sure the Resin Is Ready to Sand
Only sand resin art after it has fully cured. “Dry to the touch” is not always cured enough; many epoxy resins need 24 to 72 hours, and some need longer depending on temperature, thickness, and brand instructions. If the resin feels rubbery, dents under a fingernail, smells strongly, or clogs sandpaper immediately, wait.
Work in a ventilated area and protect yourself from resin dust. Wet sanding reduces airborne dust, but you should still wear gloves and, especially for dry sanding or edge work, a respirator rated for fine particles. Do not sand uncured or sticky resin.
Supplies You Need for Sanding Resin Art
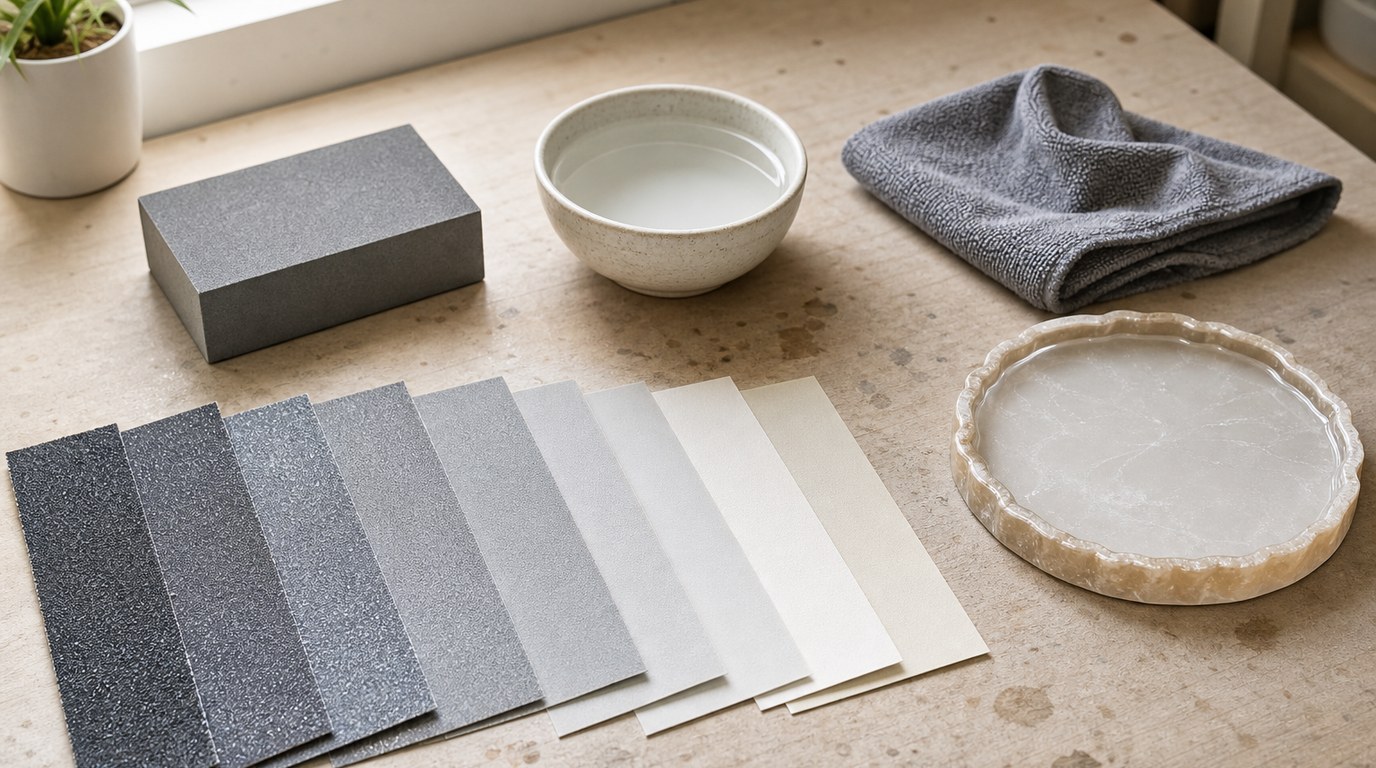
Gather everything before you start so you are not switching tools with a wet, scratched surface in front of you. You will need wet/dry sandpaper in progressive grits, such as 400, 600, 800, 1000, 1500, 2000, and possibly 3000. For heavier defects, you may need 220 or 320, but use those only when necessary.
Also prepare a shallow water container or spray bottle, a few microfiber cloths, a soft sanding block, painter’s tape, gloves, eye protection, and a respirator if dust is possible. For the final finish, have resin polish, polishing pads, or fresh clear resin ready.
Step 1: Decide What You’re Fixing
Do not start sanding resin art without a target. A tiny dust nib does not need the same grit as a thick cured drip. For light surface texture, start around 800 or 1000 grit. For visible scratches, uneven patches, or small bumps, try 400 to 600 grit. For hard drips on edges, you may need 220 or 320 first.
Always begin with the finest grit that can solve the problem. Starting too coarse creates deeper scratches that take longer to remove.
Step 2: Set up for Wet Sanding
Wet sanding is usually the safest choice for resin art because it keeps dust down and helps prevent deep scratch marks. Place the artwork on a stable, flat, protected surface. If the back or sides are finished, use a soft towel or foam pad underneath to prevent new marks.
Dip the sandpaper in clean water or mist the resin surface. Keep a small bowl nearby for rinsing the paper. The water should look slightly cloudy as you sand; that is normal resin slurry. Wipe it away often.
Step 3: Sand with the First Grit Using Light, Even Pressure
Wrap the sandpaper around a soft sanding block for flat areas. This spreads pressure evenly and helps prevent finger grooves. Sand in straight overlapping passes or small controlled circles, using very light pressure. Let the grit do the work.
Keep the surface wet the entire time. If the paper starts dragging, squeaking, or collecting gummy residue, stop and rinse. Do not press harder to speed up the process; that can create gouges and uneven low spots.
Sand only until the defect is removed or the whole target area has an even, matte appearance. Over-sanding can thin the resin layer.
Step 4: Clean and Inspect Before Changing Grits
Before moving to the next grit, rinse the surface and wipe it dry with a clean microfiber cloth. Inspect under bright angled light. You are looking for one consistent scratch pattern, not shiny pits, raised bumps, or random deeper lines.
If the original defect is still visible, stay with the same grit a little longer. If you move finer too soon, the next grit may polish around the defect instead of removing it. Clean your hands, block, and work surface so coarse particles do not contaminate finer sanding stages.
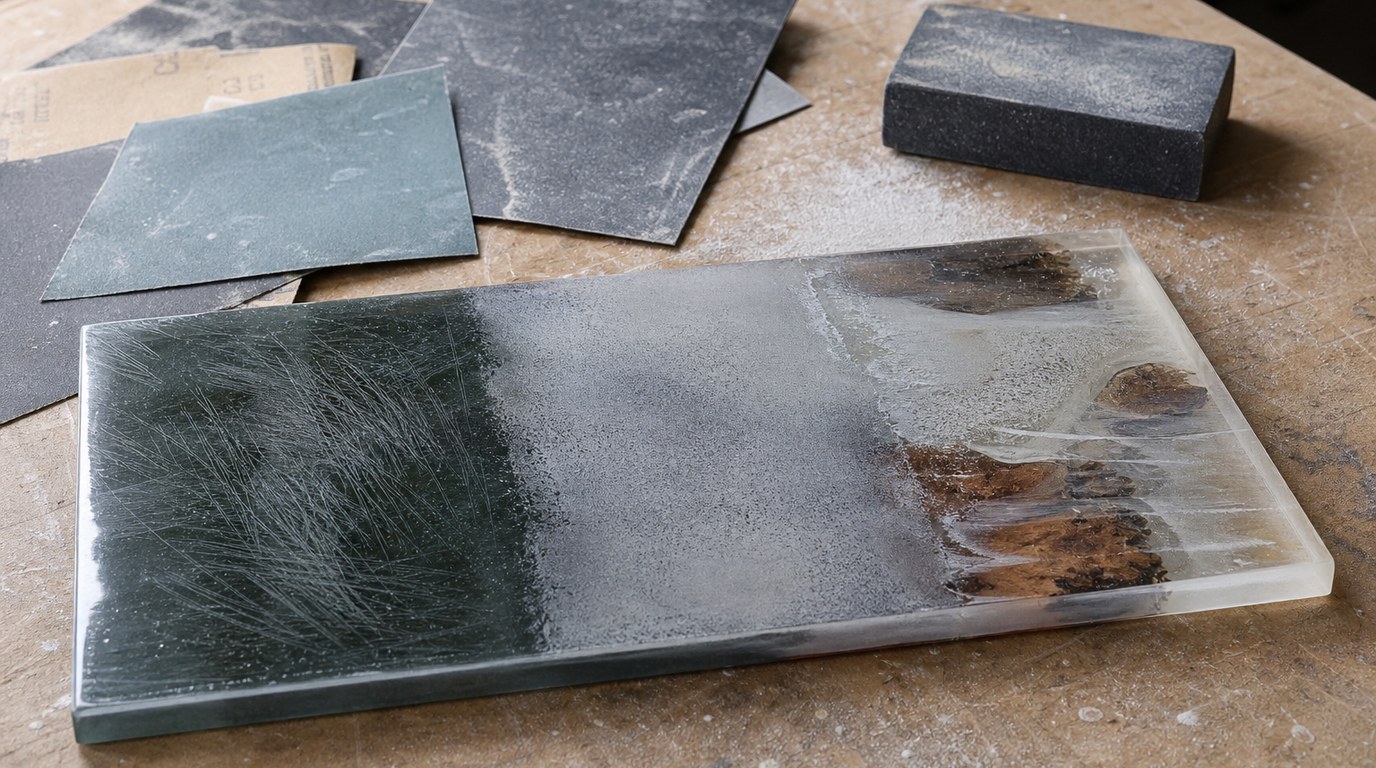
Step 5: Move Through Finer Grits Gradually
Progressive sanding means each finer grit removes the scratches from the previous grit. A practical sequence is 400, 600, 800, 1000, 1500, 2000, then 3000 if you want an easier polish. If you started at 800, continue to 1000, 1500, and 2000.
Do not skip from 400 directly to 2000. The fine paper will not efficiently remove the deeper scratches, and the surface may stay hazy. Change sanding direction slightly with each grit if possible; this makes it easier to see whether the previous scratches are gone.
For a surface you plan to recoat with resin, sanding to 600 or 800 is often enough for adhesion. For polishing, go finer.
Step 6: Sand Edges and Drips Without Rounding the Artwork
Edges need more control than the main surface. For cured drips, start by carefully shaving the bulk with a sharp craft blade only if you can do it safely, then sand the remaining ridge. Use a sanding block or small file to keep the edge flat.
Avoid rocking the sandpaper over corners unless you want a rounded edge. Tape the front face near the edge if you are only working on the side. Use short strokes and check often. Once the drip is level, move through finer grits so the edge matches the rest of the piece.
Step 7: Restore the Shine After Sanding
Sanded resin will look dull, frosted, or cloudy even when you did everything correctly. That matte look is the scratch pattern left by the sandpaper. To restore gloss, choose either polishing or recoating.
For polishing, sand up to at least 2000 or 3000 grit, then use a plastic or resin polishing compound with a soft cloth or foam pad. Work slowly and avoid overheating the resin.
For the glossiest finish, pour or brush on a thin fresh clear coat after cleaning the sanded surface. Make sure the piece is dust-free, dry, and level before recoating.
Result Check: How to Know You Sanded Resin Correctly
You sanded correctly if the surface feels smooth, the defect is gone, and the scratch pattern is even before finishing. Under angled light, you should not see random deep lines, shiny low spots, or wavy patches.
After polishing or recoating, the resin should look clear and glossy again. If it still looks cloudy, the sanding scratches may be too deep, the surface may need a finer grit, or polishing was not completed long enough. Check edges too; they should be smooth, not chipped or over-rounded.
Common Mistakes When Sanding Resin Art
The biggest mistake is sanding resin before it is fully cured. Soft resin smears, clogs paper, and may never sand cleanly. Another common problem is pressing too hard, which creates grooves and uneven dull patches.
Skipping grits also causes visible scratches. Each grit has a job, and rushing the sequence usually makes the final finish worse. Dirty water or reused coarse paper can drag large particles across the surface, so rinse often.
Do not forget that sanding removes gloss. If you sand a shiny resin surface, you must polish it or apply another clear coat to make it shine again.
Troubleshooting: Fix Cloudiness, Scratches, and Uneven Spots
If the resin looks cloudy after sanding, continue with finer grits, then polish or recoat. Cloudiness usually means the surface is covered in fine scratches.
If you see deep scratches after polishing, go back to the grit that can remove them, then repeat the progression. Do not try to hide deep scratches with polish alone.
For uneven spots, sand with a block instead of your fingers. If the resin layer is already thin or you are near embedded art, stop sanding and consider a fresh flood coat instead.
FAQ
Can You Sand Resin Art After It Cures?
Yes. Fully cured resin can be sanded to remove bumps, scratches, drips, uneven texture, or surface contamination. Wait until the resin reaches its full cure according to the product instructions. If it feels soft, rubbery, sticky, or clogs sandpaper quickly, it is not ready.
Should I Wet Sand or Dry Sand Resin?
Wet sanding is usually better for resin art because it reduces dust, keeps the paper from clogging, and helps create a smoother scratch pattern. Dry sanding can work for edges or heavy shaping, but wear a respirator and clean the dust carefully before finishing.
What Grit Sandpaper Should I Use for Resin Art?
Use the finest grit that will fix the problem. Light texture may only need 800 or 1000 grit. Small bumps or scratches may need 400 to 600. Heavy drips may start at 220 or 320. For polishing, progress to 2000 or 3000 grit.
Why Does My Resin Look Cloudy After Sanding?
Cloudiness after sanding is normal because sandpaper creates tiny scratches that scatter light. The resin will not look glossy again until those scratches are refined and polished, or covered with a fresh clear coat. If it stays cloudy, continue with finer grits before finishing.
Can I Pour Resin Over Sanded Resin?
Yes. You can pour fresh resin over sanded resin as long as the old resin is cured, clean, dry, and free of dust, oil, and loose particles. A lightly sanded surface can help the new coat bond. Wipe it thoroughly before pouring.