Successful epoxy resin pouring comes down to five basics: measure accurately, mix thoroughly, control the room temperature, respect the product’s pour-depth limit, and protect the surface while it cures. Most failed pours happen because the resin and hardener ratio was off, the sides of the cup were not scraped, the pour was too deep, or dust and bubbles were not handled early. Before you start, read your resin’s instructions instead of relying on a general rule. Different formulas cure at different speeds, create different amounts of heat, and allow different pour depths. If you prepare your workspace first and move calmly, epoxy pouring becomes much easier to control.
Before You Pour: What Should You Check?
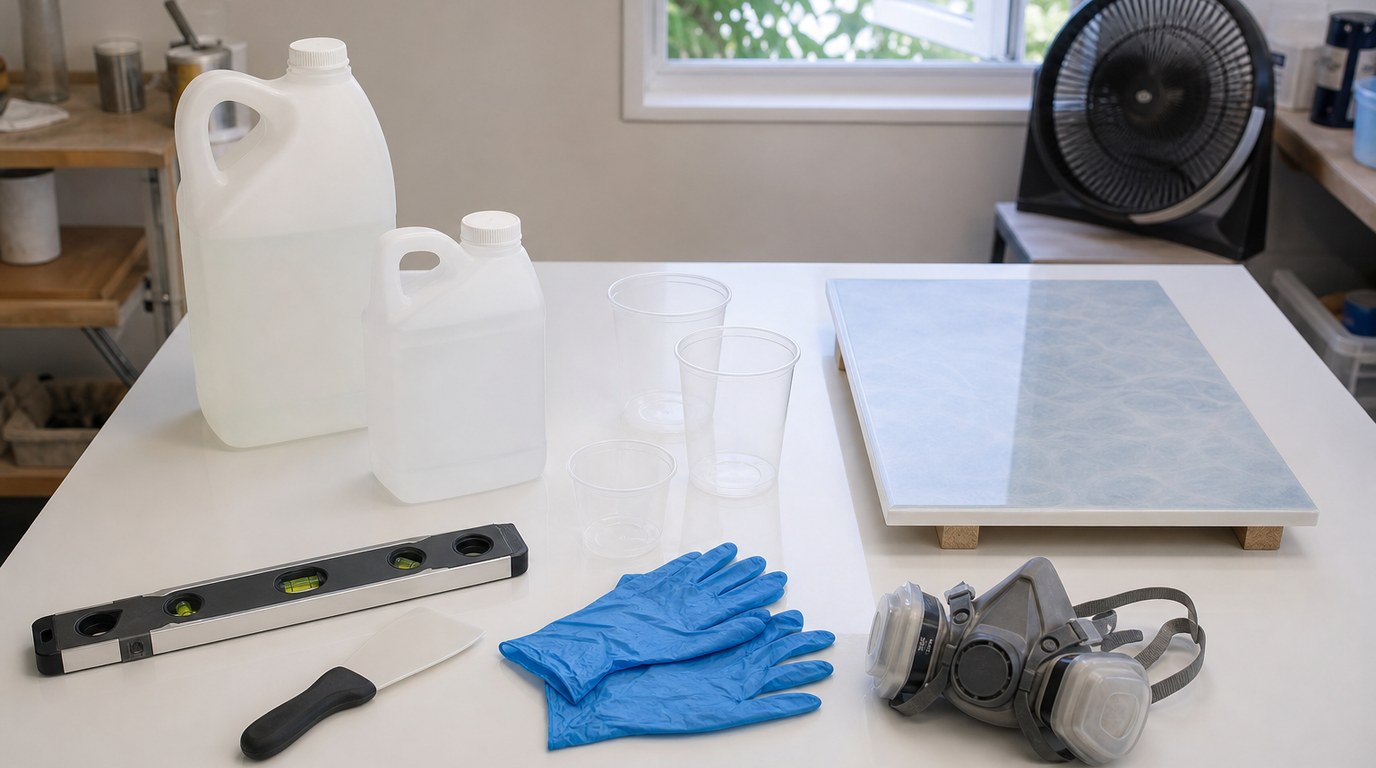
Before pouring epoxy resin, check the product label, workspace temperature, project surface, and safety setup. Your resin should be suitable for the type of pour you plan: coating resin for thin surface layers, casting or deep-pour resin for thicker pours.
Work in a clean, level, well-ventilated area. Wear gloves, protect your table, and keep paper towels, mixing sticks, extra cups, and a dust cover nearby. Seal porous materials such as wood, paper, or dried flowers before the main pour so trapped air does not rise into the resin.
Also confirm the resin is not cold. Cold resin is thick, harder to mix, and more likely to hold bubbles. A stable, moderate room temperature usually gives the smoothest result.
How Do You Mix Epoxy Resin for Pouring?
Measure resin and hardener exactly according to the manufacturer’s ratio, usually by volume or weight depending on the product. Do not guess, and do not add extra hardener to “speed things up.” That usually causes soft, sticky, cloudy, or overheated resin.
Pour both parts into a clean mixing cup and stir slowly for the full recommended time. Scrape the bottom and sides of the cup as you mix. Fast whipping adds bubbles, while lazy mixing leaves unmixed streaks that may never cure properly.
For a more reliable pour, use the two-cup method: mix in the first cup, scrape into a second clean cup, then mix again briefly. This reduces the chance of unmixed resin clinging to the cup wall and entering your project.
How Deep Can You Pour Epoxy Resin?
Pour depth depends on the resin formula. Thin coating epoxies may only be designed for shallow layers, while deep-pour epoxies can handle much thicker pours. Always follow the maximum depth listed by the manufacturer.
Depth matters because epoxy creates heat as it cures. If you pour too deeply with the wrong resin, it can overheat, yellow, crack, smoke, ripple, or cure unevenly. Thicker pours also trap bubbles more easily because air has farther to travel before it reaches the surface.
If you need a thick finished piece, pour in layers. Let each layer reach the correct stage recommended by the product instructions before adding the next one. This is safer and usually clearer.
How Do You Avoid Bubbles, Dust, and Uneven Curing?
To reduce bubbles, warm the resin slightly in a sealed bottle placed in warm water, then dry the bottle before opening. Stir slowly, seal porous surfaces, and let mixed resin rest briefly if the product allows it. After pouring, use a heat gun or torch carefully and briefly to pop surface bubbles. Do not overheat the resin.
To avoid dust, clean the area before mixing and cover the project with a box, lid, or plastic cover while it cures. Do not use a cover that touches the resin.
For even curing, keep the project level and maintain steady temperature. Avoid direct sun, cold drafts, damp areas, and moving the piece once curing has started. Uneven conditions can cause waves, tacky patches, or cloudy spots.
What If Your Epoxy Pour Goes Wrong?
If bubbles appear, treat them while the resin is still fluid. If dust lands on the surface, remove it only if you can do so without dragging marks through the resin; otherwise, sand and recoat after curing.
If the surface is sticky, check whether it is under-cured or just has a tacky blush or residue. Soft or liquid resin usually means incorrect measuring or incomplete mixing and may need removal. Fully cured imperfections can often be sanded smooth and covered with a fresh, thin coat. When in doubt, wait the full cure time before deciding the repair.
FAQ
What Should a Beginner Know First About Faqs Epoxy Resin Pouring?
A beginner should know that epoxy resin pouring is mostly about preparation and accuracy. Measure exactly, mix slowly but completely, use the correct resin for the pour depth, and keep the project clean, level, and protected while curing. Small setup mistakes often cause the biggest problems.
What Matters Most When Evaluating Faqs Epoxy Resin Pouring?
The most important factors are resin type, mix ratio, working time, pour depth, curing temperature, and surface preparation. A resin that works well for a thin coating may not be safe for a deep casting. Always judge the project by the specific product instructions.
What Mistakes Should Readers Avoid with Faqs Epoxy Resin Pouring?
Avoid guessing the ratio, mixing too quickly, pouring too deep, working in a cold room, skipping surface sealing, and leaving the piece uncovered while it cures. Also avoid using a torch too aggressively, because too much heat can damage the surface or create new defects.
What Is the Next Logical Step After Learning About Faqs Epoxy Resin Pouring?
The next step is to run a small test pour using the same resin, pigments, mold, or surface you plan to use in the final project. A test helps you check cure time, bubbles, color strength, heat behavior, and surface finish before risking a larger pour.