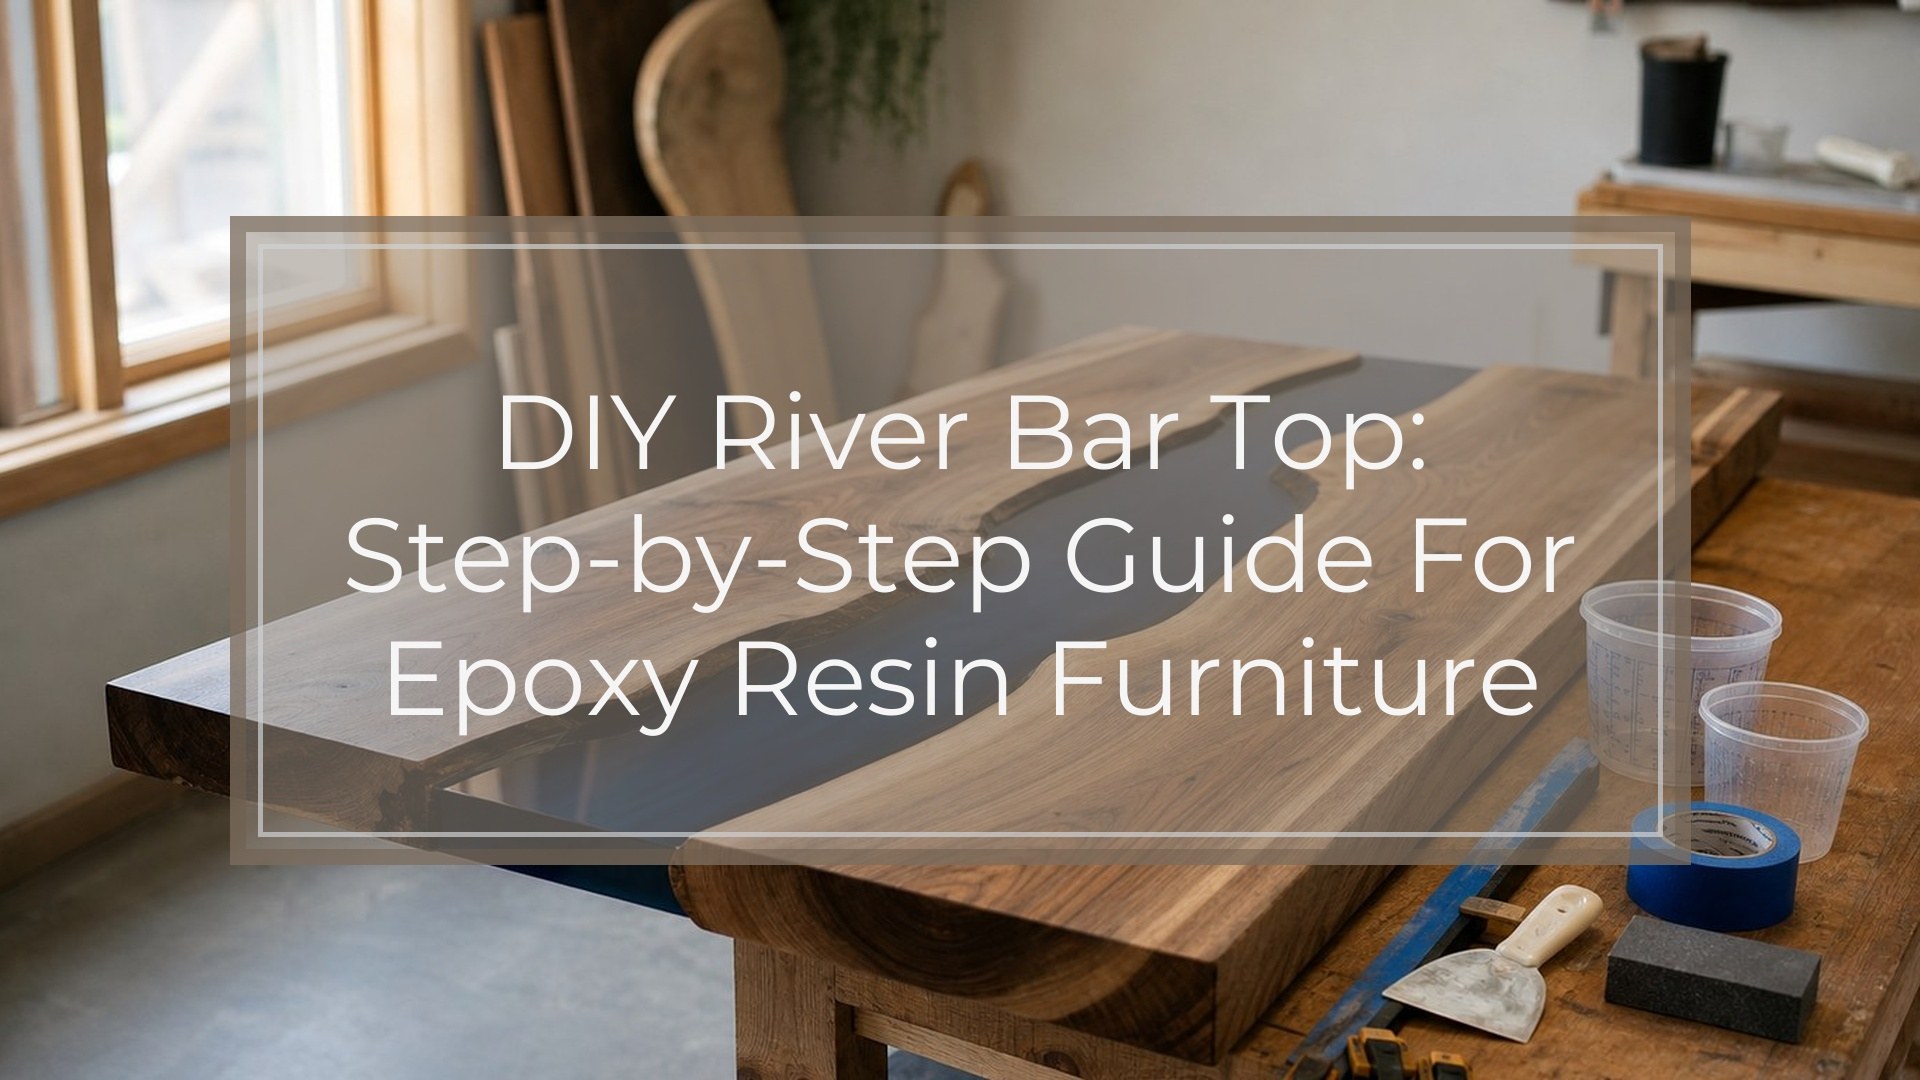
A DIY river bar top is a wood-and-epoxy countertop with a resin “river” running between two boards or slabs. The project is achievable for a careful DIYer, but it is not a quick craft: success depends on accurate measuring, a sealed mold, correct epoxy choice, stable temperature, and patient curing. The basic process is to design the layout, prepare and seal the wood, build a leak-proof form, calculate resin volume, mix and pour epoxy in the correct depth, then flatten, sand, finish, and install the bar top. If this is your first large epoxy project, practice with a small sample pour before committing to a full bar-sized slab.
Introduction: What You’re Building
A river bar top combines hardwood with a clear, tinted, or pigmented epoxy channel. Unlike a small resin tray, a bar top must be flat, strong, food- and drink-resistant, and securely mounted. The “river” can look like water, smoke, stone, or a bold color stripe, but the build quality matters more than the effect. Good prep prevents leaks, soft spots, bubbles, and uneven finishing.
Prerequisites: Space, Safety, and Planning
Work in a dust-controlled, level space where the temperature stays within your epoxy manufacturer’s recommended range, often around 70°F to 75°F. Wear nitrile gloves, eye protection, and a respirator if your resin or finish requires it. Protect floors because epoxy leaks travel fast.
Plan the final size, overhang, support, and thickness before buying materials. Also confirm your epoxy’s maximum pour depth. Deep-pour epoxy and tabletop coating epoxy are not interchangeable, and using the wrong one can cause overheating, cracking, or a rubbery cure.
Materials and Tools Checklist
Choose dry, stable wood with moisture content around 6% to 10%. Live-edge slabs are popular, but straight boards can work if you shape the river edges. Use a deep-pour epoxy for the river and a durable topcoat or hardwax/oil finish if desired.
| Item | Notes |
|---|---|
| Wood slabs or boards | Kiln-dried hardwood is best |
| Deep-pour epoxy | Match to planned pour depth |
| Pigment or dye | Use resin-compatible colorants |
| Mold material | Melamine, HDPE, or sealed MDF |
| Sheathing tape or mold release | Prevents epoxy bonding to mold |
| Silicone caulk | Seals mold seams |
| Clamps/weights | Prevents wood from floating |
| Mixing buckets and sticks | Use graduated containers |
| Sander/router/planer | For flattening and finishing |
| PPE | Gloves, glasses, respirator as needed |
Step 1: Design the Layout and Dry-fit the Wood
Place the wood pieces in the mold area and test several river shapes. Keep the bar top width practical and leave enough wood on both sides for strength and mounting. Mark the final orientation with painter’s tape or pencil.
Check that the best face is up, the ends align, and any cracks or knots are intentional design features. Photograph the layout before moving anything. Once epoxy is mixed, you do not want to redesign under time pressure.
Step 2: Prepare and Seal the Wood
Remove bark, loose fibers, dust, oil, and soft punky areas. Sand or wire-brush the river edges so the epoxy bonds to solid material. Fill deep cracks or voids that could trap air.
Seal the river edges and any porous end grain with a thin coat of epoxy before the main pour. This seal coat reduces bubbles rising from the wood. Let it become tacky or cure according to the product instructions. Never pour over damp, dirty, or unstable wood.
Step 3: Build a Leak-proof Mold
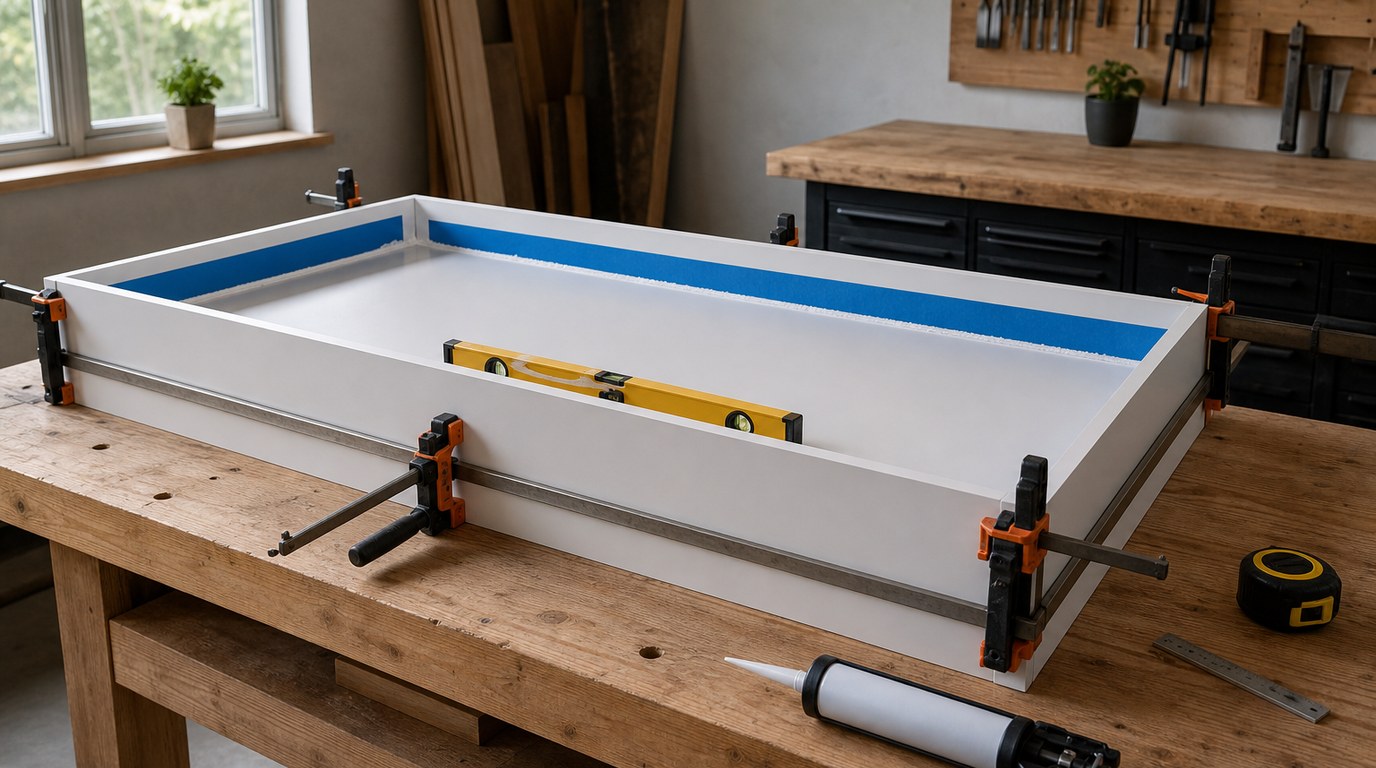
Build the mold slightly larger than the final bar top. Use melamine, HDPE, or another smooth nonstick surface, and cover vulnerable areas with sheathing tape or mold release. Fasten the sides tightly and run a continuous bead of silicone caulk along every inside seam.
Level the mold in both directions before adding wood. Clamp the slabs down or use covered weights and braces so they cannot float when epoxy is poured. Do a quick water or alcohol wipe test only if your mold material allows it, then dry completely.
Step 4: Calculate Epoxy Volume and Plan the Pour
Measure the average river length, width, and depth. Multiply length × width × depth to estimate cubic volume, then convert to ounces, liters, or gallons. Add 10% to 15% extra for irregular edges, cracks, and waste.
Check the epoxy’s maximum single-layer depth. If your river is deeper than allowed, plan multiple pours with proper timing between layers. Too much epoxy in one pour can overheat, yellow, crack, smoke, or cure with waves and bubbles.
Step 5: Mix and Tint the Epoxy
Read the resin instructions before opening the bottles. Measure Part A and Part B exactly by the required ratio, either by volume or weight as specified. Mix slowly, scraping the sides and bottom of the bucket.
Add pigment after the resin and hardener are combined unless the manufacturer says otherwise. Do not overload colorant; too much can weaken the cure. For a river effect, mix a base color and add subtle metallic swirls near the end, but avoid overmixing them into mud.
Step 6: Pour the River
Pour slowly into the lowest areas first and let the epoxy flow through the channel. Use a spreader or stick to guide resin into knots and voids. Watch for leaks under the mold and around the ends for the first 30 minutes.
Remove surface bubbles with a heat gun or torch only as directed, using quick passes to avoid scorching epoxy or wood. If pouring in layers, wait until the previous layer reaches the correct recoat stage. Keep wood clamped until the epoxy is firm enough that it cannot lift or drift.
Step 7: Let the Epoxy Cure Properly
Cover the mold with a clean dust shield that does not touch the surface. Maintain a steady temperature and avoid moving the slab while it cures. Sudden cold can slow curing; excess heat can distort the pour.
Cure times vary widely. Some deep-pour epoxies demold in two to five days but need longer before machining or heavy use. Follow the manufacturer’s schedule rather than guessing by surface dryness. If it feels soft, flexible, or tacky, wait.
Step 8: Demold, Flatten, and Trim the Bar Top
Remove the mold sides carefully. If the epoxy resists, use plastic wedges rather than metal tools that can gouge the slab. Peel away tape or release film.
Flatten the top with a router sled, wide belt sander, CNC, or planer only if your tools can handle epoxy safely. Take light passes. Trim the ends square and cut the bar top to final size. Wear dust protection; cured epoxy and hardwood dust are not something to breathe.
Step 9: Sand and Finish the Surface
Sand through the grits evenly, commonly starting around 80 or 120 after flattening and progressing to 180, 220, or higher depending on the finish. Do not skip grits, or scratches may show in the epoxy.
For a glossy resin look, polish the epoxy or apply a compatible clear topcoat. For a more natural bar surface, use a durable hardwax oil, varnish, polyurethane, or bar-top coating rated for moisture and abrasion. Test your finish on an offcut or underside first.
Step 10: Install the River Bar Top
Set the finished top on a flat, well-supported base. Use mounting hardware that allows minor wood movement, especially if the wood sections are wide. Avoid rigidly trapping the slab on all sides.
Check overhangs and add brackets where needed. Seal exposed underside areas if humidity changes are likely. If the bar includes plumbing, sinks, taps, or heavy appliances, cut and seal openings carefully before final installation. Protect the surface during mounting.
Result Check: How to Know the Bar Top Is Ready
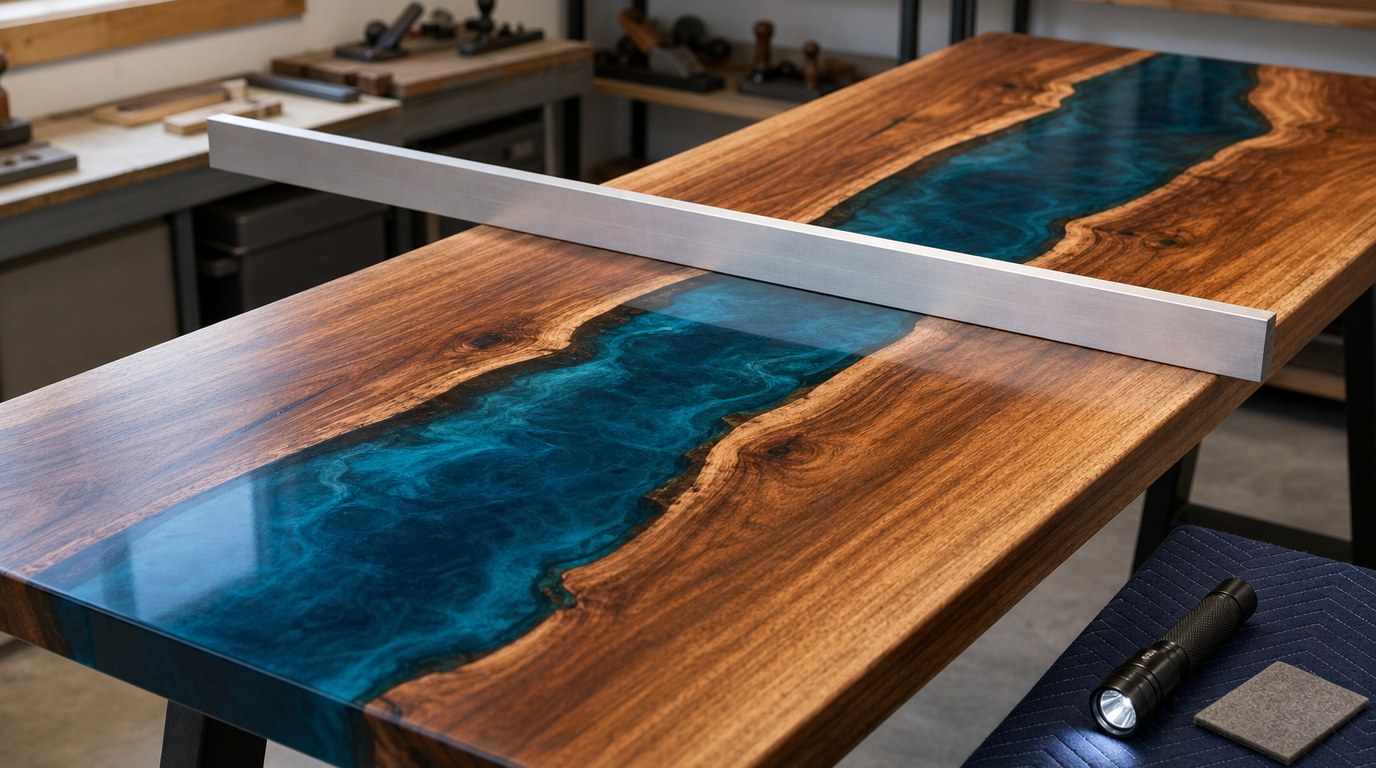
Your DIY river bar top is ready when the epoxy is fully hard, the surface is flat, the finish is cured, and there are no tacky areas, loose edges, or visible cracks spreading from the river. Set a straightedge across the width and length to check for rocking or high spots.
Before regular use, place a glass on the surface and confirm it sits level. Wipe with a damp cloth to ensure the finish does not haze, soften, or lift.
Common Mistakes and Troubleshooting
Leaks usually mean the mold seams were not sealed well enough. Stop small leaks with fast-setting hot glue, silicone, or tape on the outside, but major leaks may require draining and rebuilding.
Bubbles often come from unsealed wood, aggressive mixing, or overheating with a torch. Soft epoxy usually points to incorrect ratio, poor mixing, low temperature, or incompatible pigment. Floating wood means it was not clamped securely. Cloudy or scratched epoxy can often be sanded and polished, but uncured epoxy must usually be scraped out and repoured.
FAQ
What Kind of Epoxy Should I Use for a Diy River Bar Top?
Use deep-pour epoxy for the river section, especially if the pour is thicker than a typical coating layer. It is formulated to cure more slowly and reduce heat buildup. For the final surface, you may use a compatible topcoat, polish, or durable furniture finish.
How Thick Should a River Bar Top Be?
Most river bar tops are about 1.5 to 2 inches thick, depending on the wood, base support, and desired look. Thicker tops feel substantial but require more resin and careful pour planning. The top must be thick enough to stay rigid across its span.
Do I Need Live-edge Wood to Make a River Bar Top?
No. Live-edge slabs create a natural river shape, but you can make a river bar top from straight boards by cutting or shaping organic edges. The important points are dry wood, solid bonding surfaces, and a layout that leaves enough structural wood on both sides.
Can I Pour the Epoxy River All at Once?
Only if your epoxy allows the full depth in one pour. Many products have strict maximum pour depths. Pouring too deep with the wrong resin can cause overheating, cracking, yellowing, or bubbles. For deeper rivers, use multiple layers and follow recoat timing.
How Long Before I Can Use My Epoxy River Bar Top?
Demolding may take a few days, but full cure and finish cure can take longer. Many projects need one to two weeks before normal use, depending on epoxy depth, temperature, and finish. Avoid heavy objects, heat, alcohol spills, and cleaning chemicals until fully cured.