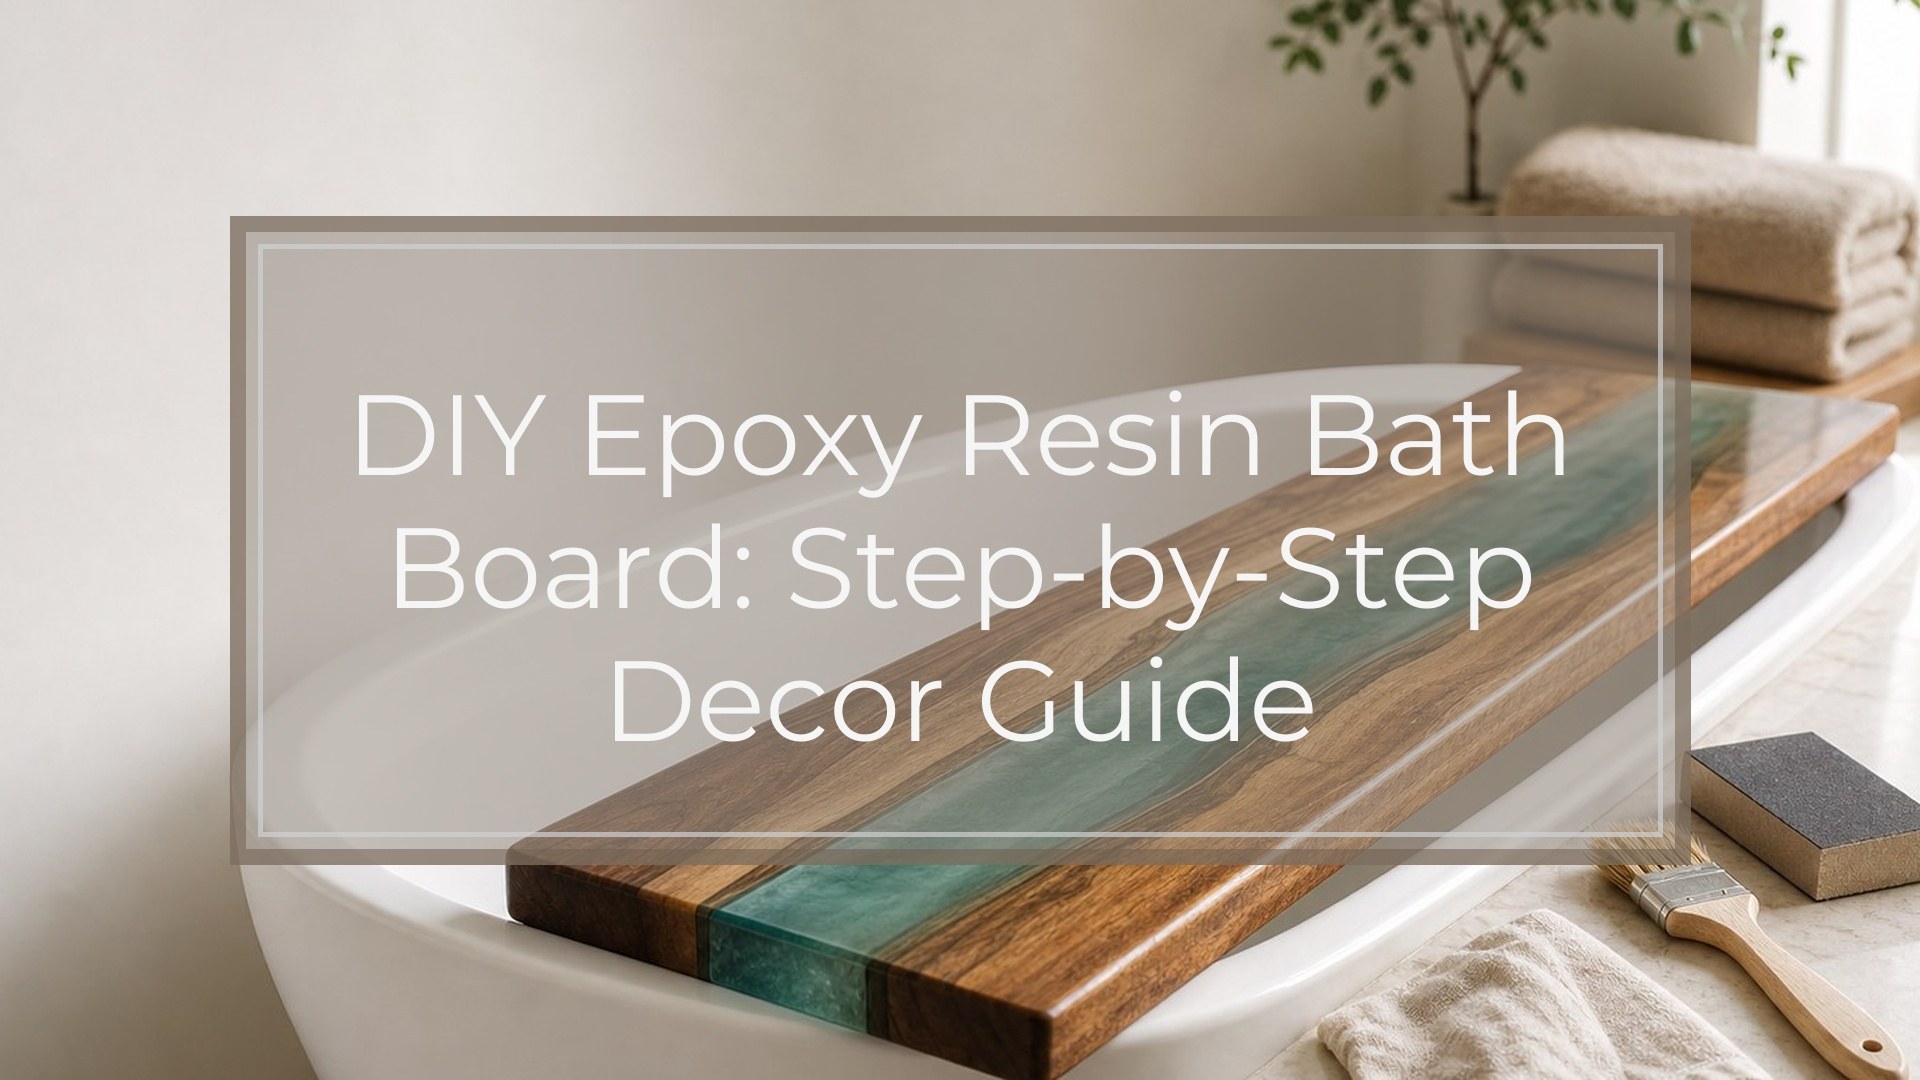
A DIY epoxy resin bath board is a wooden bathtub tray finished with a decorative resin surface and sealed for bathroom use. You will cut a board to fit across your tub, sand it smooth, seal the wood, pour a colored epoxy design, let it cure, then add waterproof finish and non-slip supports. This project is best for confident beginners who can measure accurately and follow resin safety instructions. Expect about 2 to 4 hours of hands-on work, plus 24 to 72 hours of curing time depending on your epoxy. You will need wood, epoxy resin, pigments, sandpaper, painter’s tape, mixing cups, gloves, and finishing supplies.
Before You Start: Plan the Bath Board Size and Style
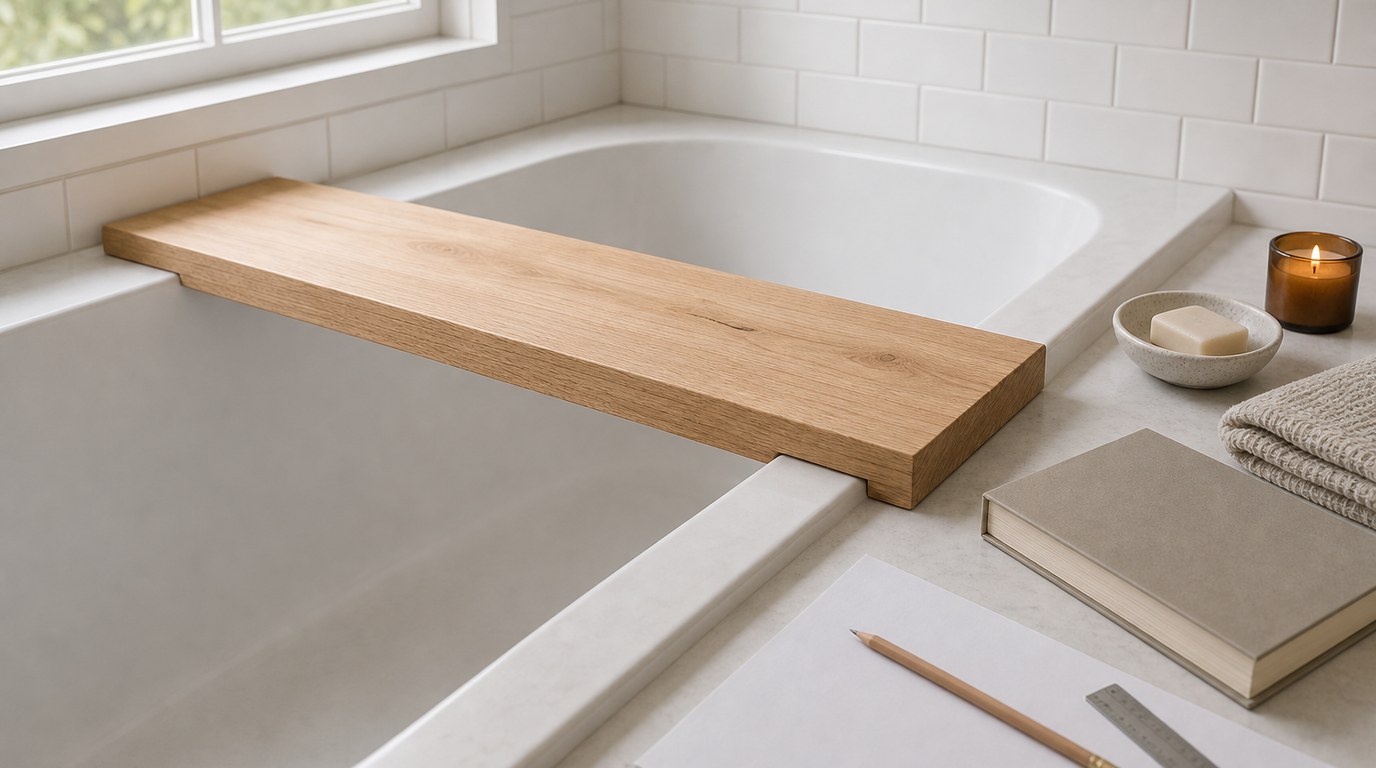
Measure the outside edges of your bathtub where the board will rest. Add enough length so the board sits securely on both sides, but avoid making it so long that it wobbles. A common width is 8 to 12 inches, depending on whether you want space for a book, candle, cup, or soap dish.
Choose a style before mixing resin. You can do a river stripe, ocean wave edge, marbled corner, or a clear coat with embedded accents. Keep the first design simple if this is your first diy epoxy resin bath board.
Safety and Workspace Setup
Work in a well-ventilated space and follow the safety directions on your specific epoxy kit. Wear nitrile gloves, eye protection, and a respirator if the resin manufacturer recommends one. Protect your table with plastic sheeting or a silicone mat.
Keep resin away from children, pets, food, and bathroom surfaces while it is uncured. Epoxy can irritate skin and is messy once it spreads. Your workspace should be level, dust-free, and warm enough for curing, usually around 70°F to 75°F unless your product says otherwise.
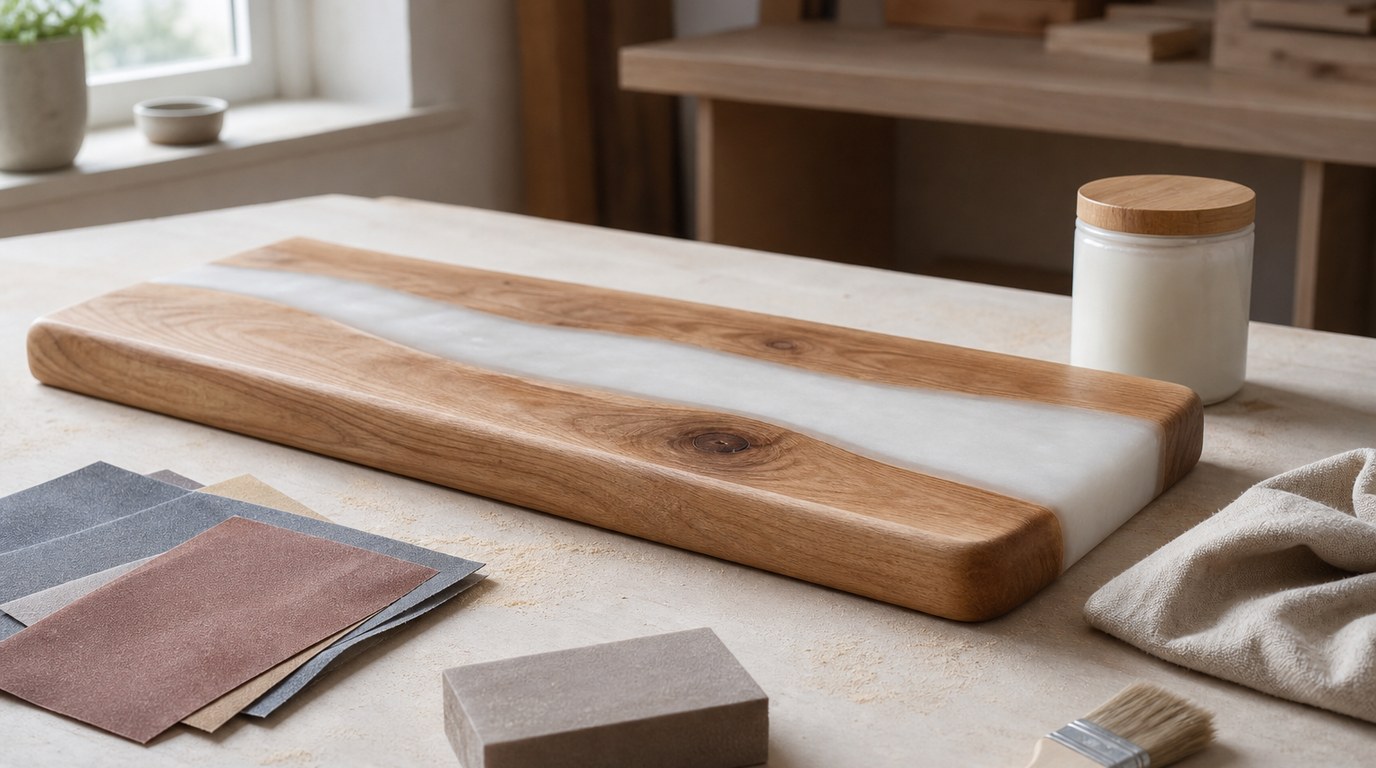
Step 1: Cut and Sand the Wood Board
Cut your board to the measured length. Hardwood such as walnut, oak, maple, or teak works well, but a straight, dry pine board can also work for a budget version. Avoid warped, cracked, or damp wood.
Sand the entire board, starting around 120 grit and moving to 180 or 220 grit. Round the edges slightly so they feel comfortable to touch. Wipe away dust with a tack cloth or lint-free rag. Do not leave sanding dust in the grain, because it can create cloudy spots under the resin.
Step 2: Seal the Wood Before the Decorative Pour
Wood releases air into epoxy, which can cause bubbles. To prevent this, apply a thin seal coat first. Mix a small amount of clear epoxy according to the product ratio, then brush a light coat over the area that will receive resin.
Let the seal coat become tacky or cure as directed by the manufacturer. If it cures fully, lightly scuff-sand before the next pour. This small step helps stop resin from soaking unevenly into the wood and gives your decorative layer a cleaner finish.
Step 3: Tape, Dam, and Level the Board
Use painter’s tape or sheathing tape on the underside edges where you do not want drips to stick. If your design reaches the edge, create a temporary dam with tape, silicone, or a reusable resin barrier.
Set the board on cups, blocks, or painter’s pyramids. Check it with a level from front to back and side to side. Resin moves toward the lowest point, so even a slight tilt can ruin a river line or create a thick corner.
Step 4: Mix and Color the Epoxy Resin
Read your resin instructions before opening the bottles. Measure resin and hardener exactly by volume or weight as specified. Do not guess the ratio. Mix slowly for the full recommended time, scraping the sides and bottom of the cup.
Divide the mixed epoxy into smaller cups for color. Add resin pigments, mica powder, alcohol ink, or opaque paste sparingly. Too much colorant can interfere with curing. For a bath board, avoid heavy layers of loose glitter near the top surface if you want a smooth tray for cups and candles.
Step 5: Pour the Resin Design
Pour slowly and keep the resin layer within the depth recommended for your epoxy. For a river effect, pour a colored stripe along one side or through the center. For an ocean look, use blues first, then add white lines and gently drag them with a stir stick or heat gun on low.
Use a toothpick or silicone tool for small swirls. Do not overwork the pattern; resin continues to move as it levels. Pop surface bubbles with a quick pass of a heat gun or torch, keeping it moving and away from the wood. Too much heat can scorch the board or create ripples.
Step 6: Let the Resin Cure Completely
Cover the bath board with a clean box or dust cover so lint, hair, and insects cannot land in the wet resin. Leave it undisturbed on a level surface. Do not move it to “check” the design.
Most epoxy becomes firm within 24 hours but may need 48 to 72 hours, or longer, before sanding or heavy use. Follow your product’s cure schedule, not just the feel of the surface. Resin that feels hard can still be soft underneath.
Step 7: Sand, Finish, and Waterproof the Bath Board
Remove tape and trim any drips with a sharp blade or sandpaper. Sand rough edges carefully, working from 220 grit upward if needed. Avoid scratching the decorative resin surface unless you plan to polish or topcoat it.
Seal all exposed wood, including the underside and ends. Use a waterproof wood finish such as marine varnish, spar urethane, hardwax oil rated for wet areas, or another bathroom-suitable sealant. Apply multiple thin coats as directed. The underside matters because bathroom humidity can warp unfinished wood.
Step 8: Add Non-slip Feet, Cleats, or Handles
A bath board should not slide easily. Add silicone feet to the underside where the board contacts the tub rim. For extra security, screw or glue two wood cleats underneath so they sit just inside the tub walls and prevent side-to-side movement.
If you add handles, predrill holes to avoid splitting the wood. Use stainless steel or corrosion-resistant hardware. Make sure any screws are sealed so moisture cannot enter the board through the holes.
Result Check: How to Know Your Epoxy Bath Board Is Ready
Your finished bath board should sit flat across the tub without rocking. The resin should feel hard, smooth, and non-tacky. There should be no soft spots, cloudy wet patches, sharp edges, or sticky areas.
Place a cup of water on the board for a few minutes as a stability test, away from the tub at first. Check that the board does not flex, slide, or leave moisture marks. If it passes, it is ready for light bathroom use.
Common Mistakes and Troubleshooting
If the resin stays sticky, the ratio was likely wrong, the mixture was not fully blended, or too much pigment was added. Scrape off uncured resin and repour only after the surface is clean.
If bubbles appear, the wood may not have been sealed well enough. Sand lightly and add a clear topcoat if the bubbles are shallow. If the resin ran off one side, your board was not level or the tape dam leaked.
If the board warps, moisture reached unfinished wood or the board was too thin. Seal every side and choose thicker, drier wood next time.
Care Tips for a Resin Bath Board
Wipe the bath board dry after each use. Do not leave it sitting in standing water or store it inside a damp tub. Clean with mild soap and a soft cloth, not abrasive scrubbers.
Avoid placing very hot tools, candles, or metal containers directly on the resin unless your epoxy is rated for that heat. Refresh the wood finish when it starts to look dry or dull. Treat the board as water-resistant, not permanently submersible.
FAQ
What Kind of Wood Is Best for a Diy Epoxy Resin Bath Board?
Hardwoods such as teak, walnut, maple, oak, or acacia are good choices because they are strong and attractive. Teak is naturally moisture-resistant, but it costs more. Whatever wood you choose, use a dry, straight board and seal every side well.
Is Epoxy Resin Waterproof Enough for a Bathtub Tray?
Cured epoxy is highly water-resistant and often waterproof on the coated surface. However, the whole bath board is only as protected as its weakest area. Exposed wood, screw holes, and unfinished undersides can absorb moisture, so seal the entire board carefully.
Can I Embed Flowers, Shells, or Glitter in the Resin?
Yes, but dry all embedded items completely first. Fresh flowers contain moisture and can discolor or rot inside resin. Shells should be clean and dry. Use glitter lightly if the surface needs to stay smooth enough for cups, candles, or bath accessories.
How Long Should Epoxy Cure Before Using the Bath Board?
Most epoxy needs at least 24 to 72 hours before handling, but full cure can take several days. Check your resin label for exact timing. Do not use the bath board near water until the resin is hard, non-tacky, and fully cured.
How Do I Keep a Bath Board from Sliding Into the Tub?
Add silicone feet, rubber pads, or underside cleats. Cleats are the most secure because they fit just inside the tub walls and stop sideways movement. Always test the tray with light items first, and never rely on resin alone for grip.