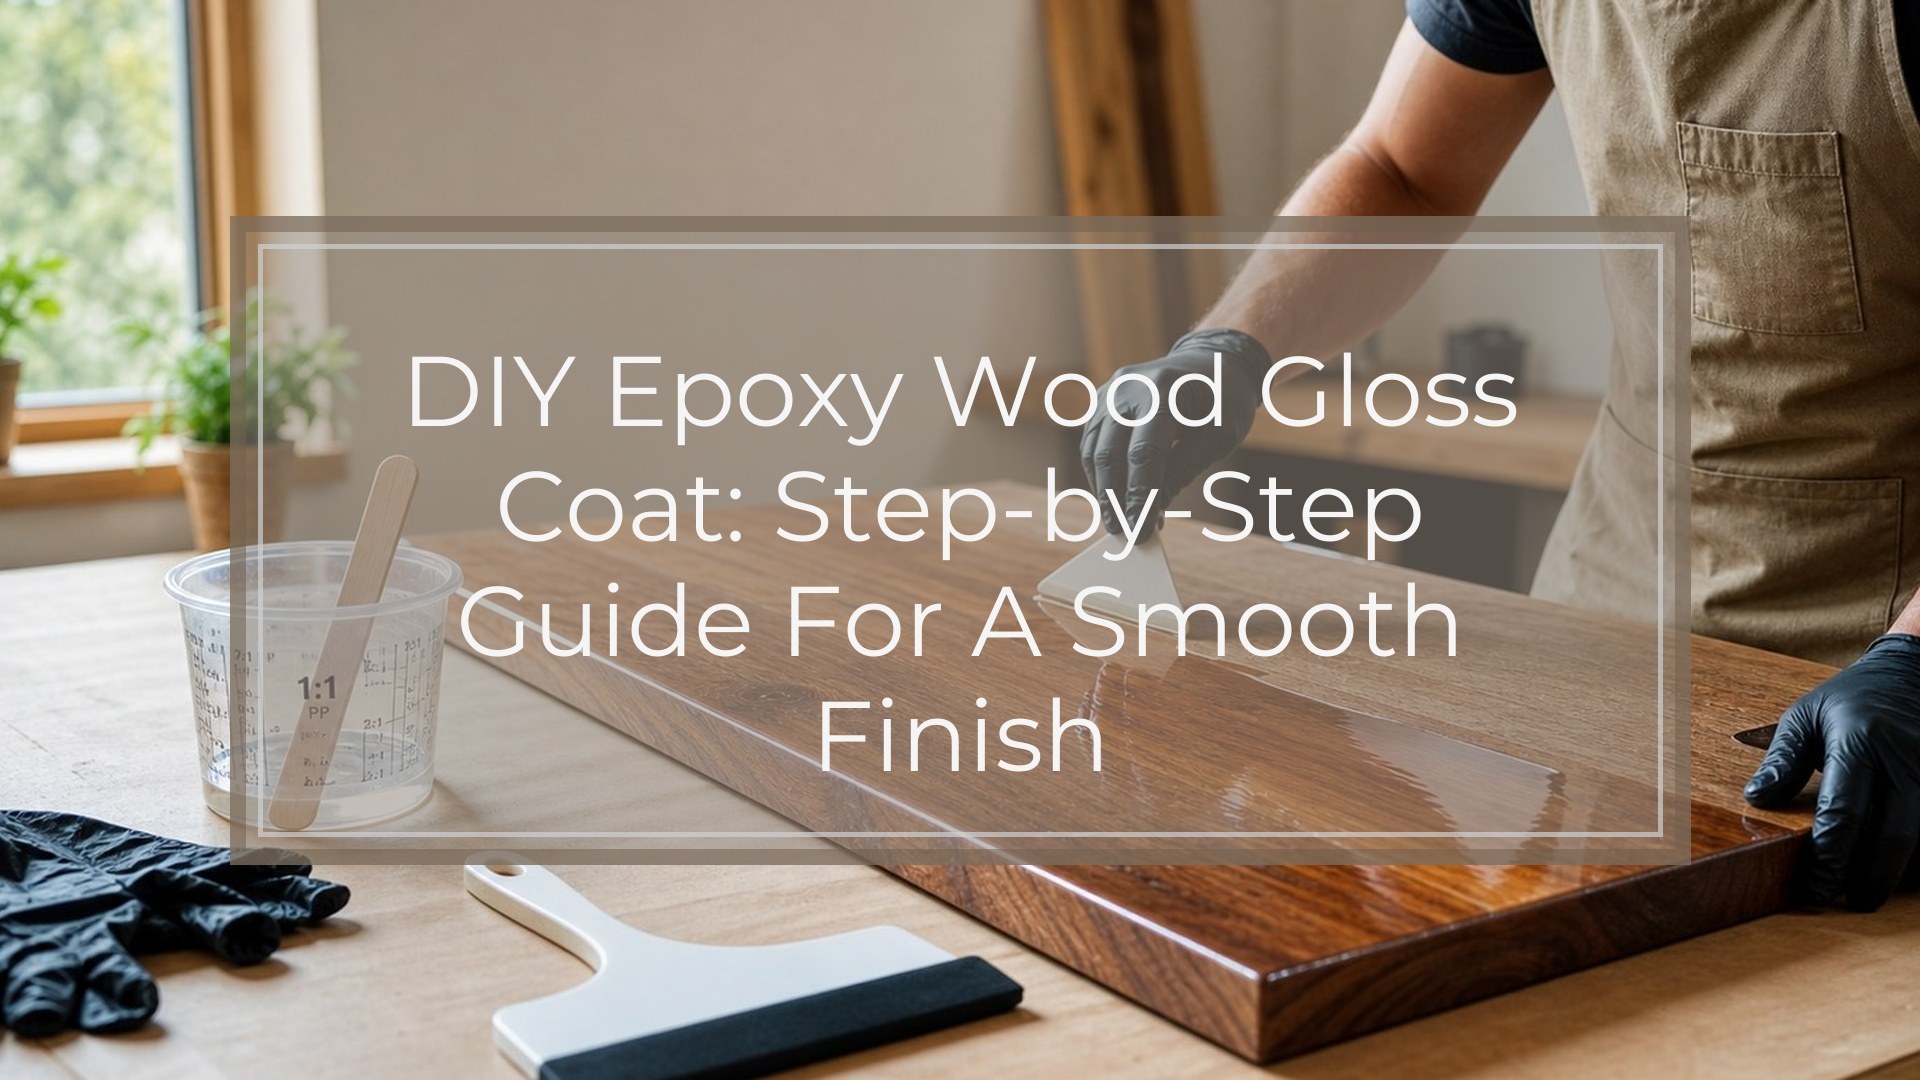
A DIY epoxy wood gloss coat is made by sanding and cleaning the wood, sealing porous grain, leveling the piece, then pouring a correctly measured clear coating epoxy over the surface. Spread it evenly, remove bubbles with gentle heat, cover it from dust, and let it cure fully before handling. The best results come from using a tabletop or coating epoxy, not deep-pour resin, and working in a warm, clean, well-ventilated space. Most failures come from inaccurate measuring, poor mixing, moisture, dust, or applying epoxy to unsealed porous wood.
Introduction: What This Gloss Coat Is Best for
A clear epoxy gloss coat is ideal for adding a shiny, protective finish to wooden trays, small tabletops, coasters, jewelry displays, boxes, signs, and decorative accessories. It creates depth, enhances the grain, and gives wood a glassy surface.
This tutorial focuses on a clear flood coat over prepared wood. It is not for structural repairs, outdoor marine coating, or thick river-table pours. The goal is a smooth, level, high-gloss surface with minimal bubbles and clean edges.
Before You Start: Choose the Right Epoxy and Workspace
Use a clear coating or tabletop epoxy designed for thin gloss coats. Check the label for mix ratio, working time, cure time, maximum coat thickness, and recommended temperature. Deep-pour epoxy is usually too thin and slow for this job.
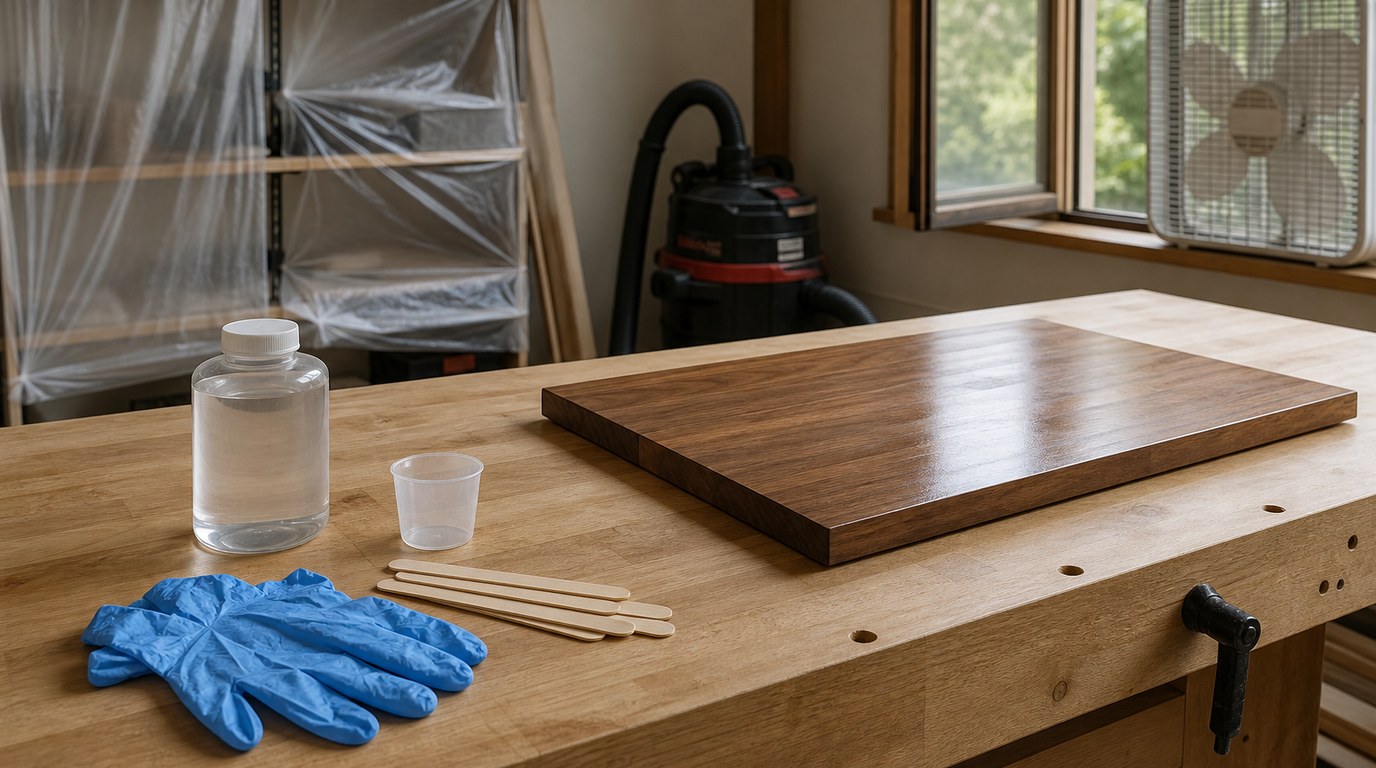
Set up in a dust-controlled, ventilated workspace around 70–75°F, unless your epoxy specifies otherwise. Cold epoxy can stay thick and trap bubbles; hot conditions shorten working time. Gather gloves, mixing cups, stir sticks, spreader, painter’s tape, plastic sheeting, sandpaper, isopropyl alcohol, a level, and a dust cover before opening the bottles.
Step 1: Sand and Clean the Wood
Sand the wood smooth before applying epoxy. For most projects, sand through the grits up to 180 or 220. Avoid sanding too fine, because an overly polished surface can reduce mechanical grip. Round sharp edges slightly if you want epoxy to flow over them more evenly.
Remove all sanding dust with a vacuum or tack cloth, then wipe the surface with a lint-free cloth lightly dampened with isopropyl alcohol. Let the wood dry completely. Do not use oily cleaners, furniture polish, or wax-based products; they can cause fisheyes, bare spots, or poor adhesion.
Step 2: Seal Porous Wood to Prevent Bubbles
Bare wood often releases trapped air into fresh epoxy, creating bubbles that keep appearing after you think the surface is clear. This is especially common with open-grain woods, end grain, knots, cracks, and reclaimed wood.
Seal the surface with a thin brush coat of epoxy before the main flood coat. Work it into the grain, scrape off excess, and let it cure until it is firm or follow your epoxy’s recoat window. For very porous areas, a second seal coat may be worth the time. Sealing reduces bubbles and helps the final gloss coat level more predictably.
Step 3: Tape, Level, and Plan for Drips
Protect the underside and edges before mixing epoxy. Apply painter’s tape along the bottom edge to catch drips, or mask areas you do not want coated. Place plastic sheeting under the project and raise the piece on cups, blocks, or painter’s pyramids so excess epoxy can fall away.
Use a level in both directions. Epoxy self-levels, so even a slight tilt can make the coating thicker on one side and thin on the other. Once the resin is mixed, you will not want to stop and adjust your setup.
Step 4: Measure and Mix the Epoxy Accurately
Read the manufacturer’s ratio carefully. Some epoxies are mixed 1:1 by volume, while others require 2:1 or measurement by weight. Guessing is one of the fastest ways to get a soft or sticky finish.
Measure resin and hardener into a clean cup, scraping the sides of each container as needed. Mix slowly for the full recommended time, usually three to five minutes, scraping the bottom and sides of the cup. Avoid whipping air into the mixture. For extra reliability, pour the mixed epoxy into a second clean cup and stir again for one minute. This “double cup” method reduces unmixed streaks that can remain tacky.
Step 5: Pour and Spread the Gloss Coat
Pour the epoxy in a ribbon across the center of the wood, then spread it with a plastic spreader, notched squeegee, or gloved hand. Move the epoxy toward the edges and allow it to flow naturally. For a flood coat, use enough material to create an even wet layer, but do not exceed the maximum thickness listed by the manufacturer.
If coating the edges, guide resin over them gently rather than dumping a large amount at once. Check for dry spots, thin corners, and areas where surface tension pulls the epoxy away. Work steadily within the pot life; once epoxy begins to thicken, stop fussing with it.
Step 6: Remove Bubbles Without Scorching the Epoxy
After spreading, let the epoxy sit briefly so bubbles can rise. Then pass a small torch or heat gun quickly over the surface. Keep it moving and stay several inches away. You are warming the surface to pop bubbles, not cooking the resin.
Too much heat can scorch epoxy, create ripples, yellow the finish, or pull dust into the surface. Avoid holding flame near wood edges, tape, paper, or plastic. Check again after a few minutes, because sealed cracks and knots can release bubbles slowly. Use a toothpick for stubborn specks or bubbles near edges.
Step 7: Cover and Cure the Finish
Cover the project with a clean dust shield, such as a plastic storage bin, cardboard tent, or temporary frame covered with plastic. Make sure the cover does not touch the wet epoxy. Keep pets, fans, sawdust, and foot traffic away from the piece.
Let the coating cure according to the epoxy instructions. It may be dust-free in several hours but still too soft to handle. Do not place objects on it, stack it, or wrap it until it reaches a firm cure. Full hardness can take several days.
Step 8: Trim Drips, Sand Imperfections, and Add a Second Coat If Needed
Remove painter’s tape while the epoxy is firm but not rock hard, if the product instructions allow. If drips have cured, trim them with a sharp blade, scraper, or careful sanding.
For dust nibs, uneven patches, or small surface flaws, let the coat cure, then sand the surface lightly with 220–320 grit until dull and smooth. Clean thoroughly before recoating. A second coat can improve depth, gloss, and coverage, especially over highly figured or porous wood. Do not pour over glossy cured epoxy without sanding unless you are still within the manufacturer’s chemical recoat window.
Result Check: How to Know the Epoxy Wood Gloss Coat Worked
A successful epoxy wood gloss coat should look clear, level, and consistently shiny across the surface. The wood grain should appear enhanced, not cloudy. There should be no sticky patches, soft areas, large trapped bubbles, fisheyes, or dry spots.
After curing, press a fingernail lightly into an inconspicuous area. It should resist denting. Edges should be coated evenly, and the underside should be free of sharp drips or resin strings before the piece is used.
Common Mistakes and Troubleshooting
If the epoxy stays sticky, the most likely causes are wrong mix ratio, incomplete mixing, cold temperatures, or expired materials. Soft or tacky epoxy usually cannot be fixed with heat alone; scrape off uncured material, clean the surface, sand, and recoat with correctly mixed epoxy.
If bubbles keep appearing, the wood probably needed a better seal coat. Sand the cured surface, wipe clean, apply a thin seal coat if needed, then flood coat again.
Fisheyes or craters usually mean contamination from oil, wax, silicone, dust, or moisture. Sand back to a stable surface and clean carefully.
If the coat is wavy, the piece may not have been level, the epoxy may have been overworked, or the layer may be too thin. Sand smooth and apply another controlled coat.
Cloudiness can come from moisture, cold resin, or overheating. Work warm, dry, and gently.
Safety and Use Notes
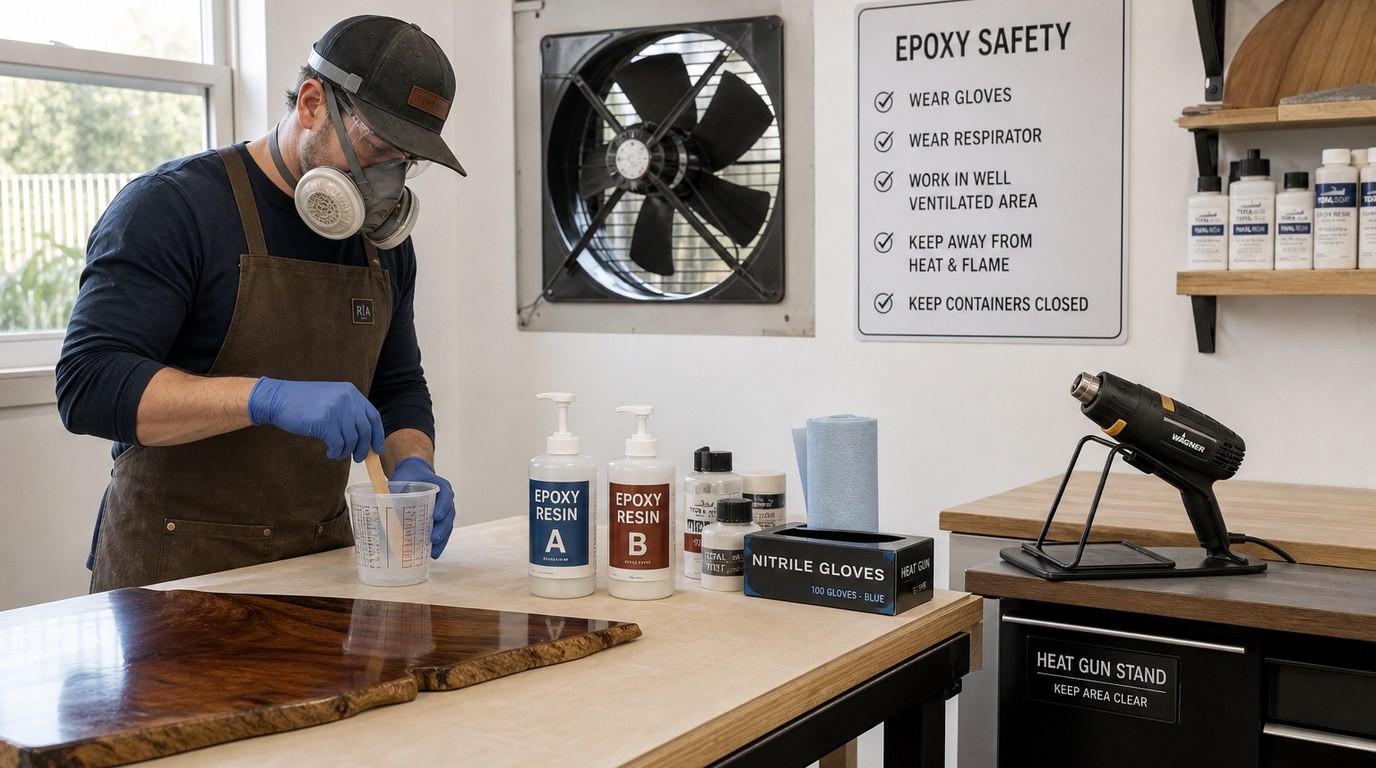
Wear nitrile gloves and work with ventilation. Avoid skin contact with uncured epoxy; sensitization can develop over time. Do not eat or drink near the work area, and keep resin away from children and pets.
Use heat tools carefully. Torches can ignite tape, wood dust, paper, or plastic coverings. Keep a safe distance and never leave flame unattended. Dispose of used cups, stir sticks, and resin waste according to the product label. Only use the finished piece for food contact if the epoxy specifically states it is suitable after full cure.
FAQ
Can I Put Epoxy Directly on Bare Wood?
Yes, but it is not always the best approach. Bare wood can release air into the epoxy and cause bubbles, especially in open grain, knots, cracks, and end grain. A thin seal coat first usually gives a smoother, clearer final gloss coat.
How Many Coats of Epoxy Do I Need for a Glossy Wood Finish?
Many small wood projects need one seal coat and one flood coat. Very porous wood, uneven surfaces, or pieces needing extra depth may need two flood coats. Always stay within the epoxy’s recommended coat thickness and recoat instructions.
Do I Need to Sand Between Epoxy Coats?
Sand between coats if the previous coat has fully cured or if you are outside the recoat window. Use 220–320 grit to dull the surface, then remove all dust. If recoating within the manufacturer’s chemical bond window, sanding may not be required.
Why Is My Epoxy Gloss Coat Still Sticky?
Sticky epoxy usually means the resin and hardener were measured incorrectly, mixed poorly, applied in unsuitable temperatures, or contaminated. If it remains tacky after the full cure time, scrape or sand away unstable material and recoat with a properly mixed batch.
Can I Use a Heat Gun Instead of a Torch for Bubbles?
Yes. A heat gun can remove bubbles and is often easier to control than a torch. Use low to moderate heat, keep it moving, and avoid blowing dust onto the surface. Too much heat can ripple, yellow, or damage the epoxy.