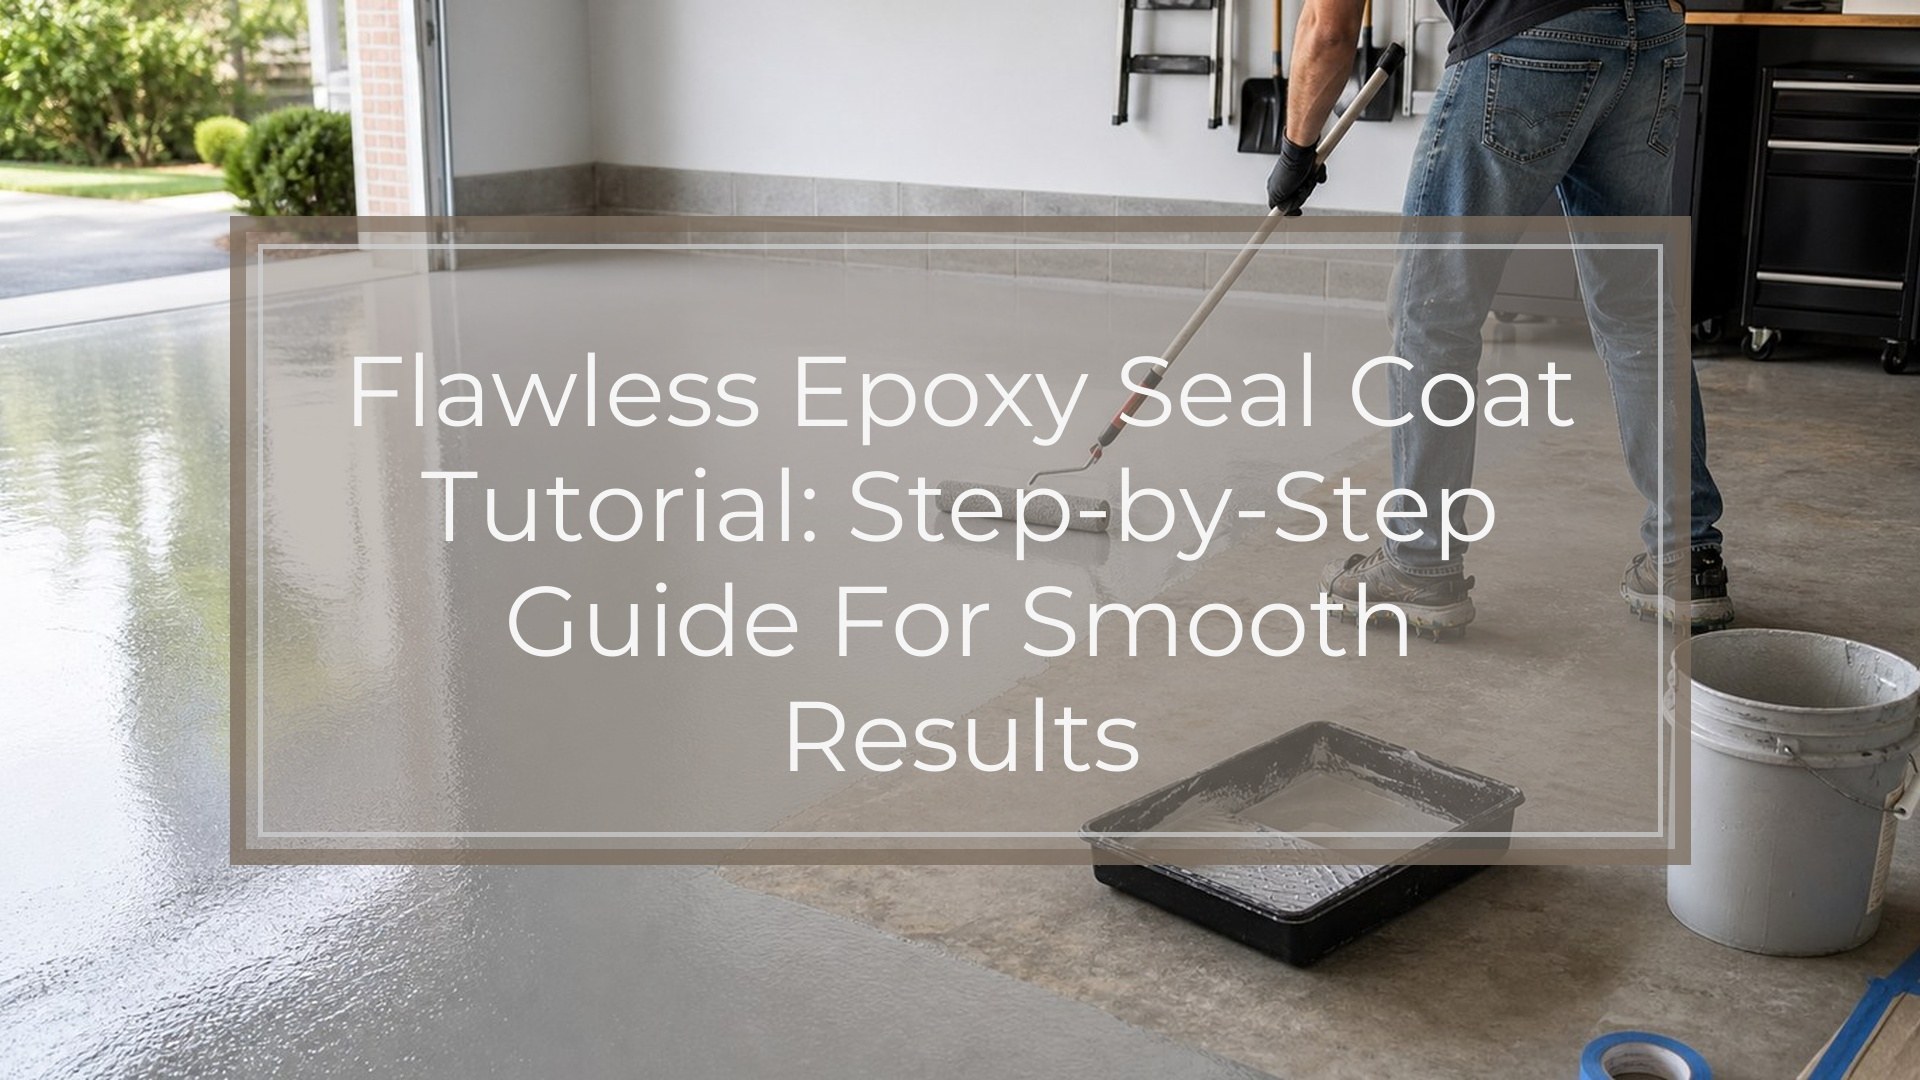
A flawless epoxy seal coat starts with preparation, not pouring. Clean and level the surface, mask off edges, then mix your epoxy exactly according to the manufacturer’s ratio. Apply a very thin coat with a spreader, foam brush, or gloved hand, working it into pores, cracks, edges, and high-bubble areas. Remove bubbles with brief passes of a torch or heat gun, then inspect for dry spots, fisheyes, dust, and exposed patches while the epoxy is still workable. Cover the project and let it cure according to the resin label. Before adding a flood coat or art layer, confirm the surface is sealed, smooth, clean, and either still within the recoat window or properly sanded.
What an Epoxy Seal Coat Does
An epoxy seal coat is a thin first layer of resin that locks down a porous, uneven, or absorbent surface before the main coat. Wood, concrete, paper, fabric, and textured art panels can release trapped air or absorb resin unevenly. A seal coat fills those pores first, reducing bubbles, dry patches, pinholes, and dull spots in the flood coat or final finish.
Before You Start: Surface and Workspace Prerequisites
Start with a dry, stable project. If the surface contains moisture, oil, sanding dust, loose fibers, or old finish residue, the seal coat may separate, cloud, or form fisheyes.
Work in the temperature range recommended on your epoxy label. Cold resin is thicker and traps bubbles; a hot room can shorten working time. Set the project on a level surface, protect the table, and make sure you can reach all sides before mixing.
Also plan dust control. Resin attracts lint, pet hair, sawdust, and airborne particles. Clean the area first, then avoid sweeping, sanding, or using fans once the epoxy is applied.
Supplies for a Smooth Seal Coat
Gather everything before mixing. Once resin and hardener are combined, your working time is limited, and stopping to find tape or a brush can cost you the smooth finish you want.
| Supply | Why you need it |
|---|---|
| Epoxy resin and hardener | Use a coating epoxy suitable for your project surface |
| Measuring cups or scale | Accurate ratio prevents soft, sticky, or uncured spots |
| Mixing sticks and clean cups | For thorough mixing and optional second-cup mixing |
| Plastic spreader, foam brush, or gloved hand | Helps push a thin coat into pores and edges |
| Nitrile gloves and eye protection | Protects skin and eyes from uncured epoxy |
| Painter’s tape and plastic sheeting | Masks edges and protects the work area |
| Torch or heat gun | Removes surface bubbles with controlled heat |
| Dust cover | Protects the curing coat from debris |
Step 1: Clean, Level, and Mask the Project
Remove dust with a vacuum, tack cloth, or lint-free cloth. If the surface needs degreasing, use a compatible cleaner and let it fully evaporate before applying resin. Do not trap solvent under epoxy.
Level the project front-to-back and side-to-side. Even a thin seal coat can drift toward one corner if the surface is tilted. Mask the underside and edges where you do not want drips, especially on tabletops, trays, canvas panels, and wood blanks.
Step 2: Measure and Mix the Epoxy Accurately
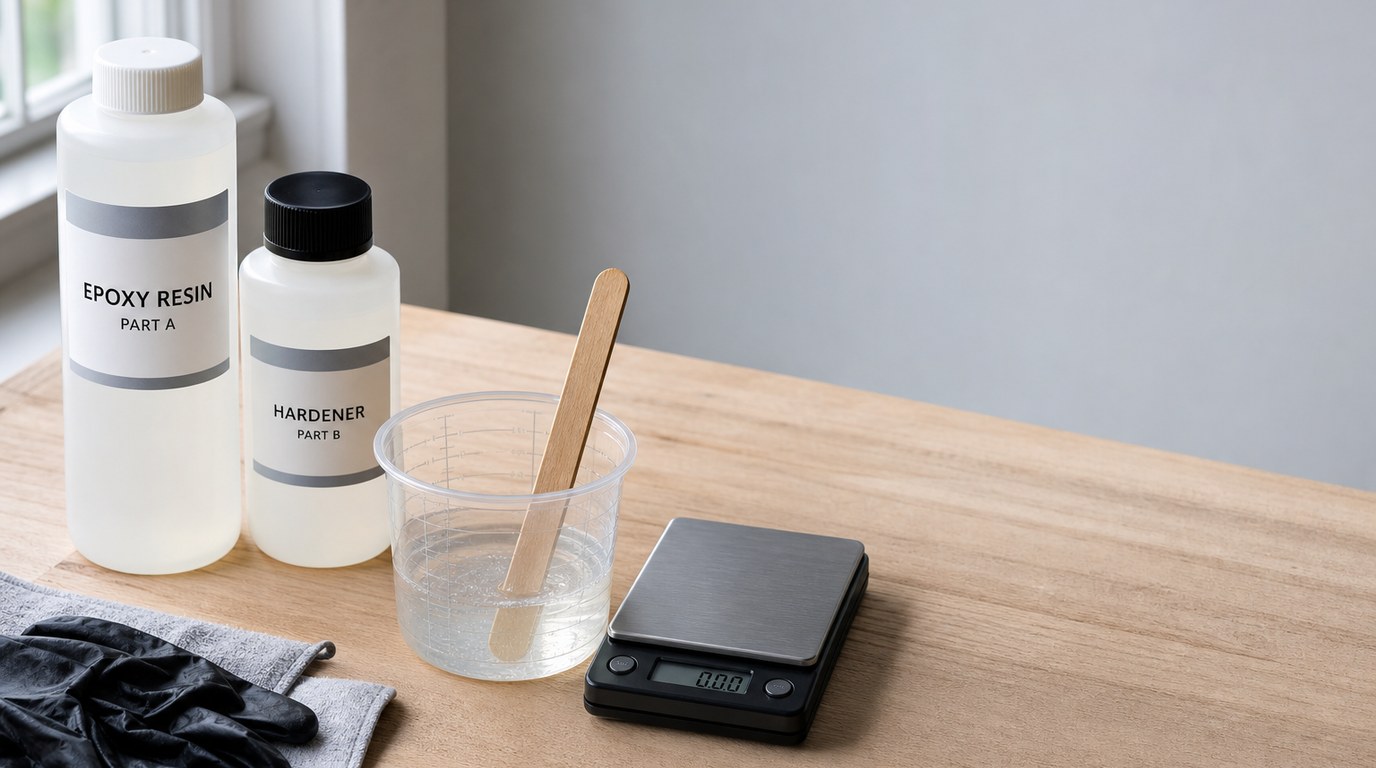
Read the epoxy label before measuring. Some systems are measured by volume, others by weight, and the ratios are not interchangeable unless the manufacturer says so.
Measure resin and hardener carefully into a clean cup. Mix slowly, scraping the sides and bottom of the cup as you stir. Avoid whipping air into the epoxy. For best consistency, mix for the label’s recommended time, then transfer the epoxy into a second clean cup and mix briefly again. This reduces unmixed streaks that can leave sticky patches.
Step 3: Apply a Thin Seal Coat
Pour a small amount onto the surface or dip your spreader into the mixed epoxy. The goal is not depth; it is coverage. Spread the resin thinly and firmly, pressing it into pores, cracks, end grain, seams, and textured areas.
Work from the center outward, then back across the surface to even out ridges. A foam brush is useful along edges and corners, while a plastic spreader works well on flat panels. If using a gloved hand, use light pressure and keep the coat even.
A seal coat should look wet and continuous, not thick or puddled. Heavy seal coats can sag, overheat, trap bubbles, or create uneven edges.
Step 4: Seal Edges, Gaps, and High-bubble Areas
Edges often release more air than the top surface, especially on wood, MDF, cork, and cut panels. Brush epoxy onto exposed edges, routed details, knots, cracks, screw holes, seams, and any area with visible pores.
If a gap keeps drinking in resin, add a little more and work it in. Do not leave holes half-sealed. These spots can release bubbles into your later flood coat, even if the top surface looks perfect.
Step 5: Remove Bubbles Without Overheating
After spreading the coat, wait a moment for bubbles to rise, then pass a torch or heat gun quickly over the surface. Keep the heat moving. You are warming the surface just enough to pop bubbles, not cooking the resin.
Avoid holding flame over one spot, heating edges aggressively, or torching near flammable materials, solvents, paper towels, or loose plastic. Too much heat can cause ripples, yellowing, smoke, dimples, or new bubbles from expanding air inside the surface. Several light passes are safer than one intense pass.
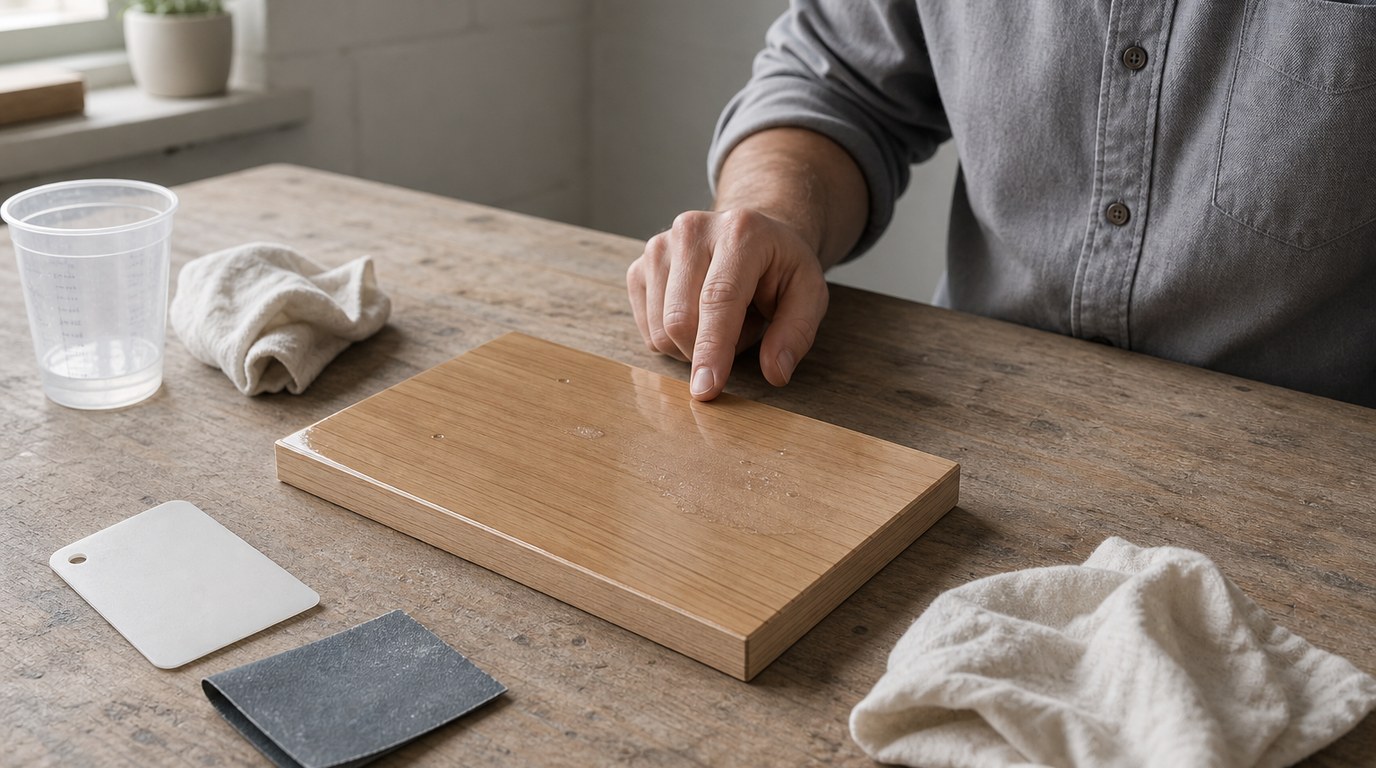
Step 6: Inspect for Dry Spots, Fisheyes, and Dust
Check the seal coat from a low angle under good light. Look for dull patches, exposed pores, crawling resin, fisheyes, lint, or bubbles gathering around knots and seams.
Fix problems while the epoxy is still workable. Add a small amount of resin to dry areas and spread it thin. For fisheyes, lightly work the resin back across the area with a clean spreader or foam brush. Remove dust with a clean toothpick or tweezers if you can do it without dragging debris through the coat.
Step 7: Cover and Cure the Seal Coat
Once the coat is even and bubbles are handled, cover the project with a clean dust cover. Use a box, plastic tent, or raised cover that will not touch the resin.
Let the seal coat cure according to your epoxy’s instructions. Do not rely on a universal time, because cure speed depends on resin formula, temperature, humidity, coat thickness, and project material. Keep the project level and undisturbed while it cures. Moving it too soon can cause waves, runs, or uneven pooling.
How to Tell If Your Seal Coat Is Ready for the Next Layer
Your seal coat is ready when it passes a few checks. The surface should be fully covered with no raw, dry, or absorbent-looking areas. It should feel firm enough for the next step based on your epoxy’s recoat instructions.
If you are within the manufacturer’s recoat window, you may be able to apply the next coat without sanding. If the seal coat has cured past that window, scuff sand it as directed, remove all sanding dust, and wipe only with a compatible method before recoating.
Do not apply a flood coat over sticky, oily, dusty, or visibly cratered resin.
Common Seal Coat Mistakes and How to Fix Them
Sticky or soft patches: Usually caused by inaccurate measuring or incomplete mixing. Scrape away uncured material if needed, clean according to the epoxy manufacturer’s guidance, and recoat only when the surface is sound.
Bubbles keep appearing: The surface is still releasing air. Add resin to dry pores, warm gently with brief heat passes, and consider a second seal coat before the flood coat.
Fisheyes or crawling: Contamination is likely. Let the coat cure, sand the affected area, clean thoroughly, and reapply a thin coat.
Dust or hair in the surface: Remove it while wet if possible. If cured, sand smooth before the next layer.
Thick ridges or drips: Scrape or sand them after curing so they do not show through the final coat.
When to Apply a Second Seal Coat
One seal coat is enough when the surface looks evenly sealed, no longer absorbs resin, and has no active bubbles, pinholes, or dry areas.
Apply a second seal coat for very porous wood, end grain, concrete, cork, fabric, paper, raw canvas, deep cracks, or surfaces that still look patchy after curing. Keep the second coat thin. Its job is still sealing, not building the final glossy depth.
FAQ
How Thick Should an Epoxy Seal Coat Be?
An epoxy seal coat should be very thin: just enough to wet and seal the surface. Think of it as working resin into the pores rather than building depth. If it is puddling heavily or flowing over the edges, you are applying too much.
Do I Need a Seal Coat Before Every Epoxy Flood Coat?
No. You usually need a seal coat before the first flood coat on porous, raw, textured, or uneven materials. If the surface is already sealed, smooth, clean, and compatible with epoxy, you may be able to go straight to the next coat.
Can I Sand an Epoxy Seal Coat Before the Next Coat?
Yes, and you should sand if the seal coat has cured beyond the epoxy’s recoat window or has dust, ridges, drips, or defects. Use the grit recommended for your resin system, then remove all sanding dust before applying more epoxy.
Why Did My Seal Coat Get Bubbles After I Already Torched It?
Air can continue escaping from porous surfaces after the first bubbles pop. Heat can also expand trapped air and push more bubbles out. This is common with raw wood, knots, cracks, end grain, and concrete. A second thin seal coat may be needed.
How Long Should I Wait Before Applying the Flood Coat?
Follow the recoat window on your epoxy label. Some systems allow recoating while the seal coat is still tacky; others require a firmer cure. If you miss the recoat window, let it cure, sand the surface, clean thoroughly, and then apply the flood coat.