
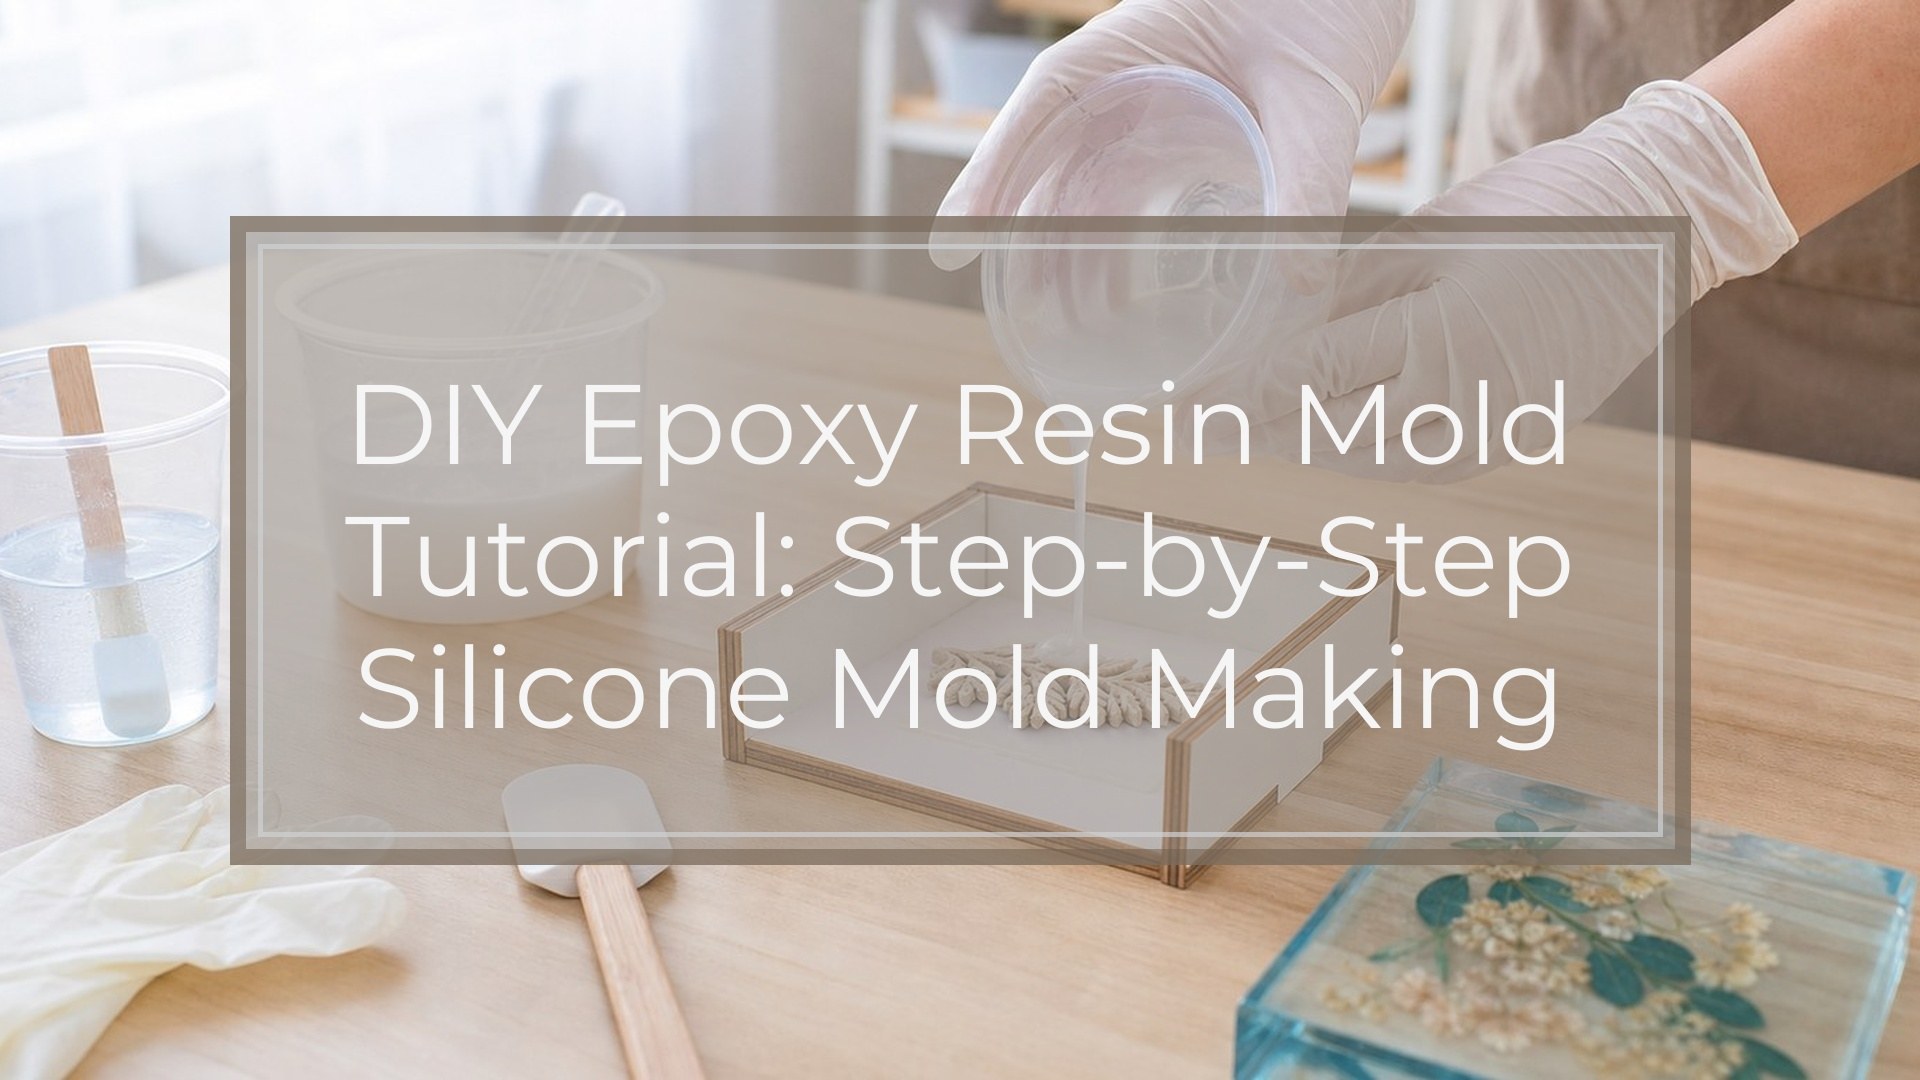
Making your own silicone mold for epoxy resin is a practical way to copy a small object, create custom shapes, or make repeatable resin pieces without relying only on store-bought molds. The beginner-friendly process is simple: choose a smooth original object, secure it inside a sealed mold box, mix mold-making silicone accurately, pour slowly, let it cure fully, then test the finished mold with epoxy resin.
For a first project, keep the shape simple and shallow. Avoid undercuts, fuzzy textures, and fragile details until you understand how silicone behaves. This DIY epoxy resin mold tutorial walks you through the full process, including setup, curing, troubleshooting, and how to confirm your mold is ready to use.
Before You Start: Choose the Right Mold Project
Your first mold should be easy to remove and easy to pour resin into. Good beginner choices include flat charms, cabochons, small tiles, simple coasters, keychain blanks, or smooth decorative pieces.
Avoid objects with deep holes, heavy texture, sharp overhangs, or parts that hook under the silicone. These are called undercuts, and they can tear the mold or trap the original. Also avoid porous items like raw wood, paper, plaster, or unsealed clay unless you seal them first. A smooth, nonporous master gives you the cleanest mold.
Prerequisites: Materials, Safety, and Workspace Setup
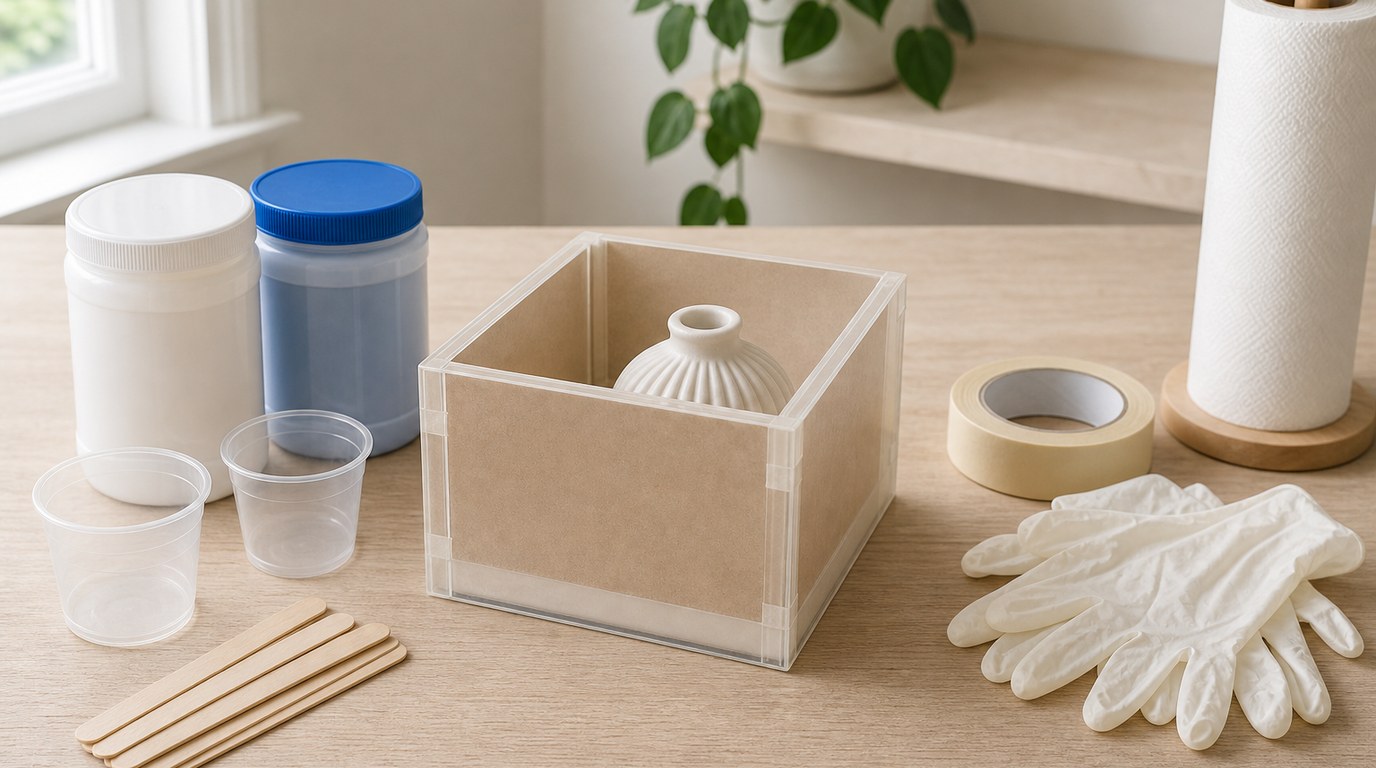
Gather everything before mixing silicone, because most products have a limited working time. You need a mold-making silicone suitable for resin, the original object, a mold box, hot glue or tape, mixing cups, stir sticks, gloves, paper towels, and a level work surface.
Use a two-part silicone designed for casting, not regular bathroom caulk. Read the product’s mix ratio, cure time, and safety instructions. Work in a clean, dust-free area with good ventilation. Wear gloves, protect your table, and keep food and drinks away from your workspace.
Make sure the room temperature matches the silicone directions. Cold rooms can slow curing, while excessive heat may shorten working time.
Step 1: Prepare the Original Object
Clean the original object with mild soap and water, then dry it completely. Any dust, lint, oil, or fingerprint can transfer into the silicone and show up in every resin casting.
If the item is porous, seal it first with an appropriate sealer and let it dry. For glossy objects, check that the surface is free of scratches. Place the best-looking side facing up if you are making an open-face mold. If the object is lightweight, plan to secure it so it does not float when silicone is poured.
Step 2: Build and Seal the Mold Box
The mold box holds the liquid silicone around your original. You can use plastic containers, foam board, acrylic sheets, coated cardboard, or building bricks. Leave at least 1/4 to 1/2 inch of space around all sides of the object and above the highest point.
Attach the original to the bottom of the box with hot glue, double-sided tape, or a small amount of clay. Then seal every seam of the mold box. Silicone can find tiny gaps, so press firmly and check corners. A leakproof box saves material and prevents a messy failed pour.
Step 3: Measure and Mix the Silicone
Check whether your silicone is mixed by weight or by volume. Do not guess. Use a digital scale for weight-based products or marked measuring cups for volume-based products. Inaccurate ratios can leave silicone sticky, soft, or uncured.
Pour Part A and Part B into a clean cup according to the instructions. Scrape the sides and bottom while mixing, and stir slowly to avoid whipping in air. Mix until the color and texture look uniform, with no streaks. If the instructions recommend a second cup, transfer the mixture and stir again for a more complete blend.
Step 4: Pour the Silicone Slowly
Pour silicone in a thin stream into one corner of the mold box, not directly onto the object. Let the silicone flow around the original on its own. This helps push air away from details and reduces bubbles on the mold surface.
Keep pouring slowly until the object is covered by the amount recommended by your silicone instructions, usually at least 1/4 inch above the highest point. Lightly tap the mold box on the table to encourage trapped bubbles to rise. Do not shake hard, because that can move the original or introduce new air.
Step 5: Let the Mold Cure Completely
Leave the mold undisturbed for the full cure time listed by the manufacturer. Many silicones cure in several hours, while others need 24 hours or longer.
Do not demold early just because the surface feels firm. The inside may still be soft, especially in a cool room or with a thick pour. Moving the mold too soon can distort details, tear edges, or leave the silicone permanently tacky. Cover the setup lightly to keep dust out while it cures.
Step 6: Demold and Trim the Silicone Mold
Once cured, remove the mold box walls carefully. Flex the silicone away from the original instead of pulling hard on delicate areas. If needed, work slowly around the edges until air gets between the silicone and the master.
After removing the original, inspect the mold cavity. Trim ragged edges with small scissors or a craft knife, but do not cut into the detailed casting area. If the mold has thin flashing along the top, remove it so resin will pour cleanly and the finished piece will be easier to sand.
Step 7: Test the Mold with Epoxy Resin
Before making an important piece, do a small test cast. Mix your epoxy resin according to its instructions, then pour a thin layer or a partial casting into the new mold. This confirms that the silicone cured properly and that resin releases cleanly.
Use the mold on a level surface. Watch for leaks, surface bubbles, or areas where resin collects unevenly. Let the resin cure fully before removing it. If the test piece releases without tearing the silicone and shows clean details, the mold is ready for regular use.
Result Check: How to Know Your Diy Resin Mold Worked
Your mold worked if it is fully cured, flexible, dry to the touch, and not sticky or oily. The cavity should show the details of the original without tears, missing areas, or large bubbles on the casting surface.
A successful test resin piece should release with gentle flexing. Its shape should match the original, and the surface should be smooth enough for your project. Minor edge trimming is normal; major distortion means the mold needs adjustment.
Common Mistakes and Troubleshooting
If the silicone stays sticky, the most likely causes are inaccurate measuring, incomplete mixing, expired silicone, contamination, or a room that was too cold. Unfortunately, uncured silicone usually cannot be fixed inside the mold. Start over and measure more carefully.
If you see bubbles on the mold surface, pour more slowly next time and aim for the lowest corner of the mold box. Tapping the box gently can help, but careful pouring matters more.
If the original floats, it was not secured well enough. Glue or tape it firmly before pouring.
If resin sticks to the mold, the silicone may be incompatible, under-cured, contaminated, or damaged by repeated use. Try a resin-safe mold release and confirm your silicone is designed for epoxy casting.
Beginner Tips for Better Epoxy Resin Molds
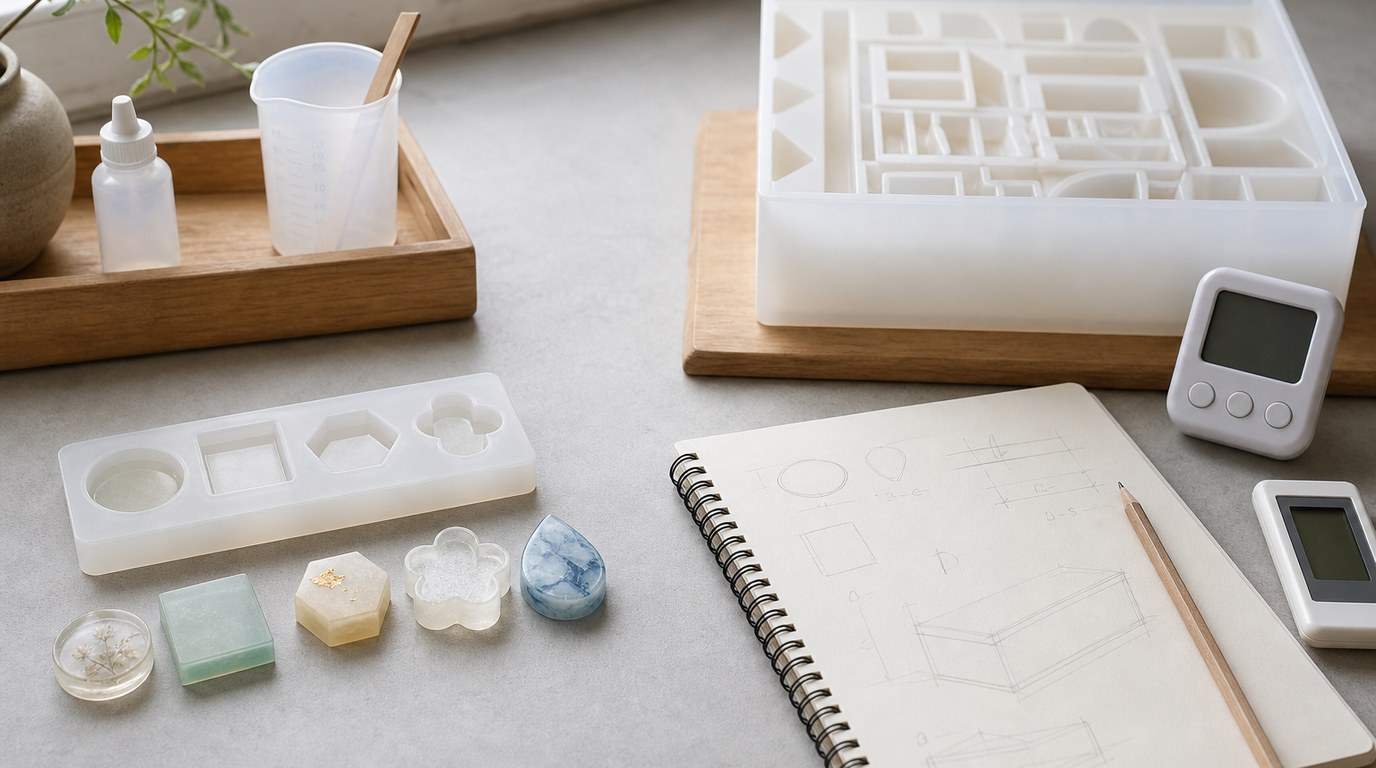
Make one small mold before attempting a large or complex design. Large pours use more silicone and make mistakes more expensive.
Keep notes on silicone brand, mix ratio, room temperature, cure time, and results. This helps you repeat successes and avoid mystery failures.
Store finished molds flat, clean, and away from sunlight. Wash them gently when needed, and let them dry fully before casting resin. For shiny resin pieces, start with a shiny original, because silicone copies surface texture very accurately.
FAQ
What Kind of Silicone Should I Use for Epoxy Resin Molds?
Use a two-part mold-making silicone labeled for casting resin or epoxy. Platinum-cure and tin-cure silicones can both work, but compatibility matters. Check the product description for resin casting use, cure time, hardness, and whether it releases epoxy cleanly.
Can I Use Hot Glue, Plastic, or Household Items as Resin Molds Instead?
Some household plastics can work temporarily, but results are unpredictable. Epoxy may stick, cloud, overheat, or cure with surface flaws. Hot glue is better for sealing mold boxes than making detailed resin molds. For repeatable results, use proper silicone mold-making material.
Do I Need Mold Release for Silicone Molds?
Often, epoxy resin releases from silicone without mold release. However, mold release can extend mold life, help with difficult shapes, and reduce sticking in older molds. Use only a release product that is compatible with both silicone and epoxy resin.
How Long Should a Silicone Mold Cure Before Using Epoxy Resin?
Follow the silicone manufacturer’s cure time, then add extra time if the room is cool or the mold is thick. Many molds need at least several hours, and some need 24 hours or more. The mold should feel fully dry, flexible, and non-tacky before resin use.
Why Did My Resin Stick to My Diy Silicone Mold?
Resin may stick if the silicone was not fully cured, the mold surface was contaminated, the silicone was not suitable for epoxy, or the resin overheated during curing. It can also happen as molds age. Try mold release, gentler demolding, and resin-compatible silicone next time.