

The best epoxy resin and wood results come from controlling moisture, sealing the wood, mixing accurately, pouring at the right depth, and finishing only after the resin has fully cured. Wood is porous and moves with humidity, while epoxy is liquid first and hard plastic later, so most problems happen when those two materials are not prepared to work together. For trays, coasters, river-style boards, inlays, and decorative pieces, focus on clean dry wood, a compatible resin, a thin seal coat, careful bubble control, and patient curing. Small preparation steps often matter more than fancy pigments or tools.
Because wood choice and preparation shape every pour, a fuller look at epoxy for wood explains how resin types fit different projects.
Quick Answer
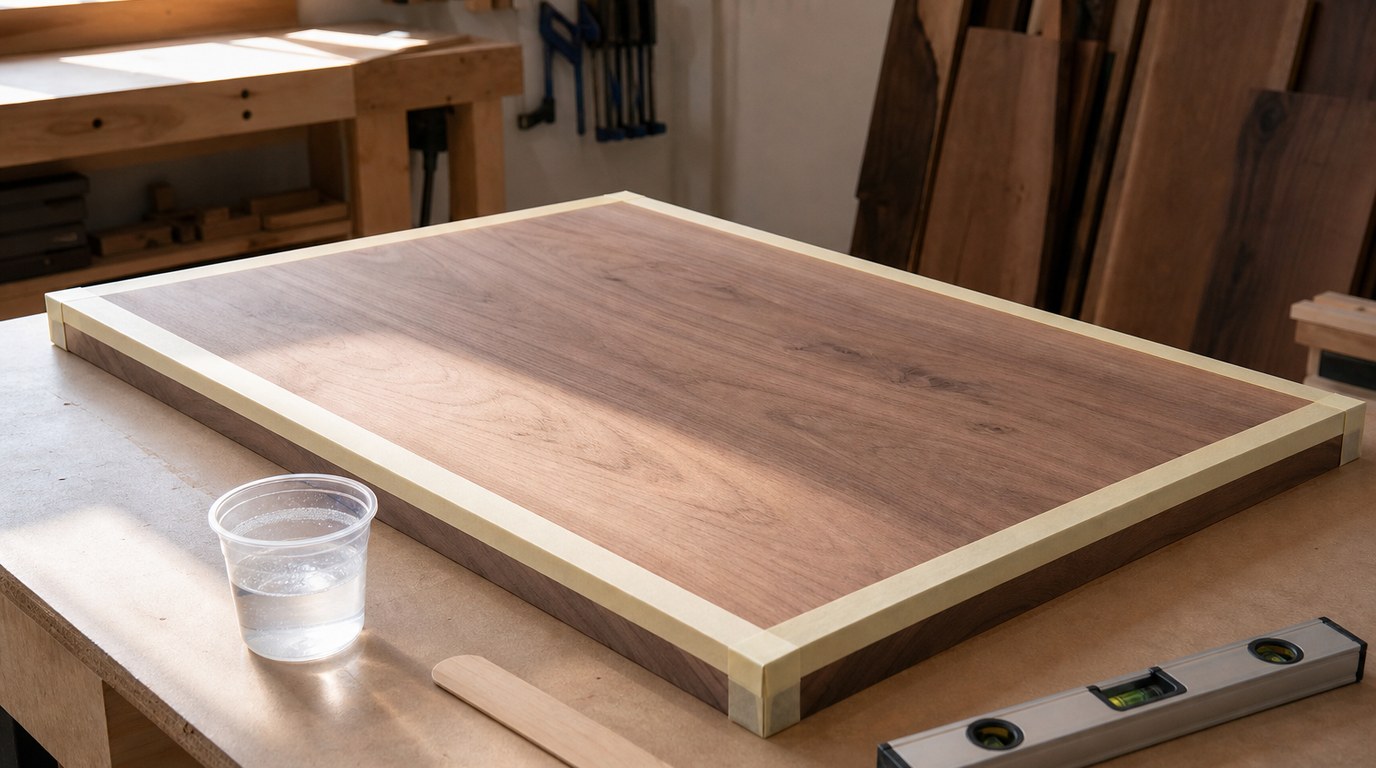
The main takeaway: epoxy resin and wood bond best when the wood is dry, clean, sealed, and level before you pour. If you skip prep, the resin may bubble, soak unevenly into the grain, pull away from edges, or cure with cloudy spots.
Start by choosing the right epoxy for the job. Use deep-pour epoxy for thick river pours and casting areas. Use tabletop or coating epoxy for thin glossy layers on trays, signs, coasters, and furniture tops. Do not use a thick casting pour with a resin designed only for thin coats, because it can overheat, crack, or cure poorly.
Sand the wood evenly, remove dust, and let the piece acclimate indoors before pouring. If the wood has open grain, knots, cracks, bark pockets, or end grain, seal it with a thin coat of epoxy first. This reduces bubbles and keeps the main pour from disappearing into the wood.
Mix resin and hardener by the exact ratio on the label, scrape the sides and bottom of the cup, and avoid whipping air into the mixture. Pour slowly, use a torch or heat gun lightly for surface bubbles, and keep the project covered while it cures. After curing, sand and polish, or apply a final flood coat for a smooth gloss.
Think of epoxy and wood work as a sequence: choose correctly, prep carefully, seal first, pour patiently, cure fully, then finish.
How to Think About This Topic
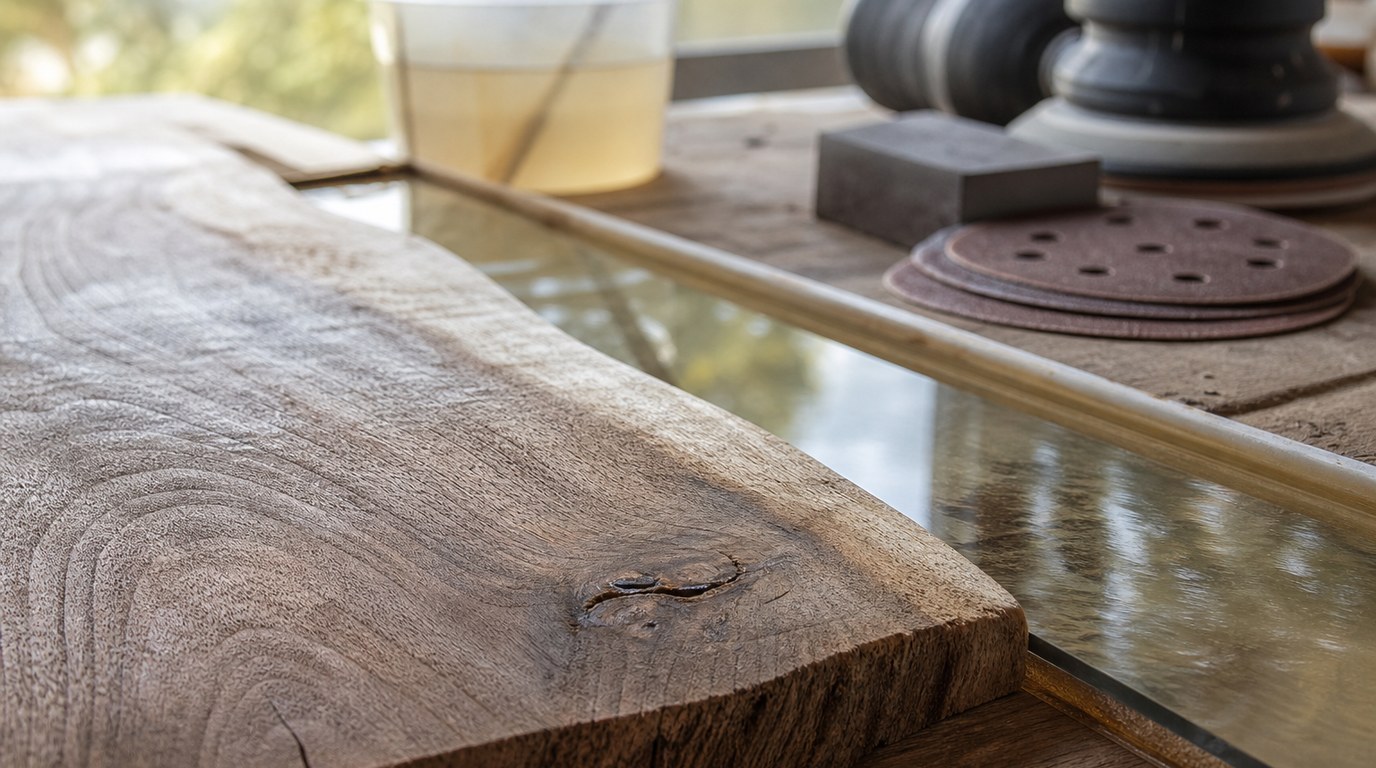
A useful mental model is that wood behaves like a sponge and epoxy behaves like a self-leveling liquid that hardens into plastic. Good results happen when you manage both behaviors at the same time.
Wood is not a sealed, uniform material. It has grain, pores, cracks, knots, end grain, and sometimes hidden moisture. When liquid epoxy touches raw wood, it can soak in, release trapped air, darken the color, and follow every low spot. This is why one board may look perfect while another creates streams of tiny bubbles. Dense maple behaves differently from open-grain oak, and a smooth face grain behaves differently from end grain.
Epoxy also has limits. Every resin has a mix ratio, working time, ideal temperature range, maximum pour depth, and cure schedule. A deep-pour formula is thinner and cures slower so heat can escape. A tabletop formula is thicker and cures faster to create a hard coating. Using the wrong epoxy is one of the most common causes of overheating, soft spots, waves, or cloudy finishes.
The practical goal is to make the wood predictable before the main pour. That means drying it, sanding it, cleaning it, sealing it, and holding it firmly in a level mold or work area. For a river board, that may include sealing the live edges and clamping the slabs so they cannot float. For a coaster, it may simply mean brushing on a thin seal coat before adding a colored top layer.
Temperature is part of the mental model too. Warm resin flows better and releases bubbles more easily, but too much heat can shorten working time. Cold resin is thicker, traps bubbles, and may cure slowly. Most wood-and-resin projects do best in a stable, dust-controlled room, often around normal indoor temperatures listed by the resin maker.
Finally, understand that finishing is not a rescue step for poor prep. Sanding and polishing can improve a cured surface, but they cannot fully fix trapped dust, bad mixing, wet wood, or resin that never cured correctly. The best epoxy resin and wood tips and tricks are really about preventing problems before the pour.
Practical Guidance
Choose the epoxy by project thickness first. For a thin coating over a wood tray or tabletop, use a coating or tabletop epoxy and pour in the recommended layer thickness. For a river-style gap, deep crack, or casting area thicker than a small coating, use deep-pour epoxy. If you want a final glossy surface over a deep pour, many makers use deep-pour epoxy for the fill, then a tabletop epoxy as the final coat.
Prepare the wood before mixing anything. Sand to a consistent grit, often around 120 to 220 depending on the project and finish plan. Remove dust with a vacuum, soft brush, or lint-free cloth. Avoid oily residue. Make sure the wood is dry; damp wood can cause cloudiness, poor bonding, and bubbles. Stabilize loose bark or remove it if it may break away later.
Seal problem areas. Brush a thin coat of mixed epoxy onto live edges, knots, cracks, end grain, and porous surfaces. Let it become tacky or cure according to your product instructions before the main pour. This seal coat locks in air and reduces the chance of bubbles rising through your clear or colored layer.
For molds and forms, seal every seam. Epoxy will find tiny gaps. Use sheathing tape, silicone, or mold-release materials appropriate for your project. Level the work surface before pouring; resin will settle toward the low side. Clamp wood pieces so they do not float when resin is added.
Mix slowly and accurately. Measure by weight or volume as instructed, not by guesswork. Scrape the cup, stir stick, and corners. For critical pours, transfer the mixed resin to a second clean cup and stir again. Add pigments gradually, because too much colorant can affect curing.
Use this quick troubleshooting guide while planning:
| Problem | Likely cause | Practical fix |
|---|---|---|
| Many bubbles near wood | Unsealed grain or cracks | Apply a thin seal coat before the main pour |
| Soft or sticky resin | Wrong ratio or poor mixing | Measure accurately and mix in a second cup |
| Resin leaking from mold | Unsealed seams | Tape, caulk, and test the mold before pouring |
| Cloudy areas | Moisture, cold resin, or trapped dust | Use dry wood, stable temperature, and cover the cure |
| Resin pulling from edges | Contamination, shrinkage, or poor prep | Clean, sand, seal, and avoid oily finishes underneath |
Pour in controlled layers if the project is thick or detailed. For colored effects, let the resin thicken slightly before swirling pigments so the design does not vanish. For clear projects, pour slowly and avoid overworking the surface.
Remove bubbles with restraint. A quick pass of a torch or heat gun can pop surface bubbles, but overheating can scorch wood, damage pigments, or create ripples. For stubborn bubbles in cracks, use a toothpick or small stick.
Let the resin cure longer than you think before sanding. Once cured, level imperfections with progressively finer sandpaper. For a satin wood-and-resin piece, oil or hard-wax finishes may work if compatible. For a high gloss, sand smooth and add a final clear flood coat or polish through fine grits.
FAQ
Do You Have to Seal Wood Before Pouring Epoxy Resin?
Usually, yes. Sealing wood with a thin epoxy coat helps prevent bubbles, uneven absorption, and dry-looking patches. It is especially important on end grain, live edges, cracks, knots, and porous woods like oak. Dense, smooth wood may need less sealing, but it still benefits from a test coat.
What Epoxy Is Best for Wood Projects?
Use tabletop or coating epoxy for thin glossy surfaces, coasters, trays, and bar tops. Use deep-pour epoxy for river tables, thick inlays, and large gaps. The best choice depends on pour depth, cure time, clarity, heat resistance, and whether the resin is made for coating or casting.
Why Did My Epoxy Pull Away from the Wood?
Epoxy may pull away because the wood was dusty, oily, damp, too smooth, or not sealed well. It can also happen if the resin shrinks slightly during cure or the wood moves with humidity. Sand, clean, dry, and seal the wood before pouring for better adhesion.
Can You Pour Epoxy Over Stained Wood?
Yes, but the stain must be fully dry and compatible. Oil-based stains need extra cure time, and any residue can interfere with bonding. Test first on scrap wood. Lightly scuff the stained surface if needed, remove dust, then apply a seal coat before the main pour.
How Do You Stop Bubbles in Resin on Wood?
Start by sealing the wood before the main pour. Use dry wood, mix slowly, pour gradually, and keep the room at the resin’s recommended temperature. Pop surface bubbles with light heat, but do not overheat the resin. For cracks and knots, work bubbles out with a small stick.