Small epoxy resin crafts are ideal for beginners because they use less resin, cure faster than large pours, and let you practice measuring, mixing, coloring, and demolding without wasting supplies. In this DIY small epoxy resin crafts tutorial, you’ll make a simple mini piece such as a keychain charm, pendant, magnet, cabochon, or tiny coaster using a silicone mold.
The basic process is: choose a small mold, set up a safe workspace, measure resin and hardener exactly, mix slowly, add color or decorations, pour, remove bubbles, let it cure, then demold and finish the edges. The most important beginner skills are accurate measuring, patient mixing, light-handed decorating, and leaving the resin undisturbed until fully cured.
Before You Start: Pick a Small Resin Craft Project
Choose one small project for your first pour. Good beginner options include a keychain blank, pendant mold, bookmark charm, small magnet, cabochon, ring dish accent, or mini coaster. Avoid deep molds, large trays, and layered designs until you understand your resin’s working time.
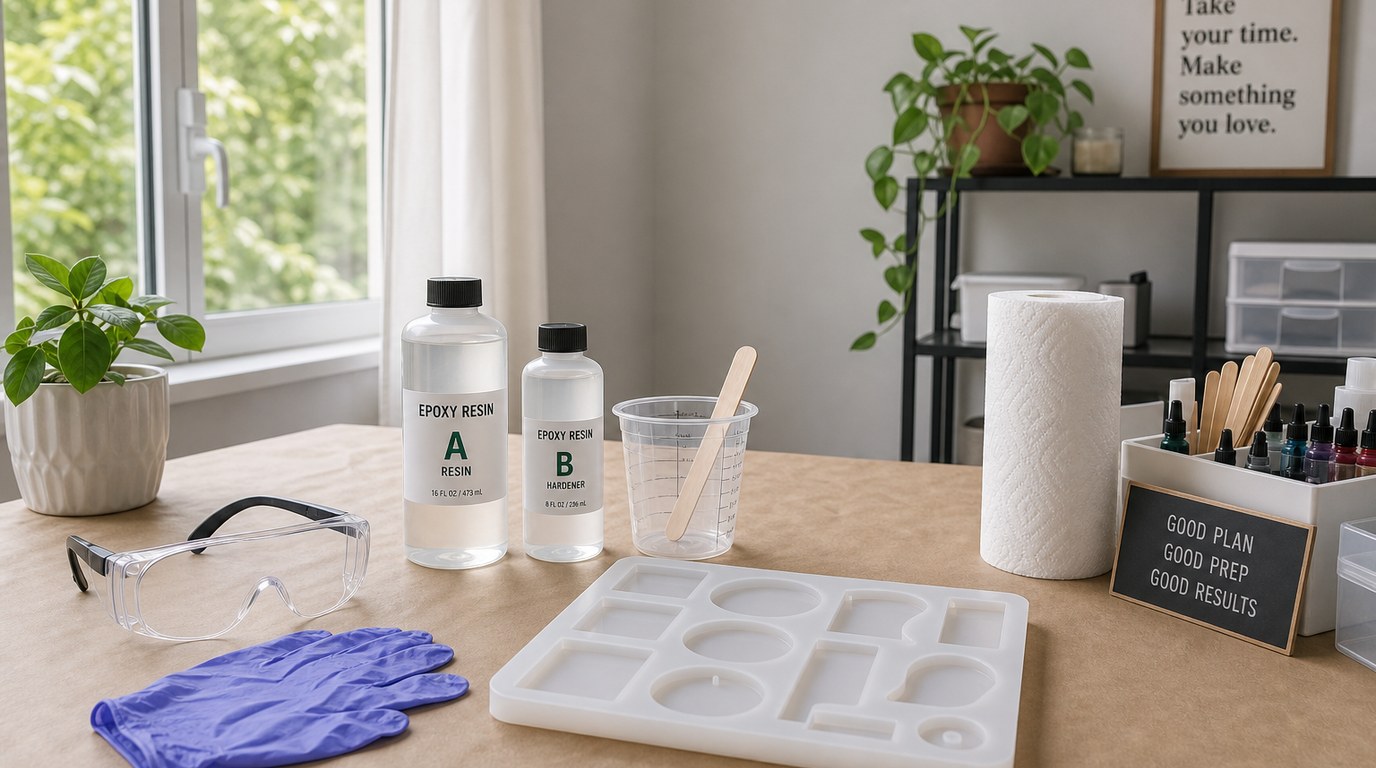
Gather your basic supplies: two-part epoxy resin, silicone mold, measuring cups, mixing sticks, nitrile gloves, protective surface covering, pigments or glitter, toothpicks, a dust cover, and optional keychain hardware. Read your resin label before opening anything, especially the mix ratio, working time, cure time, and maximum pour depth.
Safety and Workspace Setup
Work in a well-ventilated area, away from children, pets, food, and open drinks. Wear nitrile gloves, long sleeves if you are sensitive, and eye protection if splashing is possible. Do not use kitchen measuring tools for resin and do not sand uncured or partially cured resin.
Cover your table with a silicone mat, freezer paper, or disposable plastic sheet. Set your mold on a level surface before mixing, because moving a filled mold can cause spills. Keep paper towels, isopropyl alcohol for cleanup, and a trash bag nearby.
Caution: resin and hardener can irritate skin. If you spill resin on yourself, wipe it off immediately and wash with soap and water. Do not use solvents on skin.
Step 1: Prepare the Mold and Design
Wash and fully dry the silicone mold if it is dusty. Any moisture can cause cloudy spots or curing problems. Place the mold on a flat tray or board so you can move it later without flexing.
Plan your design before mixing resin. Decide where glitter, dried flowers, foil flakes, beads, or small stickers will go. For keychains or pendants, check where the hole or hardware opening sits. If using stickers or paper, seal them first with a clear-drying sealer so the resin does not darken or stain them.
Step 2: Measure Resin and Hardener Accurately
Check whether your epoxy is measured by volume or weight. Many craft resins use a 1:1 ratio by volume, but not all do. Follow the specific instructions for your product.
Pour resin and hardener into separate measuring cups first if that helps accuracy, then combine them in a clean mixing cup. For small molds, mix a modest amount, such as 15 to 30 ml total, depending on your mold size.
Do not “eyeball” the ratio. Too much resin or too much hardener can leave the finished piece soft, bendy, oily, or sticky.
Step 3: Mix Slowly and Thoroughly
Stir the resin and hardener slowly for the full time listed on the label, often 2 to 5 minutes. Scrape the sides and bottom of the cup repeatedly. Unmixed material stuck to the cup wall is a common reason small crafts cure with sticky streaks.
Use a folding motion rather than whipping the resin. Fast stirring traps bubbles, especially in tiny molds where bubbles are more noticeable. The mixture may look cloudy at first, then turn clearer as it combines.
If your resin instructions recommend a second cup, pour the mixed resin into a clean cup and stir again briefly. This helps prevent unmixed residue from entering the mold.
Step 4: Add Color, Glitter, or Inclusions
Add color sparingly. Use resin-safe pigments, mica powder, alcohol ink made for resin, or glitter. A tiny amount is usually enough for small crafts. Too much liquid colorant can interfere with curing, especially in shallow pieces.
Mix pigment into the resin slowly until no streaks remain. For a clear look, skip pigment and place inclusions directly into the mold. Dried flowers, small shells, foil flakes, tiny charms, and flat sequins work well.
Avoid fresh flowers, damp leaves, or wet items. Moisture can create bubbles, cloudiness, or discoloration inside the finished resin craft.
Step 5: Pour the Resin Into Small Molds
Pour a thin stream into the lowest part of the mold and let the resin flow outward. This helps reduce trapped air. For very small cavities, use a craft stick, pipette, or toothpick to control the pour.
Do not overfill immediately. Fill the mold about halfway, add inclusions, then top it off slowly. Use a toothpick to push resin into corners, points, or letter shapes. If making a keychain or pendant, avoid flooding the hole area unless the mold is designed to create the hole automatically.
Slightly dome the surface only if your resin is thick enough and the mold shape allows it. Otherwise, stop just below the rim to prevent overflow.
Step 6: Remove Bubbles and Cover While Curing
Let the filled mold sit for a few minutes so bubbles can rise. Pop surface bubbles with a toothpick, or pass a heat tool quickly over the surface if your resin allows heat. Keep the tool moving and do not hold flame or heat close to silicone molds, dried flowers, plastic inclusions, or alcohol ink.
For tiny molds, a toothpick is often safer than a torch. Too much heat can warp molds, create ripples, or cause resin to cure unevenly.
Cover the mold with a clean plastic container, box, or dust cover. Leave it level and undisturbed for the full cure time listed on the resin label.
Step 7: Demold and Finish the Edges
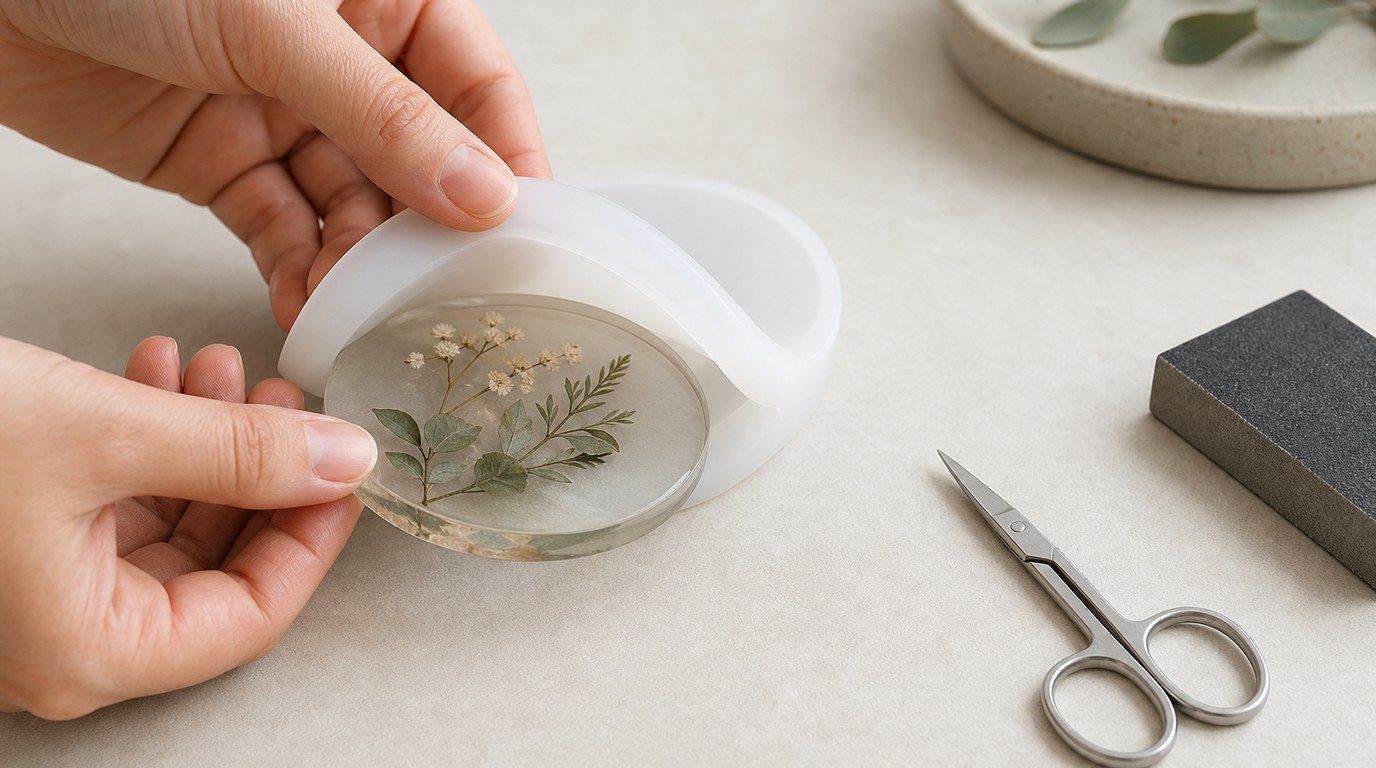
Demold only when the resin is firm, dry to the touch, and no longer flexible beyond what is normal for a thin piece. Gently peel the silicone mold away from the resin instead of forcing the resin out.
Check the edges. If there are sharp bits or overflow, trim thin flashing with small scissors or a craft knife. For rough edges, wet sand with fine-grit sandpaper while wearing a mask and keeping dust controlled. Do not dry sand resin dust into the air.
If the edge turns cloudy after sanding, brush on a thin coat of mixed clear resin or use a compatible gloss sealer. Add jewelry bails, jump rings, magnets, or keychain hardware only after the piece is fully cured.
Result Check: How to Know Your Resin Craft Worked
A successful small epoxy resin craft should feel hard, smooth, and dry, not tacky or oily. The surface should release cleanly from the mold and hold its shape without bending excessively. Clear pieces should look mostly transparent, aside from intentional pigments or inclusions.
Check the back and edges, not just the top. Sticky patches, soft corners, cloudy streaks, or a strong uncured smell may mean the resin was mismeasured, undermixed, exposed to moisture, or disturbed during curing.
Common Mistakes and Troubleshooting
Sticky or soft resin: This usually comes from inaccurate measuring, incomplete mixing, too much pigment, or cold curing conditions. If the piece is liquid or very soft, discard it safely. If only the surface is slightly tacky, you may be able to add a fresh, correctly mixed clear coat.
Too many bubbles: Stir more slowly, warm closed resin bottles in warm water before mixing, and pour in a thin stream. Pop bubbles early before the resin thickens.
Cloudy resin: Check for moisture in molds, fresh flowers, or humid conditions. Make sure all inclusions are dry and sealed.
Overflow: Use less resin and fill slowly. Place molds on a level surface before pouring.
Inclusions sank: Wait until the resin thickens slightly before adding heavier items, or pour in two thin layers.
Dust on the surface: Always cover the mold while curing and avoid working near fans, lint, or pet hair.
Easy Variations for Small Epoxy Resin Crafts
Once you can make a simple clear or colored piece, try small variations. Add dried pressed flowers to pendants, mica swirls to keychains, foil flakes to magnets, or letter beads to charms. Make matching earring pairs by measuring equal resin amounts and placing inclusions in the same positions.
You can also practice layering. Pour a thin clear layer, let it partially cure according to your resin directions, then add a colored backing layer. Keep each variation small so troubleshooting stays easy.
FAQ
What Is the First Step Someone Should Take with Diy Small Epoxy Resin Crafts Tutorial?
Start by choosing one small, simple project and reading your resin’s instructions. Confirm the mix ratio, cure time, working time, and pour depth before opening the bottles. Then prepare your mold, decorations, gloves, measuring cups, and covered workspace.
What Can Go Wrong When Following Diy Small Epoxy Resin Crafts Tutorial Advice?
The most common problems are sticky resin, bubbles, cloudy areas, dust, overflow, and decorations sinking. Most issues come from inaccurate measuring, rushed mixing, too much pigment, wet inclusions, or disturbing the mold before the resin has cured.
How Long Does It Usually Take to Work Through Diy Small Epoxy Resin Crafts Tutorial?
Hands-on time is usually 30 to 60 minutes for a small craft, including setup, mixing, coloring, pouring, and bubble removal. Curing takes much longer. Many epoxy resins need 12 to 24 hours to demold and up to 72 hours for a full cure.
How Can a Beginner Tell Whether Diy Small Epoxy Resin Crafts Tutorial Worked?
Your resin craft worked if it is hard, dry, smooth, and cleanly released from the mold. It should not feel sticky, oily, rubbery, or unusually bendy. The edges should be stable, and clear areas should not have unexpected cloudy streaks or wet-looking patches.