
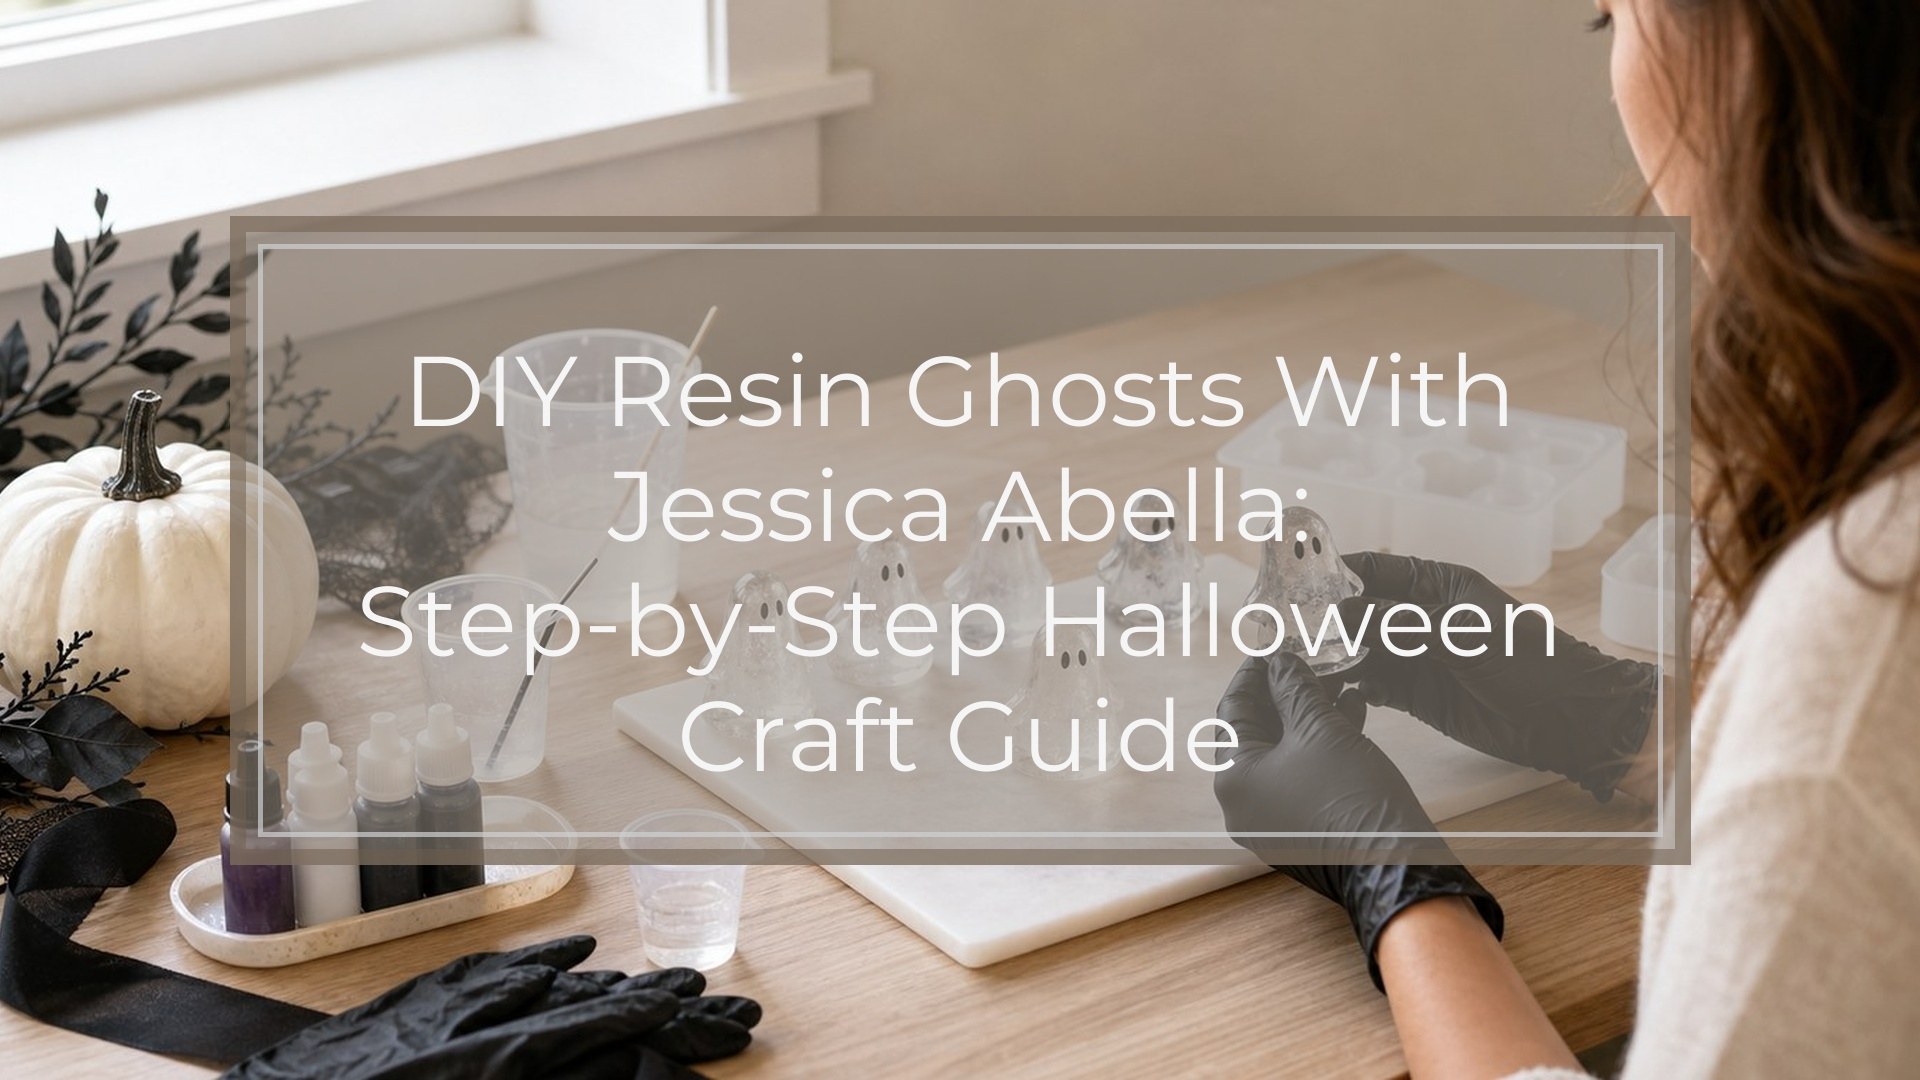
DIY resin ghosts with Jessica Abella is a small Halloween resin project built around a simple mold, careful resin mixing, and cute finishing details. You can make the ghosts as shelf decor, keychains, ornaments, earrings, or party favors depending on the mold size and hardware you add. The core process is straightforward: plan the look, mix resin accurately, tint it lightly, pour slowly, cure fully, then add a face. The biggest success factors are measuring the resin correctly, avoiding too much pigment, and waiting long enough before demolding.
Before You Start: What Kind of Resin Ghost Are You Making?
Decide whether you want a flat ghost charm, a freestanding ghost figure, or a domed shaker-style ghost before opening your resin. Flat molds are easiest for beginners and work well for keychains or earrings. Deeper molds create chunkier decorations but need more resin and longer curing time. Choose your mold first, then plan the finish: milky white, translucent glow, glittery, pearlescent, or spooky black-and-white.
Prerequisites and Safety Setup
Work in a ventilated area on a covered, level surface. Wear nitrile gloves, protect your clothes, and follow the safety instructions for your specific resin brand. Keep paper towels, alcohol wipes, mixing sticks, disposable cups, a silicone mat, and a dust cover nearby.
You’ll need a ghost silicone mold, two-part resin, white or pearl resin pigment, optional glitter or mica powder, a heat tool or toothpick for bubbles, and paint pens or acrylic paint for the face. If making charms, have jump rings, eye screws, bails, or keychain hardware ready before pouring.
Step 1: Plan the Ghost Design
Sketch or mentally plan the ghost before mixing. Resin gives you limited working time, so decide now where the eyes, mouth, glitter, color layers, and hardware will go. If using a transparent mold, place it over a white sheet of paper so you can see details better.
For a classic Jessica Abella-style cute ghost look, keep the body soft and simple: milky white resin, rounded black eyes, a tiny mouth, and maybe a little sparkle.
Step 2: Measure and Mix the Resin
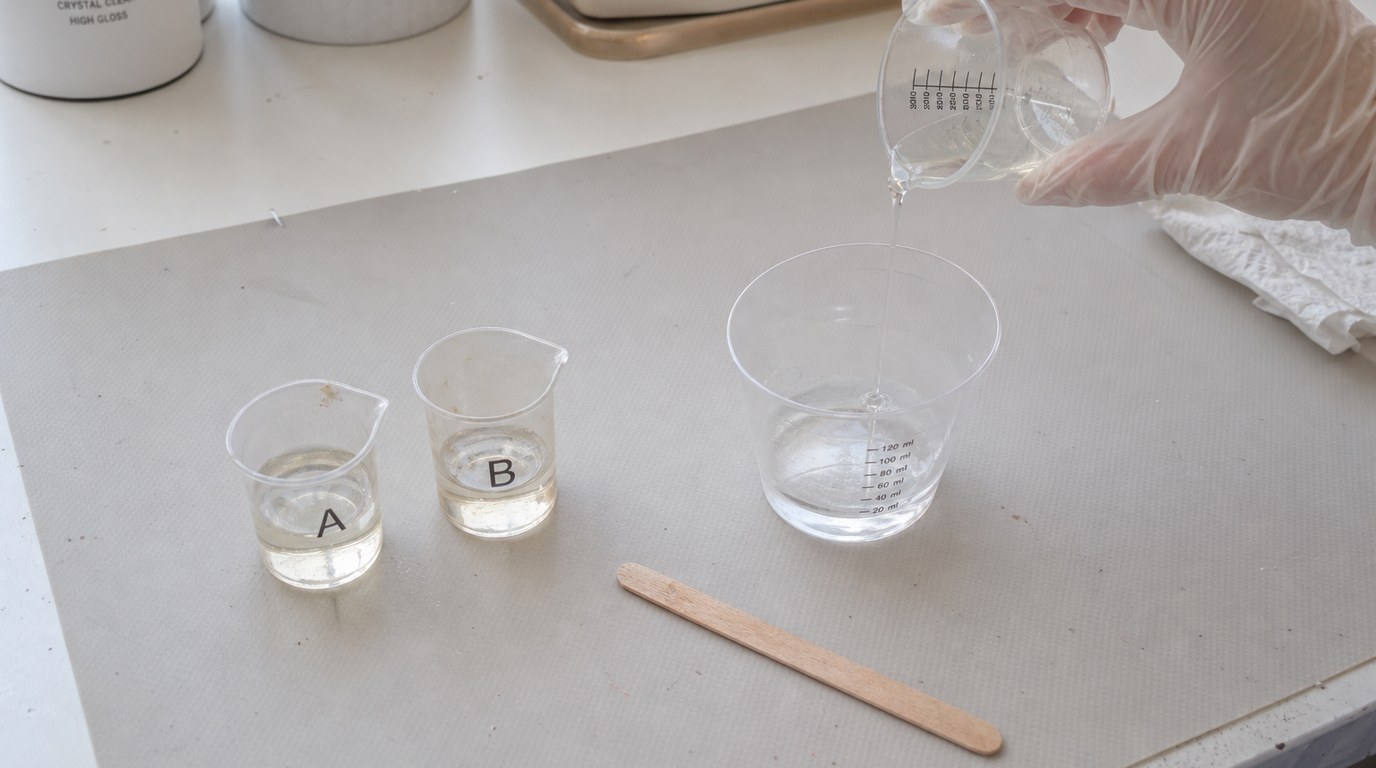
Read your resin label and measure Part A and Part B exactly as directed. Many craft resins use a 1:1 ratio by volume, but not all do. Pour each part into separate cups if needed, then combine them in a clean mixing cup.
Stir slowly for the full recommended time, scraping the sides and bottom. Fast whipping adds bubbles, so use steady folding motions instead. If the mixture looks cloudy or streaky, keep stirring until it turns uniform. Incorrect measuring or incomplete mixing is the main cause of soft, bendy, or tacky ghosts.
Step 3: Tint the Resin for a Ghostly Look
Add a tiny amount of white resin pigment, pearl mica, or alcohol ink to create a translucent ghost effect. Start with less than you think you need; resin can fail to cure properly if overloaded with colorant. A toothpick tip of pigment is often enough for a small batch.
For a wispy look, mix the tint only partially so faint white swirls remain. For an opaque ghost, add pigment gradually until the resin looks milky, but avoid making it thick or chalky.
Step 4: Pour Into the Ghost Mold
Place the mold on a level surface. Pour resin slowly into the lowest or most detailed part of the ghost first, then let it spread. Use a toothpick to guide resin into arms, points, or tiny corners.
Fill the mold just to the rim unless you want a domed back. Pause after the first thin layer and pop visible bubbles with a toothpick or brief pass of a heat tool. Do not overheat silicone molds; quick, gentle heat is enough. If bubbles cling to the face area, drag them upward before the resin thickens.
Step 5: Add Effects, Layers, or Hardware
Add glitter, tiny stars, glow powder, or mica swirls while the resin is still fluid. Keep embellishments light so the ghost shape remains readable. If you want layered color, pour a clear or lightly tinted layer first, let it thicken slightly, then add a whiter layer behind it.
For charms, place an eye screw, bail, or embedded loop where it will be strongest. Make sure hardware sits straight and does not sink into an awkward angle. For a freestanding ghost, skip hardware and focus on an even base.
Step 6: Cure the Resin Completely
Cover the mold with a dust cover and leave it undisturbed. Most craft resins need 12 to 24 hours before demolding, with full hardness taking longer. Temperature matters: cold rooms slow curing and can leave pieces flexible.
Do not poke the surface repeatedly to “check” it. If you leave fingerprints, the ghost was not ready. Wait until the back feels firm, dry, and no longer rubbery before removing it from the mold.
Step 7: Demold and Clean up the Edges
Peel the silicone mold away from the resin rather than yanking the ghost out. Flex the mold slowly around thin arms or points to avoid snapping details.
Check the edges for sharp overflow or thin resin lips. Trim soft flashing with small scissors if the resin is still slightly flexible, or sand cured edges with fine-grit sandpaper. Wear a mask when sanding resin dust, and wipe the piece clean before painting or sealing.
Step 8: Add the Ghost Face and Final Details
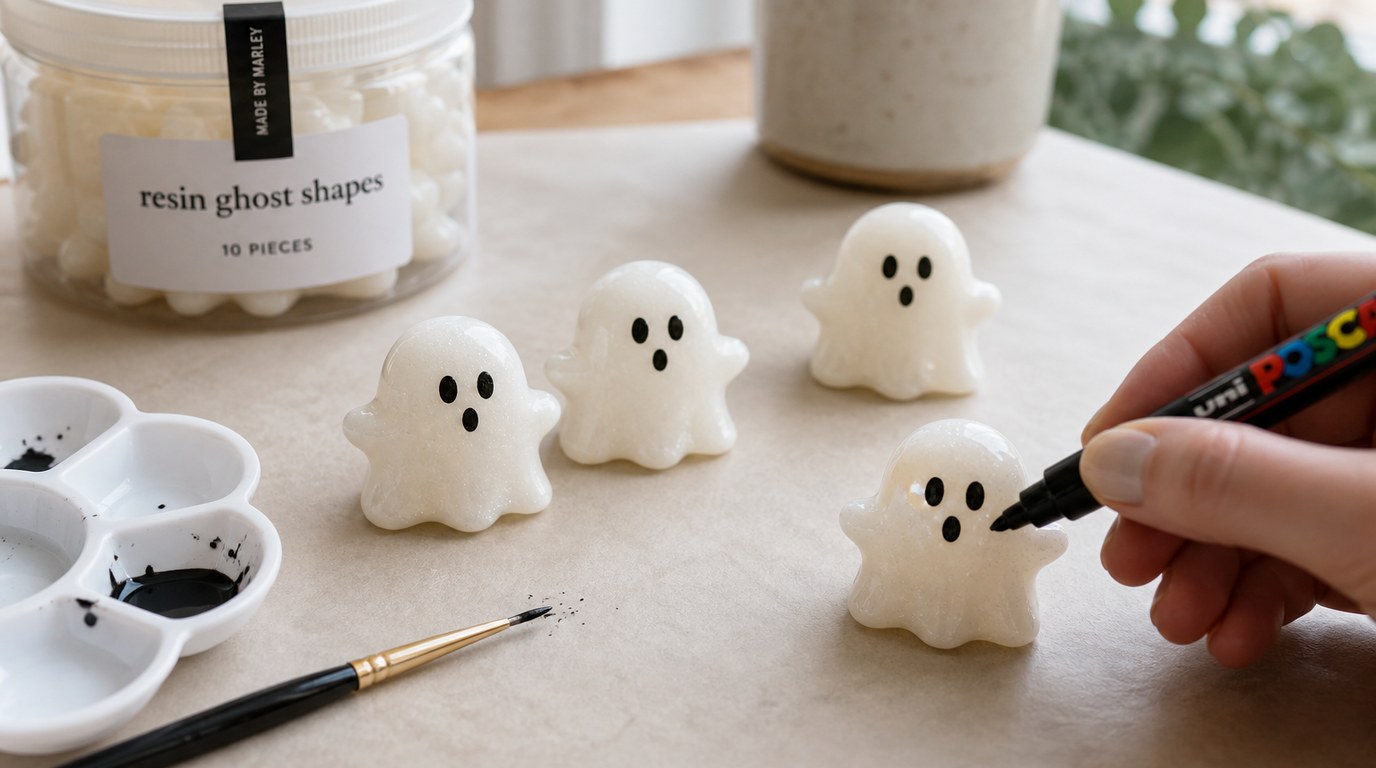
Use a black paint pen, acrylic paint, or permanent marker to add eyes and a mouth. Simple faces work best: two oval eyes and a tiny open mouth instantly read as a ghost. Let the face dry completely before handling.
If you want extra durability, seal the painted face with a thin coat of UV resin or clear varnish. Add blush, a bow, mini stars, or a name on the back for a personalized finish. Attach jump rings or keychain hardware only after the surface is fully cured and dry.
Result Check: How to Know Your Resin Ghost Turned Out Right
Your finished resin ghost should feel hard, dry, and smooth, not sticky or bendy. The color should look evenly ghostly unless you intentionally made swirls. Details should be filled, the face should be clear, and hardware should feel secure. Small bubbles are normal, but large trapped bubbles in the face or edges mean you may need slower pouring next time.
Common Mistakes and Troubleshooting
If the ghost stays tacky, the resin may have been measured wrong, mixed poorly, or exposed to too much pigment. Let it cure longer in a warm room, but if it remains sticky after the resin’s full cure window, remake it and measure more carefully.
If bubbles collect in the mold, pour more slowly and use a toothpick in tight areas before filling the whole cavity. Warm resin bottles slightly in a water bath before mixing if your resin allows it, but never add water to resin.
If pigment sinks or clumps, you used too much or did not blend it well. Mix color in gradually. If the ghost breaks during demolding, wait longer next time and peel the mold away slowly. If the face smears, the paint was not dry or needed sealing.
Easy Variations for More Resin Ghosts
Make a glow-in-the-dark ghost by adding glow powder sparingly. Create a candy-corn ghost with three thin color layers. Use pink cheeks and tiny bows for cute ghosts, or black glitter and silver stars for a haunted look. Smaller molds make earrings, while larger ghosts work as magnets, ornaments, or tabletop decor. Once you master the basic pour, change only one feature at a time so problems are easy to trace.
FAQ
What Is the First Step Someone Should Take with Diy Resin Ghosts with Jessica Abella?
Start by choosing the ghost mold and deciding what the finished piece will be: charm, ornament, earring, magnet, or freestanding decor. That choice affects resin amount, hardware placement, color style, and curing time. Plan the design before mixing because resin has a limited working window.
What Can Go Wrong When Following Diy Resin Ghosts with Jessica Abella Advice?
The most common problems are tacky resin, trapped bubbles, too much pigment, crooked hardware, and paint that smears. Most issues come from rushing: inaccurate measuring, incomplete mixing, pouring too fast, or demolding too early. Follow the resin label closely and give the piece enough curing time.
How Long Does It Usually Take to Work Through Diy Resin Ghosts with Jessica Abella?
The hands-on work usually takes 30 to 60 minutes, depending on how many ghosts you make and how detailed the design is. Curing takes much longer. Many resins can be demolded after 12 to 24 hours, but full hardness may take several days.
How Can a Beginner Tell Whether Diy Resin Ghosts with Jessica Abella Worked?
A successful resin ghost is firm, dry, smooth, and easy to handle without fingerprints. The mold details should be filled, the face should be clean, and any hardware should feel secure. If it is sticky, soft, cloudy from poor mixing, or full of large bubbles, adjust your process next time.