
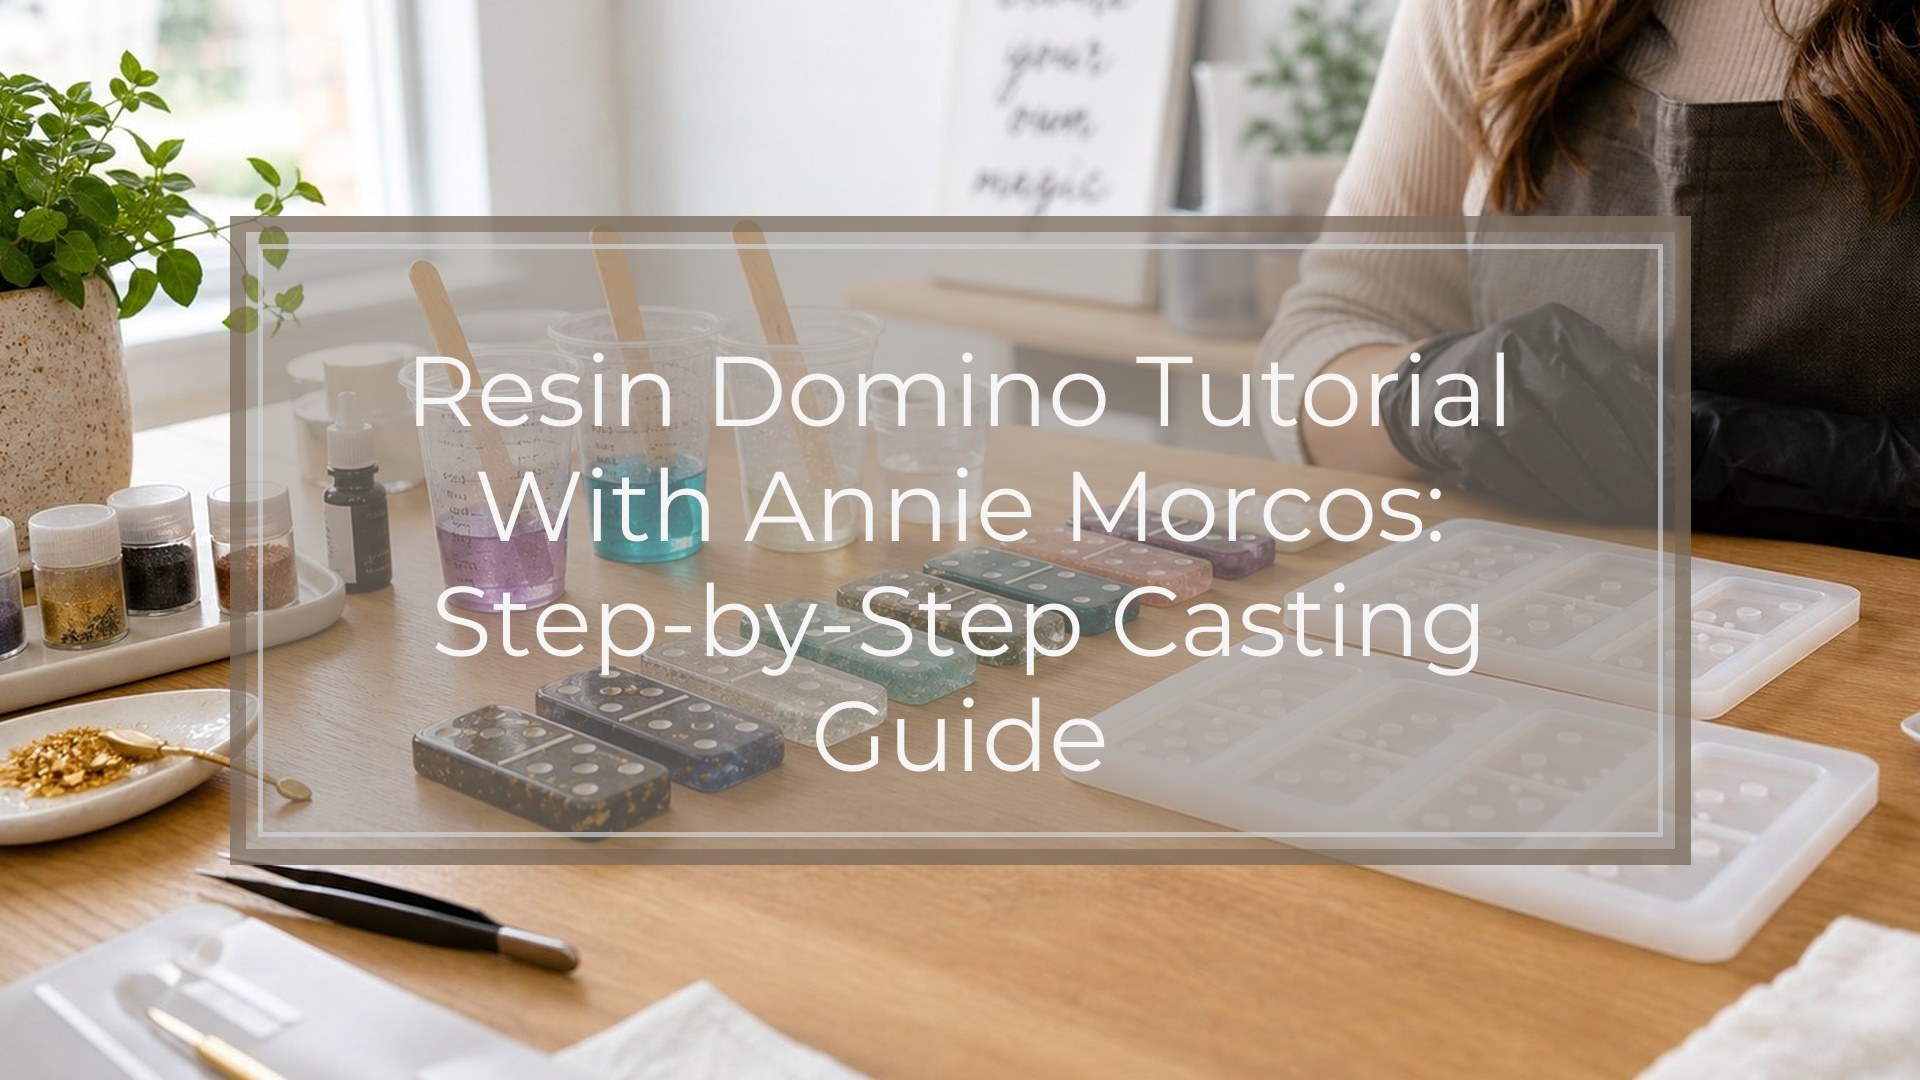
This resin domino tutorial with Annie Morcos walks you through making a playable domino set from a silicone mold, epoxy resin, pigment, and paint for the dots. The process is simple, but accuracy matters: measure resin correctly, avoid over-coloring, pour evenly, and let the pieces cure fully before demolding. Plan for a short working session plus overnight or longer curing time. When finished, your dominoes should be flat, smooth, readable, and sturdy enough to shuffle and play without sticky spots, sharp edges, or hidden bubbles.
If you want to cast repeat pieces from a custom shape, it helps to know how to make your own silicone mold for epoxy resin.
Before You Start: Project Timing, Safety, and Setup
Prepare everything before opening your resin bottles. You’ll need a domino silicone mold, two-part epoxy resin, mixing cups, stir sticks, gloves, a respirator or good ventilation, resin-safe pigment, toothpicks, a heat gun or torch, acrylic paint or paint pen for the dots, paper towels, and a level work surface.
Check your resin’s mix ratio and working time on the label. Most domino molds use a shallow pour, but cure time can still be 24 to 72 hours depending on the resin. Cover your table with a silicone mat or plastic sheet, and keep pets, dust, and hair away from the curing area.
Wear gloves and avoid touching uncured resin. If you use heat for bubbles, keep it moving; too much heat can warp silicone or damage details.
Step 1: Clean and Level the Domino Mold
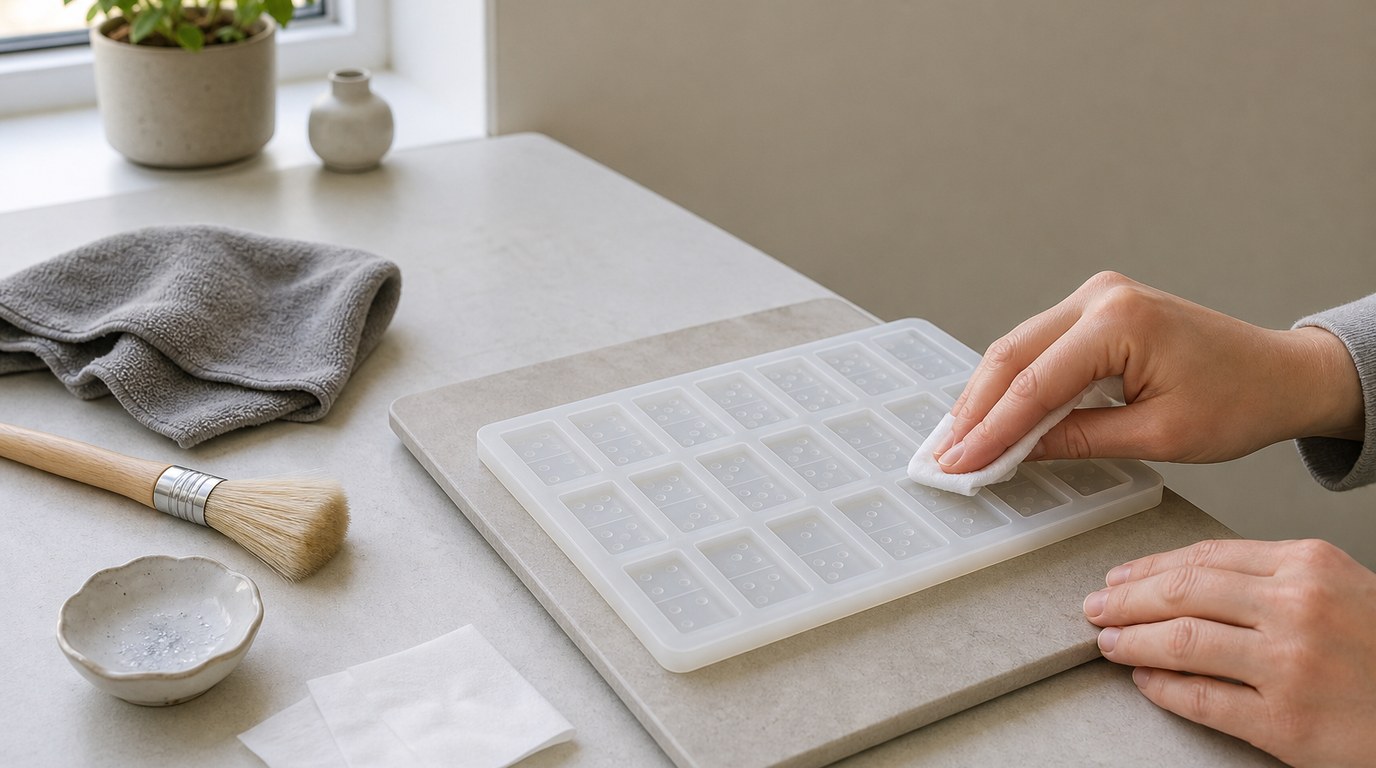
Wash the mold if it is new, then let it dry completely. Any water left in the cavities can cause cloudy spots or curing problems. For a used mold, remove glitter, dried resin flakes, dust, or pigment residue from the dots and center lines.
Place the mold on a flat board or tray so you can move it without bending it. Use a small level, or pour a little water into an empty corner of the tray to see whether the surface tilts. Leveling matters because uneven resin creates dominoes that are thick on one side and uncomfortable to play with.
Step 2: Measure and Mix the Resin
Measure Part A and Part B exactly according to your resin instructions. Do not estimate by eye. If your resin is a 1:1 formula, use equal amounts by volume unless the label says to measure by weight.
Pour both parts into a clean cup and stir slowly for the full recommended time, usually 2 to 4 minutes. Scrape the sides and bottom of the cup as you mix. Then transfer the resin into a second clean cup and stir again for about 30 seconds. This “double cup” method reduces unmixed streaks that can leave soft or sticky dominoes.
Avoid whipping the resin. Fast stirring adds bubbles that can settle in the dot details.
Step 3: Add Color Without Overloading the Resin
Add a small amount of resin-safe pigment, mica powder, alcohol ink, or opaque dye. Start with less than you think you need, mix, then add more only if necessary. A good rule is to keep color additives low, often under 5% of the total resin volume unless the pigment manufacturer gives a different limit.
Too much pigment can interfere with curing and leave the dominoes flexible or tacky. If you want a bold color, use highly concentrated pigment instead of adding large amounts. For readable dominoes, choose a base color that contrasts with the dot color you plan to paint later.
Step 4: Pour the Resin Into the Domino Mold
Pour slowly into each domino cavity. Aim for the center of the cavity and let the resin spread to the edges instead of flooding the mold from one side. This helps prevent trapped air around the dots, corners, and center divider line.
Fill each cavity to the same height. Slightly domed resin may look glossy, but overfilling can cause raised backs that make the dominoes rock during play. If you overfill, use a toothpick or stir stick to pull away a small amount before the resin thickens.
After pouring, gently tap the tray or lift and set it down a few times to encourage bubbles to rise.
Step 5: Remove Bubbles and Check the Details
Inspect every domino cavity closely. Look for bubbles caught in corners, around pips, or along the center line. Use a toothpick to drag trapped bubbles to the surface.
Pass a heat gun or torch quickly over the resin surface to pop bubbles. Keep the tool moving and do not hold heat in one place. Silicone molds can be damaged by too much heat, and resin can ripple, smoke, or cure unevenly if overheated.
Check the mold from more than one angle under good light. Bubbles are easier to fix now than after curing.
Step 6: Cure the Resin Dominoes
Cover the mold with a dust cover, plastic storage bin, or cardboard box that does not touch the resin. Leave the mold on the leveled surface and do not move it while the resin is fluid.
Follow the cure time on your resin label. If the room is cold, curing may take longer. Do not demold just because the top feels dry. Resin can feel firm on the surface while still being flexible inside. Waiting the full cure time gives the dominoes cleaner edges and reduces bending.
Step 7: Demold Without Bending or Chipping the Pieces
When the resin is fully cured, peel the silicone mold away from each domino instead of forcing the domino out. Start at one end, loosen the edges, and flex the mold gently around the piece.
Do not yank from the center or twist the domino sharply. Thin game pieces can bend if removed too early or too aggressively. If a piece feels rubbery, stop and let the set cure longer. For stubborn pieces, place the mold in a cool room for a short time; slightly firmer resin often releases more cleanly.
Step 8: Paint or Highlight the Dots and Center Lines
Once demolded, make the pips and center lines easy to read. Use acrylic paint, enamel paint, or a fine paint pen in a contrasting color. White, black, gold, or silver are common choices, depending on your resin color.
Brush or dab paint into the recessed dots and center lines. Let it sit briefly, then wipe the surface with a lightly damp paper towel or soft cloth so paint remains only in the recessed areas. Work gently; wiping too hard can pull paint back out of shallow details.
Let the paint dry fully before handling the set. If the dominoes will be used often, seal the painted details with a thin clear coat compatible with cured resin and paint. Avoid thick sealers that pool and make the pieces uneven.
Step 9: Finish the Edges and Polish If Needed
Run your fingers around each domino. If you feel sharp flashing or a raised lip from overfilled resin, trim it carefully with a craft knife or sand it with fine-grit wet/dry sandpaper. Wear a dust mask when sanding cured resin.
For dull areas, polish lightly with a resin polishing compound or a soft cloth. Do not over-sand the back, or pieces may become uneven. The goal is comfort and consistency, not removing a large amount of material.
Result Check: How to Know Your Resin Dominoes Are Playable
Your dominoes are ready when they pass five checks. First, they are fully hard, not tacky, rubbery, or bendable. Second, they sit flat on a table without rocking. Third, the dots and center lines are readable at a glance. Fourth, edges feel smooth enough to shuffle by hand. Fifth, the set looks consistent in thickness and size.
Shuffle a few pieces together. If they slide, stack, and turn easily without catching, your resin domino set is game-ready.
Troubleshooting Common Resin Domino Problems
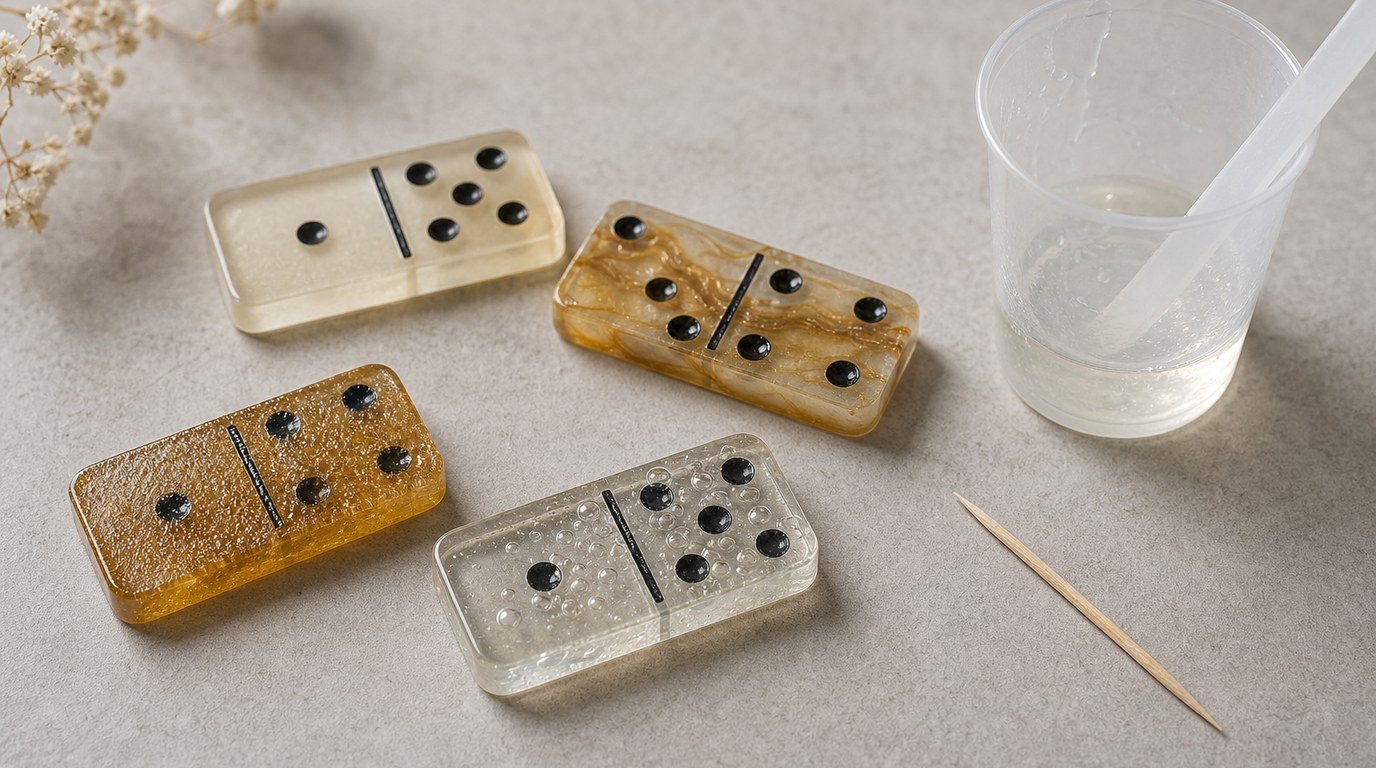
If the dominoes are sticky, the resin was likely mismeasured, undermixed, overloaded with pigment, or cured in a cold room. Give them extra time first. If they remain sticky, they may not be salvageable for play.
If bubbles cover the dots, pour more slowly next time and use a toothpick before heat. If the pieces are warped, the mold may not have been level or the resin was demolded too soon.
If paint wipes out of the pips, let it dry longer before cleaning the surface, or switch to a thicker paint pen. If edges are sharp, lightly sand rather than trying to snap off resin flashing. If every piece rocks, reduce the fill level on the next pour.
FAQ
What Is the First Step Someone Should Take with Resin Domino Tutorial with Annie Morcos?
Start by preparing the mold and workspace before mixing resin. Clean and dry the domino mold, place it on a level tray, gather all supplies, and read your resin’s mix ratio and cure time. Once resin is mixed, you have limited working time.
What Can Go Wrong When Following Resin Domino Tutorial with Annie Morcos Advice?
The most common problems are sticky resin, bubbles in the dot details, uneven thickness, overfilled cavities, and paint that does not stay in the pips. These usually come from inaccurate measuring, rushed mixing, too much pigment, poor leveling, overheating, or demolding before the resin fully cures.
How Long Does It Usually Take to Work Through Resin Domino Tutorial with Annie Morcos?
The hands-on work usually takes 30 to 60 minutes, depending on how many colors you use and how carefully you paint the dots. Curing takes much longer. Most epoxy resin dominoes need at least 24 hours, and some formulas need up to 72 hours.
How Can a Beginner Tell Whether Resin Domino Tutorial with Annie Morcos Worked?
Check that the dominoes are hard, dry, flat, smooth, and readable. They should not bend, feel sticky, rock on the table, or have bubbles hiding the dots. If they shuffle easily and the pips are clear, the project worked.