
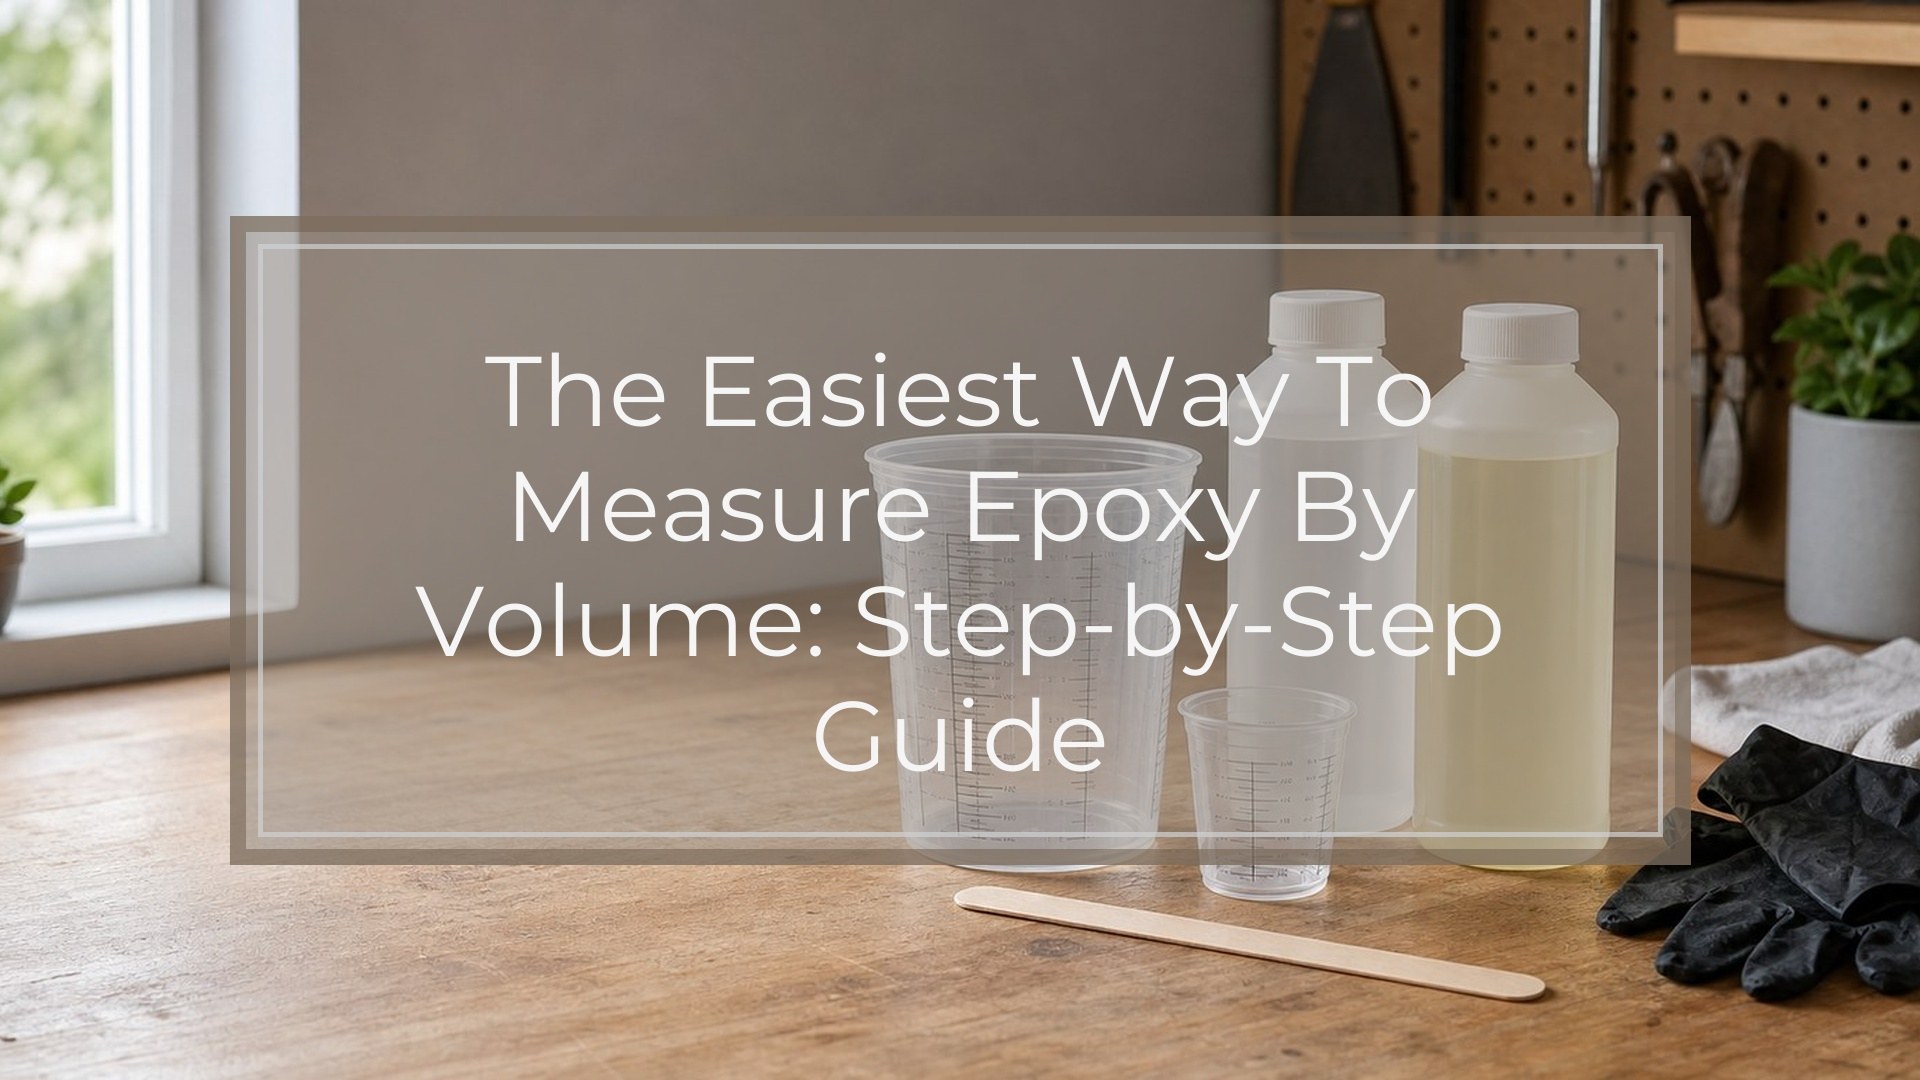
The easiest way to measure epoxy by volume is to use clear graduated mixing cups, place them on a level surface, and pour Part A resin and Part B hardener to the exact volume ratio printed on your kit. For a 1:1 epoxy, that means equal volumes of resin and hardener. For a 2:1 epoxy, use two parts resin to one part hardener by volume.
Do not guess, use kitchen spoons, or add extra hardener to speed curing. Epoxy cures properly because the resin and hardener react in a specific ratio. Once measured, scrape both parts into one clean cup and mix slowly but thoroughly, scraping the sides and bottom until the blend looks uniform.
Before You Measure: Check the Ratio on Your Epoxy Kit
Before opening the bottles, read the label or instructions for your specific epoxy. The ratio may be 1:1, 2:1, 3:1, or another formula, and it may be listed “by volume” or “by weight.”
This matters because volume and weight are not automatically interchangeable. Resin and hardener can have different densities, so a 1:1 volume ratio may not equal a 1:1 weight ratio.
For this method, confirm that your product allows measuring by volume. If the manufacturer says to measure by weight only, use a digital scale instead.
Tools and Supplies You Need
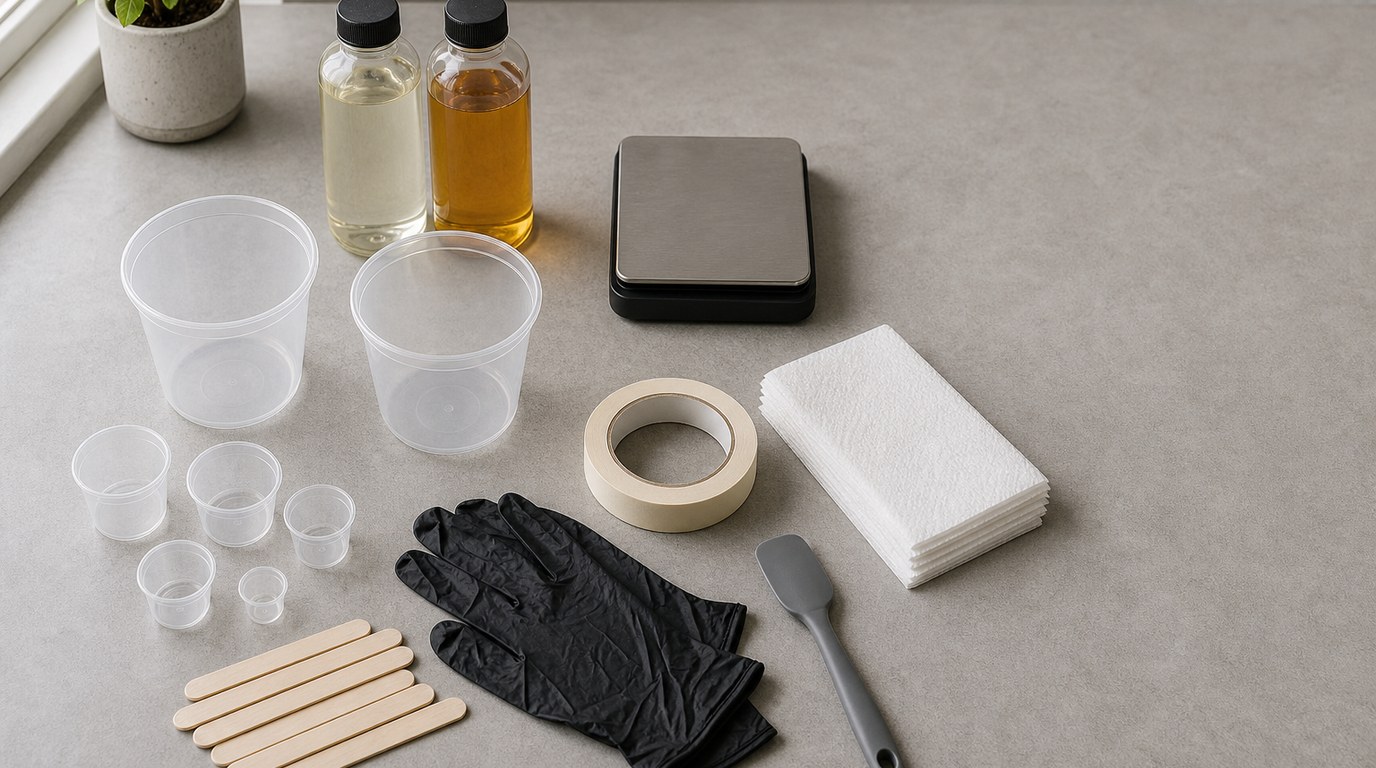
Gather everything before you pour, because epoxy has a limited working time once resin and hardener touch.
You will need:
- Two-part epoxy resin and hardener
- Clear graduated measuring cups
- A clean mixing cup
- Flat stir sticks
- Gloves
- Protective covering for your work surface
- Paper towels or shop towels
- Good lighting
- A level table or countertop
Use cups with easy-to-read markings in ounces, milliliters, or another volume unit. The exact unit does not matter as long as you use the same unit for both parts and follow the printed ratio accurately.
Step 1: Set Your Cups on a Level Surface
Place your measuring cups on a flat, level work surface before pouring. If the cup is tilted, the liquid line will look higher on one side and lower on the other, making it easy to misread the measurement.
Look at the cup from straight ahead, not from above. Your eye should be level with the measurement mark. This helps you read the liquid line accurately and avoid small errors that can affect curing.
Step 2: Pour the Resin Part Slowly to the Correct Mark
Start with the resin part, often labeled Part A. Pour slowly into a graduated cup until the resin reaches the volume mark you need.
Read the measurement at eye level. The liquid may curve slightly at the edges of the cup; use the center of the liquid line as your guide unless your cup instructions say otherwise.
Stop before the mark if the bottle pours quickly, then add the last amount in small drips. It is easier to add a little more than to fix an overpour. Keep the bottle cap and cup rim clean to avoid sticky buildup.
Step 3: Measure the Hardener According to the Same Volume Ratio
Next, measure the hardener, usually Part B, according to the same volume ratio printed on the kit.
For a 1:1 epoxy, measure the same volume of hardener as resin. If you poured 2 ounces of resin, measure 2 ounces of hardener.
For a 2:1 epoxy, measure two parts resin to one part hardener. If you poured 2 ounces of resin, measure 1 ounce of hardener. If you poured 60 milliliters of resin, measure 30 milliliters of hardener.
Do not round casually. A little variation may not ruin every batch, but repeated guessing is a common reason epoxy stays sticky or cures soft.
Step 4: Scrape the Measured Parts Into One Mixing Cup
After both parts are measured, pour them into one clean mixing cup. Scrape the sides and bottom of each measuring cup with a stir stick so you transfer as much measured material as possible.
This step matters because leaving resin or hardener behind changes the final ratio. You may have measured correctly, but if a noticeable amount stays in the first cup, the mixture in your mixing cup may no longer match the intended formula.
Use separate sticks if needed to avoid contaminating the original bottles.
Step 5: Mix Thoroughly Without Whipping in Bubbles
Mix slowly and steadily with a flat stir stick. Scrape the sides, bottom, and corners of the cup as you stir. Fold the epoxy through itself rather than beating it like cake batter.
Most epoxy problems come from poor measuring or poor mixing. Even with the right ratio, unmixed streaks can cure sticky. Mix for the time recommended by your manufacturer, often two to five minutes depending on the product and batch size.
If the epoxy looks cloudy or streaky at first, keep mixing. Many formulas turn clearer and more uniform as the resin and hardener combine.
Step 6: Do a Quick Accuracy Check Before Pouring
Before you pour onto your project, pause for a quick check. The mixture should look even, with no obvious ribbons, oily patches, or thick unmixed material clinging to the cup.
Run your stir stick around the bottom edge of the cup and lift it through the center. If you see separate-looking streaks, keep mixing. If the sides of the cup still show unmixed resin or hardener, scrape and stir again.
Also check your timing. If the epoxy is suddenly hot, smoking, or thickening very fast, the batch may be too large or past its working time.
Common Mistakes When Measuring Epoxy by Volume
The most common mistake is assuming all epoxy uses a 1:1 ratio. Many craft resins do, but deep-pour, coating, casting, and specialty epoxies may not.
Another mistake is measuring one part accurately and estimating the other. Epoxy is not like paint or glue; the ratio controls the chemical reaction.
Avoid these problems:
- Using cups without clear volume markings
- Reading the cup from above instead of eye level
- Measuring by weight when the directions give a volume ratio
- Measuring by volume when the product requires weight
- Adding extra hardener to force a faster cure
- Mixing in a cup with residue from another batch
- Scraping only the center and ignoring the sides and bottom
If you pour too much of one part, do not try to fix it by guessing. Adjust with the correct amount of the other part only if you can calculate the ratio precisely.
How to Tell If You Measured and Mixed Correctly
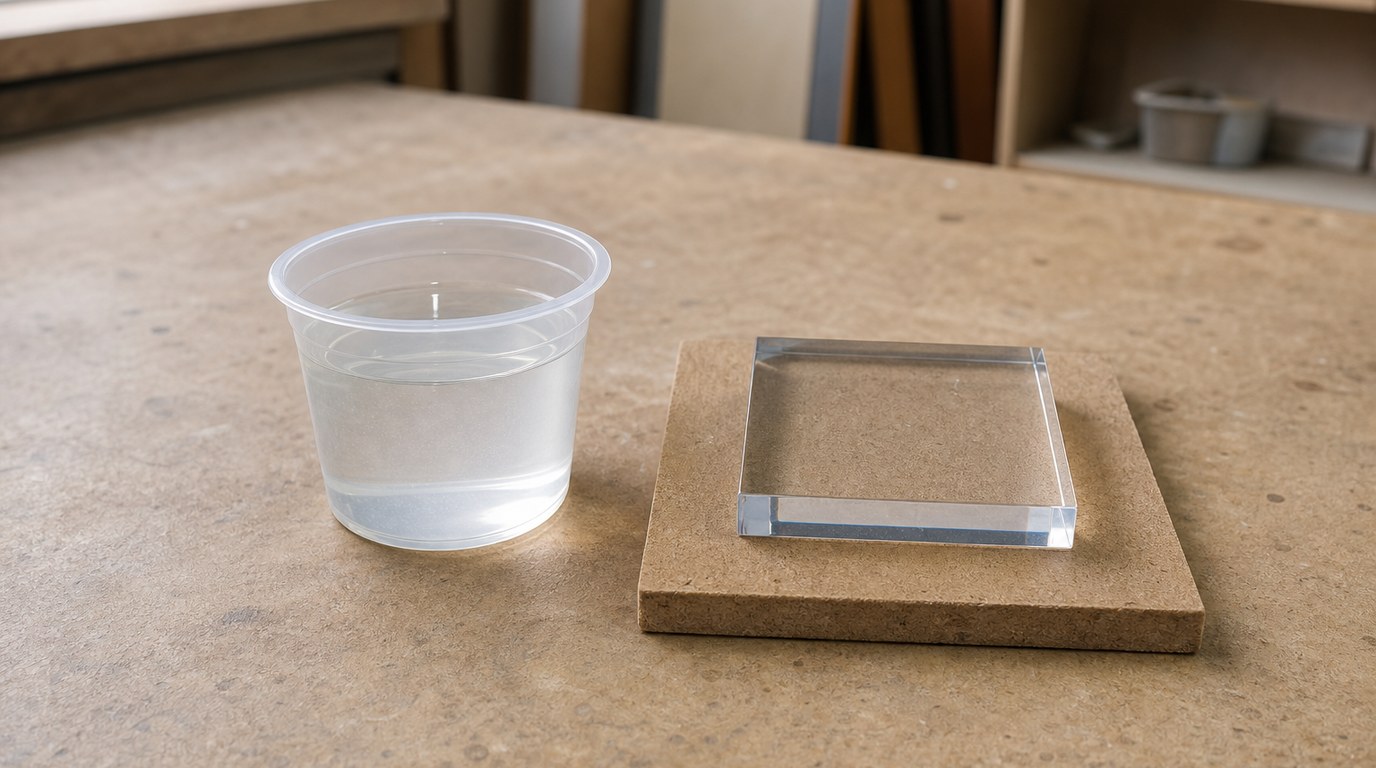
Correctly measured and mixed epoxy should cure within the time range listed by the manufacturer. It should become firm, clear or evenly colored, and no longer tacky on the surface once fully cured.
During mixing, it should look uniform, not streaked. During curing, it should not remain gummy, wet, or oily in patches. Some bubbles are normal, especially after stirring, but soft spots usually point to ratio or mixing problems.
If one area cures and another stays sticky, the issue is often incomplete mixing rather than the original measurement.
When Measuring by Volume Is Not the Best Choice
Measuring by volume is not best when the epoxy instructions specify weight, when the ratio is very precise, or when you are working with large batches where small errors become more serious.
Use a digital scale if the manufacturer gives a weight ratio or if you need repeatable professional results. Also follow special instructions for deep-pour epoxy, high-temperature formulas, or industrial products. These may have stricter batch size, mixing, and safety requirements than standard craft resin.
Once the ratio and batch limits are clear, common epoxy resin pouring questions often come down to mixing time, pour depth, bubbles, and temperature.
FAQ
Can I Measure Epoxy in Regular Measuring Cups from My Kitchen?
Do not use kitchen measuring cups that will ever touch food again. Epoxy can leave residue that is not food-safe. If the cup has clear volume markings, it may work for resin only, but disposable or dedicated resin measuring cups are safer and easier to clean up.
Is a 1:1 Epoxy Ratio Measured Before or After Mixing?
Measure the 1:1 ratio before mixing. For example, pour one ounce of resin and one ounce of hardener, then combine them in a mixing cup. The ratio refers to the separate parts before they are blended, not the final total after mixing.
Can I Add Extra Hardener to Make Epoxy Cure Faster?
No. Adding extra hardener usually does not make epoxy cure better or faster. It throws off the chemical ratio and can leave the cured resin sticky, soft, cloudy, or brittle. To speed curing safely, follow the manufacturer’s temperature and batch-size recommendations.
What Should I Do If I Poured Too Much Hardener?
If you have not mixed yet, calculate the correct amount of resin needed to restore the ratio. If you cannot calculate it exactly, discard the batch and start over. Once the parts are mixed in the wrong ratio, guessing usually leads to curing problems.
Can I Convert an Epoxy Volume Ratio to Weight?
Sometimes, but not by simple matching unless the manufacturer provides the conversion. Resin and hardener can weigh different amounts for the same volume. If your instructions give only a volume ratio, measure by volume. If they give a weight ratio, use a scale.