Epoxy usually fails to harden because the resin and hardener were measured incorrectly, mixed incompletely, poured in the wrong temperature range, contaminated with moisture or additives, or used past its working limits. The fix depends on how uncured it is. A sticky surface may only need cleaning, sanding, and a fresh flood coat. Soft or rubbery epoxy may cure with gentle warmth and more time, but badly mixed areas usually need removal. Gooey or liquid epoxy should be scraped out and replaced.
Do not sand or handle uncured resin casually. Put on gloves, ventilate the room, diagnose the problem, remove what cannot cure, then repour with accurately measured, thoroughly mixed epoxy.
Before You Try to Fix It: Safety and Supplies
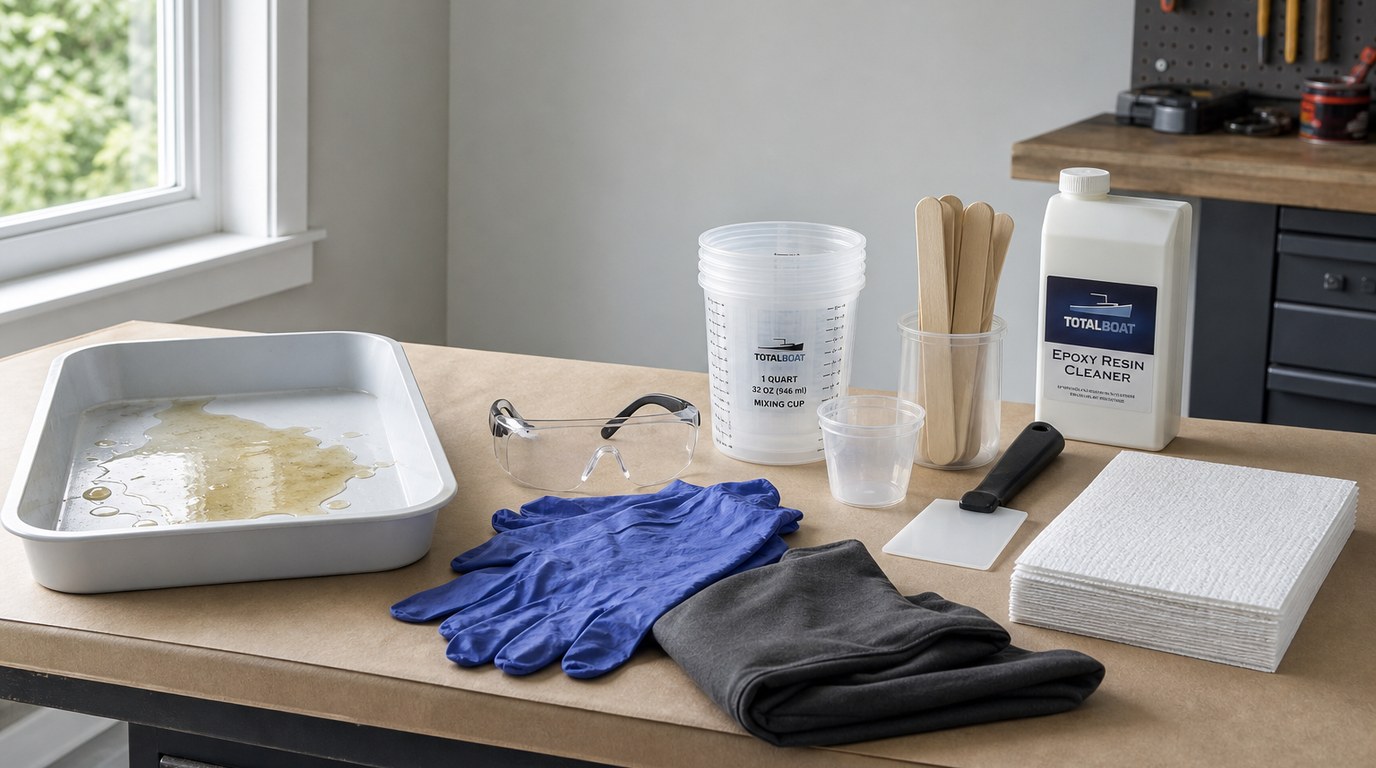
Uncured epoxy can irritate skin and lungs, so treat sticky or liquid resin as a chemical cleanup, not a craft touch-up. Wear nitrile gloves, eye protection, and sleeves. Work with good ventilation, and keep pets and children away.
Gather paper towels, plastic scrapers, disposable mixing cups, stir sticks, isopropyl alcohol for tool cleanup, trash bags, painter’s tape, and fresh epoxy. If you need to remove cured edges, use sandpaper or a sander only after the resin is no longer wet or gooey.
Important cautions: never pour uncured epoxy down a drain, never add extra hardener to the sticky surface, and do not use high heat or an open flame to “force” a cure.
Step 1: Confirm It Has Actually Had Enough Cure Time
Before assuming failure, check the product’s cure schedule. Many epoxies feel firm within 12 to 24 hours but need 48 to 72 hours, or longer, to reach full hardness. Deep pours, cool rooms, and thin coats can all cure more slowly.
Check the temperature of the room and the project surface. If the space is below the manufacturer’s recommended range, move the piece to a warmer, stable area if possible. Do not overheat it. A gentle room temperature increase is safer than blasting the resin with a heat gun.
If the epoxy is steadily getting firmer, wait.
Step 2: Identify the Type of Uncured Epoxy
Choose the repair based on what you feel after the normal cure window has passed.
- Sticky or tacky surface: The top feels gummy, but the resin underneath is hard.
- Soft or bendy epoxy: The whole layer flexes, dents, or feels rubbery.
- Patchy cure: Some areas are hard while others remain sticky or soft.
- Gooey or liquid epoxy: The resin moves, smears, or puddles when touched with a stick.
Do not skip this step. A tacky surface can often be repaired with a new coat, while liquid epoxy usually must be removed. Trying to coat over a severely uncured layer often traps the problem underneath.
Step 3: Check the Five Most Common Causes
Once you know the texture, look for the cause so you do not repeat it during the repair.
- Wrong mix ratio: Epoxy is formulated for a specific resin-to-hardener ratio by volume or weight. Guessing, “rounding up,” or adding extra hardener can prevent curing.
- Incomplete mixing: Scraping only the center of the cup leaves unmixed resin or hardener on the sides and bottom. These streaks create sticky patches.
- Cold temperature: Cool resin thickens, mixes poorly, traps bubbles, and cures slowly or unevenly.
- Moisture or contamination: Water, oils, silicone, wax, dust, alcohol residue, and some pigments can interfere with curing.
- Wrong product or expired material: Some resins are not designed for deep pours, thick castings, or certain surfaces. Old or crystallized components may also behave unpredictably.
If only one area failed, suspect poor mixing or contamination. If the whole pour failed, suspect ratio, temperature, product choice, or expired materials.
Step 4: Fix a Sticky or Tacky Surface
If the epoxy is hard underneath and only the surface is sticky, you can usually save it.
First, let it sit in a warm room for another 24 hours. If it remains tacky, wipe the surface lightly with isopropyl alcohol on a paper towel to remove greasy amine blush or residue. Do not soak the piece.
When the surface is no longer wet, scuff-sand the top with fine-grit sandpaper to create a mechanical bond. Wipe away sanding dust with a clean, dry cloth. If using alcohol, let it fully evaporate before recoating.
Mix a small fresh batch of epoxy accurately and pour a thin seal or flood coat over the sanded surface. This works best when the original layer is solid, not spongy.
Step 5: Fix Soft, Bendy, or Rubbery Epoxy
Soft epoxy needs a judgment call. If it is slowly firming and the room has been cool, place it in a warmer environment within the product’s safe cure range and wait another day or two. Support the piece so it does not warp while soft.
If the epoxy dents easily after extra time, feels rubbery throughout, or has oily patches, it probably will not cure correctly. In that case, remove the soft material with a plastic scraper. For stubborn areas, scrape away as much as possible, then clean residue according to the epoxy manufacturer’s instructions.
Do not pour a hard topcoat over rubbery resin. It may look fixed temporarily, but the weak layer underneath can remain flexible, cloudy, or unstable.
Step 6: Fix Gooey, Runny, or Liquid Epoxy
Gooey or liquid epoxy is usually a full removal job. Put on gloves and protect the work area with disposable covering. Scrape the uncured resin into a disposable container or onto paper towels. Work slowly so you do not spread it into cracks or over finished surfaces.
Use paper towels to lift the remaining residue. If appropriate for your surface, use a small amount of isopropyl alcohol to help clean tools or stubborn smears, then let everything dry completely.
Dispose of contaminated towels and cups according to your local rules. Do not rinse liquid resin into a sink. Once the surface is clean and dry, sand any cured edges before repouring.
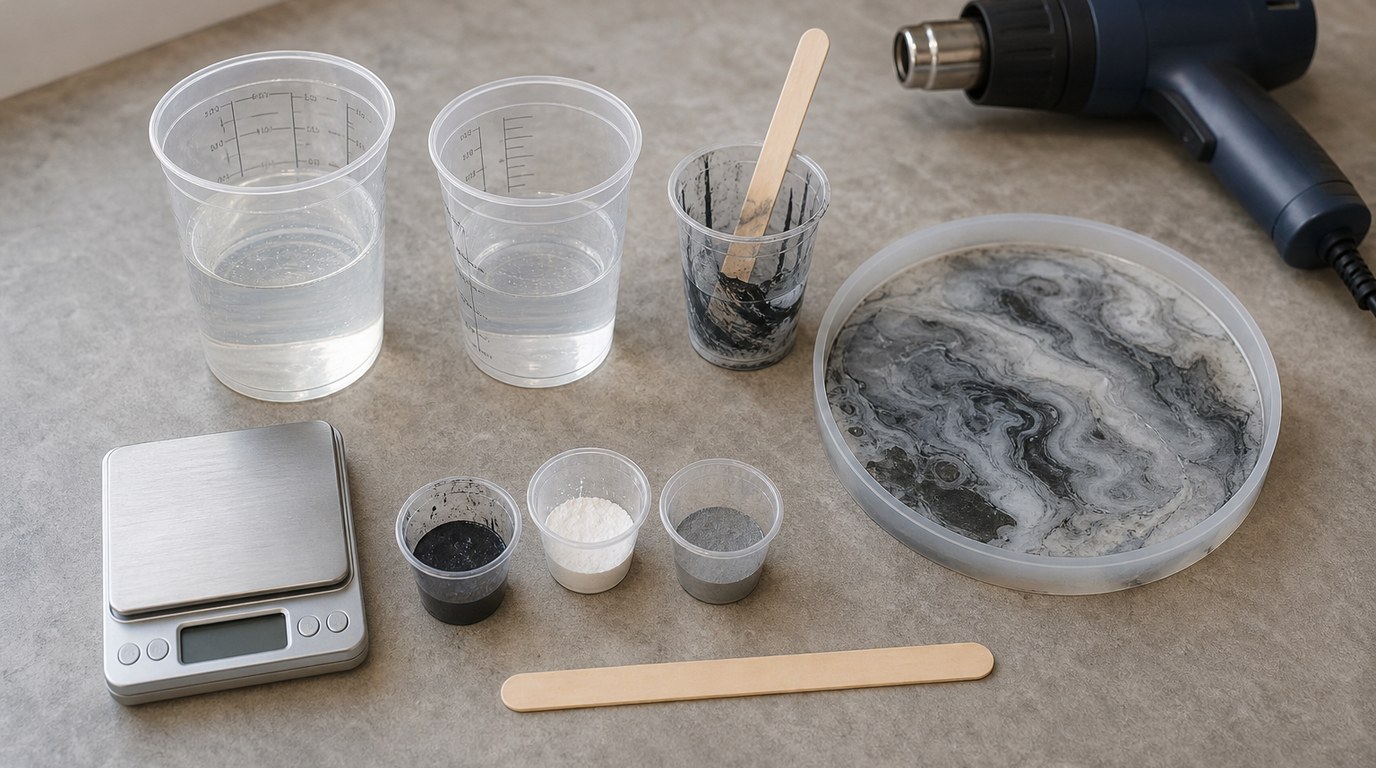
Step 7: Mix and Pour the Replacement Batch Correctly
For the repair coat or repour, follow the epoxy instructions exactly. Confirm whether the ratio is by volume or by weight; they are not always interchangeable. Use clean, dry cups and measure carefully.
Mix slowly but thoroughly, scraping the sides and bottom of the cup. For extra insurance, transfer the mixed epoxy into a second clean cup and stir again. This “double-cup” method helps catch unmixed streaks.
Keep the room, resin, hardener, and project within the recommended temperature range. Add pigments sparingly and only if they are compatible with epoxy. Pour within the working time, spread evenly, and avoid adding extra hardener, solvents, or water.
Result Check: How to Know the Epoxy Is Finally Cured
The repair worked when the epoxy is firm, dry to the touch, and no longer tacky after the stated cure time. It should resist a light fingernail press without denting. Sanding should create dry dust, not gummy buildup.
Check both the surface and edges. If hidden areas are still soft, wait longer or remove the failed section before continuing.
Common Mistakes That Keep Epoxy from Hardening
The biggest mistake is trying to fix chemistry after the pour. Extra hardener, extra pigment, or heat will not reliably cure a bad mix. Measure correctly from the start.
Other common problems include mixing too quickly but not thoroughly, scraping unmixed cup residue onto the project, pouring in a cold garage, using damp molds, overloading resin with colorants, and sanding tacky resin before it is safe.
Also avoid guessing cure times from another brand. Fast-cure, tabletop, casting, UV, and deep-pour resins behave differently. Always follow the product you are actually using.
FAQ
What Is the First Step Someone Should Take with Why Is My Epoxy Not Hardening?
The first step is to confirm the epoxy has had enough time and warmth to cure. Check the product’s cure schedule and room temperature before touching it. If it is still within the normal cure window and getting firmer, leave it alone and wait.
What Can Go Wrong When Following Why Is My Epoxy Not Hardening Advice?
The main risk is using the wrong fix for the problem. Coating over liquid or rubbery epoxy can trap uncured resin underneath. Sanding sticky resin can create unsafe gummy dust. Adding extra hardener, using high heat, or washing resin down a drain can also make things worse.
How Long Does It Usually Take to Work Through Why Is My Epoxy Not Hardening?
Diagnosis usually takes a few minutes, but the full fix can take one to three days. You may need extra waiting time, cleanup, sanding, and a fresh coat. Cool rooms, deep pours, or badly uncured resin can add more time because removal and repouring are slower.
How Can a Beginner Tell Whether Why Is My Epoxy Not Hardening Worked?
A beginner can tell the repair worked when the epoxy feels dry and hard, not sticky, oily, soft, or rubbery. Press lightly with a fingernail in an inconspicuous spot. Properly cured resin should not dent easily, and sanding should make powdery dust instead of gummy residue.