

Epoxy is beginner-friendly when you treat it like a timed process, not a casual craft supply. The biggest things to know before starting an epoxy project are: choose the right resin for the job, prepare your workspace before opening bottles, protect yourself from fumes and skin contact, measure and mix exactly, control temperature and dust, and let the project cure fully before handling.
Once those basics feel clear, a beginner epoxy resin tutorial can help you put the steps into a simple first project.
Most beginner problems—sticky resin, bubbles, cloudy finishes, uneven curing, or ruined molds—come from rushing one of those steps. You do not need advanced equipment for a simple coaster, tray, jewelry piece, or small art pour. You do need the right product, a clean setup, accurate measuring, and patience.
Quick Answer
The main takeaway: epoxy rewards preparation. Once resin and hardener are mixed, the clock starts, so every tool, color, mold, and safety item should be ready before you pour.
Here are the six things to know before starting an epoxy project:
- Pick the correct epoxy type. Casting resin is better for deeper molds; coating resin is better for thin surfaces like trays, tumblers, and tabletops.
- Set up your workspace first. Cover the table, level the surface, gather cups and stir sticks, and keep pets, dust, and distractions away.
- Use basic safety gear. Wear nitrile gloves, work with ventilation, and follow the safety directions on your resin kit.
- Measure and mix carefully. Epoxy depends on the correct resin-to-hardener ratio. Guessing usually leads to soft or sticky results.
- Control the environment. Temperature, humidity, and dust affect bubbles, clarity, and curing.
- Respect cure time. Resin may look dry before it is fully cured. Handling too early can leave fingerprints, dents, or cloudy spots.
Think of epoxy as a recipe with a short working window. You can be creative with colors, glitter, dried flowers, or molds, but the base process needs to be precise.
How to Think About This Topic
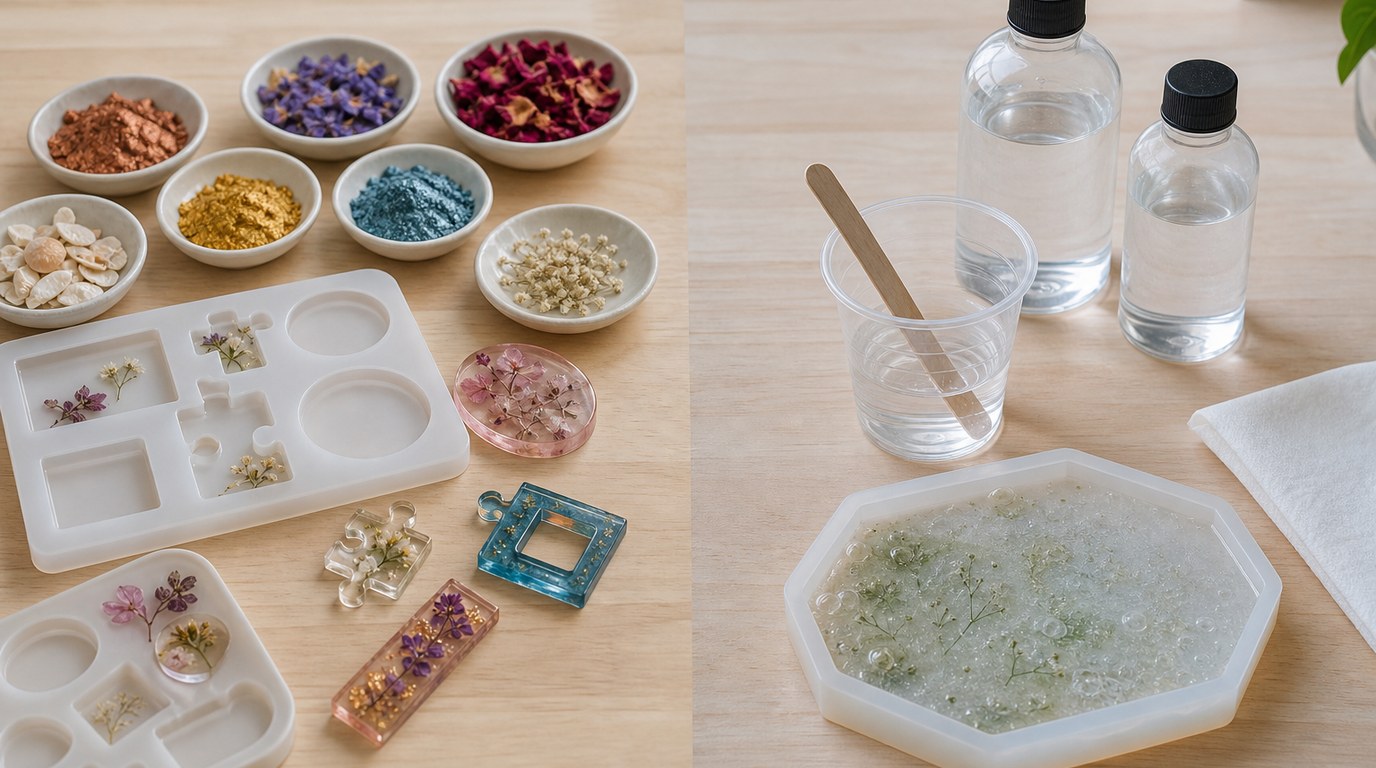
A useful mental model is this: epoxy projects have two parts—creative design and chemical curing. The creative side is where you choose pigments, inclusions, shapes, and finishes. The curing side is where the resin and hardener react to become solid. Beginners often focus on the fun design part and underestimate the curing part.
That is why the first of the 6 things to know before starting an epoxy project is resin selection. Epoxy products are not all the same. A thin coating epoxy may self-level beautifully over a tray, but it may overheat, bubble, or cure poorly if poured too deeply in a mold. A deep-pour casting resin may be excellent for a thick paperweight or large mold, but too slow or too thin for a surface coat. Read the product label for pour depth, working time, cure time, and mixing ratio.
The second part is setup. Epoxy is messy, sticky, and time-sensitive after mixing. If you realize halfway through that you forgot your gloves, torch, colorant, or mold release, you may rush and make mistakes. A prepared workspace keeps the process calm. Cover your surface with a silicone mat, plastic sheet, or disposable paper. Check that the table is level so resin does not pool to one side.
Safety is part of setup, not an afterthought. Epoxy can irritate skin, and some formulas release fumes during mixing and curing. At minimum, use nitrile gloves and good ventilation. Avoid touching uncured resin, and do not use kitchen cups, food utensils, or eating surfaces for resin work.
The final mental shift is patience. Epoxy does not cure faster because you want to demold tonight. Temperature, product formula, and pour size all affect timing. If the instructions say 24 hours to demold and 72 hours to fully cure, plan around that. Many “failed” beginner projects are simply handled too soon.
Practical Guidance
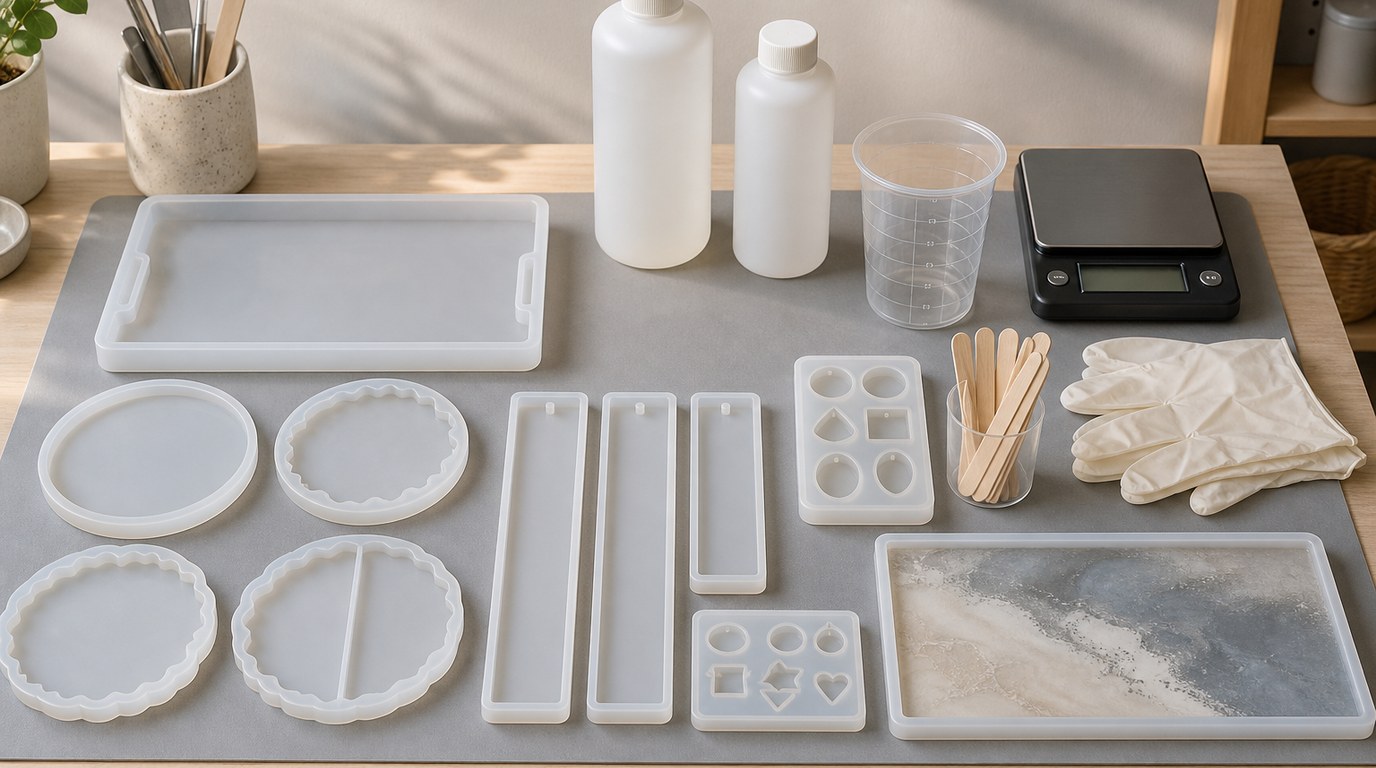
Use these six essentials as a pre-project checklist before you mix anything.
1. Choose Resin Based on the Project
Match the resin to the job. For coasters, trays, bookmarks, jewelry, and small molds, look for a craft epoxy suited to the depth you plan to pour. For surface coating, choose a doming or tabletop-style resin that levels smoothly. For deeper molds, choose a casting or deep-pour resin and follow the maximum pour depth.
Also check whether the resin is clear, UV-resistant, food-safe after cure, or heat-resistant. “Food-safe” and “heat-resistant” claims vary by brand, so rely on the manufacturer’s instructions rather than assumptions.
2. Prepare Every Tool Before Mixing
Before opening the bottles, lay out:
- Resin and hardener
- Measuring cups
- Stir sticks
- Mold or project surface
- Pigments, glitter, or inclusions
- Gloves and paper towels
- Toothpicks or a heat tool for bubbles
- A cover to protect curing resin from dust
This matters because epoxy has a working time, often called pot life. If your resin gives you 30 minutes, that includes mixing, coloring, pouring, and fixing bubbles.
3. Work Safely from the Start
Wear nitrile gloves, not bare hands. Keep resin away from eyes, skin, children, and pets. Work near fresh air or use the ventilation recommended by the resin manufacturer. If the instructions call for a respirator, use the specified cartridge type.
Do not wash liquid resin down the sink. Wipe tools with paper towels while the resin is still uncured, then dispose of waste according to the product directions. Once cured, many small leftovers can be peeled out of silicone cups and discarded.
4. Measure and Mix Exactly
Epoxy usually comes in a ratio such as 1:1 or 2:1 by volume or weight. Follow the label exactly. A little extra hardener does not make epoxy cure better; it can make the final piece rubbery, cloudy, or sticky.
Scrape the sides and bottom of the mixing cup as you stir. Mix slowly to avoid whipping in bubbles. Many beginners under-mix because the resin looks combined too early. If your instructions say to mix for three minutes, mix for three full minutes.
5. Manage Temperature, Bubbles, and Dust
Most craft epoxies prefer a room-temperature workspace. If the room is too cold, resin can thicken, hold bubbles, and cure slowly. If it is too hot, the working time may shorten. Store bottles as directed and let them reach room temperature before use.
To reduce bubbles, stir slowly, let mixed resin rest briefly if the product allows, and pass a heat tool quickly over the surface. Do not overheat resin or silicone molds. Cover the project with a clean box or lid while curing to keep dust and hair out.
6. Let It Cure Properly
Demolding too early can bend edges, leave fingerprints, or create dull spots. “Dry to the touch” is not always fully cured. Follow the cure schedule on the product label, especially before sanding, drilling, packaging, or using the finished item.
For example, a coaster may demold after 24 hours but need several days before it handles warm mugs well. A tray may look finished the next day but still be vulnerable to scratches. Build curing time into your project plan, especially for gifts or sales.
FAQ
What Should a Beginner Know First About 6 Things to Know Before Starting an Epoxy Project?
Know that epoxy is preparation-heavy. Choose the right resin, set up your space, wear gloves, measure accurately, control dust and temperature, and allow full cure time. Most beginner mistakes happen before the pour begins.
What Matters Most When Evaluating 6 Things to Know Before Starting an Epoxy Project?
The most important factors are resin type, mix ratio, working time, pour depth, and cure time. These details tell you whether a product fits your project and how carefully you need to plan the pour.
What Mistakes Should Readers Avoid with 6 Things to Know Before Starting an Epoxy Project?
Avoid guessing measurements, mixing too quickly, pouring too deep, skipping gloves, working on an unlevel table, and demolding early. Also avoid adding too much pigment or liquid colorant, which can interfere with curing.
What Is the Next Logical Step After Learning About 6 Things to Know Before Starting an Epoxy Project?
Start with a small, low-risk project like a coaster, keychain, bookmark, or simple mold. Read the resin instructions fully, prepare a checklist, and complete one practice pour before attempting larger or more detailed epoxy work.