
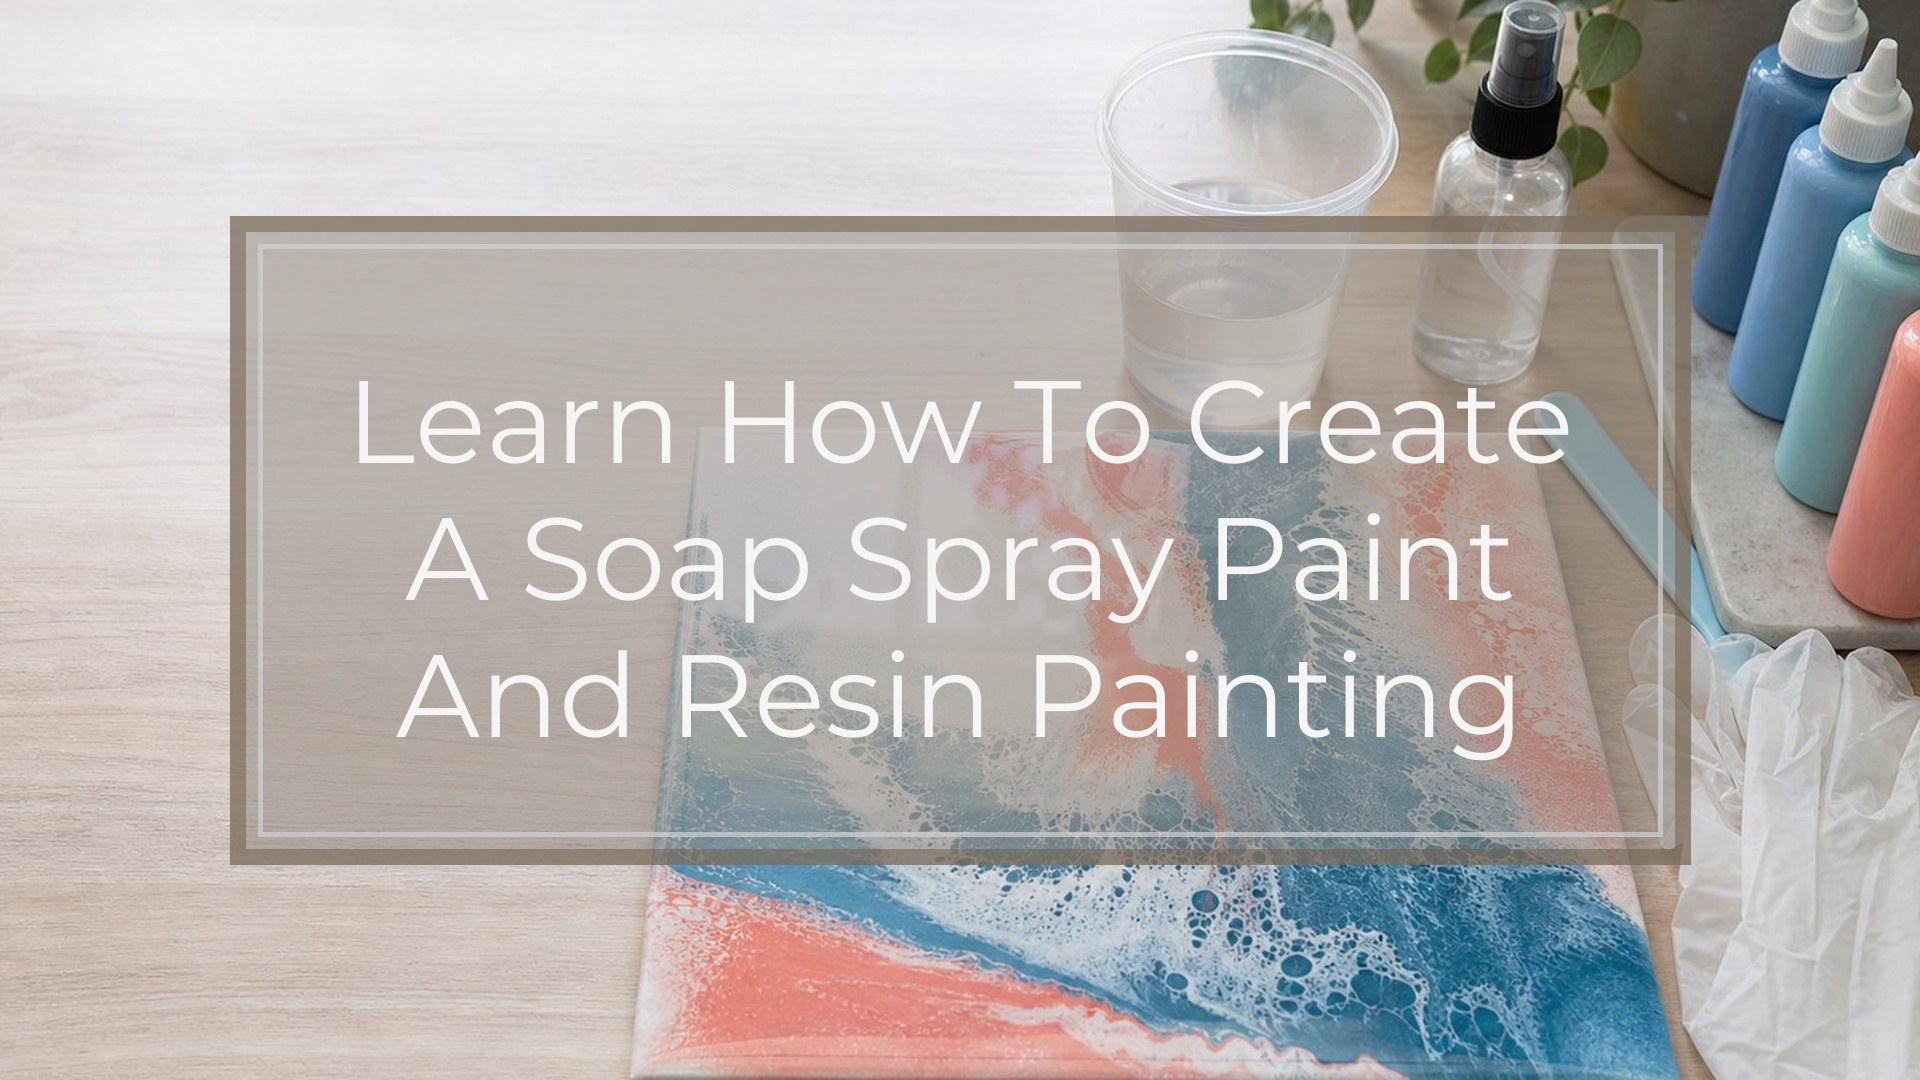
To create a soap spray paint and resin painting, prepare a sealed, level surface, mix your resin carefully, pour a thin base coat, then apply light bursts of spray paint over the wet resin. While the paint is still fresh, mist or drip a diluted dish soap solution onto the surface. The soap pushes through the paint and resin, creating cells, lacing, craters, and organic texture. Let the piece cure flat and covered so dust, bubbles, and movement do not ruin the final finish.
Before You Start: Safety, Surface, and Timing
Work in a well-ventilated area and wear nitrile gloves, eye protection, and a respirator rated for organic vapors. Resin and spray paint both release fumes, so do not do this project in a closed room or near pets, food, or children.
You need a rigid painting surface such as a wood panel, cradled board, or sealed canvas panel. Avoid flexible stretched canvas for beginner pieces because cured resin can crack if the surface bends.
Set up before mixing resin. Cover your table with plastic sheeting, raise the artwork on cups or blocks, and use a level to check the surface in both directions. Resin has limited working time, so have your spray paint, soap solution, torch or heat gun, mixing cups, stir sticks, and paper towels ready.
Step 1: Prepare and Seal the Painting Surface
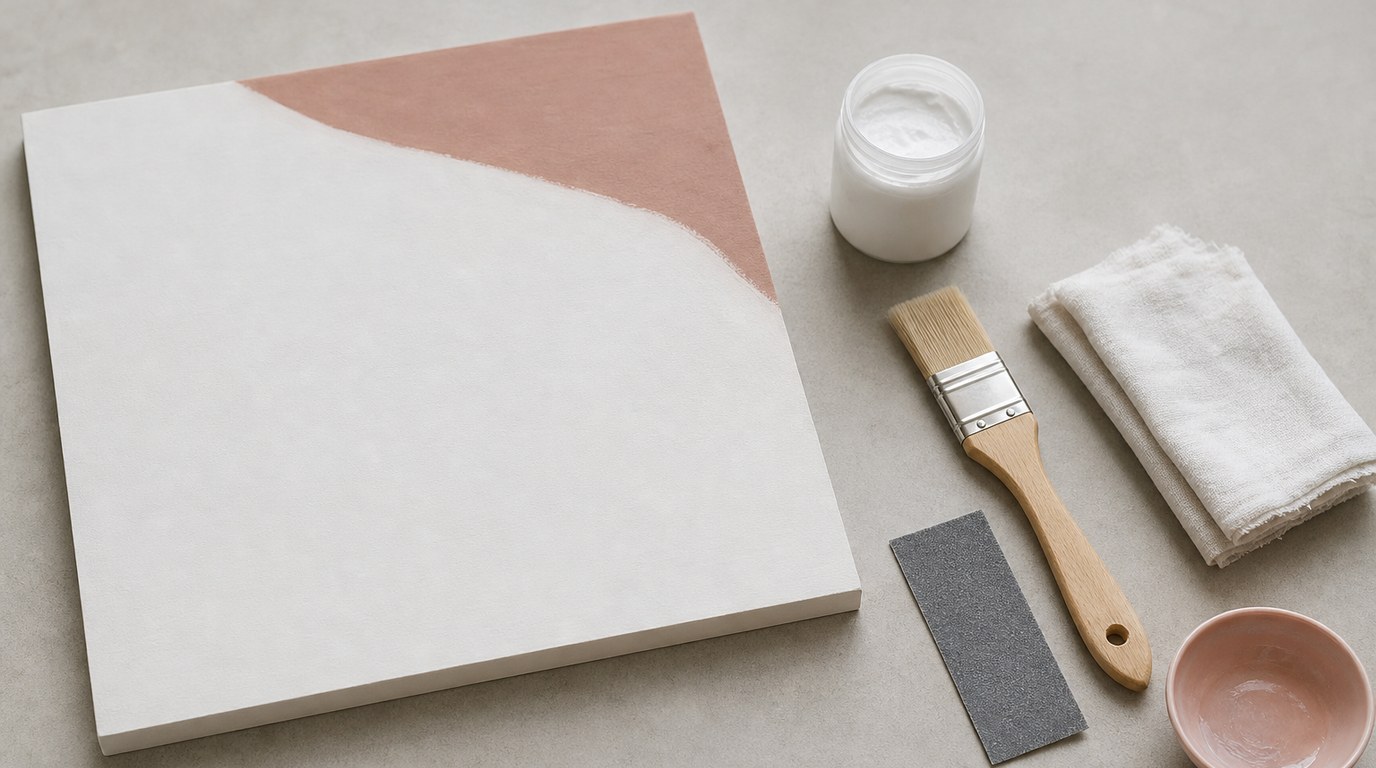
Start with a clean, dry surface. Wipe away dust and oils, then seal porous materials with gesso, acrylic paint, or a thin cured resin layer. Sealing matters because raw wood or unprimed surfaces can release air bubbles into the resin.
If you want a colored background, paint it first and let it dry completely. White, black, navy, and metallic backgrounds work especially well with soap spray effects.
Tape the back edges if you want cleaner sides. Place the panel on supports and confirm it is level. A tilted surface will make the resin and paint drift while curing.
Step 2: Mix the Resin Correctly
Measure resin and hardener exactly according to the brand’s instructions. Do not estimate by eye. Most resin failures happen because the ratio is wrong or the mixture is not blended long enough.
Pour both parts into a clean cup and stir slowly, scraping the sides and bottom. Mix for the full time recommended by the manufacturer, often three to five minutes. Stirring too aggressively adds bubbles; stirring too little leaves soft, sticky patches.
If your resin instructions recommend a second-cup mix, pour the mixed resin into a fresh cup and stir again briefly. This helps prevent unmixed material from clinging to the first cup and ending up on your painting.
Step 3: Pour and Spread the Resin Base Coat
Pour the mixed resin into the center of the panel and spread it outward with a gloved hand, silicone spreader, or plastic spatula. Aim for an even, thin coat that reaches the edges without creating deep puddles.
The resin base should be wet enough for the paint and soap to move, but not so thick that everything floats uncontrollably. Use a torch or heat gun lightly to pop surface bubbles. Keep heat moving and do not scorch the resin.
Check the sides for drips, but do not spend too long perfecting them yet. You need the surface active for the spray paint step.
Step 4: Add Spray Paint in Light Layers
Shake the spray paint thoroughly. Hold the can above the resin surface and apply short, light bursts rather than one heavy coat. You are adding color to the wet resin, not painting a wall.
Start with one or two colors. Metallics, white, black, turquoise, gold, and copper often create dramatic contrast. Spray from different angles to create cloudy areas, ribbons, or soft gradients. Leave some resin base visible so the soap has space to push the paint apart.
Avoid spraying too close. Heavy paint can wrinkle, clump, sink, or overpower the resin. If the surface looks fully covered and flat, stop. The best soap effects usually come from uneven paint coverage with areas of thin and thick color.
Step 5: Apply the Soap Solution to Create the Effect
Mix a simple soap solution in a small spray bottle or cup: water with a few drops of liquid dish soap. You want it slippery, not foamy. Too much soap can interfere with the resin surface and leave unwanted residue.
Mist the solution lightly over the spray-painted resin. You should see the paint separate, open, or crawl into cells and lacing. For larger organic spots, drip the soap solution from a stir stick or pipette instead of misting.
Let each application react before adding more. Soap creates movement by disrupting the paint layer, so the pattern may continue changing for several minutes. If you spray too much at once, the design can become muddy or pitted.
For a stronger effect, alternate a little more spray paint with another small amount of soap solution. Work slowly. The goal is controlled chaos, not complete coverage.
Step 6: Adjust the Composition Without Overworking It
Once the soap effect appears, make only small corrections. You can tilt the panel gently to stretch cells, drag a toothpick through a line, or add a tiny burst of paint to an empty area.
Do not keep touching the surface. Overworking blends the colors into mud and destroys the crisp edges that make the technique interesting. If one area looks too busy, balance it with open space nearby rather than trying to erase it.
Before you stop, look at the piece from all four sides. Resin paintings often read differently depending on orientation.
Step 7: Let the Painting Cure Undisturbed
Place the painting somewhere level, dust-free, and protected. Cover it with a clean box, plastic storage bin, or tented cover that does not touch the surface.
Follow your resin’s cure schedule. Many pieces are firm after 12 to 24 hours but need several days for a harder cure. Do not move, hang, wrap, or varnish the painting too early.
Check the edges during the first hour if your resin allows it. Wipe drips from the underside with a gloved hand or stick. After that, leave it alone. Movement during curing can pull patterns out of shape.
Result Check: How to Know Your Painting Worked
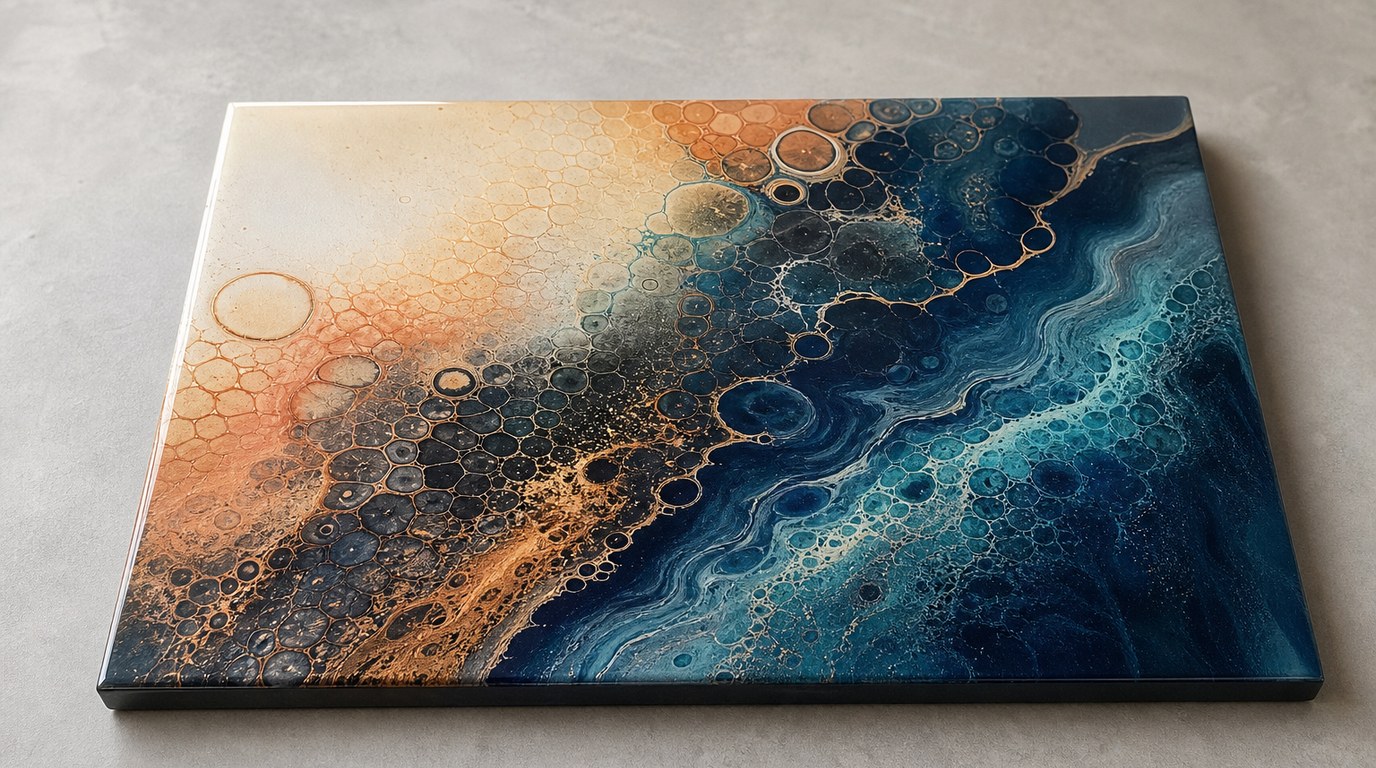
A successful soap spray paint and resin painting should have clear areas of separation where the soap pushed the paint aside. Look for cells, lacing, rings, veining, or crater-like organic shapes that remain visible after curing.
The resin should cure hard, glossy, and mostly level. The colors should look intentional rather than muddy, with some contrast between dense painted areas and open resin areas.
Small bubbles, tiny dust specks, or a few uneven cells are normal for early attempts. The main success signs are a hard cure, stable surface, and visible soap-created patterning.
Common Mistakes and Troubleshooting
The resin stayed sticky. The resin was likely measured incorrectly, under-mixed, or scraped from an unmixed cup. Unfortunately, sticky resin usually cannot be fixed with heat. Let it cure as much as possible, scrape soft areas, and recoat only when the surface is stable.
The colors turned muddy. Too much paint, too much soap, or too much manipulation blended the design. Next time, use fewer colors and stop as soon as good cells appear.
There are no cells or lacing. The paint layer may have been too thin, the soap solution too weak, or the resin too far into its working time. Apply the soap while the resin and paint are still fresh.
The surface has pits or greasy spots. Too much soap can repel the resin and leave defects. Use a lighter mist and avoid puddles.
The whole design slid to one side. The surface was not level. Always check the panel before pouring and again after spreading the resin.
The spray paint wrinkled. The coat was too heavy or sprayed too close. Use quick passes and let the resin do the visual work.
FAQ
What Is the First Step Someone Should Take with Learn How to Create a Soap Spray Paint and Resin Painting?
The first step is setting up safely and preparing the surface. Choose a rigid, sealed panel, level it, cover your workspace, and gather every tool before mixing resin. Once resin is mixed, the working time is limited, so preparation matters.
What Can Go Wrong When Following Learn How to Create a Soap Spray Paint and Resin Painting Advice?
The main problems are sticky resin, muddy colors, weak cell formation, pits from excess soap, and movement during curing. Most issues come from incorrect resin mixing, using too much spray paint or soap, or working on a surface that is not level.
How Long Does It Usually Take to Work Through Learn How to Create a Soap Spray Paint and Resin Painting?
The active work usually takes 30 to 60 minutes, depending on the size of the painting and your resin’s working time. Curing takes much longer. Expect the piece to sit undisturbed for at least 24 hours, with full cure often taking several days.
How Can a Beginner Tell Whether Learn How to Create a Soap Spray Paint and Resin Painting Worked?
A beginner can tell it worked if the resin cures hard and glossy, the surface is mostly level, and the soap created visible cells, lacing, rings, or organic separation. The piece does not need to be perfect; stable curing and clear texture effects are the key signs.