
To make resin flowers, choose a silicone flower mold, mix a beginner-friendly epoxy resin exactly according to the label, tint small portions with resin-safe color, then pour in thin layers. Add dried flowers, glitter, or petal details after the first layer begins to settle, remove bubbles, and let the piece cure fully before demolding. The best beginner project is a small resin flower charm, coaster, ornament, or decorative cabochon because it uses less resin and is easier to cure evenly.
Before You Start: Choose the Resin Flower Project
For your first resin flowers tutorial, keep the project small and flat. A flower-shaped coaster, pendant, magnet, keychain, or decorative piece is easier than a deep paperweight or large bouquet block.
This tutorial makes a simple molded resin flower using a silicone flower mold, colored resin, and optional dried flower details. Once you understand the layering, you can use the same process for jewelry, trays, bookmarks, and wall art.
Prerequisites and Safety Setup
Work in a well-ventilated area on a level surface. Cover your table with a silicone mat, freezer paper, or disposable plastic sheet. Resin is messy and difficult to remove once cured.
Wear nitrile gloves, protect your clothing, and follow the safety instructions on your resin brand. If the product requires a respirator, use one rated for organic vapors. Keep resin away from food, pets, and children.
Check the room temperature before you begin. Most epoxy resin cures best around 70°F to 75°F. Cold rooms can cause bubbles, thick resin, and slow curing.
Supplies for Making Resin Flowers
Gather everything before mixing resin. Once resin and hardener are combined, your working time is limited.
| Supply | Why you need it |
|---|---|
| Silicone flower mold | Creates the flower shape and releases cured resin |
| Two-part epoxy resin | Main material for the flower |
| Measuring cups | Helps keep the resin ratio accurate |
| Stir sticks | For slow, thorough mixing |
| Resin-safe pigments | Adds petal color |
| Dried flowers or glitter | Optional decoration |
| Toothpicks or tweezers | Places small details |
| Heat gun or alcohol spray | Helps pop surface bubbles |
| Gloves and protective covering | Keeps the process safer and cleaner |
Use only dried flowers, not fresh ones. Use pigments made for resin, such as mica powder, alcohol ink, or resin dye.
Step 1: Prepare the Mold and Design
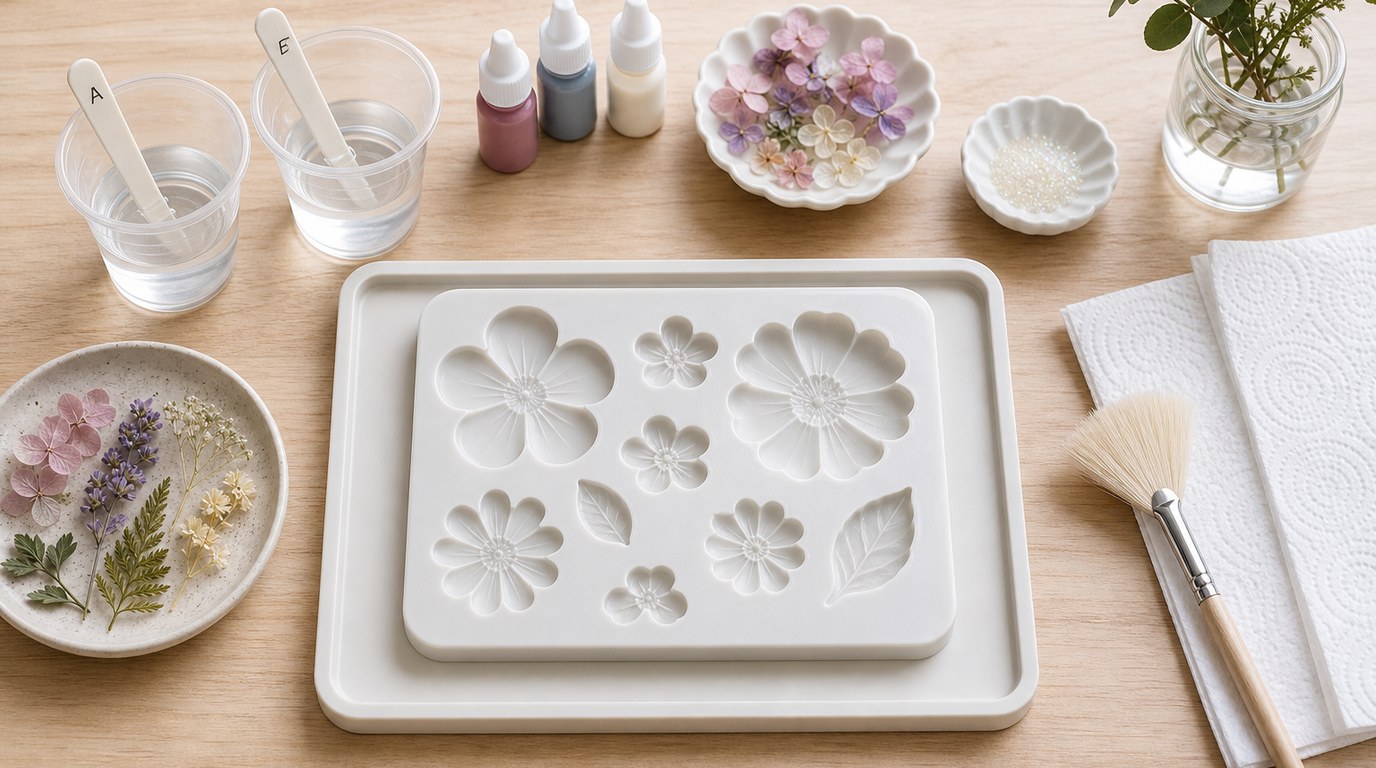
Wash and dry the silicone mold if it has dust or lint inside. Let it dry completely because water can interfere with resin curing.
Place the mold on a flat tray or board so you can move it without bending it. Decide your design before mixing: clear petals, colored tips, glitter center, embedded dried flowers, or a layered look. Set your pigments and decorations within reach. If using dried flowers, trim them so they fit inside the mold without sticking above the final resin surface.
Step 2: Measure and Mix the Resin
Read your resin instructions carefully. Some epoxy resins mix 1:1 by volume, while others use a different ratio by weight or volume. Do not guess. Incorrect measuring is one of the main reasons resin stays soft or sticky.
Pour resin and hardener into a clean mixing cup. Stir slowly for the time recommended by the manufacturer, scraping the sides and bottom of the cup. Fast stirring traps bubbles, so use steady, gentle motions. If your brand recommends a double-cup mix, pour into a second cup and stir again for a more even blend.
Step 3: Add Color for Petal Effects
Divide the mixed resin into small cups if you want multiple colors. Add a tiny amount of pigment at first. Resin can fail to cure if overloaded with colorant, especially liquid dyes and inks.
For soft petals, use pearl mica powder or a drop of translucent resin dye. For a more realistic flower, make two shades: a pale base color and a slightly darker accent for petal edges or the center. Stir each color slowly until no streaks remain. Keep one small portion clear if you plan to embed dried flowers.
Step 4: Pour the First Layer
Pour a thin layer of resin into the flower mold, starting at the center and letting the resin flow outward. Do not fill the mold completely yet. A first layer helps hold decorations in place and reduces the chance of dried flowers floating to the top.
Use a toothpick to guide resin into small petal points or detailed areas. Tap the mold gently on the table to release trapped air. If bubbles rise, let the resin sit for a few minutes before adding more.
Step 5: Add Dried Flowers, Glitter, or Details
Place dried flowers, glitter, foil flakes, or petal accents into the first resin layer. Use tweezers for better control. Press lightweight decorations slightly into the resin so they do not float or shift.
If you want the flower to look clear and dimensional, add decorations sparingly. Too many inclusions can create bubbles and make the design look crowded. For dried flowers, brush or dip them in a little clear resin first, then place them in the mold. This helps seal tiny air pockets.
Step 6: Fill, Finish the Surface, and Remove Bubbles
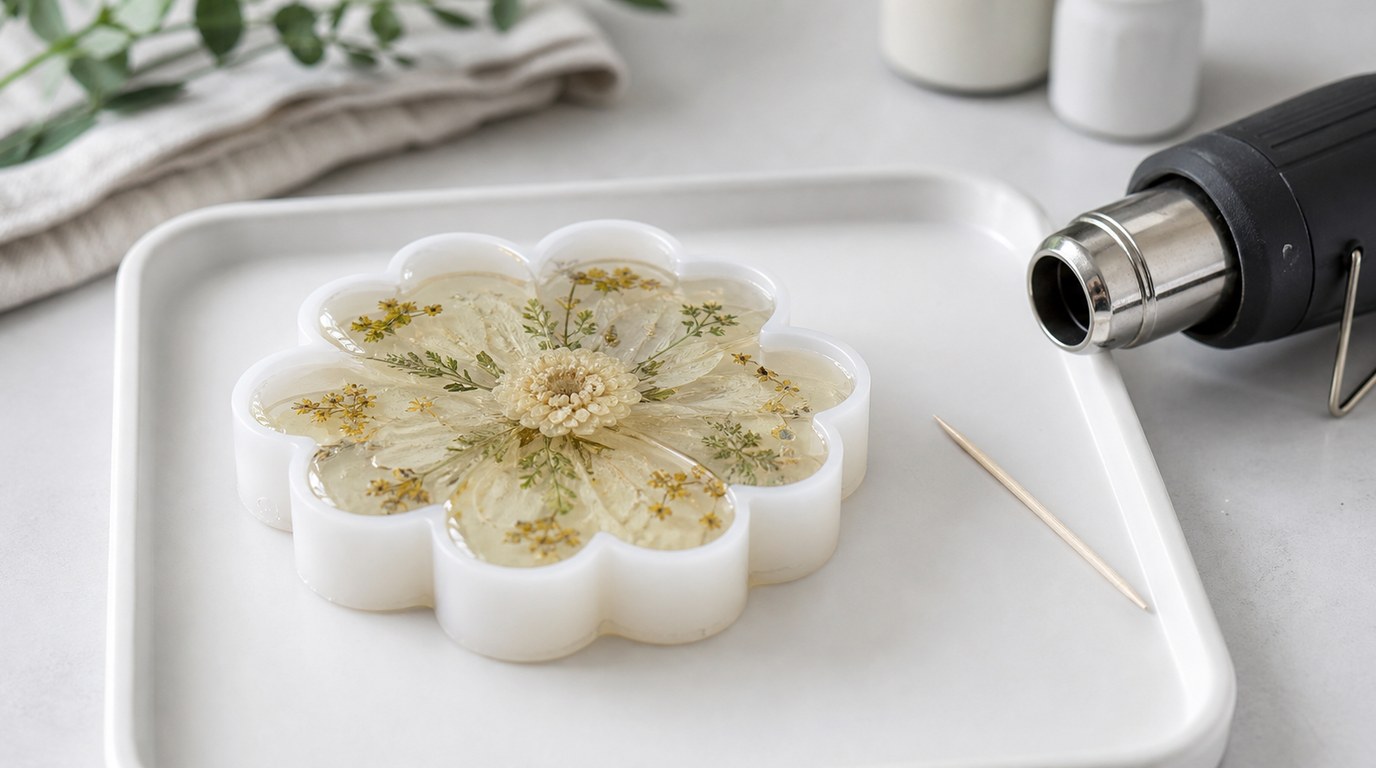
Pour the remaining resin slowly until the mold is full but not overflowing. Slightly underfill if you plan to add a backing later, or fill to the rim for a smooth finished piece.
Use a toothpick to pull resin into edges and remove trapped bubbles from corners. Pass a heat gun quickly over the surface, keeping it moving and not too close. Too much heat can warp silicone molds or push resin out of small cavities. Alcohol spray can pop bubbles, but use it lightly.
Step 7: Cure the Resin Flower
Cover the mold with a dust cover, box, or plastic container so hair and lint do not settle on the surface. Leave the mold on a level surface for the full cure time listed on your resin.
Many resins feel firm after 12 to 24 hours but need longer to fully harden. Avoid touching, bending, or demolding early. Premature handling can leave fingerprints, dents, cloudy marks, or warped petals.
Step 8: Demold and Finish the Edges
When the resin flower is fully cured, gently pull the silicone away from the edges instead of yanking the flower out. Flex the mold slowly until the piece releases.
Check the edges for sharp spots or overflow. Trim thin flash with small scissors or a craft knife. Sand rough edges with fine-grit sandpaper while wearing a mask, then wipe clean. If the top looks dull, add a thin clear resin dome or polish it with a resin-safe polishing compound.
Result Check: How to Know Your Resin Flower Turned Out Right
Your resin flower turned out well if it is hard, smooth, and no longer tacky. The surface should be clear or evenly colored, with no wet patches or soft spots. Decorations should be sealed inside the resin, not sticking out.
Small bubbles are normal for beginners, but large cloudy pockets, bendy petals, or a rubbery feel mean the resin may not have mixed or cured correctly. The flower should release cleanly from the mold and hold its shape.
Common Resin Flower Mistakes and Fixes
Sticky resin: Usually caused by incorrect measuring, poor mixing, too much pigment, or cold curing conditions. If only the surface is tacky, you may be able to add a properly mixed clear topcoat. If the whole piece is soft, it likely cannot be saved.
Too many bubbles: Warm the resin bottles in a warm water bath before mixing, stir slowly, pour in thin layers, and use a toothpick in detailed mold areas.
Flowers floated: Add decorations after a thin first layer has slightly thickened, or seal them with clear resin before placing.
Cloudy resin: Moisture, fresh flowers, dust, or excessive alcohol spray can cause cloudiness. Use fully dried inclusions and a clean mold.
Sharp edges: Trim overflow, sand lightly, and dome with clear resin if needed.
Beginner Variations to Try Next
Once you finish one resin flower, try changing one element at a time. Make a clear flower with one pressed bloom inside, a mica-powder flower with shimmering petals, or a glitter-center flower for keychains.
You can also turn cured resin flowers into magnets, jewelry, hair clips, ornaments, bookmarks, or drawer pulls. For larger projects, keep using layers instead of one deep pour. Layering gives better control, fewer bubbles, and cleaner embedded details.
FAQ
Can You Put Real Flowers in Resin?
Yes, but they must be completely dried first. Fresh flowers contain moisture, which can cause browning, bubbles, cloudiness, or curing problems. Pressed flowers, silica-dried flowers, and small dried petals work best for beginner resin flower projects.
What Resin Is Best for Resin Flowers?
A clear two-part epoxy resin is best for most beginner resin flowers. Choose a casting or craft resin that matches your mold depth. For shallow molds, regular craft epoxy works well. For deeper flower molds, use a resin labeled for deeper pours.
Why Is My Resin Flower Sticky After Curing?
Sticky resin usually means the resin and hardener were measured incorrectly, mixed incompletely, overloaded with pigment, or cured in a room that was too cold. If the entire flower is soft or bendy, it may not be fixable.
How Long Do Resin Flowers Take to Cure?
Most epoxy resin flowers can be demolded after 24 hours, but full cure may take 48 to 72 hours or longer depending on the product. Always follow the resin label. Demolding too early can bend petals or leave surface marks.
Can Beginners Make Resin Flowers Without Bubbles?
Beginners can reduce bubbles, though a few tiny ones are normal. Warm the resin bottles slightly, stir slowly, pour in thin layers, and use a toothpick or quick heat pass to release bubbles. Detailed flower molds need extra patience around petal tips.