
To pack resin art for shipping, protect the cured resin surface first, cushion every side, add rigid support, then double-box the piece so it cannot bend, shift, or take a direct hit. The safest method is: non-abrasive surface layer, bubble wrap or foam, rigid board, snug inner box, cushioning gap, sturdy outer box, and strong tape. Resin art is especially vulnerable to scratches, pressure marks, heat, corner dents, and cracking, so the package should feel firm, not loose, before you ship it.
Before You Pack: Make Sure the Resin Art Is Ready to Ship
Do not pack resin art until it is fully cured, clean, and stable. If the resin still feels soft, tacky, rubbery, or gives off a strong odor, wait longer. Packing uncured resin can leave permanent impressions from tissue, plastic, or bubble wrap.
Check the edges, corners, hanging hardware, and any attached pieces. Tighten screws, remove loose dust, and make sure embellishments are firmly bonded. If the artwork has sharp crystals, shells, raised flowers, or 3D details, plan for extra clearance so nothing presses directly on those areas.
Avoid shipping resin art during extreme heat when possible. If hot weather is unavoidable, use faster shipping, avoid weekend delays, and tell the recipient to bring the package indoors quickly after delivery.
Step 1: Protect the Resin Surface First
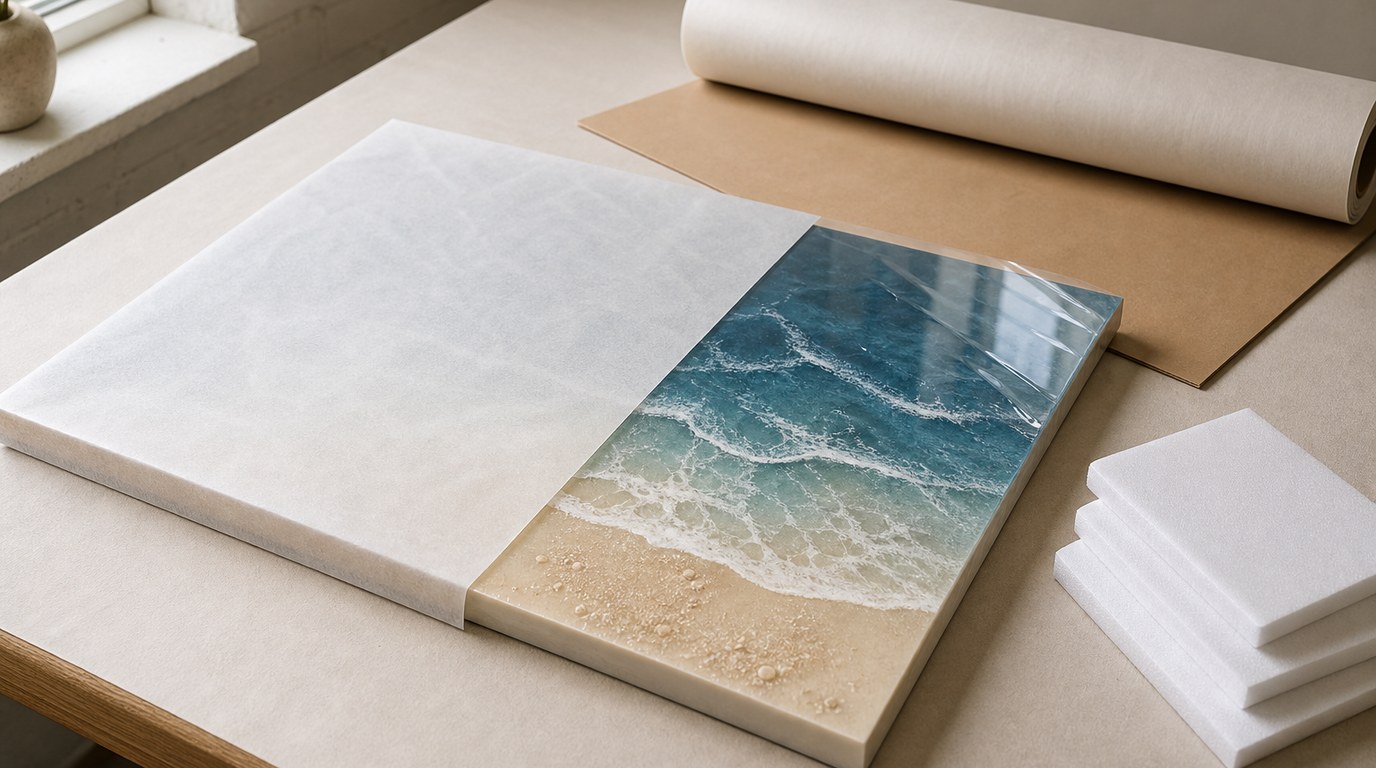
The first layer should touch the art safely without scratching, sticking, or leaving texture marks. Cover the resin surface with a soft, non-abrasive material such as glassine, acid-free tissue, a clean poly bag, or smooth plastic film. The goal is to create a clean barrier before any padding goes on.
Do not place bubble wrap directly against glossy resin. Bubble texture can press into softer resin or leave circular marks if the package gets warm. Also avoid newspaper, rough paper towels, colored tissue that may bleed, or tape touching the artwork.
Wrap the surface layer neatly and tape it to itself on the back or outside of the wrap, never to the resin.
Step 2: Pad the Art on All Sides
After the surface is protected, add cushioning. Wrap the piece in small-bubble or large-bubble wrap, foam sheet, or soft packing foam. Cover the front, back, sides, and corners. For most flat resin panels, use at least two layers of bubble wrap. For heavier or textured pieces, use more.
Pay special attention to corners and edges because they take the most impact during shipping. Add foam corner protectors, folded cardboard corners, or extra bubble wrap pads.
The padding should feel even, not lumpy. If one area has raised resin, crystals, handles, or hardware, build padding around it so pressure lands on the surrounding cushion instead of the detail itself.
Step 3: Add Rigid Support so the Art Cannot Bend or Flex
Resin-coated panels, thin boards, and framed resin art can crack if the package bends. Add rigid support on both the front and back using cardboard sheets, foam board, corrugated plastic, or hardboard. The support should be slightly larger than the artwork and strong enough to resist flexing.
Place the protected and padded artwork between the boards, then tape the boards together around the outside. Do not tape so tightly that the boards press into the art. You want a firm sandwich that prevents bending while still allowing cushioning to absorb shock.
For large pieces, use stronger board rather than thin cardboard.
Step 4: Pack the Wrapped Art in an Inner Box
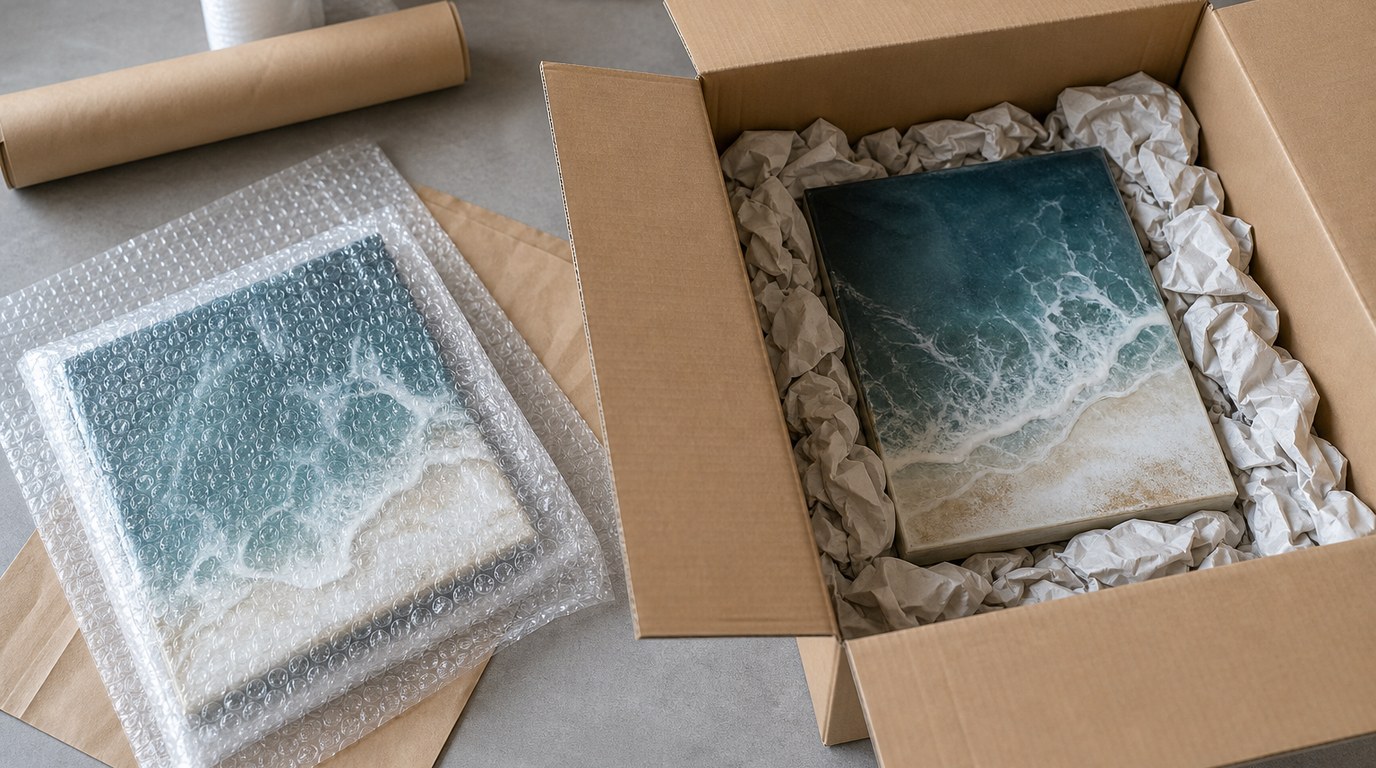
Choose an inner box that fits the wrapped artwork snugly without crushing it. Place a layer of cushioning in the bottom of the box, set the wrapped art inside, then fill every side gap with packing paper, foam, or bubble wrap.
The art should not rattle, slide, tilt, or drop when the box is moved. Empty space is one of the biggest causes of damage because the piece gains momentum inside the package.
Once the inner box is filled, close it and gently shake it. If you hear or feel movement, open it and add more filler. Seal the box with packing tape along the center seam and edges.
Step 5: Double-box for Safer Shipping
Double-boxing is the best method for shipping resin art, especially if it is valuable, heavy, glossy, framed, or going a long distance. Choose an outer box that leaves about two inches of space on every side of the sealed inner box.
Add cushioning to the bottom of the outer box, place the inner box in the center, then fill all sides and the top with packing material. The inner box should float inside the cushioning, not touch the outer walls.
Use firm packing material that will not collapse completely. Crumpled kraft paper, foam sheets, air pillows, and bubble wrap can work, but avoid leaving soft voids that compress too easily. The outer box takes the abuse; the inner box protects the art.
Step 6: Seal, Label, and Choose the Right Shipping Service
Seal the outer box with strong packing tape using the H-taping method: tape the center seam and both edge seams on the top and bottom. Reinforce corners if the box is heavy.
Label the package clearly and cover the shipping label with clear tape if moisture is a concern, but do not cover barcodes if your carrier advises against it. “Fragile” and “Do Not Bend” labels can help, but never rely on them as the main protection. Pack as if the box will be stacked, dropped, or turned upside down.
For expensive resin art, buy insurance, tracking, and signature confirmation. Choose faster shipping during hot weather or for delicate mixed-media pieces.
Result Check: How to Know the Art Is Packed Safely
Before shipping, run a quick safety check. The box should feel solid, with no shifting inside when you gently shake it. The outer box should not bulge, sag, or collapse when lightly pressed.
Ask these questions:
- Is the resin surface protected from direct contact with bubble wrap?
- Are all corners padded?
- Is the artwork supported so it cannot bend?
- Is there cushioning between the inner and outer box?
- Can the package survive being placed on its side?
If the answer to any question is no, reopen the package and fix it before shipping.
Common Packing Mistakes That Damage Resin Art
The most common mistake is wrapping bubble wrap directly against the resin surface. This can cause texture marks, especially if the resin is not fully cured or the package gets warm.
Another mistake is using a box that is too large without enough filler. The art moves inside, hits the walls, and corners get dented. A box that is too tight is also risky because impacts transfer straight to the artwork.
Do not skip rigid support for thin panels. Even a well-padded piece can crack if the box bends. Avoid weak recycled boxes with crushed corners, low-quality tape, or loose seams.
Finally, do not pack in a hurry. Most shipping damage happens because one layer was skipped: surface protection, corner padding, rigid backing, or double-boxing.
Packing Tips for Different Types of Resin Art
For flat resin panels, focus on surface protection and rigid boards on both sides. Keep the front glossy surface away from textured materials.
For framed resin art, protect the frame corners with foam or cardboard corner guards. If the frame has glass or acrylic, add extra front support and mark the package as fragile.
For resin coasters, wrap each coaster individually so they cannot rub together. Stack them with soft layers between each piece, then pack the stack tightly in a small inner box.
For geode resin art with crystals or raised stones, never let padding press directly on the raised areas. Build a protective “cavity” around the texture using foam or cardboard spacers.
For large resin art, use stronger outer boxes, thicker rigid boards, and more cushioning. If the piece is very heavy, consider a custom crate.
FAQ
What Is the First Step Someone Should Take with How to Pack Art for Shipping?
The first step is making sure the resin art is fully cured and clean. After that, protect the resin surface with a smooth, non-abrasive layer before adding bubble wrap, foam, or cardboard. Never let rough or textured packing materials touch glossy resin directly.
What Can Go Wrong When Following How to Pack Art for Shipping Advice?
Common problems include bubble wrap marks, scratched surfaces, cracked panels, dented corners, and shifting inside the box. These usually happen when the resin is packed too soon, the box has empty space, or the artwork is not supported with rigid board.
How Long Does It Usually Take to Work Through How to Pack Art for Shipping?
Most small or medium resin pieces take about 20 to 45 minutes to pack properly. Large, framed, heavy, or textured pieces can take longer because they need extra corner protection, stronger backing, and careful double-boxing.
How Can a Beginner Tell Whether How to Pack Art for Shipping Worked?
A beginner can check by gently shaking the sealed box. Nothing should move inside. The box should feel firm, the corners should be protected, and the art should have surface protection, padding, rigid support, and cushioning between the inner and outer boxes.