
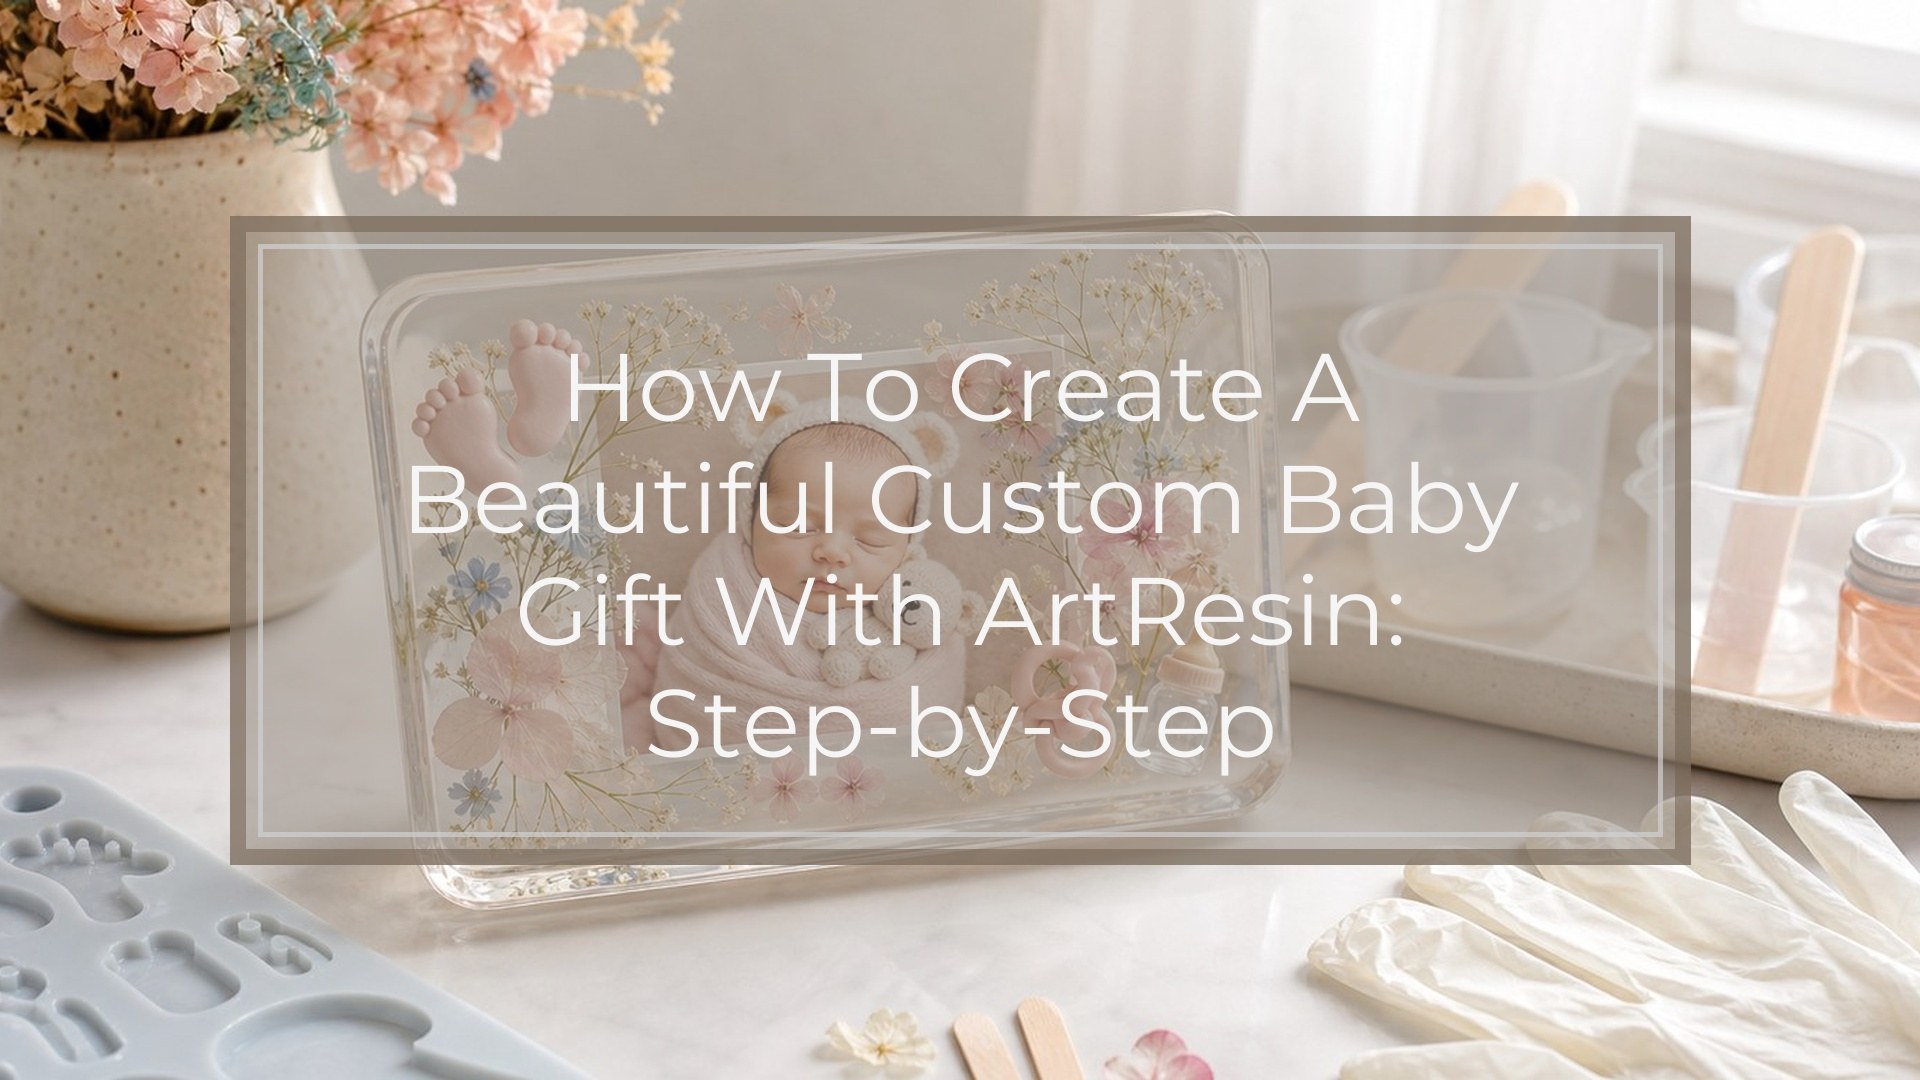
A custom baby gift made with ArtResin is a polished keepsake that can display a baby’s name, birth date, weight, length, photo, nursery colors, or a small meaningful design. The simplest version is a sealed plaque, tile, or wood panel with printed baby details and a glossy clear resin coat. The key to a beautiful result is planning the layout before mixing, sealing anything porous, measuring ArtResin accurately, and protecting the piece while it cures. This tutorial walks you through the full process from choosing the design to checking whether the finished gift is ready to wrap.
Before You Start: Choose the Baby Gift Design
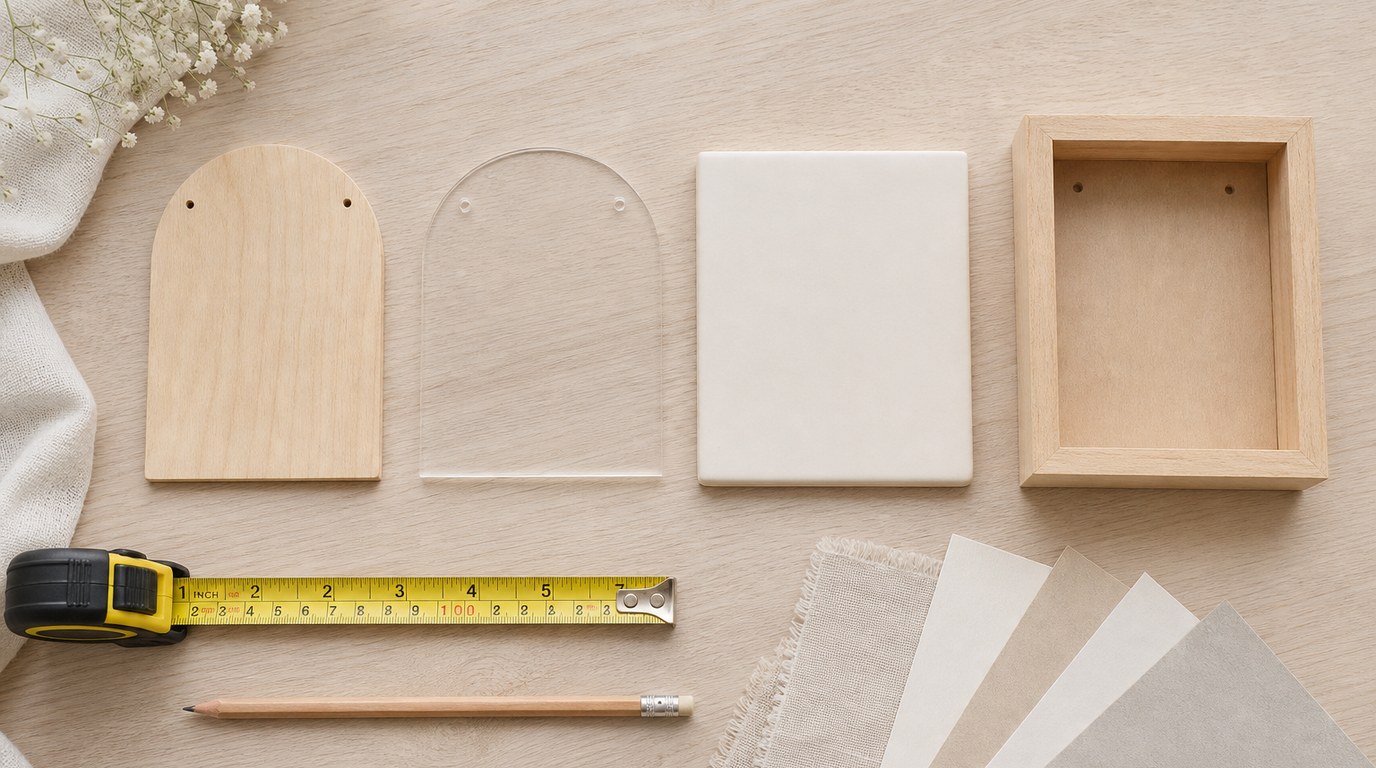
Pick one clear keepsake format before you buy supplies or mix resin. Good beginner-friendly options include a small wood plaque, acrylic blank, ceramic tile, mini shadow-box backing, or flat cradle-sign style panel. Choose a size that is easy to handle, such as 6 by 6 inches or 8 by 10 inches.
Decide what custom details you want to include: baby name, birth date, time, weight, length, photo, initials, zodiac sign, floral accents, stars, moons, or nursery colors. Keep the layout simple. Resin magnifies everything slightly, so crowded text, thick stickers, and raised decorations can look messy under a glossy coat.
Prerequisites: Workspace, Safety, and Timing
Work in a clean, level, dust-free area with good ventilation. Cover the table with a plastic sheet or silicone mat, and wear nitrile gloves. Keep resin away from children, pets, food, and baby items that will go in a mouth or crib. This project is decorative, not a teether or toy.
Gather your supplies before opening the resin: ArtResin resin and hardener, measuring cups, stir sticks, gloves, craft level, sealed artwork, base, toothpicks, painter’s tape, paper towels, rubbing alcohol for cleanup, and a dust cover such as a clean box.
Plan for about 45 minutes of active work, then undisturbed curing time. Do not start if you need to move the piece soon.
Step 1: Prepare the Base
Make sure the base is clean, dry, flat, and level. Dust or grease can show through resin, so wipe non-porous surfaces with a lint-free cloth. If using wood, sand rough edges and remove sanding dust completely.
Apply painter’s tape to the underside edges if resin may drip over the sides. This makes cleanup easier later. Place the base on small cups or blocks so it is raised above the table. Use a level to check the surface in both directions. If the base is tilted, resin will pool on one side.
Step 2: Add the Custom Baby Details
Arrange the baby’s name, photo, birth stats, and decorations on the base before gluing anything down. Step back and check spacing. Make sure text is straight, readable, and not too close to the edge.
Use high-quality printed paper, vinyl lettering, archival photo prints, or sealed cardstock. Glue each piece smoothly so no corners lift. Avoid bulky embellishments unless you are comfortable pouring multiple resin layers. Press down stickers, paper, and photos firmly, then let the adhesive dry fully. If glue is still wet, it can cloud, shift, or release bubbles under resin.
Step 3: Seal Paper, Photos, Wood, and Porous Embellishments
Seal anything that can absorb resin. Paper, photos, raw wood, dried flowers, fabric, and cardstock can darken, stain, or release bubbles if resin touches them directly. Brush on a thin coat of clear-drying craft sealer or suitable archival glue over the front, back, and edges of paper elements.
Let the sealer dry completely, then add a second coat if the material still feels absorbent. Pay special attention to photo edges and cut paper corners. For wood bases, seal the top and sides before adding resin. Rushing this step is one of the easiest ways to ruin an otherwise beautiful baby keepsake.
Step 4: Measure and Mix Artresin
ArtResin is typically mixed in equal parts resin and hardener by volume. Read the label on your product and follow its current instructions exactly. Use clean measuring cups and measure carefully at eye level. Guessing, changing the ratio, or scraping random leftovers into the cup can cause soft or sticky resin.
Pour both parts into a mixing cup and stir slowly for the recommended time, usually about three minutes. Scrape the sides and bottom as you stir. Mix thoroughly but do not whip the resin like batter, because that adds bubbles. If needed, transfer the mixture into a second clean cup and stir briefly again for a more consistent blend.
Step 5: Pour a Thin Clear Coat
Pour a small amount of mixed ArtResin into the center of the piece. Start with less than you think you need. Use a gloved finger, silicone spreader, or stir stick to guide the resin toward the edges. A thin, even coat is easier to control and less likely to overflow.
Check that resin covers the custom baby details, including photo corners and lettering. If your base has edges, avoid overfilling. If resin drips down the sides, smooth the drips with a gloved finger or leave them to remove later if the underside is taped. Do not keep fussing once the surface looks even.
Step 6: Remove Bubbles and Protect the Cure
After pouring, look across the surface at eye level. Pop bubbles with a toothpick or pass a small torch or heat tool quickly over the surface if ArtResin’s instructions allow it. Keep heat moving and do not hold it over photos, paper, vinyl, or dried flowers. Too much heat can scorch decorations or create waves.
Check again after a few minutes because bubbles can rise from sealed materials. Once the surface looks clear, cover the project with a clean dust cover. Leave it level and undisturbed while it cures. Avoid fans, loose fabric, sawdust, glitter, and pet hair near the curing piece.
Step 7: Clean Edges and Add Final Gift Details
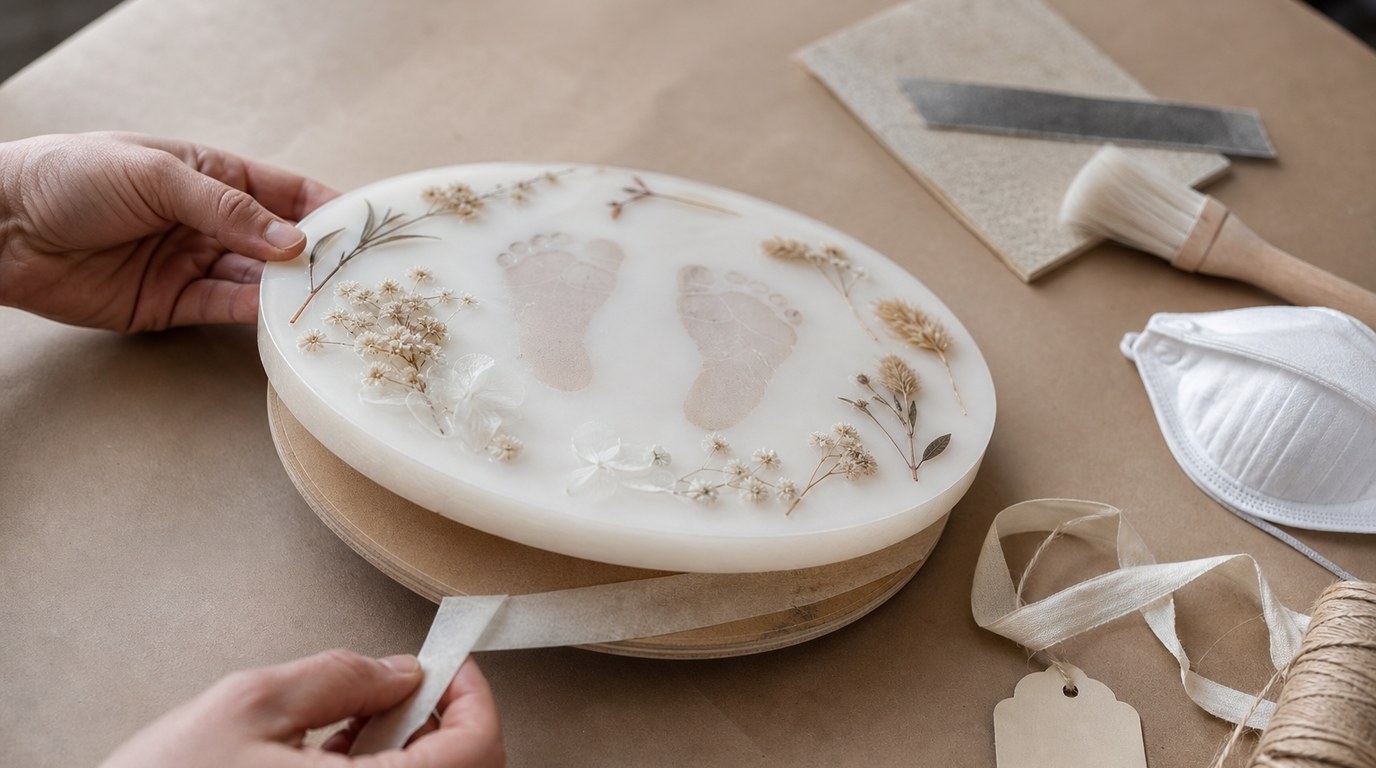
When the resin has cured enough to handle according to the product instructions, remove painter’s tape from the underside. If there are sharp drips, trim or sand them carefully. Wear a mask if sanding cured resin, and wipe away dust afterward.
Add any final non-resin details, such as a hanging ribbon, small easel stand, felt pads, gift tag, or backing paper. If the gift is meant to hang, attach secure hardware rated for the piece’s weight. Before wrapping, let the resin reach a firm cure so packaging does not mark the glossy surface.
Result Check: How to Know the Baby Gift Turned Out Well
Your custom baby gift is ready when the resin surface is glossy, smooth, and firm to the touch. The baby’s name and details should be readable, with no cloudy patches over the photo or text. Edges should be clean enough to handle safely, and the piece should sit or hang level.
A few tiny bubbles are normal in handmade resin work, but large craters, sticky areas, heavy dust, or lifting paper mean the piece needs repair before gifting.
Common Mistakes and Troubleshooting
If the resin stays sticky, the most likely causes are inaccurate measuring, incomplete mixing, or scraping unmixed resin from the cup onto the project. You may need to remove soft resin if possible, let the piece cure longer, or apply a correctly mixed fresh coat over a firm surface.
If paper turns dark or blotchy, it was not sealed well enough. For future pieces, seal both sides and all edges before gluing.
If bubbles keep appearing, the base or embellishments may be porous. Seal better, pour thinner coats, and check the piece several times during the first stage of curing.
If dust lands in wet resin, remove it with a toothpick if caught early. If it cures in place, sand lightly and add another thin clear coat.
If resin runs to one side, your surface was not level. Level the base before pouring, not after.
FAQ
What Is the First Step Someone Should Take with How to Create a Beautiful Custom Baby Gift with Artresin?
Start by choosing the exact gift format and layout. Decide whether you are making a plaque, tile, panel, or keepsake sign, then plan the baby name, photo, birth stats, and colors before mixing any resin.
What Can Go Wrong When Following How to Create a Beautiful Custom Baby Gift with Artresin Advice?
The most common problems are sticky resin from poor measuring, bubbles from unsealed materials, cloudy photos from wet glue, dust in the cure, and resin pooling because the base was not level. Careful prep prevents most issues.
How Long Does It Usually Take to Work Through How to Create a Beautiful Custom Baby Gift with Artresin?
Expect about 30 to 60 minutes for layout, sealing, mixing, and pouring, depending on the design. Drying and curing take longer, so check the ArtResin instructions and allow enough time before wrapping or shipping the gift.
How Can a Beginner Tell Whether How to Create a Beautiful Custom Baby Gift with Artresin Worked?
The finished piece should be firm, glossy, level, and clear. Text and photos should be easy to read, edges should feel safe to handle, and there should be no sticky patches, major bubbles, lifting paper, or cloudy areas.