
Most ArtResin troubleshooting starts with three questions: did you measure accurately, did you mix thoroughly, and did the resin cure in the right conditions? If the surface is sticky, soft, cloudy, bubbly, dimpled, or uneven, do not rush into another pour. First, confirm whether the resin is fully cured. Then remove contamination, sand glossy cured areas, and add a fresh, accurately mixed coat only when the surface is ready.
For wet or uncured resin, scrape off what you can before repairing. For cured defects, sand, clean, and recoat. Use gentle heat only while resin is still fluid, and avoid open flames, dust, moisture, and silicone contamination.
Before You Start: Safety and Setup
Work in a clean, ventilated room and wear nitrile gloves. If sanding cured resin, wear a respirator or dust mask rated for fine particles, and wet-sand when possible to reduce airborne dust. Protect your table with plastic sheeting.
Keep the room within the resin maker’s recommended temperature range. Cold resin cures slowly and holds bubbles; hot conditions can shorten working time. Before any repair, cover nearby projects, remove linty towels, and keep pets, hair, and fans away from the work area.
Tools and Supplies for Resin Repairs
Gather these before you start:
- Nitrile gloves and eye protection
- Respirator or dust mask for sanding
- Plastic scraper or craft stick
- Paper towels and isopropyl alcohol
- Sandpaper: 120, 220, 400, and higher grits
- Level, clean work surface
- Fresh ArtResin or clear two-part epoxy resin
- Accurate measuring cups
- Clean mixing cups and stir sticks
- Toothpick, tweezers, or craft knife
- Dust cover or clean box
Use new cups and sticks for repair coats. Residue from old resin can cause new problems.
Step 1: Identify When the Problem Happened
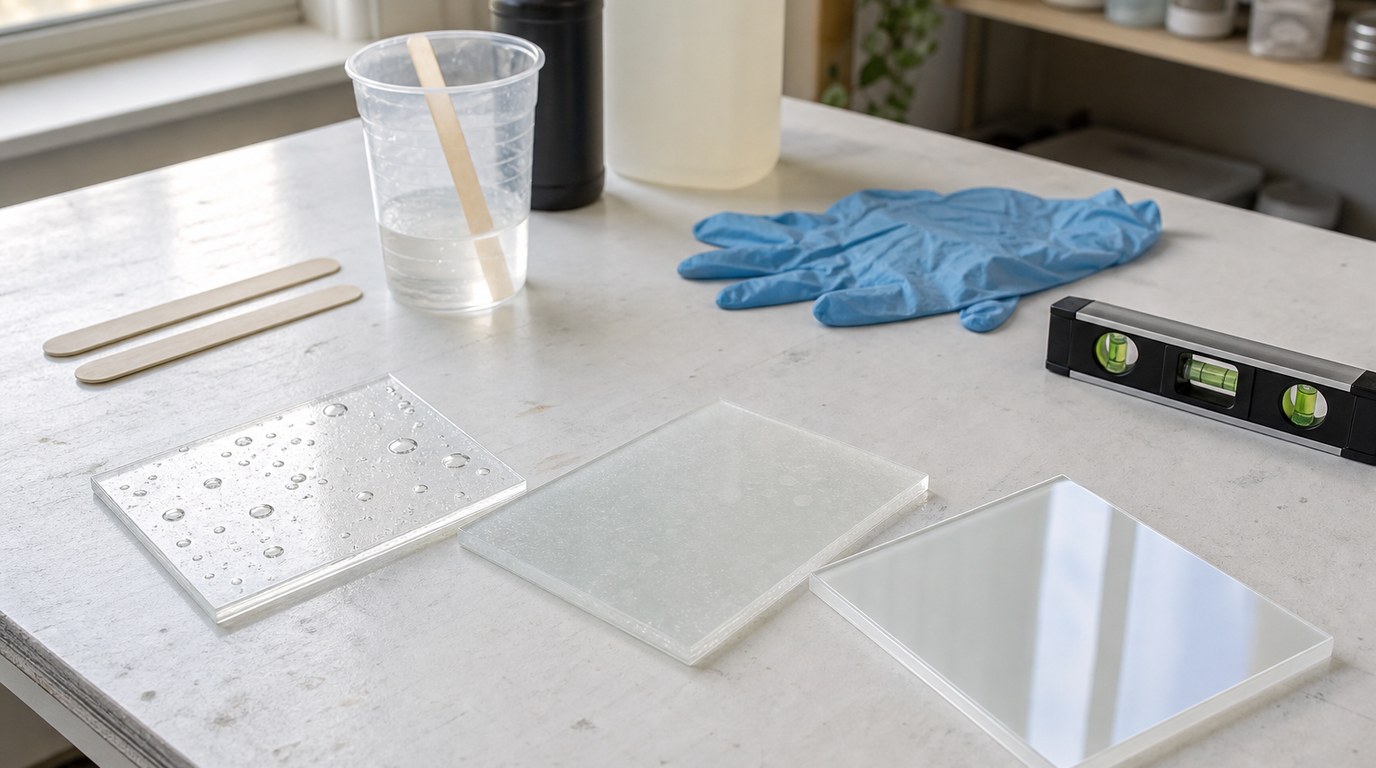
Start by deciding when the defect appeared.
If bubbles, waves, or fish eyes showed up during the pour, the issue was likely trapped air, surface contamination, uneven leveling, or overworking the resin.
If the surface became sticky, soft, cloudy, or greasy after curing time passed, suspect incorrect measuring, incomplete mixing, cold temperatures, moisture, or incompatible materials.
If dust, hair, or insects appeared after the resin was smooth, the problem is environmental. Timing helps you choose the right fix instead of treating every flaw the same way.
Step 2: Check Whether the Resin Is Fully Cured
Do not sand, wash, or recoat resin that is still actively curing unless the repair specifically calls for removing uncured material. Press a gloved finger gently on an inconspicuous spot. Fully cured resin should feel hard, dry, and solid, not rubbery or tacky.
Check the product’s cure time, then add extra time if the room was cool or the pour was thick. If the resin is only slightly tacky but firm, wait another 24 hours before deciding it failed. Repairing too early can trap uncured resin under a new coat.
Step 3: Fix Sticky, Tacky, or Soft Resin
Sticky resin usually comes from inaccurate measuring, poor mixing, scraping unmixed resin from the cup, low temperature, or expired materials.
First, determine how bad it is. If the resin is firm but has a tacky surface, wipe away greasy residue with isopropyl alcohol, let it dry, lightly sand the surface, clean off dust, and pour a fresh, accurately mixed coat.
If the resin is soft, gummy, or liquid underneath, do not pour over it. Scrape off as much uncured resin as possible with a plastic scraper. Use paper towels to lift residue, then clean lightly with alcohol. Let the piece dry completely.
Once the unstable material is removed, sand any cured areas to create tooth. Mix a new batch carefully, scraping the sides and bottom of the mixing cup for the full recommended time. Pour only when the surface is clean, dry, and level.
Step 4: Remove Bubbles and Pinholes
For bubbles in wet resin, pass a heat gun or torch quickly over the surface, keeping it moving. Do not hold heat in one spot; overheating can cause ripples, yellowing, fumes, or new bubbles. A toothpick can pop stubborn edge bubbles.
For cured bubbles or pinholes, sand the surface until the openings are clean and no sharp rims remain. Wipe away dust and let the piece dry. Then apply a thin seal coat or flood coat, depending on the depth of the defects. Deep pinholes may need a small dab of mixed resin before the final coat.
Step 5: Correct Cloudy, Milky, or Hazy Resin
Cloudiness often comes from moisture, cold temperatures, over-torching, sanding scratches, or trapped microbubbles. First, decide whether the haze is on the surface or inside the layer.
If it is surface haze from sanding, continue sanding through finer grits, clean well, and add a clear topcoat. If the resin cured cloudy throughout, you usually cannot make that layer transparent again. You can improve the look by sanding and recoating, but deep moisture haze may remain visible.
Prevent repeat cloudiness by warming resin bottles in a warm water bath, drying inclusions fully, and avoiding humid pouring conditions.
Step 6: Fix Dimples, Fish Eyes, Craters, and Bare Spots
Dimples, fish eyes, and craters usually mean the resin pulled away from contamination. Common causes include silicone, oil, wax, dust, grease, fingerprints, or residue from cleaning products.
Let the resin cure before repair. Trying to brush resin into fish eyes while it is still moving often makes the defect larger. Once cured, wash if needed, dry completely, and sand the entire glossy surface, not just the crater. The next coat needs an evenly abraded surface to grip.
Clean sanding dust with a damp lint-free cloth or alcohol, then let all solvent evaporate. Pour a fresh coat without touching the surface with bare hands.
Step 7: Level Waves, Ripples, Doming Problems, and Uneven Edges
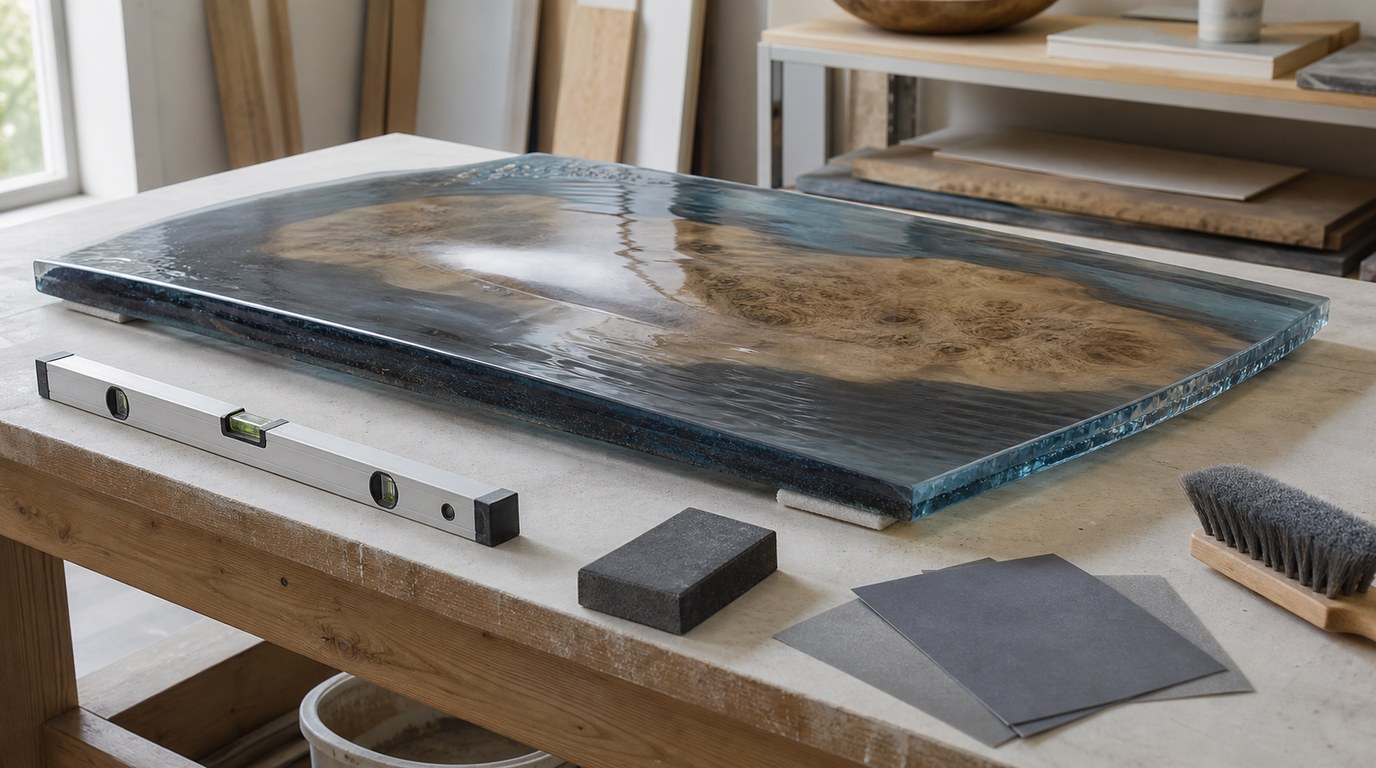
Waves and ripples can come from an unlevel table, too much heat, resin poured too thin, or moving the project during cure. Uneven edges often happen when resin is allowed to run off without enough control.
For a cured uneven surface, sand down high ridges with 120 or 220 grit, then smooth with finer grits. Check the piece with a level before recoating. Tape the underside if you want cleaner drips, or brush resin carefully over edges for even coverage.
Avoid heavy heat during the next pour. A light pass for bubbles is enough.
Step 8: Repair Dust, Hair, Bugs, or Debris in Cured Resin
If debris is near the surface, let the resin cure fully before removing it. Pick out raised particles with tweezers or trim them carefully with a craft knife. Sand the area until smooth, feathering the edges so the repair does not leave a visible patch.
For larger embedded debris, sand the whole surface lightly and apply a new clear coat. Always cover curing resin with a clean box, lid, or dust cover that does not touch the surface.
Step 9: Confirm the Repair Worked
Inspect the repaired piece under bright side lighting. Look for tacky spots, dull patches, new bubbles, craters, dust, and uneven edges. Touch only with a gloved finger in a hidden area after the full cure time.
A successful repair should feel hard and dry, show even gloss, and have no soft areas underneath. If you plan to add another coat, confirm the surface is either within the recoat window or has been sanded for adhesion.
Common Mistakes That Make Resin Problems Worse
Avoid these common repair errors:
- Pouring fresh resin over liquid or gummy resin
- Guessing the mix ratio instead of measuring accurately
- Mixing too quickly and whipping in bubbles
- Scraping unmixed resin from the sides of the cup onto the project
- Sanding before the resin is hard enough
- Recoating a glossy cured surface without sanding
- Using silicone tools or oily cleaners before a pour
- Overheating resin to chase bubbles
- Pouring in a cold, damp, or dusty room
Most failed repairs come from skipping surface prep.
FAQ
Why Is My Artresin Still Sticky After Curing?
ArtResin may stay sticky if the resin and hardener were not measured in the correct ratio, mixed thoroughly, or cured warm enough. It can also happen if unmixed resin from the cup sides was scraped onto the project. If it is still soft or gummy, remove uncured material before recoating.
Can I Pour New Resin Over Sticky Resin?
Only if the resin is firm and the problem is a light tacky surface. Clean, dry, and lightly sand it first. Do not pour over liquid, soft, or gummy resin. That traps the failed layer underneath and can keep the new coat from curing properly.
How Do I Get Bubbles Out of Cured Resin?
You cannot pop cured bubbles with heat. Sand the surface until the bubbles or pinholes are opened and smoothed, then clean away dust and apply a fresh coat of mixed resin. For deep holes, fill them with a small amount of resin before the final flood coat.
Why Did My Resin Turn Cloudy?
Cloudy resin can be caused by moisture, cold resin, humid conditions, trapped microbubbles, over-torching, or sanding scratches. Surface haze can often be fixed by sanding finer and recoating. Cloudiness inside the cured layer may improve with a topcoat but may not disappear completely.
Do I Have to Sand Before Adding Another Coat of Resin?
Yes, if the previous coat is fully cured and outside the product’s recoat window. Sanding creates a keyed surface so the new coat can bond. If you recoat too soon, too late, or over a glossy contaminated surface, you may get peeling, fish eyes, or poor adhesion.