If you want 3 easy DIY projects that involve wood epoxy, start with small, shallow pours that teach the basics without wasting expensive wood or resin. The best first project is a wood-and-resin coaster set because it uses little epoxy, cures relatively quickly, and is easy to repeat. The most useful project is an epoxy river serving board, which makes a polished handmade gift but needs more careful sanding and finishing. The most creative option is an epoxy-filled wood wall art piece or sign, where color experiments and small imperfections are easier to forgive.
| Project | Best for | Main tradeoff |
|---|---|---|
| Wood-and-resin coasters | Absolute beginners | Small, less dramatic result |
| Epoxy river serving board | Useful handmade gifts | Needs careful finishing and food-use caution |
| Epoxy-filled wall art or sign | Creative experimenting | Less functional and more design-dependent |
How I Chose These Beginner Wood Epoxy Projects
These projects were chosen for beginners who want a satisfying result without jumping into oversized pours, expensive slabs, or furniture-scale builds. A good first wood epoxy project should use a manageable amount of resin, fit on a small work surface, and teach core skills: measuring, mixing, tinting, pouring, bubble removal, sanding, and finishing.
I also looked for clear “best for” situations. Coasters are the easiest practice project. A serving board is best when you want something useful or giftable. Wall art is strongest when you want freedom with color, shape, and texture.
The tradeoff is that beginner-friendly projects are smaller than river tables or countertops. That is a benefit. Smaller projects help you understand how epoxy behaves before you spend more on wood, molds, pigments, and tools.
Before You Start: Basic Supplies for Wood Epoxy Projects
Gather everything before mixing epoxy. Once resin and hardener are combined, the working time starts, and you do not want to search for tape, gloves, or pigment mid-pour.
Basic supplies include:
- Two-part epoxy resin for craft or small casting projects
- Dry wood blanks, boards, or offcuts
- Disposable mixing cups and stir sticks
- Nitrile gloves and eye protection
- Plastic sheet or silicone mat for your work surface
- Painter’s tape, packing tape, or sheathing tape for sealing edges
- Pigment powder, alcohol ink, or resin dye
- Small torch, heat gun, or alcohol spray for bubbles
- Sandpaper in several grits
- Wood oil, finish, or topcoat suited to the project
Work in a ventilated area and follow the epoxy brand’s mixing ratio exactly. Most beginner failures come from rushed measuring, under-mixing, wet wood, or pouring deeper than the resin is designed to handle.
1. Best First Project: Wood-and-resin Coaster Set
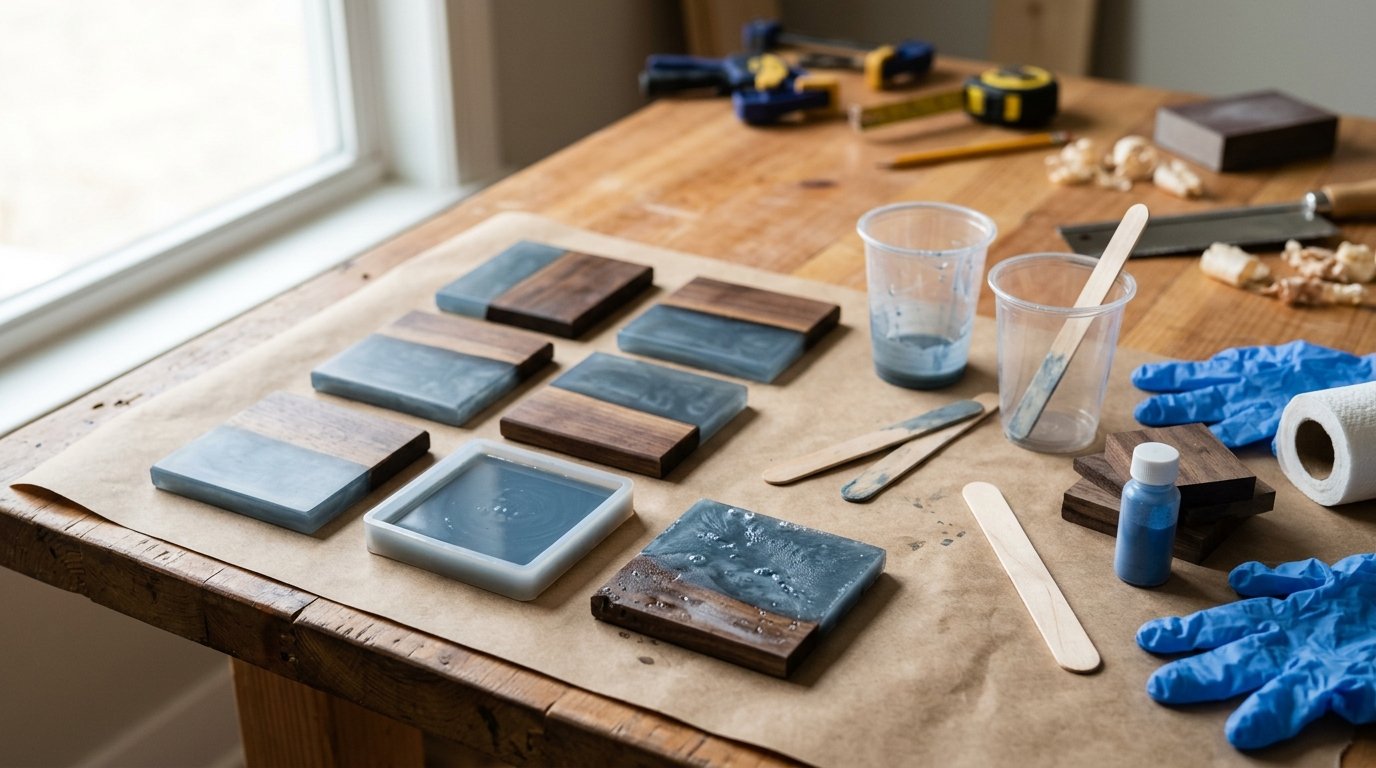
A wood-and-resin coaster set is the easiest starting point because each coaster is small, affordable, and quick to repeat. If one coaster has bubbles or uneven color, you still learn without losing a large board.
Best for: absolute beginners, small workspaces, testing pigments, and learning how epoxy flows.
You can make coasters with square wood blanks, small live-edge offcuts, or a silicone coaster mold. Seal open wood grain first with a thin brush-on layer of epoxy or clear sealer. This reduces bubbles rising from the wood during the main pour.
Basic steps:
- Sand the wood pieces smooth and remove dust.
- Tape the bottom and sides if leaks are possible.
- Mix a small batch of epoxy according to the label.
- Add pigment, then stir slowly.
- Pour epoxy into the mold or open area beside the wood.
- Pop surface bubbles with gentle heat.
- Let the coasters cure fully.
- Sand edges and add cork backing or rubber feet.
The main tradeoff is size. Coasters are practical, but they do not look as dramatic as a serving board or wall art piece. They also reveal uneven sanding because people handle them up close. Still, they are the lowest-risk way to practice mixing, pouring, color control, and finishing before moving to larger wood epoxy DIY projects.
2. Best Useful Gift: Epoxy River Serving Board
An epoxy river serving board is the best choice when you want a project that looks polished and can be used or gifted. It gives you the popular “river” look without the complexity of a full river table. You can use two narrow wood pieces with a gap between them, or a single board with a routed channel, crack, knot, or natural void filled with epoxy.
Best for: handmade gifts, kitchen decor, charcuterie-style serving, and crafters ready for a slightly more careful build.
Keep the project shallow. Use epoxy designed for the pour depth you need, and avoid a thick river unless your product is rated for it.
Basic steps:
- Choose a dry hardwood board or two matching wood pieces.
- Sand the inner edges and remove loose bark or debris.
- Build a leakproof form using melamine, silicone, or taped plastic.
- Seal the wood edges with a thin epoxy coat.
- Mix and tint your epoxy.
- Pour slowly into the channel or gap.
- Remove bubbles during the working time.
- Cure, unmold, sand flat, and finish.
The big caution is food safety. Epoxy should not be used as a cutting surface unless the cured product and finish are rated for that use. For a beginner project, treat an epoxy river serving board as a serving or display board, not a chopping board. Use it for dry snacks, bread, wrapped items, or presentation.
The tradeoff is finishing time. A serving board usually needs careful sanding through several grits, plus a food-safe oil or board finish on the wood. It takes longer than coasters, but the final result feels more substantial and gift-worthy.
3. Best Creative Project: Epoxy-filled Wood Wall Art or Sign
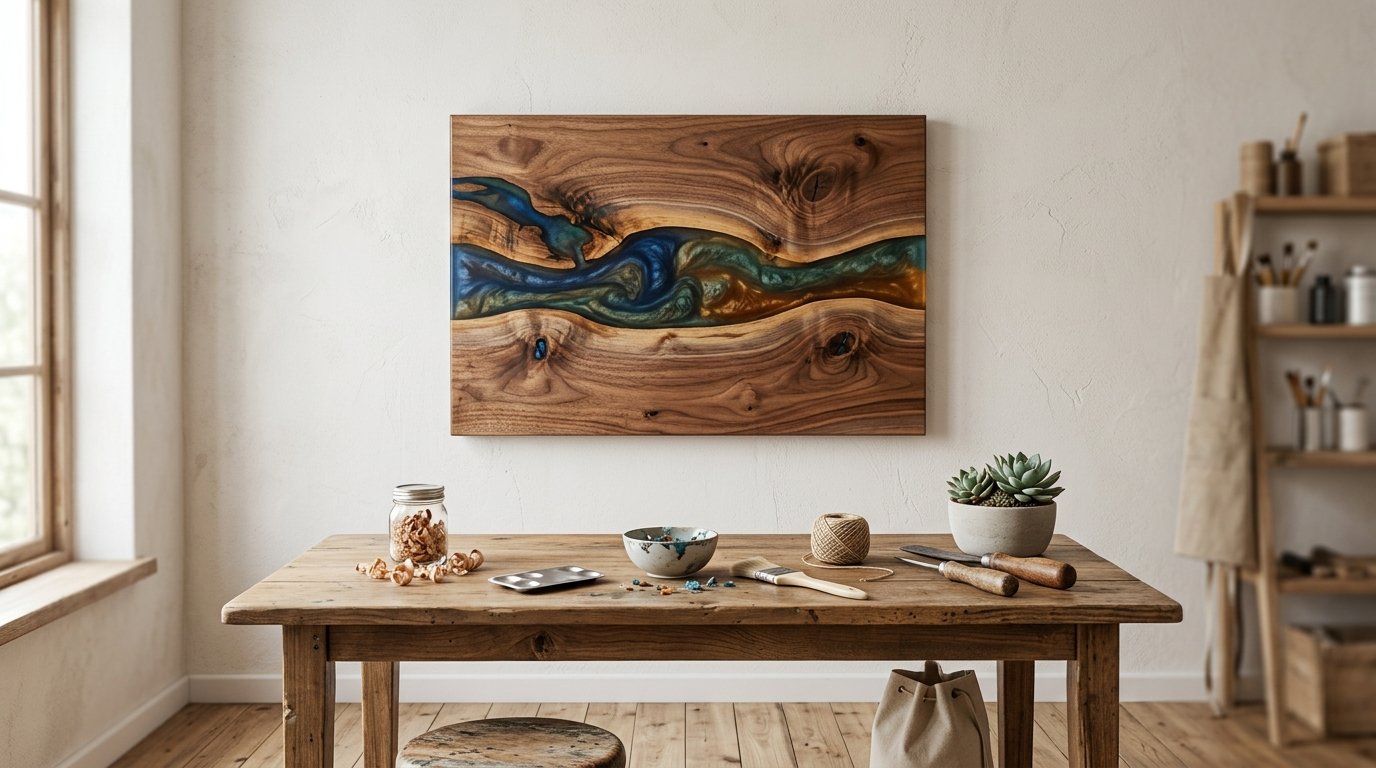
Epoxy-filled wall art or a wood sign is the most creative of the three projects. Because it hangs on a wall instead of being handled daily, you can be more experimental with color, texture, shapes, and imperfect wood.
Best for: decorative pieces, personalized gifts, color experiments, and using interesting scrap wood.
Start with a wood panel, live-edge offcut, or routed sign blank. Fill carved letters, cracks, knots, or shallow channels with tinted epoxy. Metallic pigments, glow powder, or layered colors work well because the finished piece is meant to be viewed, not used for food.
Basic steps:
- Choose a dry wood panel or sign blank.
- Sand the surface and clean out cracks or routed areas.
- Tape the back if gaps go through the wood.
- Seal porous areas with a thin epoxy coat.
- Mix a small batch and add color.
- Pour into letters, cracks, or design channels.
- Use gentle heat to release bubbles.
- Cure, sand flush if needed, and add hanging hardware.
The tradeoff is that this project is less functional than coasters or a serving board. It also requires more design judgment. Too many pigments can make the piece look muddy, so start with one main color and one accent.
The advantage is forgiveness. A tiny bubble, uneven edge, or color swirl often looks intentional in wall art. That makes it a great second project after coasters if you want to explore epoxy as a design material.
Which Wood Epoxy Project Should You Choose First?
Choose wood-and-resin coasters if you have never mixed epoxy before. They are the safest first win and teach the core skills with minimal waste.
Choose an epoxy river serving board if you are comfortable measuring, mixing, and sanding, and you want the most useful finished piece.
Choose epoxy-filled wall art or a sign if your goal is creativity rather than function. It is ideal for testing pigments, personalizing a gift, or using scrap wood.
If you are unsure, start with coasters, move to wall art, then try a serving board once you trust your mixing and finishing process.
Common Mistakes to Avoid with Wood Epoxy Diy Projects
The biggest beginner mistake is inaccurate measuring. Epoxy is chemistry, not paint. If the resin and hardener ratio is wrong, the project may stay soft, sticky, cloudy, or unevenly cured.
Another common mistake is using damp wood. Moisture can cause bubbles, haze, weak bonding, or curing issues. Use dry wood and let it acclimate indoors before pouring.
Avoid pouring too deep for the epoxy type. Craft resin, coating resin, and deep-pour epoxy are not always interchangeable. Read the product’s maximum pour depth.
Do not skip sealing porous wood. A thin seal coat helps reduce trapped air bubbles. Also avoid aggressive heat. A torch or heat gun can help bubbles rise, but too much heat can scorch wood, distort molds, or damage curing resin.
Finally, give the project enough cure time before sanding or finishing. Epoxy may feel firm before it is ready for tools.
FAQ
What Should a Beginner Know First About 3 Easy Diy Projects That Involve Wood Epoxy?
Start small. Wood-and-resin coasters are the best first project because they use less epoxy and are easy to repeat. Learn accurate measuring, slow mixing, bubble control, and curing time before trying larger pieces.
What Matters Most When Evaluating 3 Easy Diy Projects That Involve Wood Epoxy?
Look at project size, epoxy depth, tool requirements, finishing difficulty, and how the finished piece will be used. The best beginner projects keep pours shallow, use affordable wood, and let you practice without the pressure of a large furniture build.
What Mistakes Should Readers Avoid with 3 Easy Diy Projects That Involve Wood Epoxy?
Avoid guessing the resin ratio, using damp wood, skipping edge sealing, and pouring deeper than the epoxy allows. Also avoid sanding too early. Most beginner problems come from rushing preparation, mixing, curing, or finishing.
What Is the Next Logical Step After Learning About 3 Easy Diy Projects That Involve Wood Epoxy?
Make one coaster set first, then repeat it with a new pigment or wood type. After that, try a small wall sign or serving board. Build skill through slightly larger projects before attempting river tables, countertops, or furniture-scale pours.