
The best way to keep dust out of resin art is to prevent it before you pour: clean the work area, cover the piece while it cures, and control airflow until the surface is no longer tacky. Dust, lint, pet hair, and tiny fibers usually land in resin during the open working time and early cure stage, when the surface is sticky enough to trap everything.
For the cleanest finish, wipe surfaces before mixing, let airborne dust settle, use a clean raised cover that does not touch the resin, and avoid fans, open windows, heaters, or vents blowing across the piece. Check the surface under angled light before full cure so you can remove debris early if needed.
Why Dust Is Such a Problem in Resin Art
Resin cures with a glossy, reflective surface, which makes tiny specks easy to see. A fiber that would disappear on paper or wood can look obvious under a clear resin coat. The challenge is that resin stays tacky for a while, so anything floating in the room can land and become embedded. Dust prevention matters most from mixing through the first several hours of curing, before the surface firms up.
What You Need Before You Start
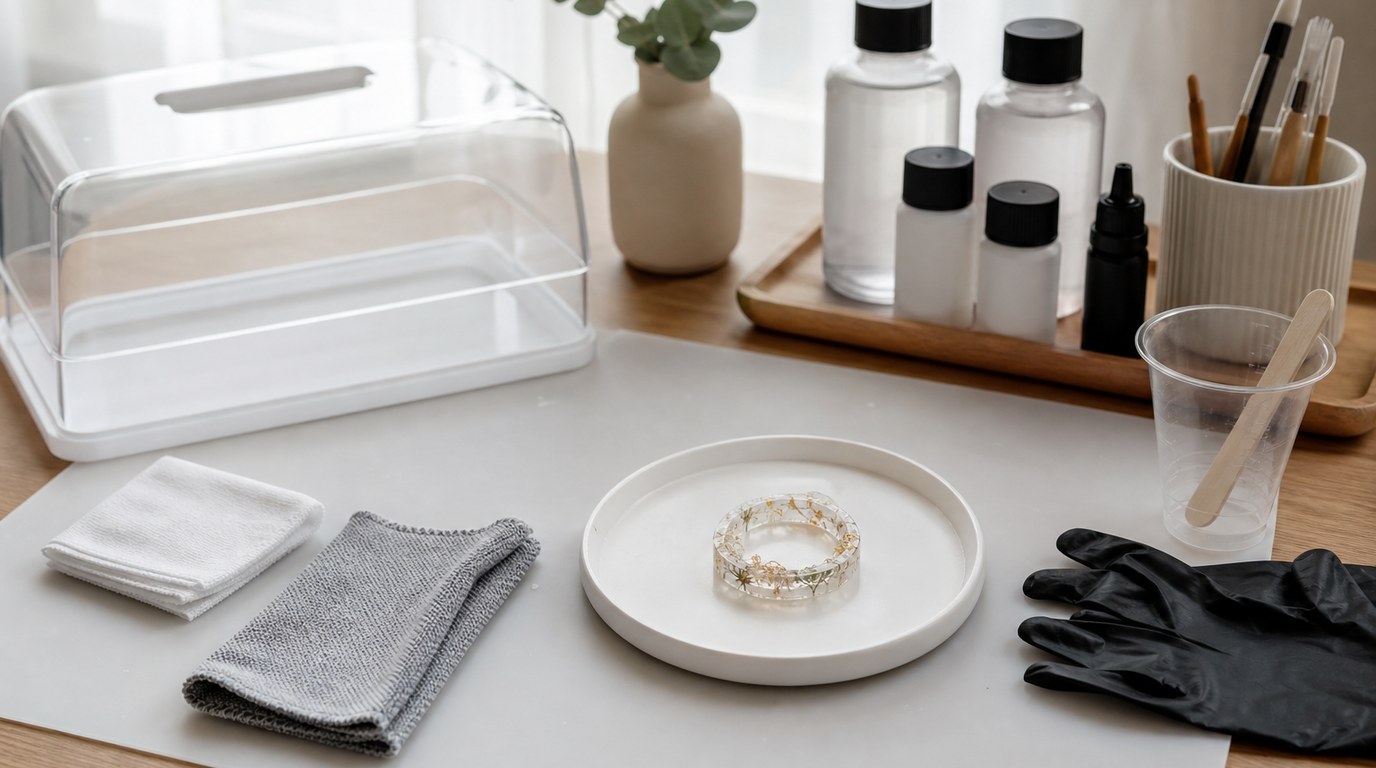
Gather your dust-control supplies before opening the resin bottles. You do not want to search for a cover after the piece is poured.
You will need:
- A clean, level work surface
- Microfiber cloths or lint-free wipes
- Isopropyl alcohol for wiping non-porous surfaces
- Nitrile gloves
- A clean dust cover, such as a plastic storage bin, cake carrier, or clear acrylic box
- Painter’s pyramids, cups, or a level platform to raise the artwork
- Tweezers or a toothpick for removing stray debris
- A flashlight or bright lamp for inspection
- Proper ventilation that does not blow directly over the resin
Avoid fuzzy towels, shedding paper towels, dusty cardboard, and covers stored in garages or closets without cleaning.
Tip 1: Clean the Work Area Before You Mix Resin
Start dust control before the resin is mixed. Once resin is poured, every movement around the piece can stir up lint or pet hair.
First, clear the table of unnecessary items. Move fabric, paper scraps, sanding dust, dried flowers, glitter containers, and packaging away from the pour area. Wipe the table with a damp microfiber cloth or a lint-free wipe. For glass, plastic, or sealed surfaces, you can follow with a small amount of isopropyl alcohol, then let it evaporate fully.
Clean the underside and inside of your dust cover too. This is a common missed step. A cover that has been sitting on a shelf may drop more dust than it blocks.
Time your cleaning carefully. Do not sweep, vacuum, shake rugs, brush pets, or wipe dusty shelves immediately before pouring resin. Those actions throw particles into the air. If you need to do a larger cleanup, do it earlier in the day, then let the room settle before mixing.
Before pouring, put on fresh gloves and check your sleeves. Fleece, sweaters, and loose cuffs shed fibers easily. Short sleeves or smooth, fitted clothing are better.
Tip 2: Cover the Resin While It Cures
Covering the piece is the most reliable way to stop dust from landing in wet resin. The cover should be clean, stable, and tall enough that it cannot touch the surface.
Good options include a plastic storage bin turned upside down, a cake carrier, a clear acrylic display box, or a dedicated resin curing cover. Clear covers are helpful because you can inspect the piece without lifting the cover. If you use an opaque cover, make sure you are not tempted to keep checking it every few minutes.
Place the cover near your work area before you pour. After torching or using a heat gun for bubbles, wait a moment for the air around the piece to calm, then lower the cover slowly. Do not fan the cover over the resin or drop it quickly, because that can push dust onto the surface.
If the artwork sits on cups or risers, make sure the cover fits over both the art and the supports. Leave a little space around the edges so the cover does not touch dripping resin.
A warning about cardboard: it can work in a pinch, but it often sheds fibers. If you use a box, wipe or tape loose edges first and do not let the flaps scrape over the resin.
Tip 3: Control Airflow Until the Resin Is No Longer Tacky
Air movement is one of the biggest causes of dust in resin art. Fans, open windows, heaters, air conditioners, and vents can carry particles straight onto the surface.
Before you pour, look at where air is coming from. If a ceiling fan is running, turn it off. If a window breeze crosses the table, close or redirect it. If an HVAC vent blows directly onto the artwork, move the project or block the direct draft safely. Do not place resin near space heaters or dusty radiators.
Ventilation is still important for resin safety, so the goal is not a sealed, airless room. Instead, create gentle room ventilation that does not blow across the resin surface. For example, use ventilation on the far side of the room or open a window that does not create a direct draft over the table.
Be careful with heat tools too. A heat gun can blow dust, hair, or loose glitter into the resin if used too aggressively. Use short passes, keep the tool moving, and stop once bubbles release. After that, cover the piece and leave it alone until the surface is no longer tacky.
Step-by-step Dust-free Resin Pour Workflow
Follow this repeatable process for each resin art session:
- Clean the table, tools, cover, and nearby area.
- Let the room settle if you swept, vacuumed, sanded, or moved dusty items.
- Set up the artwork on a level surface with risers if needed.
- Place the clean dust cover nearby before mixing resin.
- Put on fresh gloves and avoid fuzzy clothing.
- Mix and pour the resin according to product directions.
- Remove bubbles with a torch or heat gun using gentle, brief passes.
- Inspect quickly with angled light.
- Lower the clean cover slowly over the piece.
- Keep airflow calm until the surface is no longer tacky.
Common Mistakes That Still Let Dust Into Resin
The most common mistake is cleaning too late. Vacuuming right before pouring makes the room look clean but fills the air with particles. Another mistake is using a dirty cover, especially one stored in a craft room, garage, or laundry area.
Lifting the cover repeatedly also invites dust in. Check only when necessary, and avoid leaning over the artwork with loose hair or shedding sleeves. Do not aim a fan at resin to “help it cure.” It may move fumes away, but it can also blow lint into the finish. Finally, avoid sanding nearby while another resin piece is curing.
How to Check the Result
Once the resin has firmed up, inspect the surface under bright angled light. Look from several directions, not just straight down. A clean result should look glossy and smooth, with no raised fibers, specks, or hair trapped near the surface.
Check the edges too, especially if the resin dripped over the sides. If you see a speck while the resin is still soft enough to work, remove it carefully. If the resin is already cured, wait before sanding or adding another coat.
What to Do If Dust Lands in Your Resin Anyway
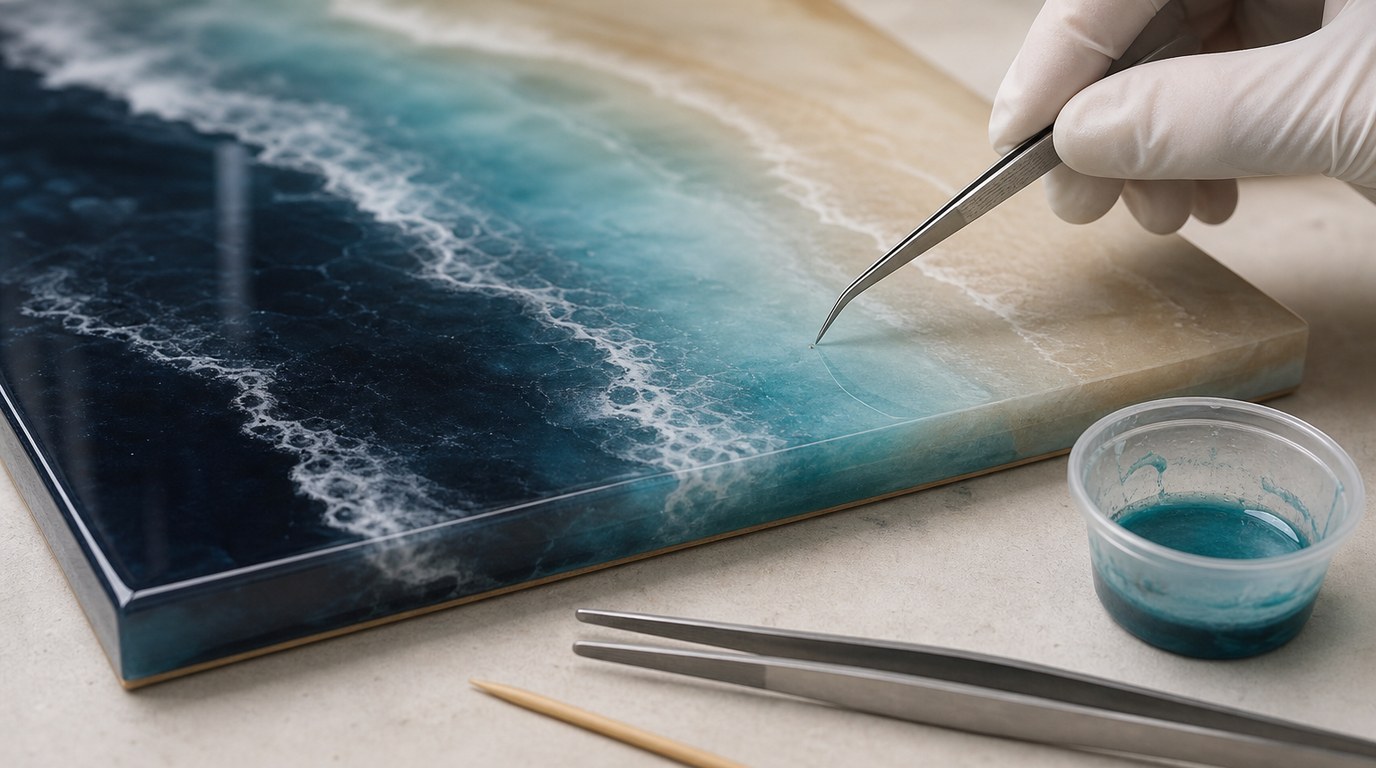
If you spot dust while the resin is still wet, use clean tweezers or a toothpick to lift it out. Work slowly so you do not drag a long mark through the surface. If needed, add a tiny amount of mixed resin to the spot and let it level.
If the resin is partially cured and stringy, leave it alone. Trying to remove debris at this stage can create a bigger scar than the dust itself. Wait until the piece is fully cured.
For cured resin, sand the affected area with fine-grit wet/dry sandpaper, keeping the surface wet to reduce dust. Feather the edges so the repair blends smoothly. Then wipe clean, let dry completely, and apply a fresh thin coat of resin. Cover the piece again while the repair coat cures.
FAQ
How Long Should I Keep Resin Art Covered?
Keep resin art covered until the surface is no longer tacky. For many art resins, that means at least overnight, but always check your resin’s cure schedule. Full cure may take longer, but dust protection matters most during the sticky early stage.
Can I Use a Cardboard Box to Cover Resin?
Yes, but it is not the cleanest option. Cardboard can shed fibers, especially from cut edges and flaps. If you use one, choose a clean box, tape loose edges, wipe it gently, and lower it carefully so it does not push dust onto the resin.
Should I Run a Fan While Resin Cures?
Do not aim a fan at curing resin. Direct airflow can carry dust, lint, and pet hair onto the surface. Use ventilation for safety, but keep air moving gently away from the piece rather than blowing across it.
What Is the Best Cloth to Use Around Resin Art?
Use a clean microfiber cloth or lint-free wipe. Avoid fuzzy towels, tissues, and cheap paper towels that shed fibers. If you wipe the table with a damp cloth, let the area dry before pouring so moisture does not interfere with your setup.
Can Dust Be Removed from Cured Resin?
Yes. Fully cured resin can usually be repaired by wet sanding the dusty area, cleaning it thoroughly, and applying a fresh coat of resin. Do not sand uncured or rubbery resin. Wait for a full cure so the surface repairs cleanly.