
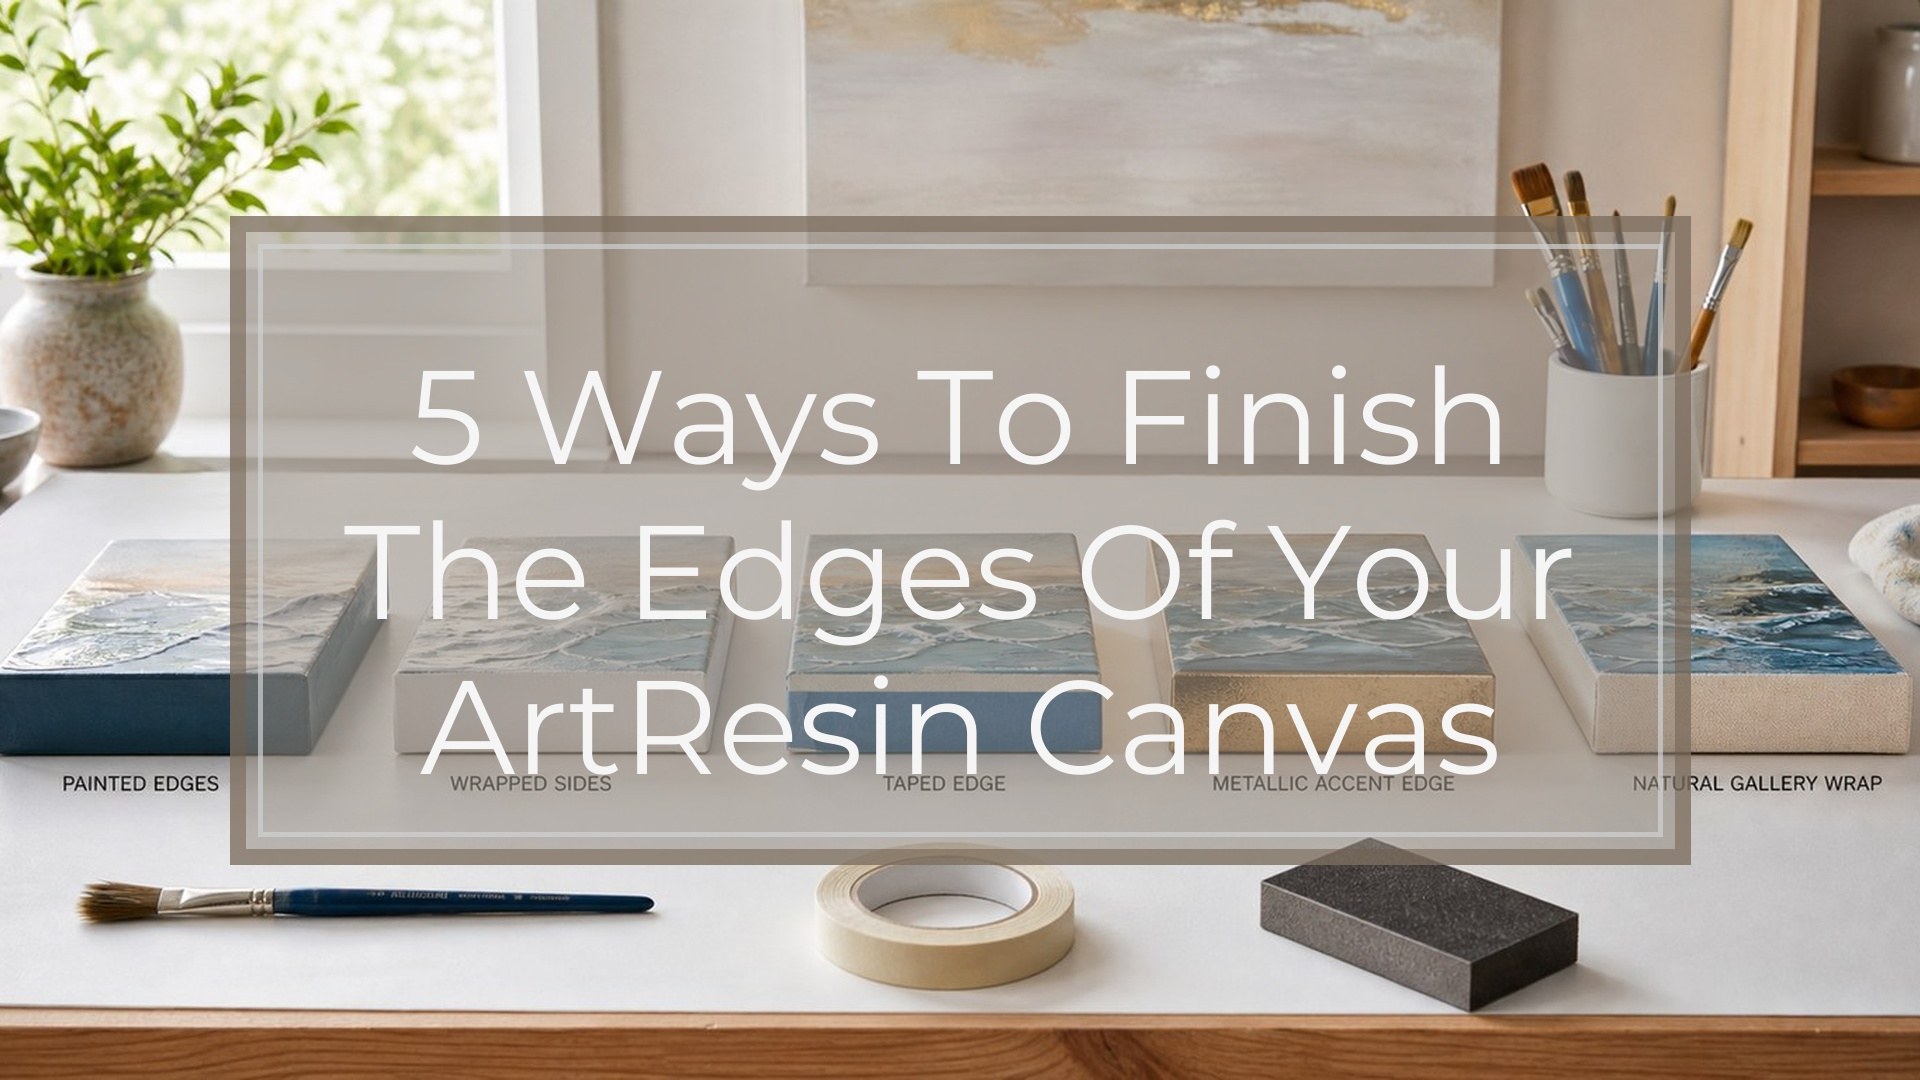
The edges of your ArtResin canvas can look glossy and wrapped, clean and painted, sharply taped, repaired after curing, or hidden inside a frame. The best choice depends on whether you want the resin to become part of the side finish or whether you want the front surface to stay the focus. Plan the edge treatment before pouring if you can, because tape, paint, and leveling are easier before resin starts flowing. If your canvas has already cured with messy drips, you still have repair options.
Before You Start: Choose the Edge Look You Want
Before mixing resin, decide what the viewer should see from the side. A gallery-wrapped resin edge looks bold and glossy, but it needs controlled flow and drip cleanup. Painted edges look neat and intentional without requiring resin to coat every side perfectly. Taped edges create the cleanest separation between the resin surface and canvas side.
Also check your canvas depth. Deep canvases show more edge, so the finish matters more. Thin canvases may look better framed. If the resin is already cured, avoid forcing a “perfect pour” look after the fact. It is usually easier to sand, trim, paint, or frame the sides than to disguise thick hardened drips with more resin.
Work on a level surface, protect the underside, and keep dust away while the resin cures.
Supplies You May Need
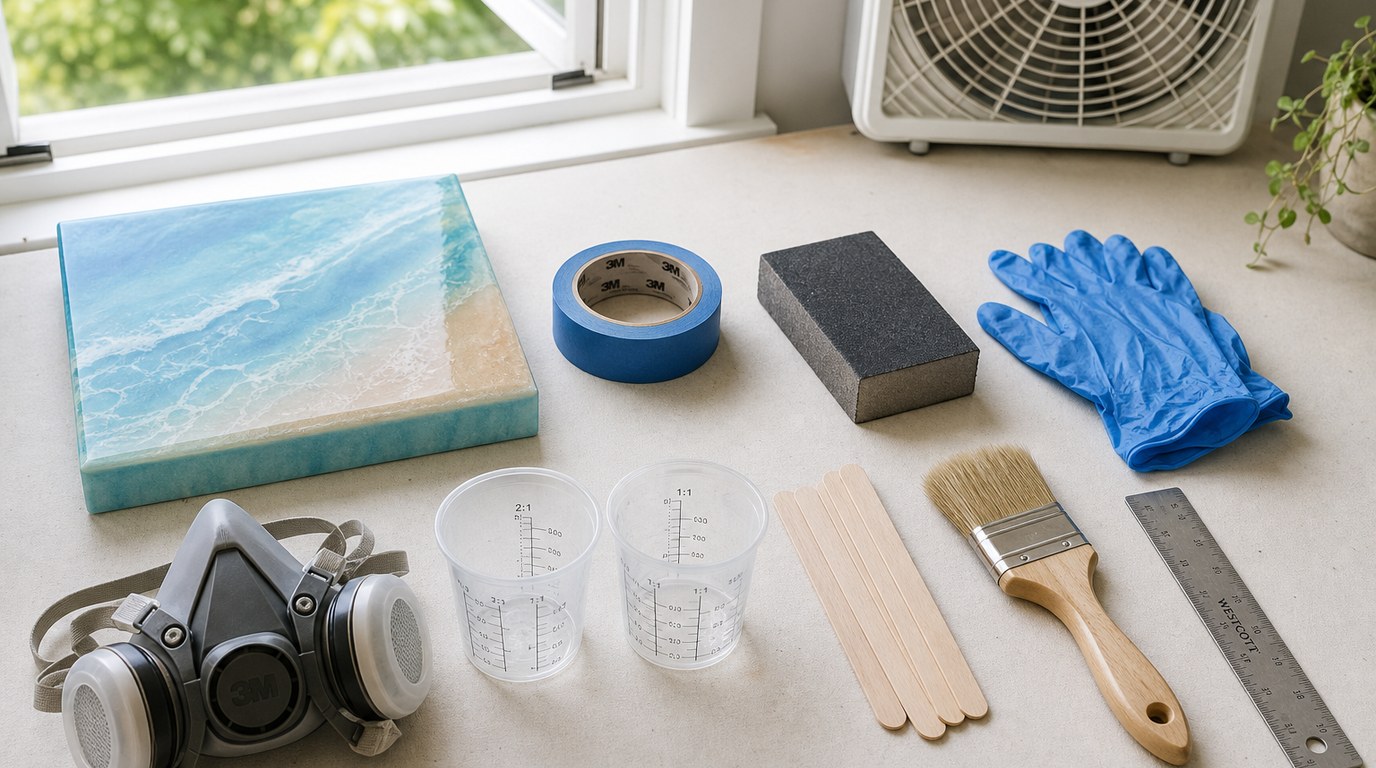
You may not need every item for every method, but gather supplies before you start:
- ArtResin or your preferred clear coating resin
- Nitrile gloves and protective surface covering
- Painter’s tape or high-quality masking tape
- Acrylic paint for canvas edges
- Foam brush or small flat paintbrush
- Stir sticks or a gloved finger for guiding resin over edges
- Plastic spreader or silicone tool
- Heat gun or torch for bubbles, used carefully
- Craft knife or utility blade
- Fine-grit sandpaper or sanding block
- Isopropyl alcohol and lint-free cloth
- Drop cloth, plastic sheet, or raised supports
- Floater frame, if framing
- Hanging hardware
Warning: always follow the resin manufacturer’s safety instructions, mix ratios, ventilation guidance, and cure times.
Method 1: Let the Resin Flow Over the Canvas Edges
This method gives you a continuous glossy finish from the front of the artwork around the sides.
- Raise the canvas on cups or blocks so resin can drip freely underneath.
- Make sure the canvas is perfectly level. If it tilts, resin will flood one side and starve another.
- Mix the resin according to the instructions, scraping the sides and bottom of the cup.
- Pour resin onto the canvas front and spread it evenly to the edges.
- Use a stir stick, spreader, or gloved finger to gently encourage resin over each side.
- Check the sides every few minutes during the working time. Add a little resin to dry-looking patches.
- Wipe or cut away hanging drips from the underside while the resin is still soft.
Do not overheat the sides with a torch; canvas can scorch, and resin can thin too much. The result is ready when all edges look evenly coated, glossy, and connected to the front surface without sharp hanging drops.
Method 2: Paint the Canvas Edges Before Adding Resin
Painting the sides first is a simple way to make the edges look finished without depending on resin coverage.
- Choose an acrylic paint color that matches, contrasts, or quietly frames the artwork.
- Paint the canvas edges before pouring resin. Use two thin coats rather than one heavy coat.
- Let the paint dry fully. Resin can pull up or wrinkle paint that is still soft.
- If you want only the top coated, keep the resin mostly on the front surface and guide it close to the edge.
- Let a small amount of resin round over the top lip if you like a softer transition, but do not force it down the sides.
This method works well for beginners because small resin irregularities are less obvious against a solid painted edge. Check the result from the front and side. The edge should look deliberately colored, with no raw canvas showing and no distracting resin trails.
Method 3: Tape the Edges for a Crisp No-drip Finish
Taping is best when you want the resin to stay on the face of the canvas and leave the sides clean.
- Apply painter’s tape around all four canvas edges before pouring. Press the top edge of the tape firmly where the resin line will stop.
- Burnish the tape with your fingernail or a plastic card so resin cannot seep underneath.
- Pour and spread resin on the front, stopping just short of the taped border or allowing it to meet the tape lightly.
- Watch the edges during the first part of the cure. Remove large drips from the bottom of the tape if needed.
- Remove the tape when the resin is firm but not rock-hard, if your resin system allows. Pull slowly at a low angle away from the artwork.
- If the resin has fully cured, score along the tape line with a sharp craft knife before peeling.
The biggest mistake is waiting too long and tearing the edge. Your result should have a clean resin boundary, smooth front surface, and canvas sides free of random drips.
Method 4: Paint or Touch up the Edges After the Resin Cures
If your canvas has already cured and the edges look messy, you can still make them presentable.
- Let the resin cure completely before handling, sanding, or painting.
- Trim thick drips from the underside with a craft knife if they are not too hard, or sand them carefully once fully cured.
- Lightly sand rough side areas so paint has something to grip. Avoid scratching the glossy front.
- Wipe away dust with a lint-free cloth. Use isopropyl alcohol sparingly and keep it off painted or delicate surfaces unless tested first.
- Paint the sides with acrylic paint using a small flat brush.
- Apply a second coat if the first coat does not hide stains, resin marks, or raw canvas.
Do not paint over greasy, dusty, or uncured resin. The paint may bead, peel, or stay tacky. The finished edge should look smooth from arm’s length and should not draw attention away from the resin surface.
Method 5: Frame the Resin Canvas
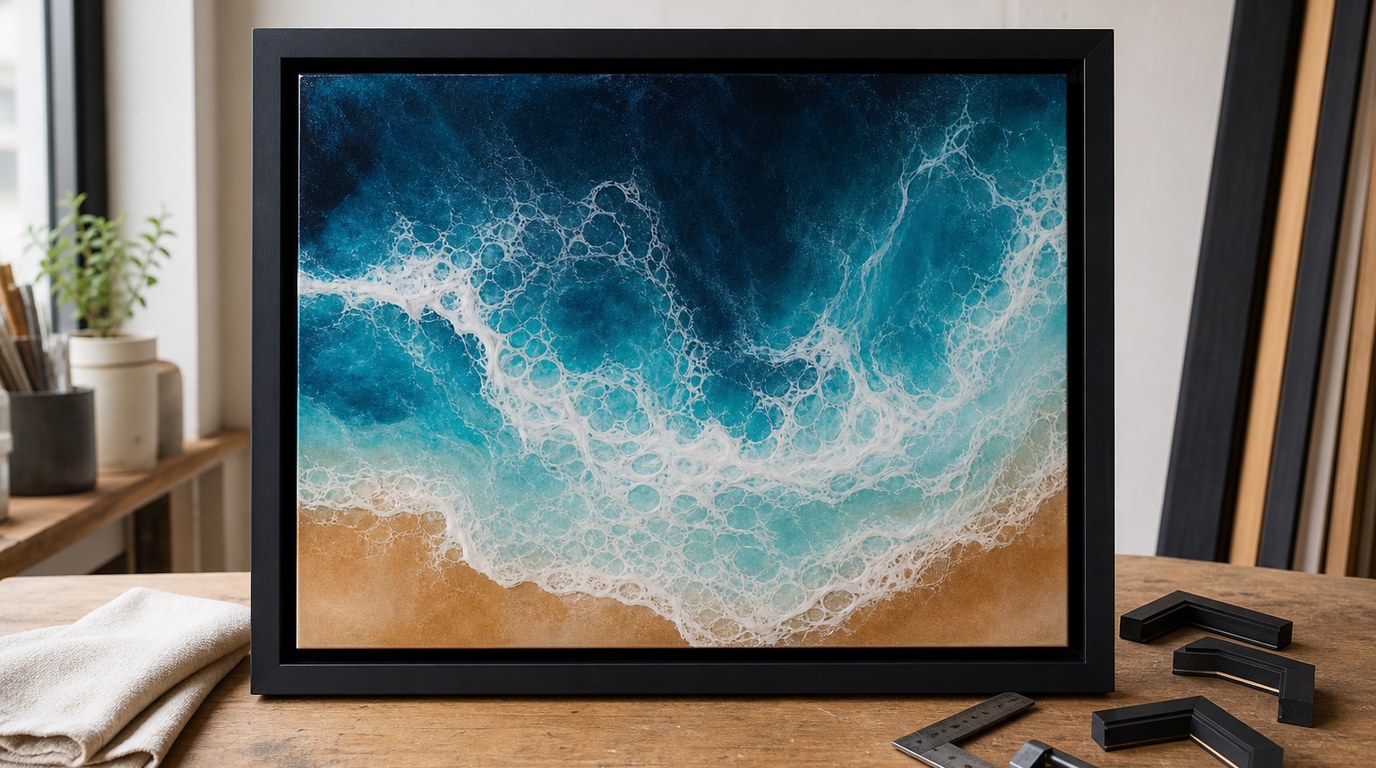
Framing is often the cleanest solution when the edges are uneven, the canvas is thin, or the artwork needs a more polished presentation.
- Let the resin cure fully before measuring or framing.
- Measure the canvas after resin is applied, not before. Resin can add thickness, especially at the corners.
- Choose a floater frame if you want the front and sides partly visible.
- Check that the canvas fits without forcing. Pressure can damage the resin edge or warp the stretcher bars.
- Add spacers if needed so the resin surface does not rub against the frame.
- Install hanging hardware securely and keep the artwork level.
Framing is not a cover-up failure; it is a valid finish. The result should look intentional, with even spacing around the canvas and no resin scraping against the frame.
Common Mistakes When Finishing Resin Canvas Edges
- Pouring on an unlevel surface: resin will slide toward one edge and create uneven sides.
- Ignoring drips too long: underside drips become sharp and difficult to remove after curing.
- Using weak tape: resin can seep under it and leave ragged lines.
- Removing tape too late: cured resin may chip or tear along the edge.
- Painting before resin cures: trapped solvents or uncured resin can cause peeling or tackiness.
- Sanding carelessly: one slip can scratch the glossy front surface.
- Forcing a canvas into a frame: resin thickness can crack, dent, or scrape.
When in doubt, stop and let the resin cure before repairing. Rushing usually makes edge problems more visible.
Final Result Check: Is Your Resin Canvas Display-ready?
Before hanging, selling, or gifting your resin canvas, check:
- The front surface is cured and no longer tacky.
- The canvas edges look intentional from all sides.
- There are no sharp underside drips.
- Painted edges are dry and evenly covered.
- Tape lines are clean, not torn.
- The canvas sits level in its frame, if framed.
- Hanging hardware is secure.
- Dust, fingerprints, and sanding residue are removed.
If the edges support the artwork instead of distracting from it, your finish is successful.
FAQ
Should Resin Art Go Over the Edges of the Canvas?
It can, but it does not have to. Let resin flow over the edges if you want a glossy wrapped look. Keep it on the front, tape the sides, or paint the edges if you prefer a cleaner gallery-style finish with less drip management.
How Do You Stop Resin from Dripping Down Canvas Sides?
Use painter’s tape around the edges, pour less resin near the border, and keep the canvas level. If you are coating the sides, raise the canvas and monitor drips during the working time. Remove hanging drops before they cure hard.
Can You Paint Over Cured Resin on Canvas Edges?
Yes, if the resin is fully cured and the surface is clean. Lightly sand glossy or uneven areas first so acrylic paint can grip. Wipe away sanding dust before painting. Avoid painting over uncured resin because the paint may not dry properly.
When Should You Remove Tape from Resin Canvas Edges?
Remove tape when the resin is firm enough not to run but not so hard that it chips as the tape lifts. Timing depends on the resin brand and room temperature. If the resin has fully cured, score the edge carefully with a blade first.
What Is the Easiest Way to Fix Messy Resin Edges?
The easiest fix is usually to let the resin cure, sand or trim rough drips, then paint the sides with acrylic paint. If the edges are very uneven or the canvas looks unfinished, a floater frame can hide flaws and make the piece display-ready.