
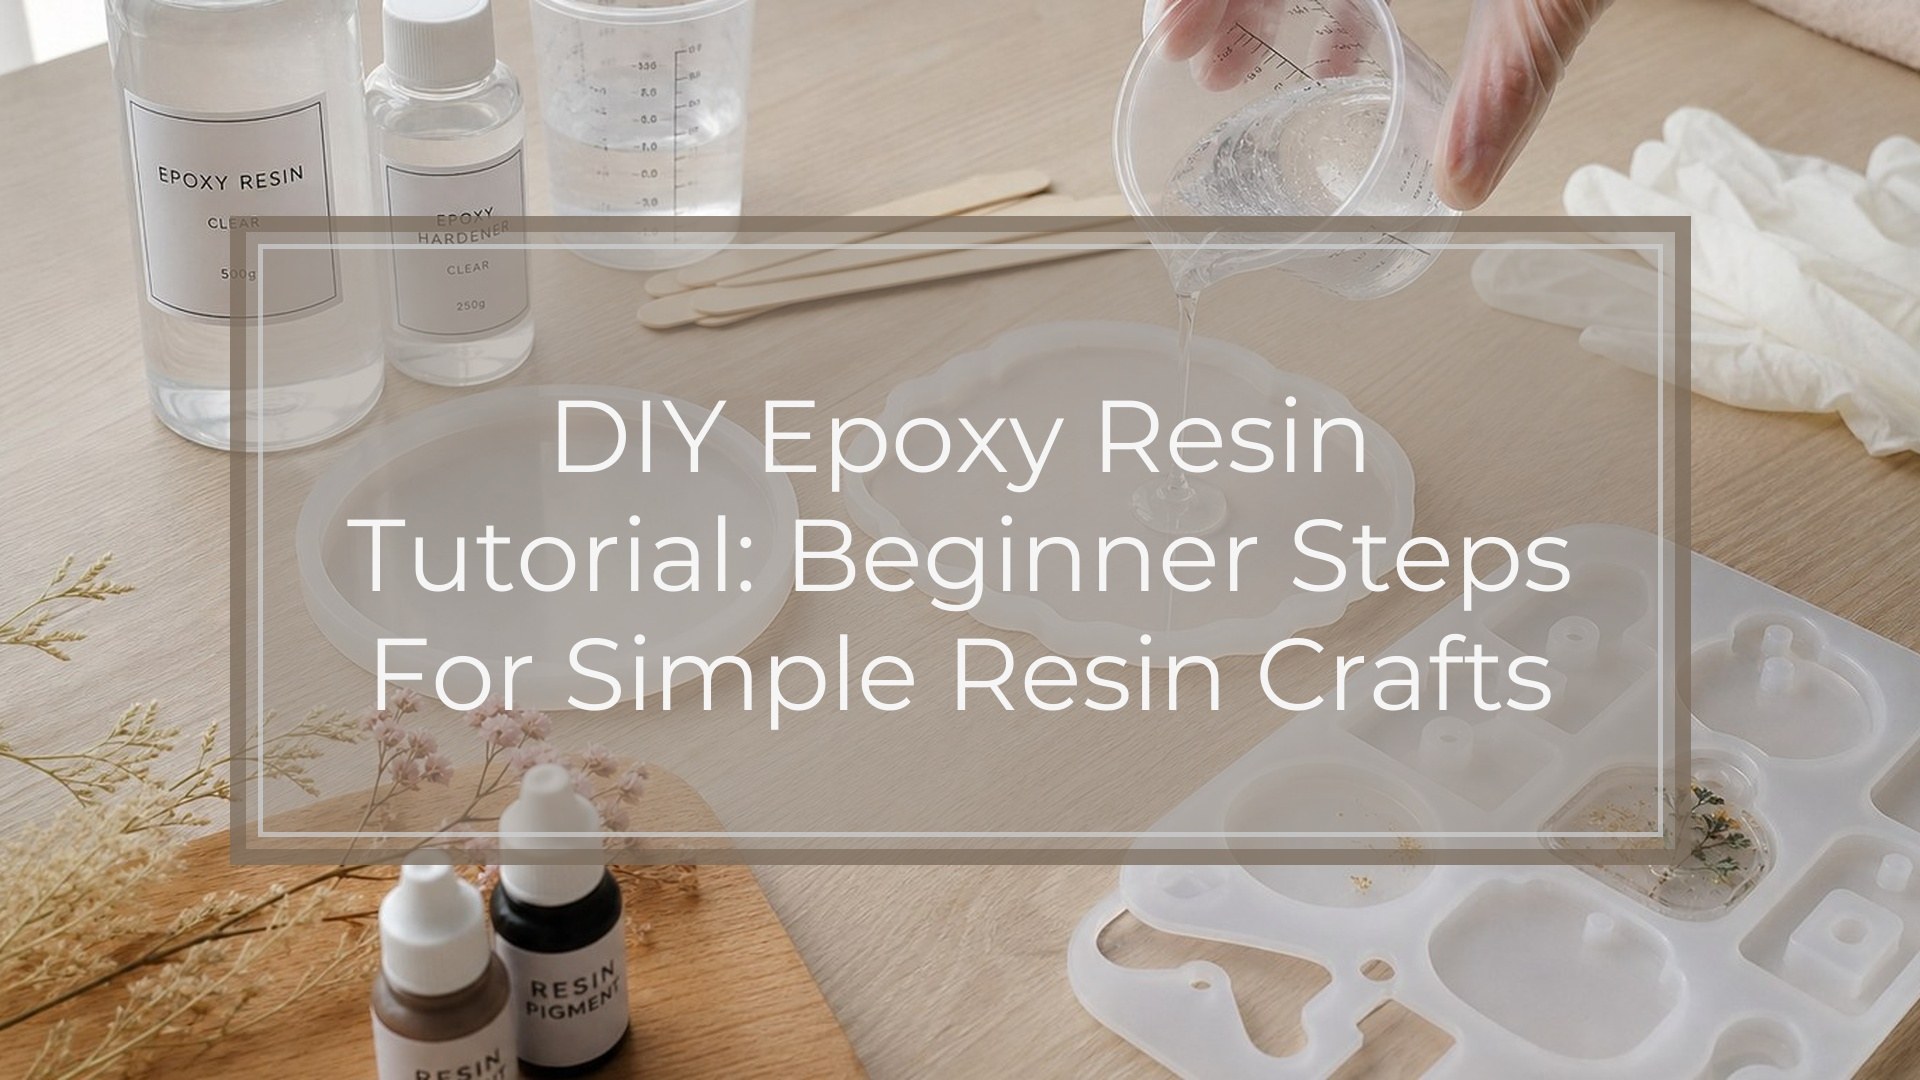
Epoxy resin is easiest to learn with a small, simple project, such as a coaster, keychain, trinket tray, or pendant. The basic process is: prepare your workspace, measure resin and hardener exactly, mix slowly, add color lightly, pour into a clean mold, remove bubbles, cover, cure, then demold and finish. The most important beginner rules are to wear gloves, work with ventilation, follow the resin brand’s ratio and cure time, and avoid adding too much pigment or liquid. Small bubbles and tiny imperfections are normal at first.
Since the mix ratio matters so much, it helps to measure epoxy by volume carefully before you start stirring.
Before You Start: Choose a Simple Beginner Resin Project
For your first epoxy resin project, choose something shallow and small. Coasters, bookmarks, cabochons, keychains, and small silicone mold shapes are beginner-friendly because they use less resin and cure more predictably.
Avoid deep pours, large tabletops, river boards, layered ocean art, or projects with many embedded objects until you understand your resin’s working time. A small mold lets you practice measuring, mixing, pouring, and bubble removal without wasting much material.
Prerequisites: Safety, Workspace, and Resin Basics
Before opening resin, read the product label and safety data sheet if available. Epoxy resin systems vary, especially in mixing ratio, working time, cure time, maximum pour depth, and temperature range.
Work in a well-ventilated room, away from children, pets, food, and open drinks. Wear nitrile gloves, not latex if possible, and protect your table with a silicone mat, plastic sheet, or disposable covering. If your resin recommends a respirator, use one rated for organic vapors.
Keep the workspace level, warm, and dust-free. Most craft resins cure best around normal room temperature. Cold resin is thicker, traps bubbles, and may cure slowly; overheated resin can cure too fast.
Beginner Epoxy Resin Supply Checklist
Gather everything before mixing. Once resin and hardener are combined, the working clock starts.
| Supply | Beginner tip |
|---|---|
| Epoxy resin and hardener | Use a craft resin with clear ratio instructions. |
| Nitrile gloves | Wear them from setup through cleanup. |
| Measuring cups | Use marked cups or a digital scale if your resin allows weight measuring. |
| Stir sticks | Flat sticks help scrape sides and bottom. |
| Silicone mold or project surface | Start with a shallow, flexible mold. |
| Pigment, glitter, inclusions | Use resin-safe colorants and add lightly. |
| Heat tool or alcohol spray | Use carefully for bubbles; avoid overheating. |
| Dust cover | A plastic container or box works well. |
Step 1: Prepare Your Mold or Project Surface
Place the mold on a level surface. Check it for lint, dust, water, or leftover cured resin. Remove debris with tape or a lint-free cloth. If using a hard surface instead of a silicone mold, make sure it is clean, dry, and sealed if porous.
Arrange pigments, glitter, dried flowers, stickers, or inclusions nearby. Do not use fresh flowers, wet items, or damp paper; moisture can cause cloudiness, bubbles, or cure issues.
Step 2: Measure the Resin and Hardener Exactly
Check whether your epoxy uses a 1:1, 2:1, or another ratio. Measure exactly according to the manufacturer’s directions. Do not guess, and do not add extra hardener to “make it cure faster.” That usually causes sticky or brittle results.
Use separate clean cups if measuring parts individually, then combine them into a mixing cup. For very small projects, mix a little more than you think you need, because some resin stays on the cup and stir stick.
Step 3: Mix the Epoxy Resin Slowly and Thoroughly
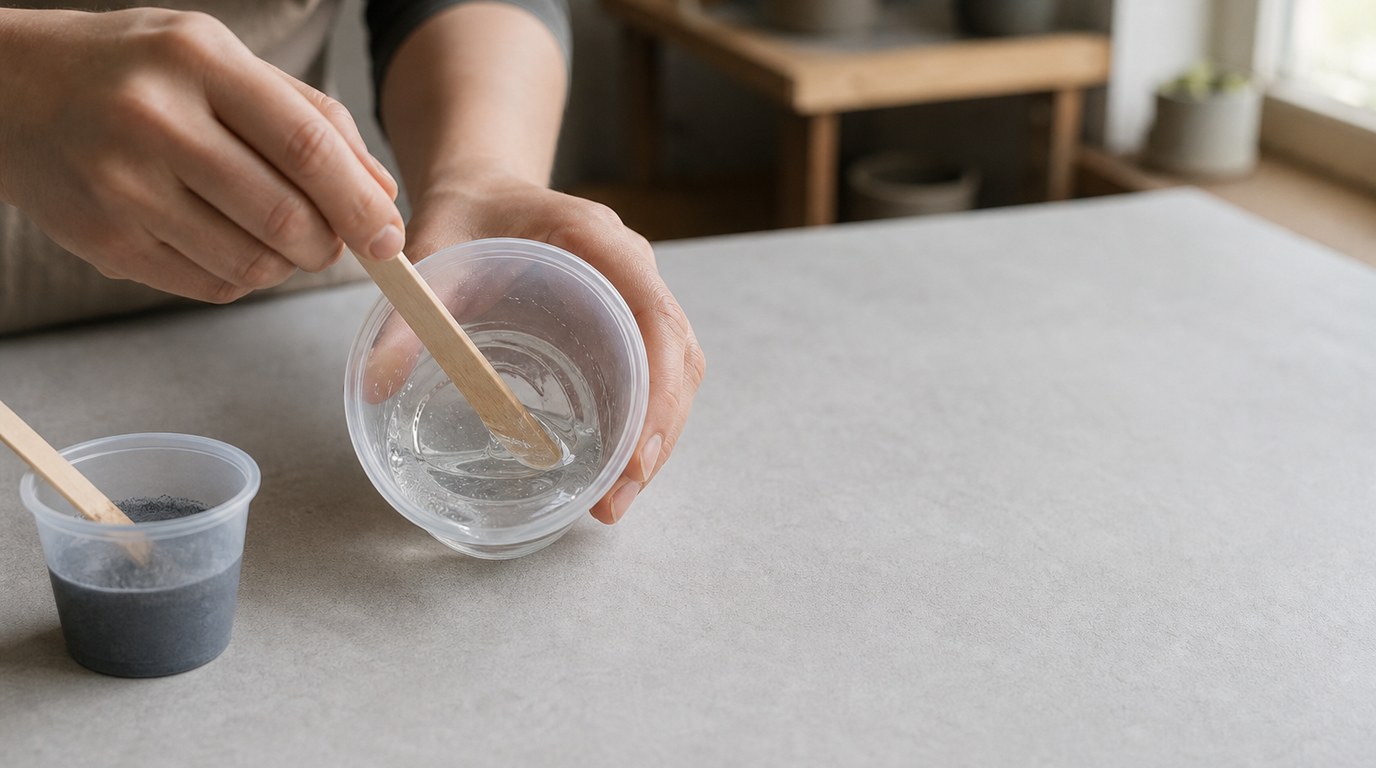
Stir slowly to reduce bubbles, but be thorough. Scrape the sides and bottom of the cup repeatedly, because unmixed resin clinging there can leave sticky spots in the finished piece. Follow the product’s recommended mixing time, often about 3 to 5 minutes.
The mixture may look cloudy or streaky at first. Keep stirring until it becomes uniform. Avoid whipping the resin like cake batter. If your instructions recommend a “double cup” method, pour the mixed resin into a second clean cup and stir again briefly.
Step 4: Add Color, Glitter, or Small Inclusions
Add color after the resin and hardener are fully mixed. Use resin-safe pigments, mica powder, alcohol ink, paste, or glitter. Start with a small amount; too much pigment can interfere with curing or make the resin soft.
If adding inclusions, make sure they are dry and lightweight enough for the project. Heavy objects may sink. Porous items, such as paper or flowers, should usually be sealed first so they do not release bubbles into the resin.
Step 5: Pour the Resin Into the Mold
Pour slowly into the lowest part of the mold and let the resin spread. For small molds, use a stir stick or pipette to guide resin into corners. Do not overfill unless you want a domed effect and your mold can hold it.
If you are adding layers, pour only to the depth recommended by your resin brand. Deep pours with regular craft resin can overheat, bubble, crack, or cure unevenly.
Step 6: Remove Bubbles Carefully
Let the filled mold sit for a few minutes so bubbles can rise. Pop surface bubbles with a toothpick, or pass a heat gun or torch quickly over the surface if your resin allows heat. Keep the tool moving and do not hold heat in one spot.
Too much heat can warp silicone molds, create fumes, scorch inclusions, or make resin overflow. Alcohol spray can help with some surface bubbles, but use it lightly and only if compatible with your resin.
Step 7: Cover and Cure the Resin
Cover the project with a clean box, plastic container, or dust cover. Leave it level and undisturbed for the full cure period listed on the resin instructions. Moving the mold too soon can create waves, spills, fingerprints, or uneven edges.
Most small craft resin pieces can be demolded after 12 to 24 hours, but full cure may take 48 to 72 hours or longer. Do not judge the final hardness too early.
Step 8: Demold, Trim, and Finish the Piece
When the resin feels firm and the brand’s demold time has passed, gently flex the silicone mold away from the piece. Do not force it; if the resin bends, fingerprints, or feels rubbery, give it more time.
Trim thin overflow edges with small scissors or a craft knife. Sand sharp edges with fine-grit sandpaper, preferably wet sanding to reduce dust. If sanding resin, wear protection and clean the area afterward.
Result Check: How to Know Your Resin Project Cured Correctly
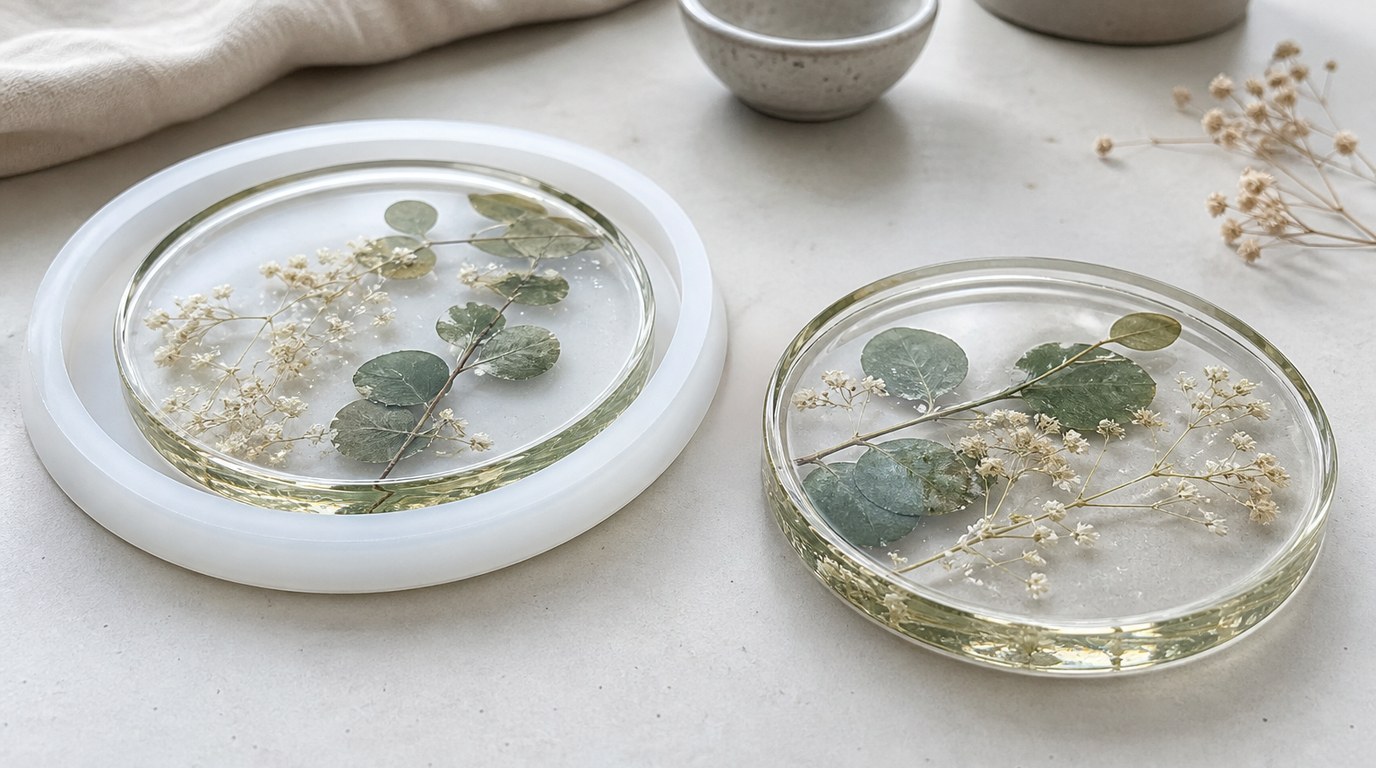
A properly cured resin piece should feel hard, dry, and smooth, not tacky or greasy. It should release from the mold cleanly and hold its shape without bending under normal handling. The surface may have tiny bubbles or minor dust specks, especially for a first project, but it should not remain liquid, sticky, or soft.
If only the surface is slightly tacky, it may need more cure time. If the whole piece is soft or gummy, the ratio or mixing was likely off.
Common Beginner Mistakes and Troubleshooting
Sticky resin usually comes from inaccurate measuring, incomplete mixing, cold temperatures, or too much pigment. If the piece is only slightly tacky, let it cure longer in a warm, dust-free place. If it stays gummy, it may not be fixable.
Too many bubbles often mean the resin was stirred too aggressively, poured too cold, or used with porous inclusions. Warm the resin bottles slightly in a water bath if the brand allows it, stir slowly, and seal porous items first.
Dust specks come from uncovered curing. Leaking molds mean the mold was damaged, overfilled, or not level. Pigment problems, such as streaks or soft spots, usually mean too much colorant or poorly mixed pigment. Use less next time.
Quick Cleanup and Disposal Tips
Wipe uncured resin from tools with paper towels while wearing gloves. Use the cleaner recommended by your resin brand; many crafters use isopropyl alcohol for small uncured residue, but avoid spreading sticky resin around your workspace.
Do not pour liquid resin or hardener down the sink. Let leftover mixed resin cure in a disposable cup, then dispose of it according to local rules. Keep contaminated towels, cups, and gloves away from children and pets until discarded.
FAQ
What Is the First Step Someone Should Take with Diy Epoxy Resin Tutorial?
The first step is choosing a small beginner project and reading your resin’s instructions. Before mixing anything, confirm the ratio, cure time, safety guidance, and maximum pour depth. Then prepare a ventilated, protected, level workspace with gloves and supplies ready.
Having your workspace ready is easier when you know the basic tools for DIY epoxy projects before you start mixing.
What Can Go Wrong When Following Diy Epoxy Resin Tutorial Advice?
Common problems include sticky resin, soft pieces, bubbles, dust, leaking molds, and pigment that prevents curing. Most issues come from inaccurate measuring, rushed mixing, cold rooms, too much colorant, wet inclusions, or disturbing the project before it cures.
How Long Does It Usually Take to Work Through Diy Epoxy Resin Tutorial?
The active work for a small beginner project usually takes 20 to 45 minutes, including setup, measuring, mixing, pouring, and bubble removal. Curing takes much longer. Many pieces need 12 to 24 hours before demolding and up to 72 hours for full cure.
How Can a Beginner Tell Whether Diy Epoxy Resin Tutorial Worked?
The tutorial worked if the cured piece is hard, dry, smooth, and holds its shape. It should not feel sticky, oily, rubbery, or soft. Minor bubbles or tiny dust specks are normal for beginners, but the resin should be fully solid and safe to handle.