
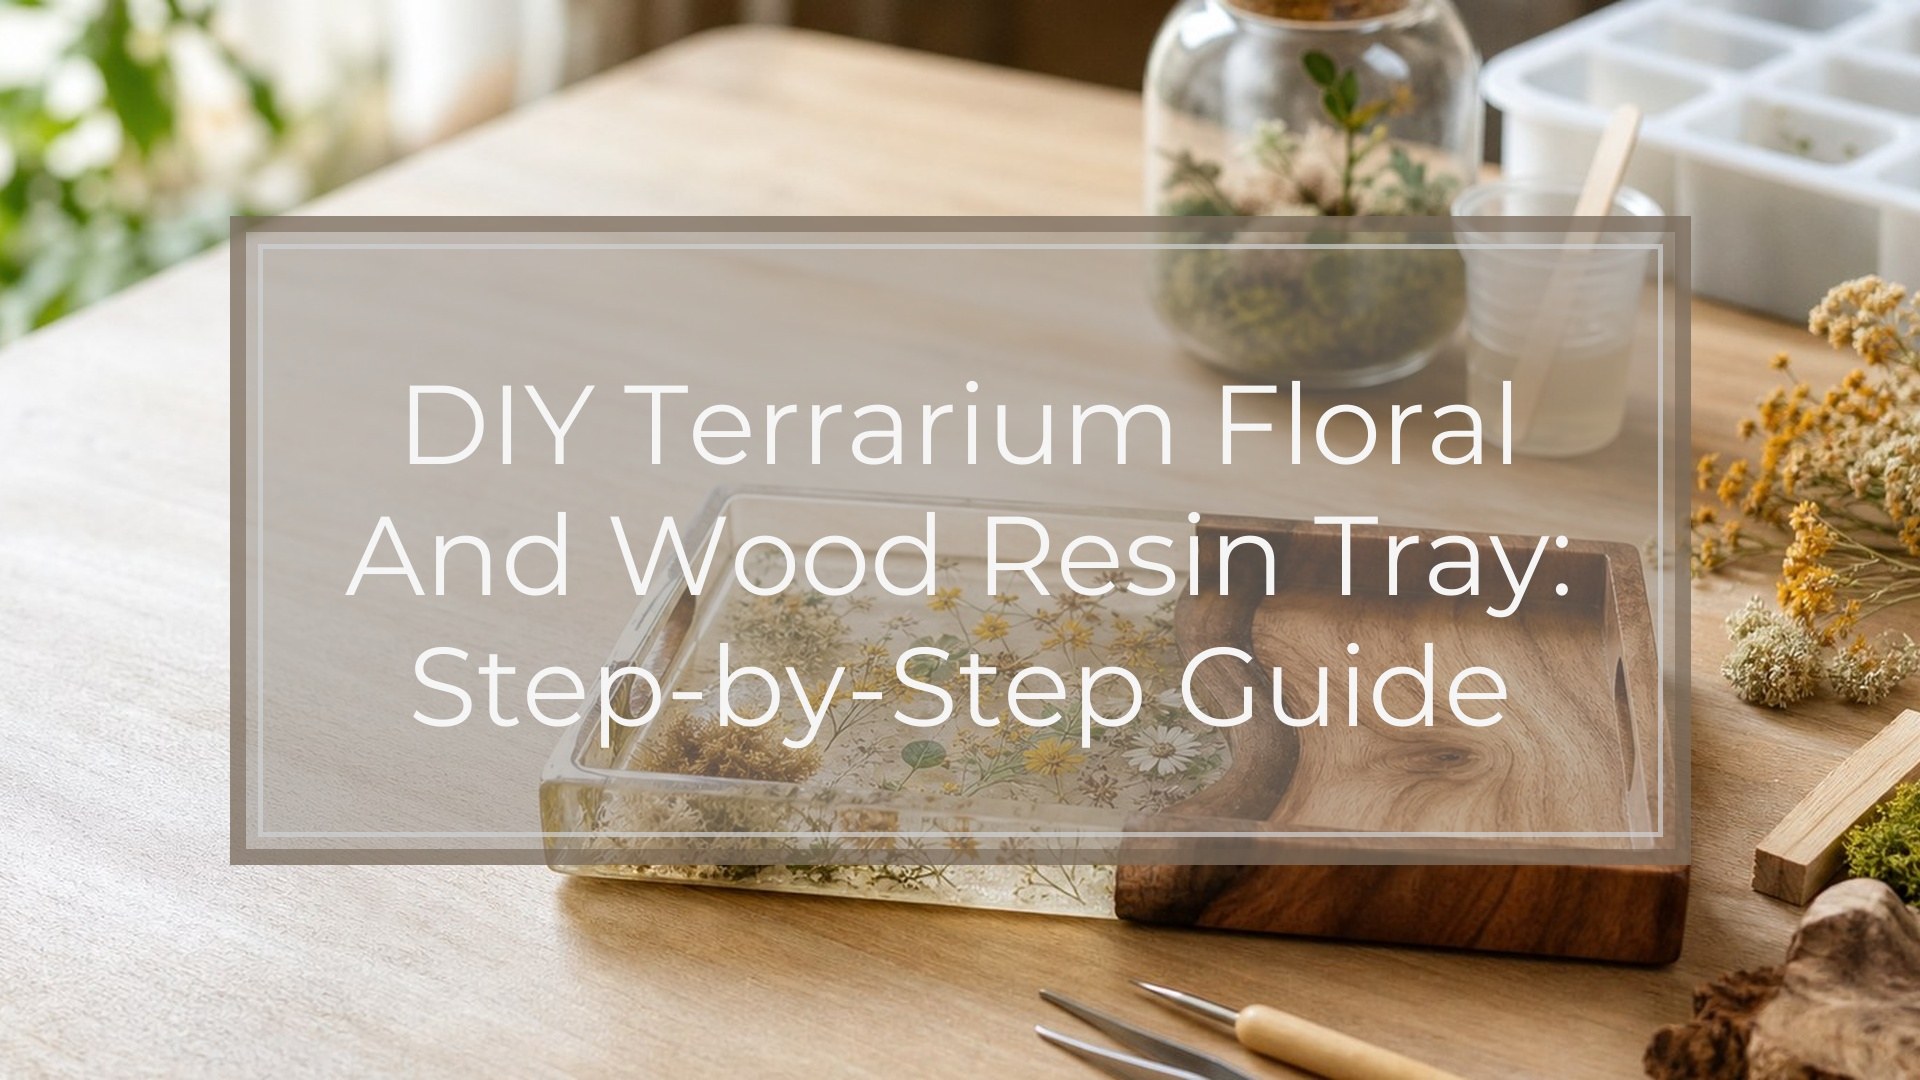
A DIY terrarium floral and wood resin tray combines a natural wood tray base with dried flowers, mossy accents, stones, and clear resin for a glassy preserved-garden look. The process is straightforward: seal the wood, plan the botanical layout, glue down lightweight pieces, pour resin in controlled layers, remove bubbles, and let the tray cure fully. Follow the steps below to make a decorative tray that looks intentional, cures clear, and holds up for display, jewelry, candles, or light use.
Because the tray depends on a clean, sealed base, it helps to prepare wood before adding resin so the finish cures evenly.
This tray is one small project within a wider group of epoxy resin home decoration ideas that use clear resin to preserve texture, color, and depth.
Before You Start: Project Difficulty, Cure Time, and Safety
This project is best for confident beginners or intermediate resin crafters. It is not technically hard, but resin is unforgiving if you skip prep. Your wood must be sealed, botanicals must be completely dry, and resin must be measured accurately.
Plan for 1 to 2 hours of active work, plus curing time. Many epoxy resins need about 24 hours before handling and 72 hours or more before full use.
Work in a ventilated area, wear nitrile gloves, and protect your table. Avoid skin contact and follow your resin brand’s safety, temperature, and mixing instructions.
Supplies You’ll Need
| Supply | Notes |
|---|---|
| Wood tray | Use an unfinished or lightly sanded tray with a flat interior. |
| Two-part epoxy resin | Choose a clear coating or casting resin suitable for trays. |
| Dried flowers | Pressed flowers, tiny blooms, fern pieces, or petals work well. |
| Terrarium accents | Preserved moss, stones, bark chips, faux mushrooms, or mini greenery. |
| Clear-drying glue | Holds lightweight pieces in place before resin is poured. |
| Wood sealer or resin skim coat | Reduces bubbles and resin soaking into the grain. |
| Mixing cups and stir sticks | Use clean resin-safe tools. |
| Painter’s tape | Protects the underside and edges from drips. |
| Heat gun or torch | Removes bubbles; use with caution near botanicals. |
| Level, gloves, and dust cover | Essential for a smooth, clean cure. |
Faux botanicals are a good substitute if you want brighter color, less fading, or less risk of trapped moisture.
Step 1: Prep and Seal the Wood Tray
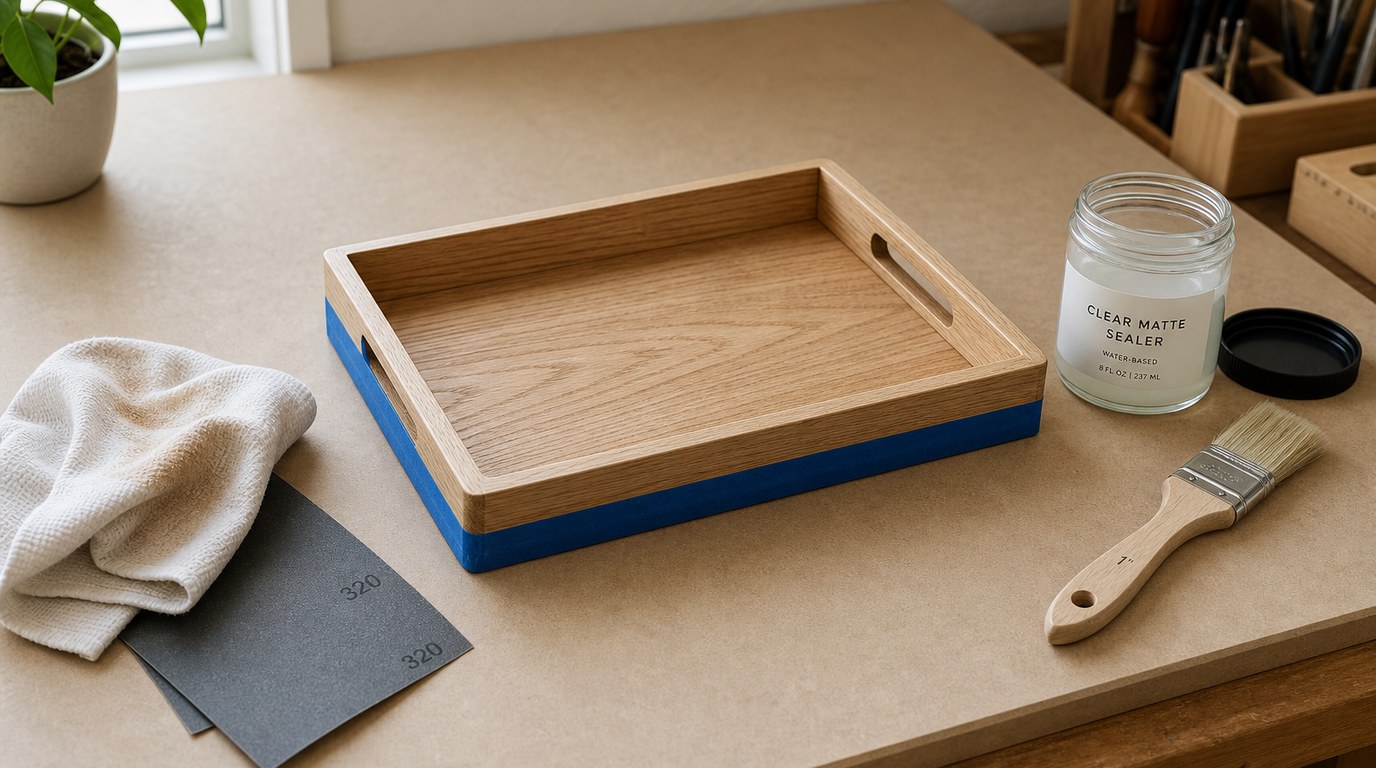
Sand rough areas with fine-grit sandpaper, then wipe away dust with a lint-free cloth. The tray should be clean, dry, and level before resin touches it.
Apply painter’s tape to the underside and outer edges to catch drips. Seal the inside surface with a thin coat of clear sealer or a very thin layer of mixed resin.
Do not skip this step. Unsealed wood can release air into the resin, causing streams of bubbles, cloudy patches, or dark blotches where resin soaks into the grain.
Step 2: Plan the Terrarium Floral Layout
Arrange your dried flowers and terrarium accents before gluing anything. Aim for a miniature garden effect without overcrowding the tray. For example, place moss in one corner, small stones along an edge, and flowers in a loose cluster.
Think about how the tray will be used. If it will hold candles, jewelry, or small decor, leave enough flat resin surface so items sit steadily.
Take a photo of the layout. Once glue or resin is involved, redesigning can damage fragile flowers.
Step 3: Anchor the Flowers and Terrarium Accents
Dried flowers, moss, petals, and tiny leaves often float when resin flows underneath them. Prevent this by gluing each piece down with a small amount of clear-drying glue. Use tweezers for delicate stems and petals.
Press pieces gently into place, but do not crush them. Let the glue dry fully before pouring resin. Wet glue can cloud the resin or release decorations during the pour.
Check taller accents, such as bark chips or stones, against your planned resin depth. Anything taller than the resin layer will remain raised.
Step 4: Mix the Resin Correctly
Measure resin and hardener exactly according to the manufacturer’s ratio. Some resins are 1:1 by volume, while others are not. Guessing can leave the tray sticky, soft, or unevenly cured.
Stir slowly for the recommended time, scraping the sides and bottom of the cup. Fast whipping creates extra bubbles. If your brand recommends transferring the mixture to a second cup and stirring again, do it.
Only mix what you can pour within the working time. Thickening resin is harder to spread and more likely to trap bubbles.
Step 5: Pour the First Thin Resin Layer
Pour a thin first layer, just enough to wet the tray surface and begin surrounding the florals. Start near the center and guide resin outward with a stir stick.
Do not flood the tray immediately. A deep first pour can lift flowers, shift moss, or trap air beneath stones. A thin layer gives you control and helps lock the design in place.
Use a toothpick or skewer to move resin around small details. Check corners, grooves, and areas near handles where resin may not flow evenly.
Step 6: Remove Bubbles and Check the Arrangement
Wait a few minutes after pouring so bubbles can rise. Pass a heat gun or small torch quickly over the surface to pop them. Keep the tool moving, and do not hold heat over dried flowers, moss, or exposed wood.
Too much heat can scorch botanicals, yellow resin, or create ripples. For bubbles caught around petals or stones, use a toothpick instead.
Look closely at the arrangement while the resin is still fluid. If anything shifted, nudge it back now.
Step 7: Add the Final Resin Layer
Once the first layer is tacky or cured according to your resin instructions, mix a fresh batch for the final layer. Pour slowly until the flowers and accents are covered and the surface looks even.
Avoid overfilling. Resin can dome slightly, but too much may spill over the sides or pool near handles.
Guide resin into corners with a stir stick, then remove bubbles with quick, light heat. Cover the tray with a dust cover so lint, pet hair, or pollen cannot settle into the glossy surface.
Step 8: Cure, Unmask, and Finish the Tray
Leave the tray on a level surface while it cures. Do not move it during the early curing stage, even if the surface looks set. Movement can create waves or pull resin to one side.
After the resin is firm, remove the painter’s tape. Trim flexible drips carefully with a craft knife, or sand them after full cure.
Let the tray cure completely before using it. Full cure improves hardness, clarity, and resistance to dents.
Result Check: How to Know Your Resin Tray Turned Out Well
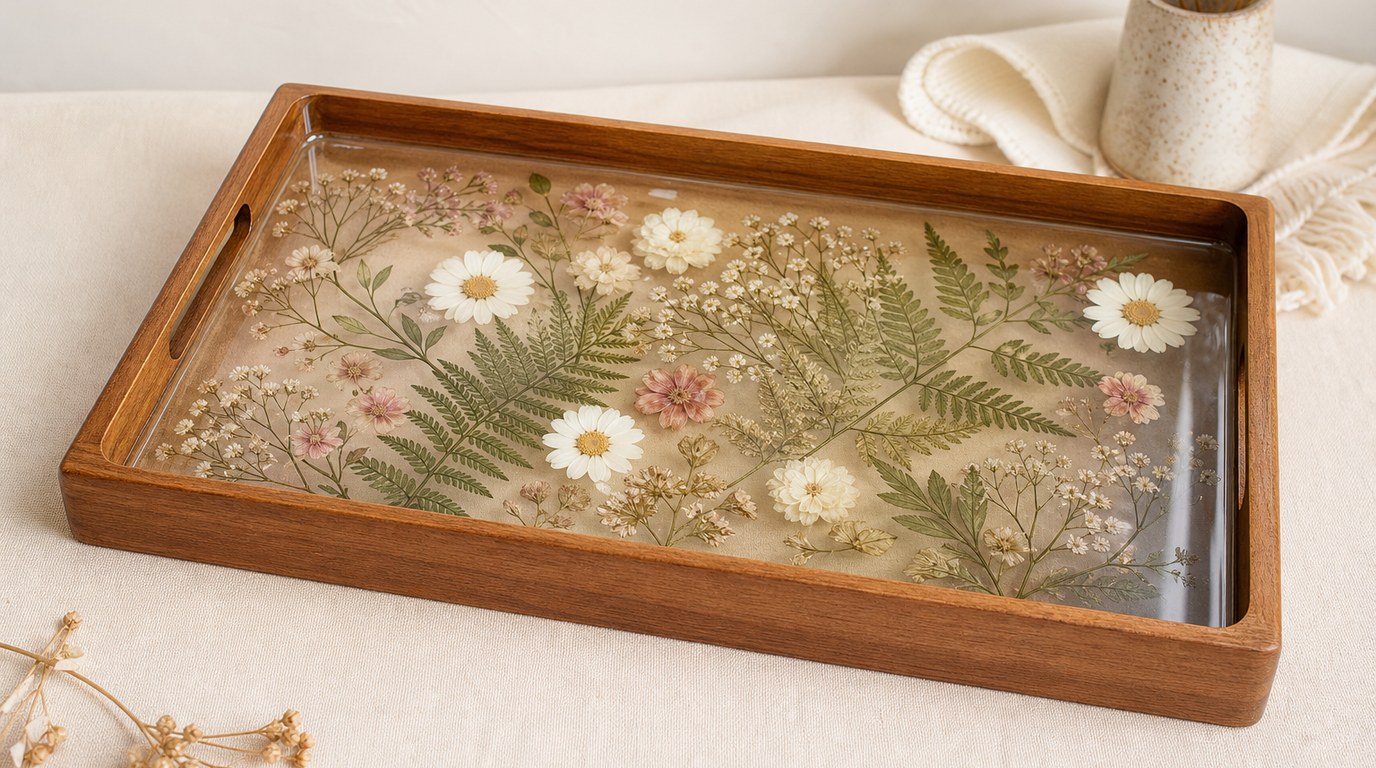
Your DIY terrarium floral and wood resin tray turned out well if the surface is level, glossy, firm, and dry after the full cure time. The flowers should remain where you placed them, not floating at the top, and the resin should be clear enough to show the layered botanical details.
A few small bubbles are normal, especially around wood and dried florals. However, the tray should not feel sticky, oily, soft, or bendy. Those signs usually indicate measuring, mixing, or curing problems.
Common Mistakes and Troubleshooting
Sticky resin: This usually comes from inaccurate measuring, incomplete mixing, or working in temperatures outside the resin’s recommended range. If only small areas are tacky, let the tray stabilize, sand lightly, and apply a properly mixed topcoat.
Too many bubbles: The wood may not have been sealed, or the resin was stirred too aggressively. Seal the tray first, mix slowly, and pour in thin layers.
Floating flowers: The decorations were not anchored securely, or the first pour was too deep. Glue florals down and start with a shallow layer.
Cloudy resin: Moisture is often the cause. Use only fully dried flowers, preserved moss, or faux accents.
Uneven surface: The tray was not level during curing, or too much resin collected on one side. Check with a level before and after pouring.
Scorched botanicals: Heat was held too close or too long. Use quick passes and switch to a toothpick for delicate bubble removal.
Care Tips for a Floral Wood Resin Tray
Use the tray for decor, jewelry, candles, wrapped treats, or light serving tasks. Do not cut directly on the resin, and avoid hot mugs, pans, or candles without a heat-safe barrier unless your resin specifically allows heat exposure.
Clean with a soft damp cloth and mild soap. Avoid abrasive scrubbers, alcohol sprays, and soaking the wood. Store away from prolonged direct sunlight to reduce yellowing and flower fading.
FAQ
Can I Use Fresh Flowers in a Resin Terrarium Tray?
No. Fresh flowers contain moisture, which can cause browning, cloudiness, bubbles, or rot inside the resin. Use pressed, air-dried, silica-dried, or professionally preserved flowers instead. Faux flowers are also a reliable option.
Do I Have to Seal the Wood Before Pouring Resin?
Yes, sealing is strongly recommended. Wood is porous and can release air into curing resin, creating bubbles. A thin sealer coat or resin skim coat also helps prevent dark, blotchy areas in the grain.
Why Did My Dried Flowers Float in the Resin?
Dried flowers are lightweight and can lift when resin flows underneath them. Anchor them first with clear-drying glue, then pour a thin initial layer. Let that layer tack up or cure before adding the final coat.
Is a Diy Floral Resin Tray Food-safe?
Most handmade resin trays are best for decorative use or wrapped food only. Even if the resin is labeled food-safe after full cure, the wood, flowers, dyes, and finish can affect safety. Use a plate or liner for unwrapped snacks.
How Long Should Resin Cure Before Using the Tray?
Follow your resin brand’s cure schedule. Many trays can be handled after about 24 hours, but full cure often takes 72 hours or longer. Wait until the resin is hard, dry, and no longer flexible before placing items on it.