
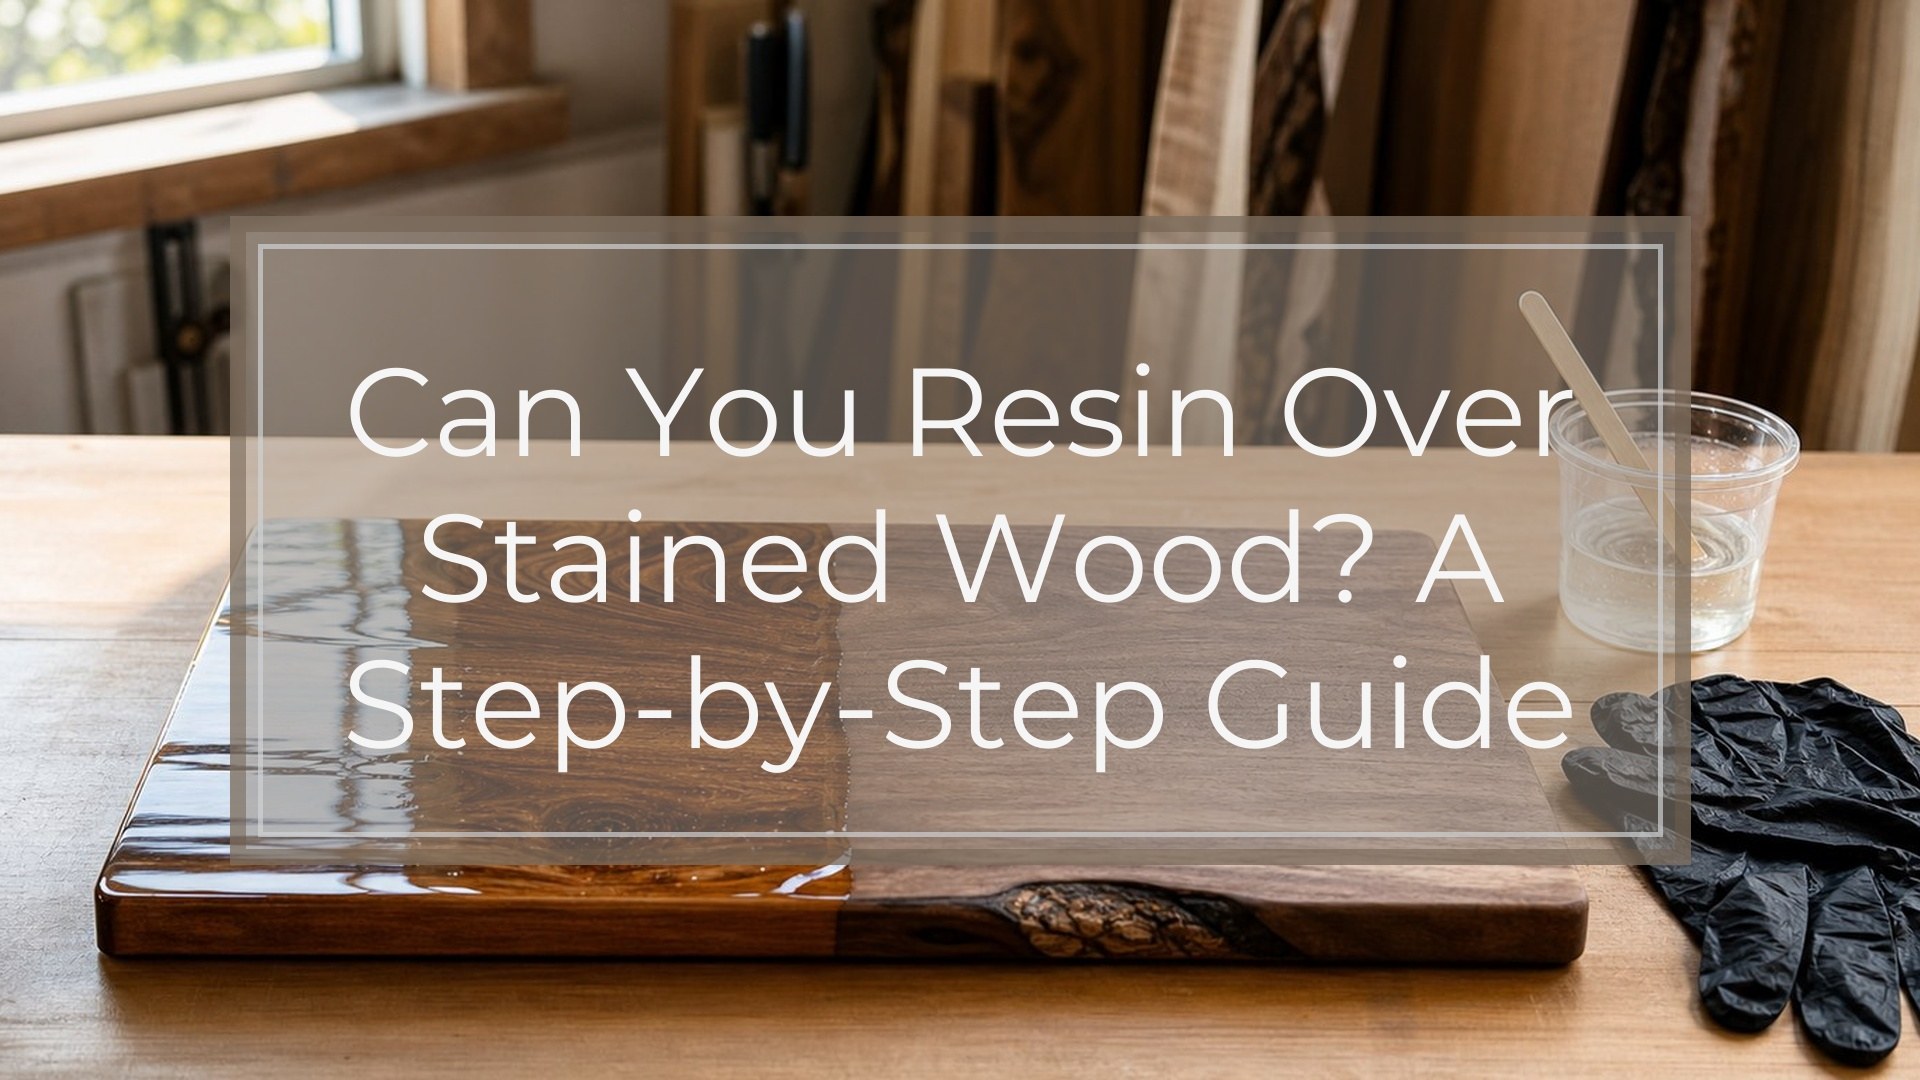
Yes, you can resin over stained wood, but only after the stain is fully dry or cured and the surface is prepared correctly. Epoxy resin needs a clean, stable surface to grip. If the stain is still oily, soft, waxy, dusty, or sealed with a slick finish, the resin can separate, form fish eyes, stay cloudy, or peel later.
The safest process is simple: let the stain cure, check for wax or topcoats, lightly sand, remove dust, seal porous wood if needed, then pour properly mixed resin. Always test a small area first if you used an unfamiliar stain, an oil-heavy product, or an old finish. Good prep matters more than the pour itself.
Before You Start: What Kind of Stained Wood Works Best?
The best stained wood for resin is dry, clean, and not greasy to the touch. Water-based stains are usually easier to resin over because they dry with less oily residue. Oil-based stains can also work, but they need more cure time.
Avoid resining directly over wood treated with wax, furniture polish, Danish oil that still feels oily, or stain that rubs off on a cloth. Also be cautious with very dark stains, because resin can deepen the color. If the wood is soft, open-grained, cracked, or knotty, plan to seal it before the main resin pour to reduce bubbles.
Supplies You’ll Need
Gather everything before mixing resin:
- Fully stained and dried wood piece
- Epoxy resin and hardener
- Disposable graduated mixing cups
- Stir sticks
- Nitrile gloves
- Respirator or good ventilation, depending on resin instructions
- 220- to 320-grit sandpaper
- Vacuum, soft brush, or lint-free cloth
- Isopropyl alcohol for final wipe, if compatible with the stain
- Small foam brush or gloved spreader
- Torch or heat gun
- Dust cover
- Level
- Painter’s tape or drop cloth
Step 1: Let the Stain Fully Dry or Cure
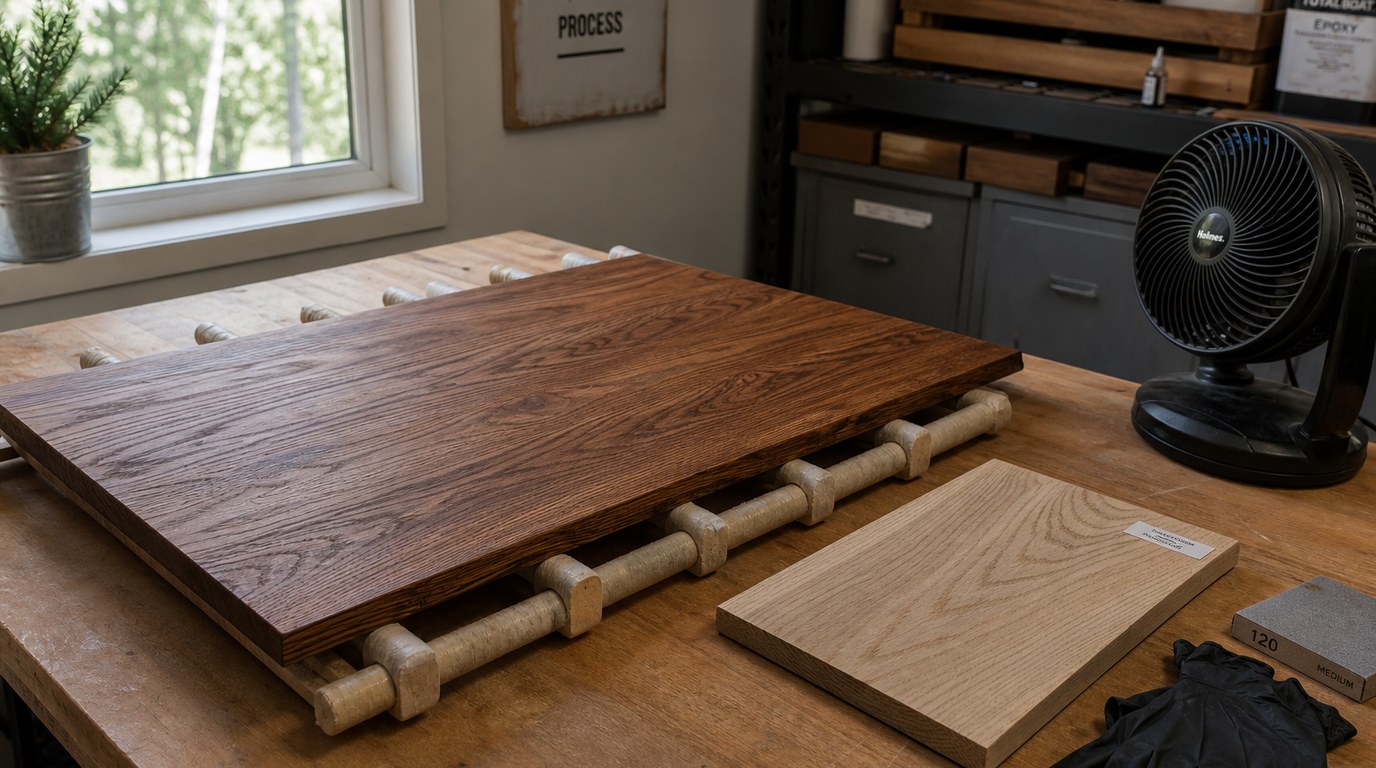
Do not rush this step. Resin can trap solvents from stain, causing cloudiness, poor adhesion, soft spots, or cure problems. “Dry to the touch” is not always the same as cured enough for resin.
Follow the stain manufacturer’s dry time, then add extra time if the wood is dense, the room is cool, humidity is high, or you applied multiple coats. Many water-based stains need at least 24 hours. Oil-based stains often need 48 to 72 hours or longer.
Before moving on, press a clean white cloth against the wood. If color transfers, the stain is not ready.
Step 2: Inspect for Wax, Oil, or Glossy Topcoats
Look closely at the surface before sanding. Resin does not bond well to waxy, oily, or slick surfaces. If water beads aggressively on the wood, or the surface feels greasy, resin may crawl away and create bare spots.
If the stained wood has a polyurethane, lacquer, shellac, or varnish topcoat, you are no longer bonding directly to stain; you are bonding to that finish. It may still work, but the finish must be fully cured, clean, and scuff-sanded. Do not pour over furniture wax or polish unless it has been completely removed.
Step 3: Lightly Sand the Stained Surface
Light sanding gives resin a mechanical grip. Use 220- to 320-grit sandpaper and sand by hand with light pressure. Your goal is not to remove the stain; your goal is to dull the surface and create a fine scratch pattern.
Sand evenly with the grain. Be extra gentle on edges and corners because stain is easy to cut through there. If you accidentally expose raw wood, touch up the stain and let it dry again before continuing.
The surface should look slightly matte, not scratched deeply. Avoid coarse grit, which can leave marks that become more visible under glossy resin.
Step 4: Remove Every Bit of Dust
Dust is one of the easiest ways to ruin a resin finish. After sanding, vacuum the surface, edges, and surrounding work area. Use a soft brush to remove dust from grain lines, knots, and cracks.
Wipe with a clean lint-free cloth. If the stain is fully cured and compatible, you can use a small amount of isopropyl alcohol on the cloth for a final wipe. Do not soak the wood. Avoid oily tack cloths, because they can leave residue that causes fish eyes. Let the surface dry completely before sealing or pouring.
Step 5: Seal Porous Wood Before the Main Pour
Wood can release air into resin, especially through end grain, cracks, knots, and open pores. This causes bubbles that keep appearing long after you think the pour is smooth. A thin seal coat helps lock the surface before the main flood coat.
Mix a small amount of resin and brush on a thin layer over the stained wood. Work it into edges and grain, but do not leave heavy puddles. Let this seal coat cure to the stage recommended by your resin brand. Some resins allow a second coat while tacky; others need sanding after full cure.
Seal especially well if you are coating tabletops, trays, plaques, or live-edge pieces.
Step 6: Mix the Resin Correctly
Measure resin and hardener exactly according to the product ratio. Do not guess. Too much or too little hardener can leave sticky or soft resin.
Pour both parts into a clean mixing cup and stir slowly, scraping the sides and bottom. Fast whipping adds bubbles. Mix for the full time listed by the manufacturer, usually several minutes. For best results, transfer the mixture into a second clean cup and stir again briefly. This “double-cup” method helps prevent unmixed resin from clinging to the cup walls and ending up on your project.
Step 7: Pour and Spread the Resin
Place the stained wood on a level surface before pouring. If the piece is not level, resin will drift to one side and may leave thin spots.
Pour the mixed resin near the center and spread it outward with a gloved hand, foam brush, or spreader. Guide it to the edges instead of dumping too much at once. For tabletops or flat panels, let the resin self-level after spreading.
If you want resin to coat the edges, tape the underside first to catch drips. If you want a clean top-only coat, build a tape dam around the edges and check it for leaks before pouring.
Step 8: Remove Bubbles and Protect While Curing
After pouring, pass a torch or heat gun quickly over the surface to pop bubbles. Keep it moving. Too much heat can scorch wood, damage the stain, create ripples, or cause resin to yellow.
Check again after a few minutes because wood can continue releasing bubbles. Remove dust, hair, or specks with a toothpick while the resin is still fluid.
Cover the project with a clean box, plastic bin, or dust cover. Let it cure in the temperature range listed on the resin label. Do not move the piece while it is curing, and do not touch-test too early.
Result Check: How to Know the Resin Bonded Correctly
A successful resin coat should look smooth, clear, and evenly attached to the stained wood. There should be no crawling, bare circles, oily-looking spots, or cloudy patches. Once cured, the resin should feel hard, not rubbery or sticky.
Check the edges and corners first, because adhesion problems often show there. If the resin bonded correctly, it should not lift, flake, or peel when gently handled. Small bubbles may be cosmetic, but widespread bubbles usually mean the wood needed a better seal coat.
Common Mistakes and How to Fix Them
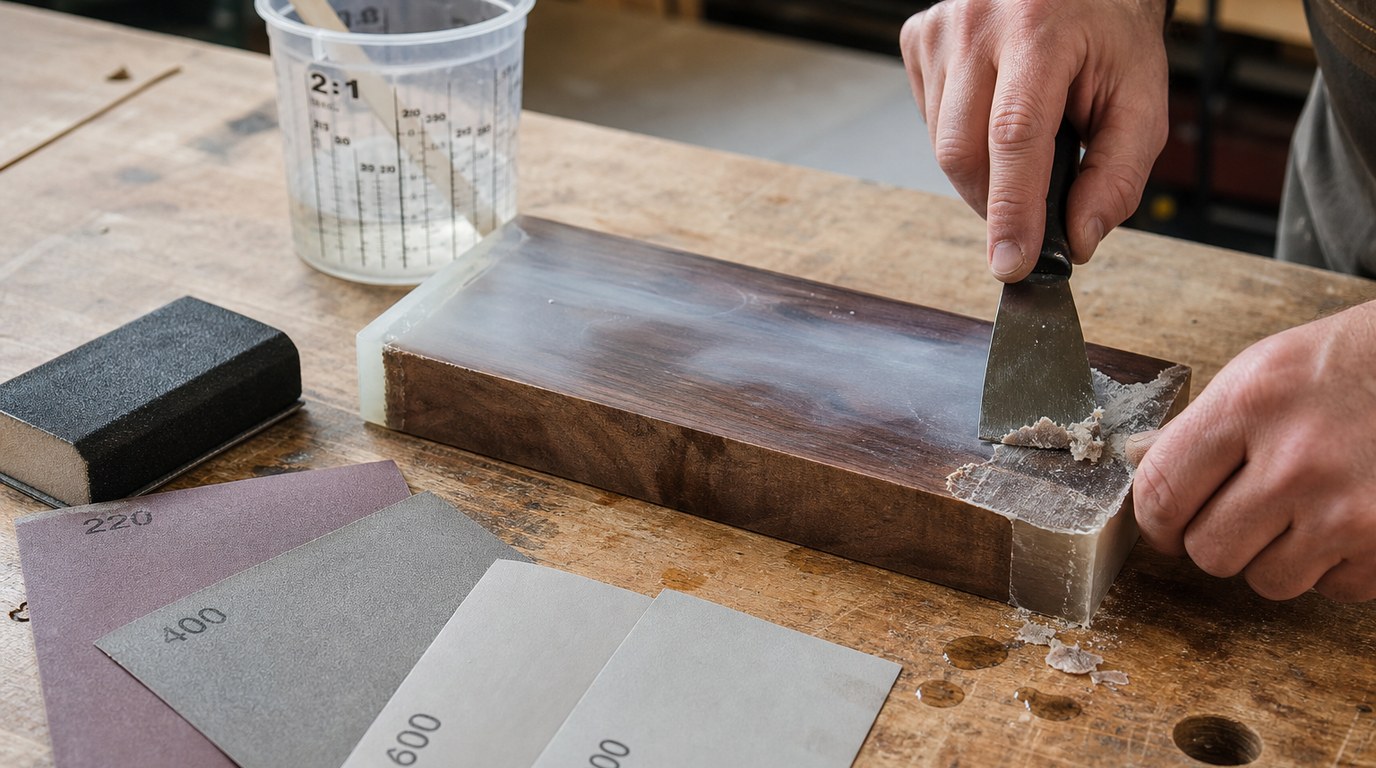
Pouring over uncured stain: If the resin stays soft, cloudy, or separates, the stain may have trapped solvent. Scrape off uncured resin, let the wood dry longer, sand, and repour.
Skipping sanding: If cured resin peels, the surface was probably too slick. Sand back loose areas, scuff the surface, clean thoroughly, and apply a new coat.
Using too much heat: Scorched stain or rippled resin cannot be undone easily. Let it cure, sand level, and apply a fresh thin coat.
Bubbles keep appearing: The wood was porous. Let the coat cure, sand lightly, clean, and apply a seal coat or another controlled flood coat.
Fish eyes or bare spots: Usually caused by wax, oil, silicone, or dust. Remove contamination, sand well, clean, and test before repouring.
FAQ
How Long Should Stain Dry Before Applying Resin?
Water-based stain should usually dry at least 24 hours before resin. Oil-based stain often needs 48 to 72 hours or longer. Always follow the stain label and wait extra time if the surface feels cool, oily, tacky, or transfers color to a clean cloth.
Can You Put Epoxy Resin Over Oil-based Stain?
Yes, epoxy resin can go over oil-based stain if the stain is fully cured and the surface is not oily. This usually takes longer than water-based stain. Lightly sand, clean thoroughly, and test a small area first to confirm the resin bonds without fish eyes.
Do You Have to Seal Stained Wood Before Resin?
Not always, but sealing is strongly recommended for porous wood, end grain, knots, cracks, and live-edge pieces. A thin resin seal coat helps stop air from escaping into the main pour. Dense, smooth wood may need only sanding and cleaning before the flood coat.
If your surface has pores or small gaps, it helps to apply an epoxy seal coat before the final flood coat.
Will Resin Make Stained Wood Darker?
Usually, yes. Clear resin often deepens the color of stained wood and makes the grain look richer, similar to adding a glossy clear coat. This can be beautiful, but it may make dark stains look even darker. Test first if color accuracy matters.
Can You Resin Over Stain and Polyurethane?
Yes, if the polyurethane is fully cured, clean, and scuff-sanded. In that case, the resin is bonding to the polyurethane, not directly to the stain. Avoid pouring resin over soft, fresh, waxed, or glossy unsanded polyurethane, because adhesion problems are more likely.