
The easiest way to print and display your Instagram pics with art resin is to print the photo on quality photo paper, seal it completely, mount it to a rigid base, then pour a thin, clear coat of two-part art resin over the top. The sealing step matters most: unsealed paper can darken, stain, wrinkle, or release ink into the resin. For best results, choose sharp photos, let prints dry fully, use a level dust-free workspace, and follow your resin’s measuring and mixing directions exactly. Once cured, the finished piece can be displayed as a small art panel, coaster-style tile, shelf block, or framed resin photo.
Since that top layer is what protects the photo and gives it shine, it helps to know how to pour a smooth clear resin coat.
Before You Start: Choose the Right Photos and Display Format
Pick Instagram photos that still look crisp when enlarged or cropped. Bright, high-contrast images usually display better under resin than very dark, blurry, or heavily filtered photos. If you plan to print square images, choose a square base such as a wood panel, ceramic tile, acrylic blank, or coaster blank.
Decide whether you want one photo per piece or a collage. Beginners usually get cleaner results with one photo on a flat, rigid base. Avoid flexible surfaces because resin cures hard and may crack if the base bends.
Prerequisites: Safety, Workspace, and Resin Conditions
Work in a well-ventilated area and wear nitrile gloves. Protect your table with plastic sheeting, silicone mats, or disposable covering. Resin can permanently stick to porous surfaces.
Set your project on a level surface before pouring. Keep the room within the temperature range listed by your resin manufacturer; cold resin mixes thickly, traps bubbles, and cures slowly. Have a dust cover ready, such as a clean plastic storage bin turned upside down. Keep pets, hair, moisture, and paper scraps away from the curing area.
Step 1: Print Your Instagram Pictures
Download the highest-resolution version of the photo you can access rather than taking a screenshot. Print on glossy or matte photo paper using a good-quality inkjet or professional photo service. Let the print dry completely; overnight is safest for home inkjet prints.
If you use a print shop, choose standard photo paper rather than thin copier paper. Thin paper absorbs sealant and resin more easily, which can cause dark patches. Print an extra copy for testing sealant and trimming.
Step 2: Cut and Test-fit the Photo
Trim the photo with a craft knife and ruler or a sharp paper trimmer. Test-fit it on the display base before adding glue or sealant. Check that the edges are straight, the image is centered, and no important part of the photo will be covered by tape, resin overflow, or frame edges.
If the base is slightly uneven, cut the photo a little smaller so the border looks intentional rather than accidental.
Step 3: Seal the Printed Photo
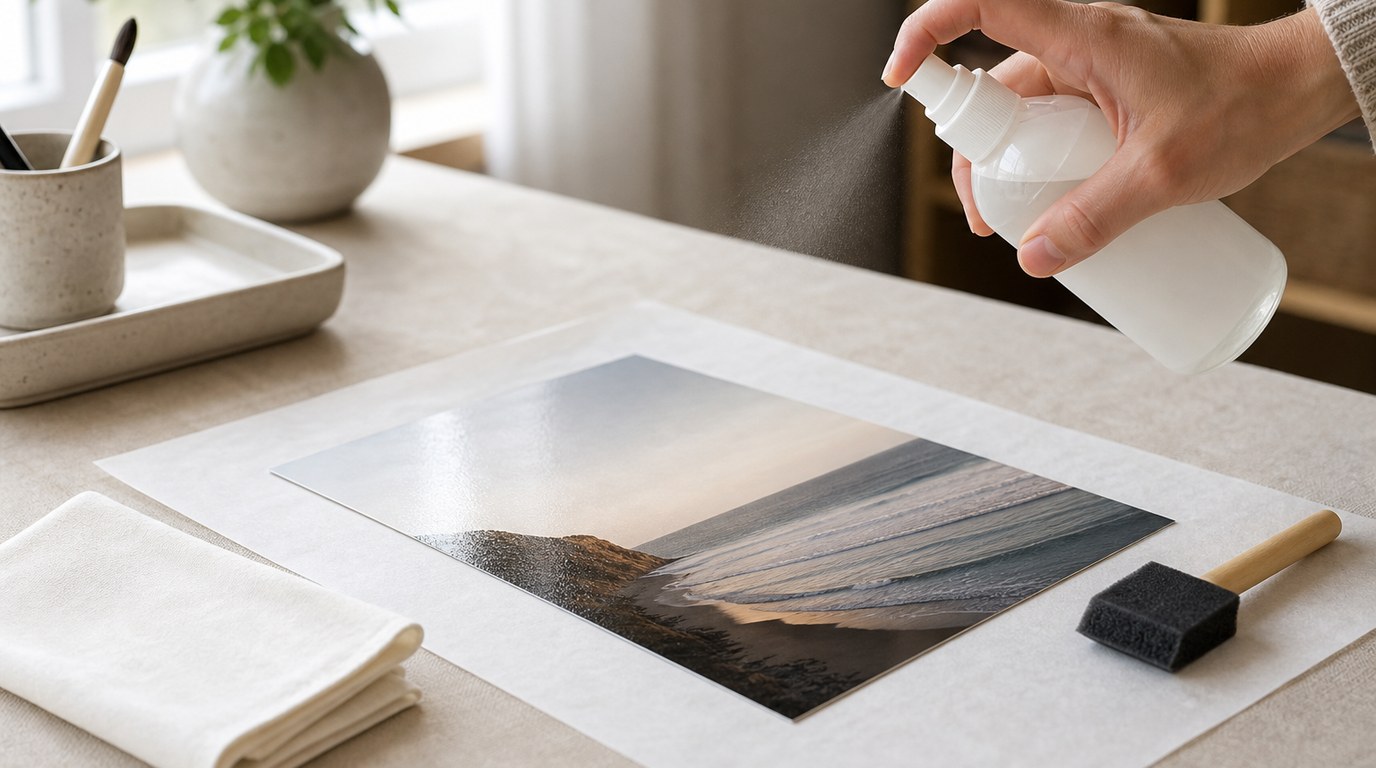
Seal the front, back, and edges of the photo before resin touches it. This step helps protect the paper fibers and ink from moisture, resin absorption, and staining. Use a clear-drying craft sealer, acrylic spray sealer, or decoupage medium that is compatible with paper.
Apply several thin coats instead of one heavy coat. Let each coat dry fully, then rotate the photo and seal the edges again. The edges are the most common place for resin to seep in and create dark lines.
Test your sealer on the extra print first. If the ink smears, the paper curls badly, or the colors change, stop and choose a different sealer or use a professionally printed photo.
Step 4: Attach the Photo to the Display Base
Once the sealed photo is dry, attach it to the base with an even layer of glue or decoupage medium. Spread adhesive across the full back of the print, especially near the corners and edges. Press the photo down from the center outward to push out trapped air.
Use a brayer, clean card, or gloved fingers to smooth it flat. Wipe away excess glue before it dries. Let the mounted photo dry completely before pouring resin, or moisture may create cloudy areas.
Step 5: Tape and Prepare the Edges
Use painter’s tape or resin tape on the underside edges of the base if you want to catch drips. Press the tape firmly so resin cannot creep underneath. For panels or tiles, you can also lift the piece on small cups or blocks so drips fall away from the bottom edge.
Check the top surface for dust, lint, fingerprints, or dried glue. Remove particles with a soft cloth before mixing resin.
Step 6: Measure and Mix the Art Resin
Read your resin instructions before opening the bottles. Most art resins use a specific resin-to-hardener ratio, often 1:1 by volume, but not all products are the same. Measure accurately in clean cups. Guessing can leave the surface sticky or soft.
Mix slowly, scraping the sides and bottom of the cup. Fast stirring whips in bubbles. If your instructions recommend a double-cup mix, pour the mixed resin into a second cup and stir again. Only mix the amount you can pour during the working time.
Step 7: Pour a Thin Resin Coat Over the Photo
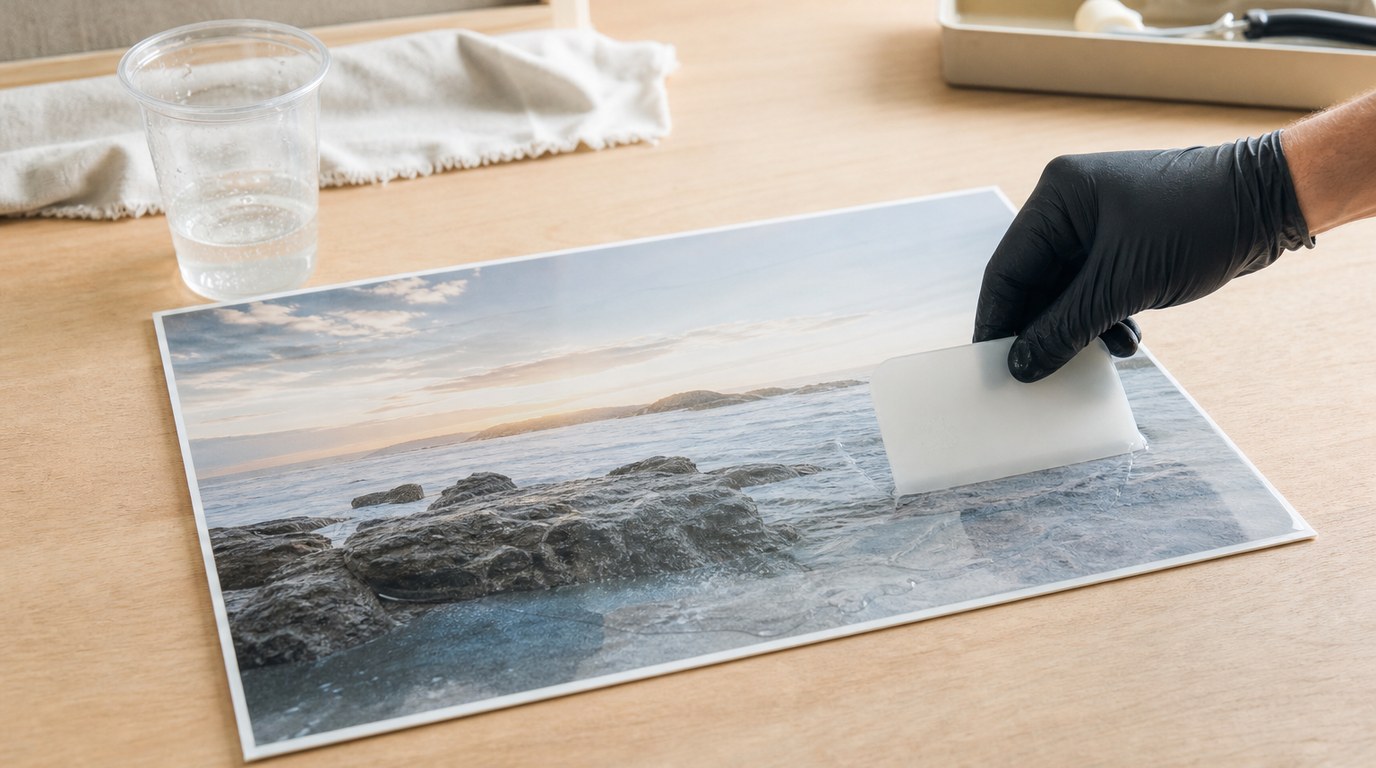
Pour a small amount of resin into the center of the photo and spread it outward with a gloved finger, stir stick, or silicone spreader. Aim for a thin, even coat rather than a deep dome on the first pour. Resin should reach the edges without flooding them uncontrollably.
Guide resin carefully over corners and borders. If you see dry spots, nudge resin into them instead of dumping more on top. Too much resin can run over the sides, pull away from edges, or create uneven thickness. For extra depth, add a second coat after the first has cured to the stage recommended by the manufacturer.
Step 8: Remove Bubbles and Cover While Curing
After pouring, let the resin sit briefly so bubbles can rise. Pop surface bubbles with a quick pass of a heat gun, torch, or by exhaling gently through a straw if your resin instructions allow it. Do not overheat the photo; too much heat can damage paper, loosen glue, or create ripples.
Check again after a few minutes for new bubbles near the edges. Cover the project immediately with a dust cover and leave it undisturbed while it cures.
Step 9: Finish the Back and Display the Resin Photo
When the resin is firm enough to handle, remove the tape from the back. If cured drips remain, trim them carefully with a craft knife or sand the underside edge. Add felt pads, hanging hardware, a small easel back, or rubber bumpers depending on how you want to display the piece.
Let the resin reach full cure before stacking, wrapping, or gifting. A surface can feel dry before it is fully hardened.
Result Check: How to Know Your Resin Photo Craft Worked
Your resin photo craft worked if the image stayed clear, the paper did not darken or wrinkle, and the resin cured hard and glossy without sticky patches. The photo should be firmly attached with no floating corners or large bubbles. Edges should look sealed, not stained. The piece should sit flat or hang securely, and the surface should be smooth enough to wipe gently with a soft cloth.
Common Mistakes and Troubleshooting
If the photo darkens, the paper was probably not sealed well enough, especially at the edges. If the resin stays sticky, the mix ratio or stirring was likely incorrect. If bubbles appear under the photo, the print was not fully glued down or dried before pouring.
Cloudiness often comes from moisture, cold temperatures, or incompatible sealers. Dust bumps can be reduced by covering the piece immediately. For rough cured edges, sand carefully and add a thin second coat if needed.
FAQ
What Is the First Step Someone Should Take with 22690945 an Easy Way to Print and Display Your Instagram Pics with Art Resin?
Start by choosing a clear, high-resolution Instagram photo and deciding what base you want to display it on. Then print an extra copy for testing. Before resin is mixed, the photo must be printed, dried, trimmed, sealed, and mounted securely.
What Can Go Wrong When Following 22690945 an Easy Way to Print and Display Your Instagram Pics with Art Resin Advice?
The most common problems are ink bleeding, paper darkening, bubbles, sticky resin, and dust settling into the surface. Most are caused by skipping sealant, using damp glue, inaccurate resin measuring, poor mixing, or curing the project in a dusty or cold room.
How Long Does It Usually Take to Work Through 22690945 an Easy Way to Print and Display Your Instagram Pics with Art Resin?
The hands-on work may take one to two hours, but drying and curing add much more time. Plan for overnight print drying if needed, several sealant coats, glue drying, and the full resin cure time listed by your product, often 24 to 72 hours.
How Can a Beginner Tell Whether 22690945 an Easy Way to Print and Display Your Instagram Pics with Art Resin Worked?
A successful piece has a clear glossy surface, sharp visible photo details, no stained paper edges, and no sticky areas after curing. The photo should remain flat against the base, and only tiny bubbles, if any, should be visible in the resin coat.