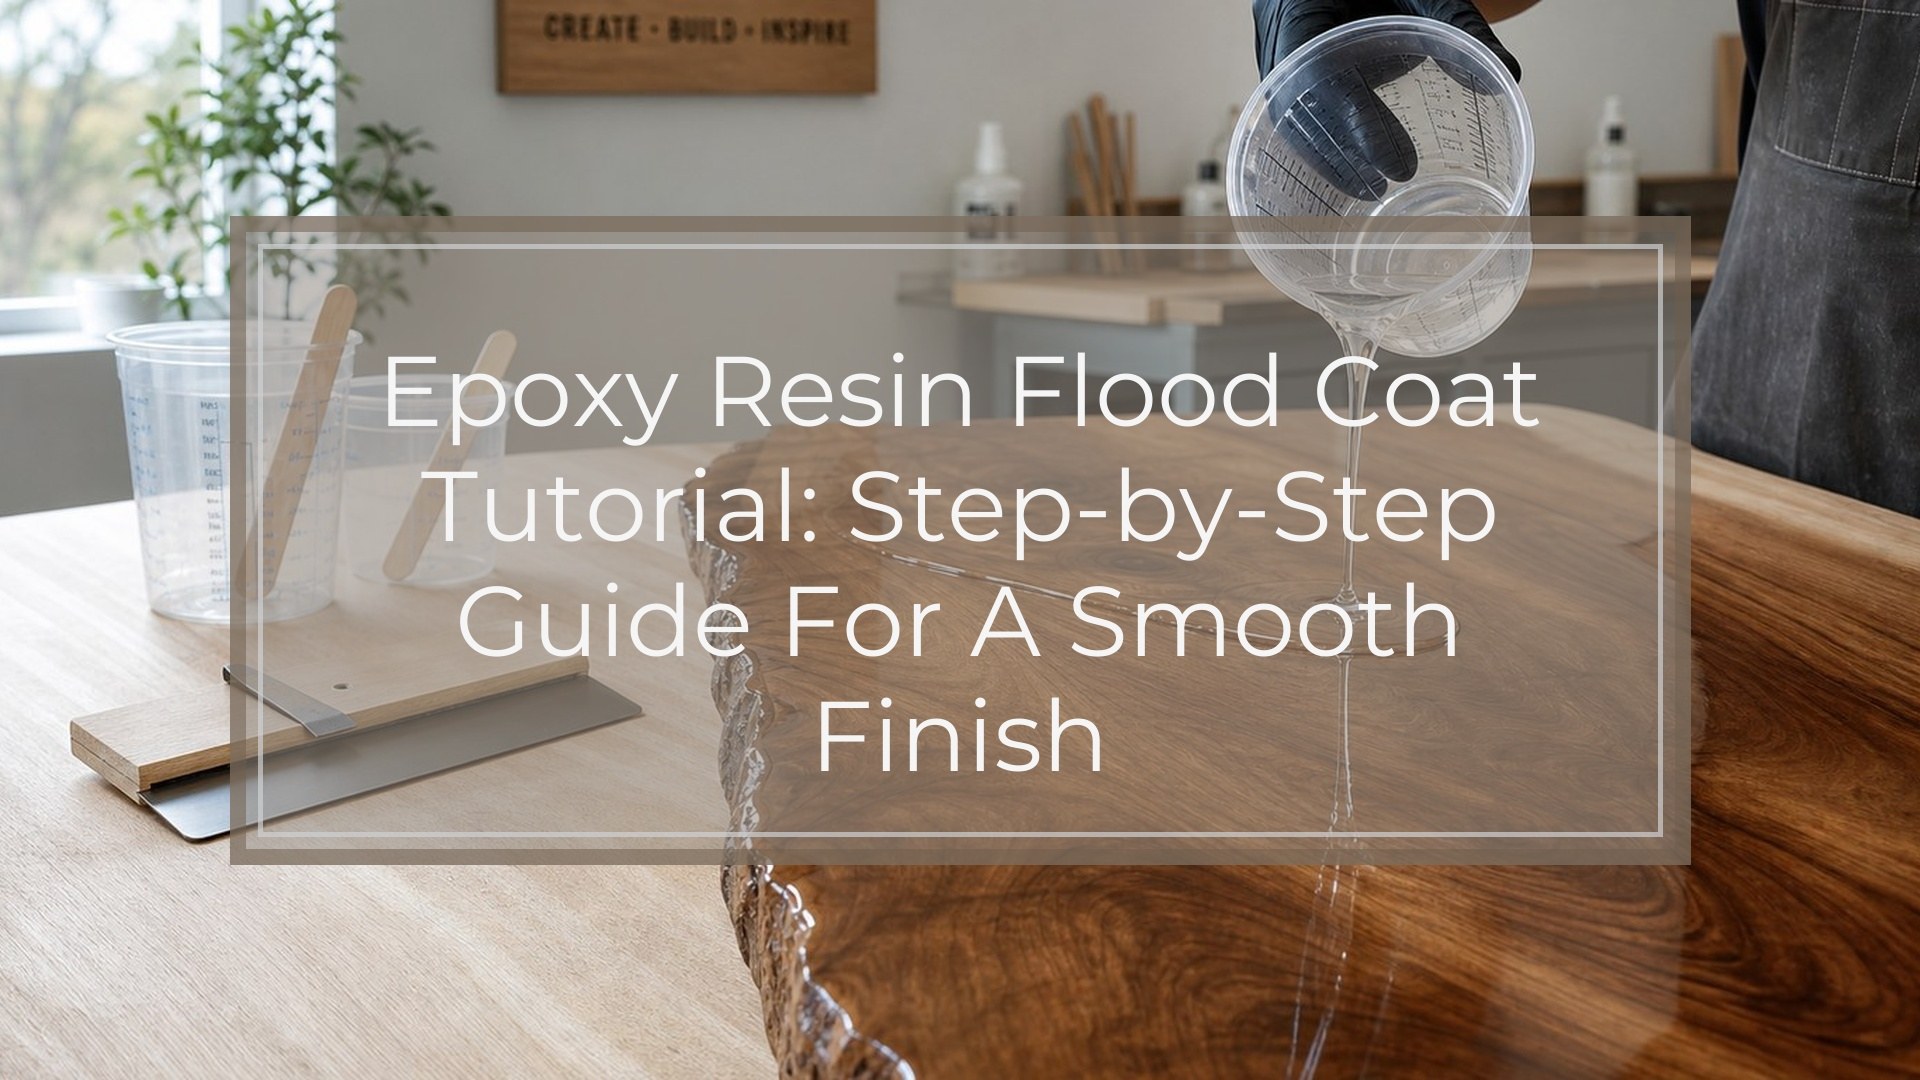
A flood coat is a self-leveling layer of epoxy resin poured over a flat surface to create a smooth, glossy, protective finish. To apply one successfully, prep and level the surface first, calculate enough resin for full coverage, then measure and mix the epoxy exactly according to the product directions. Pour near the center, spread gently to the edges, pop bubbles with careful heat or a fine mist of alcohol if your resin allows it, and cover the project while it cures. The best flood coats come from a clean surface, accurate mixing, steady room temperature, and resisting the urge to overwork the resin once it starts leveling.
Because resin will follow any gap or uneven edge, good prep also includes simple taping tips for clean epoxy edges before you pour.
Before You Start: What a Flood Coat Is Best for
A flood coat works best on flat or mostly flat projects: artwork panels, tabletops, counters, trays, coasters, serving boards, and previously cured resin pieces. It is meant to create a clear, continuous top layer, not to fill deep molds or build thick castings.
Expect the resin to flow, level, and slightly round over edges. If your surface has holes, deep texture, paper, wood grain, or porous decoration, seal it first. A flood coat magnifies whatever is underneath, so surface prep matters as much as the pour.
Prerequisites: Surface, Workspace, and Safety Prep
Set up everything before opening the resin. You need epoxy resin and hardener, clean mixing cups, stir sticks, a spreader or gloved hand, a level, painter’s tape, a drop cloth, nitrile gloves, and eye protection. Work in a ventilated space and follow the safety instructions for your specific resin.
Your room should be within the temperature range listed by the manufacturer, usually around normal room temperature. Cold resin is thicker and traps bubbles; hot conditions can shorten working time.
Place the project on risers so drips can fall away. Protect the underside edges with painter’s tape if you want cleaner cleanup. Use a level in multiple directions. Even a slight tilt can make resin pool on one side and leave thin spots on the other.
How Much Epoxy Resin Do You Need for a Flood Coat?

Most flood coats use about 3 ounces of mixed resin per square foot for a thin, even coat, but always check your resin’s coverage guidance. To estimate, multiply length by width in inches, divide by 144 to get square feet, then multiply by the coverage amount.
For example, a 12-by-24-inch panel is 2 square feet. At 3 ounces per square foot, mix about 6 ounces total. Mix a little extra for edges and losses, but not so much that it overheats in the cup or goes to waste.
Step 1: Clean, Seal, and Level the Project
Wipe the surface clean of dust, grease, fingerprints, sanding residue, and loose particles. Use a lint-free cloth and an appropriate cleaner for your surface, then let it dry fully.
Seal porous items such as wood, paper, fabric, photos, and painted surfaces with a compatible sealer or a thin brushed-on resin seal coat. This helps prevent bubbles from escaping into the flood coat later.
Level the project before pouring. Check front to back and side to side. Once resin is on the surface, it will follow gravity, not your intentions.
Step 2: Measure and Mix the Epoxy Resin Correctly
Read the label for the required ratio. Some epoxy systems mix 1:1 by volume; others use 2:1 or weight-based ratios. Do not guess, and do not add extra hardener to “make it cure faster.” That can leave the resin sticky or soft.
Measure resin and hardener into a clean cup. Stir slowly, scraping the sides and bottom, for the full recommended time. Fast whipping adds bubbles. For the most reliable mix, transfer the resin into a second clean cup and stir again for another minute. This “double cup” method reduces unmixed streaks clinging to the cup wall.
Step 3: Pour the Flood Coat
Pour the mixed epoxy onto the center of the project in a steady stream. For rectangular surfaces, pour in a loose S-shape or spiral so the resin is distributed before spreading. Avoid dumping all the resin against one edge, where it can overflow before the rest of the surface is covered.
Work within the resin’s stated pot life. Once epoxy begins to thicken, it will not self-level as well. If you are coating a large surface, pour soon after mixing instead of letting the resin sit in the cup.
Step 4: Spread Resin to the Edges
Use a plastic spreader, silicone tool, foam brush, or gloved fingers to guide the resin across the surface. Push gently rather than scraping hard. Your goal is even coverage, not removing resin.
Let the epoxy flow over the edges if you want a wrapped, glossy edge. Use your gloved hand or brush to smooth drips along the sides. If you want a crisp top-only coat, tape the edges carefully and watch for seepage.
Stop fussing once the surface is covered. Overworking the resin can create waves, introduce dust, or pull partially leveled resin into uneven patterns.
Step 5: Pop Bubbles Without Damaging the Coat
After spreading, watch for bubbles rising to the surface. Pass a heat gun or small torch quickly over the resin, keeping it moving and several inches away. You are warming the surface, not cooking it.
Do not hold flame in one place. Too much heat can scorch resin, create ripples, damage artwork, or make the epoxy pull away from edges. Avoid using a torch near alcohol inks, solvents, paper, or anything flammable.
Check again after five to ten minutes. Some bubbles appear after the first pass as air escapes from the surface below.
Step 6: Cover and Cure the Flood Coat
Cover the project with a clean dust cover, box, or plastic tent that does not touch the resin. Dust, pet hair, insects, and lint are easiest to prevent during the first few hours.
Leave the project undisturbed while it cures. Do not move it to “check the shine,” and do not aim a fan directly at it. Air movement can blow debris into the finish.
Follow the resin’s cure schedule. It may be firm to the touch within a day but still need several days before heavy use, stacking, washing, or heat exposure.
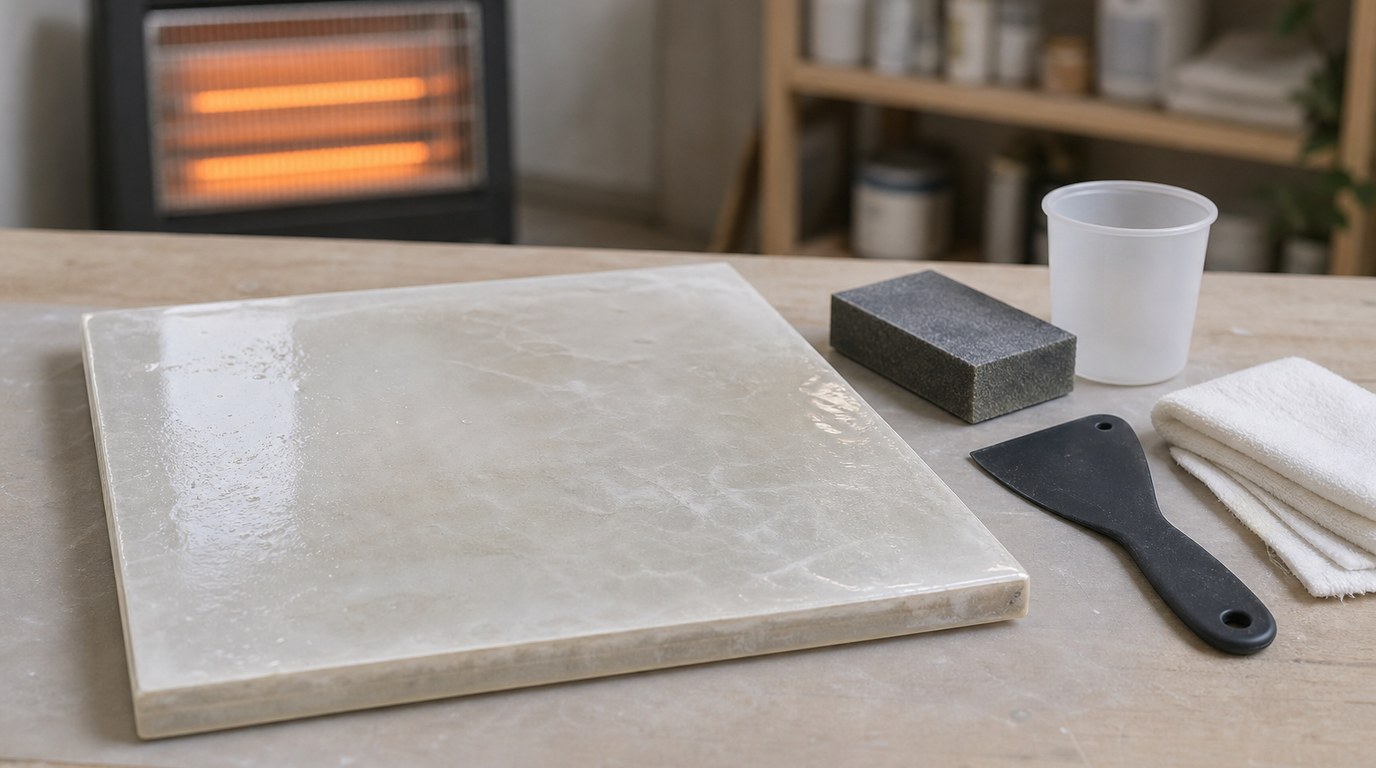
Result Check: How to Know the Flood Coat Worked
A successful flood coat should look clear, glossy, and evenly level from edge to edge. The surface should feel smooth without sticky patches, soft spots, craters, or sharp ridges. Edges should be coated as intended, with no bare areas or heavy sagging.
Check from multiple angles under good light. Small dust specks are common, but cloudy streaks, tackiness, or large missed areas usually point to prep, mixing, or curing problems.
Common Flood Coat Mistakes and How to Fix Them
Sticky or soft resin: This usually comes from incorrect measuring, incomplete mixing, or cold curing conditions. If it is only slightly tacky, wait longer in a warm, safe room. If it stays gummy, scrape off what you can, clean, sand once firm enough, and recoat.
Bare spots or fish eyes: Resin may pull away from silicone, oil, wax, grease, or contaminated surfaces. Let the coat cure, sand the surface, clean thoroughly, and apply another coat.
Too many bubbles: Porous surfaces may not have been sealed, or the resin may have been stirred too aggressively. Seal first next time. For the current piece, pop bubbles while the resin is still fluid, then sand and recoat if needed after curing.
Waves or uneven thickness: The project may not have been level, or the resin may have been overworked as it thickened. Once cured, sand down high ridges and apply a fresh, level coat.
Dust in the finish: Cure fully, sand the surface smooth, wipe clean, and pour a thin second flood coat.
When to Add a Second Flood Coat
Add a second flood coat when the first coat has dust, bubbles, shallow craters, uneven gloss, or when you want extra depth. It is also useful over textured art if the first coat settled into low areas.
If the first coat is cured, scuff-sand it with fine-grit sandpaper so the next layer can grip. Remove all sanding dust with a lint-free cloth. Then repeat the same measuring, mixing, pouring, bubble removal, and curing process.
FAQ
What Is the First Step Someone Should Take with Epoxy Resin Flood Coat Tutorial?
The first step is preparing the surface and workspace before mixing resin. Clean the project, seal porous materials, tape edges if needed, place the piece on risers, and level it carefully. Once epoxy is mixed, you have limited working time, so setup must come first.
What Can Go Wrong When Following Epoxy Resin Flood Coat Tutorial Advice?
Common problems include sticky resin from poor measuring, bubbles from unsealed surfaces, dust contamination, fish eyes from grease or silicone, and uneven coating from an unlevel project. Most issues are preventable with accurate mixing, clean prep, proper temperature, and covering the piece during cure.
How Long Does It Usually Take to Work Through Epoxy Resin Flood Coat Tutorial?
Hands-on time is usually 30 to 60 minutes for a small or medium project, including prep, mixing, pouring, spreading, and bubble removal. Curing takes much longer. Many epoxies need about 24 hours before handling and several days before heavy use.
How Can a Beginner Tell Whether Epoxy Resin Flood Coat Tutorial Worked?
The flood coat worked if the cured surface is glossy, hard, smooth, and evenly covered. There should be no sticky areas, cloudy streaks, bare patches, or deep craters. Check the piece under angled light and gently inspect edges to confirm full coverage.