
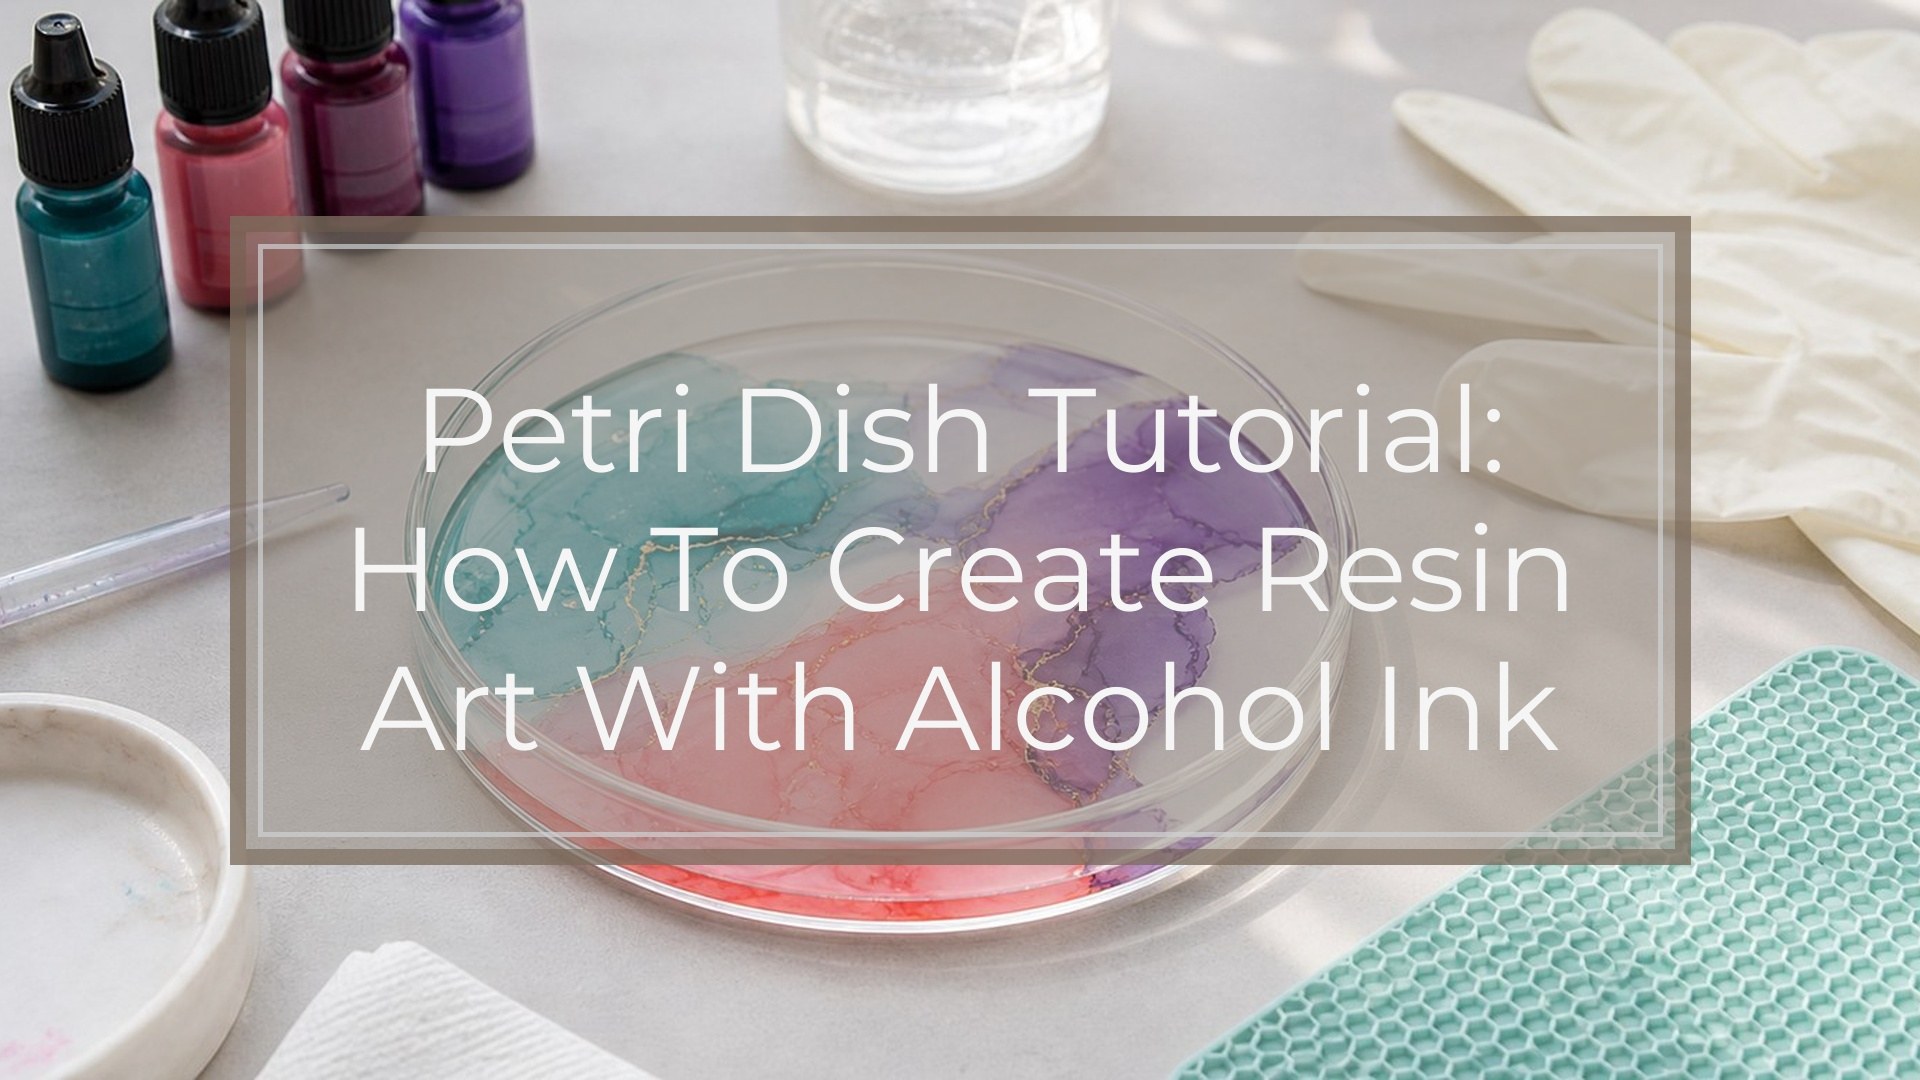
Resin petri dish art is made by pouring clear epoxy resin into a shallow mold, adding alcohol ink colors, then dropping white alcohol ink over them so the pigment sinks and creates cells, tendrils, and flower-like blooms. For this petri dish tutorial, you need a silicone mold, epoxy resin, alcohol inks, white sinker ink, gloves, cups, stir sticks, and a dust cover. The process is simple: prepare the mold, mix resin accurately, pour a clear layer, add colored ink, add white ink, let the pattern develop, cure, demold, and check the finished piece.
After trying the petri effect, a multicolored epoxy resin pour gives you a more controlled way to place and blend color.
Before You Start: What Petri Dish Resin Art Should Look Like
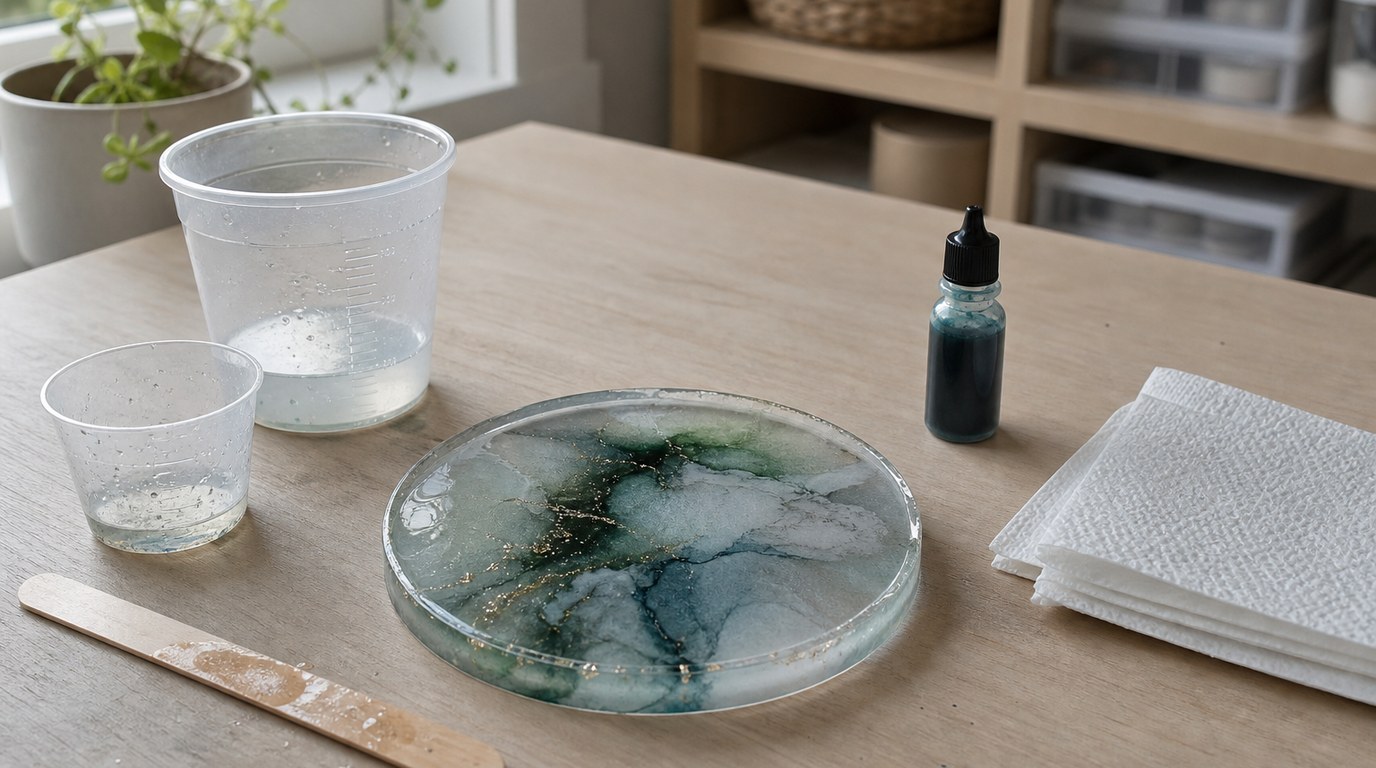
A successful resin petri dish piece has a clear, glossy surface with color suspended inside the resin. From the front, you may see soft blooms, lacy cells, cloudy trails, or jellyfish-like tendrils. The back often looks more dramatic because the white ink sinks and pulls color downward.
Do not expect every drop to form a perfect flower. Your goal for a first pour is clean curing, visible movement, and balanced color rather than identical cells.
Safety and Setup Prerequisites
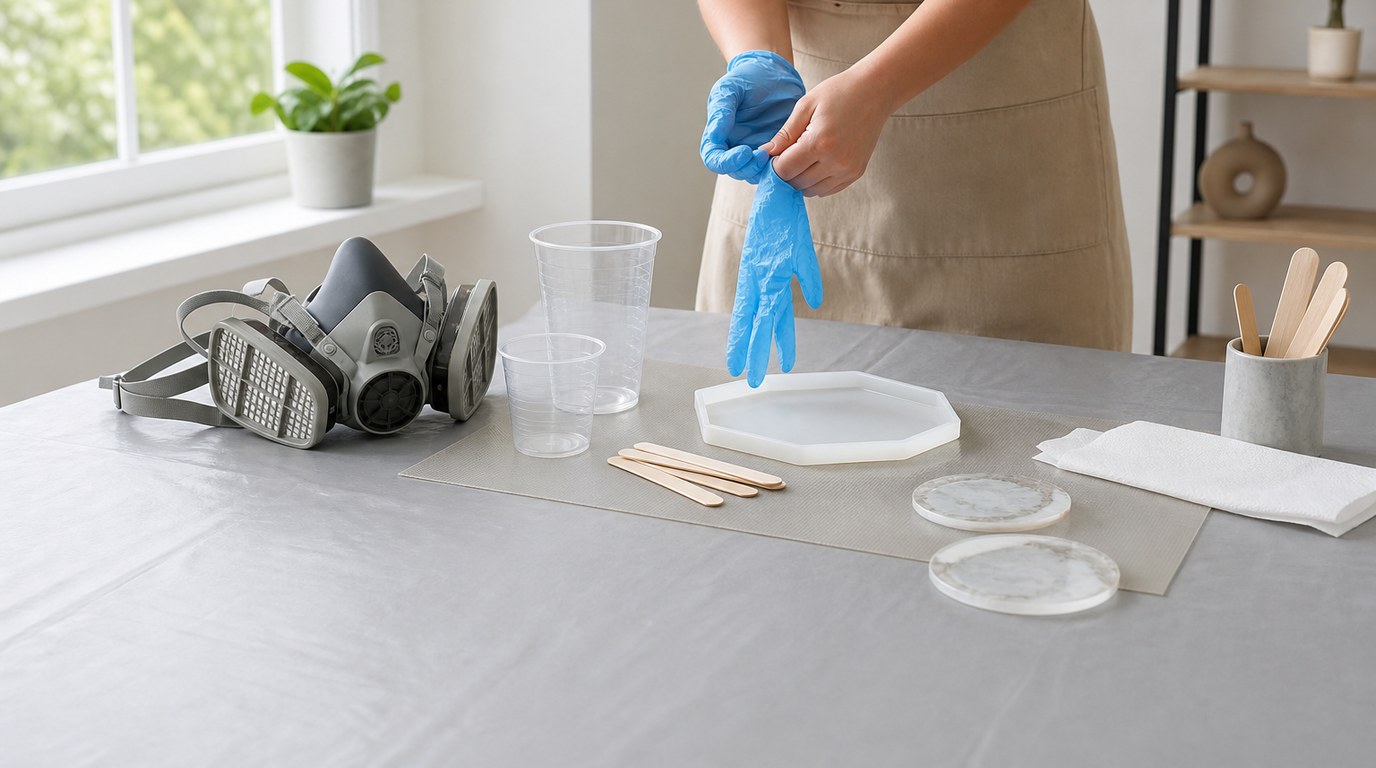
Work in a well-ventilated area and follow your resin manufacturer’s safety directions. Wear nitrile gloves, protect your table, and avoid touching uncured resin. If your resin recommends a respirator, use one rated for organic vapors.
Keep food, drinks, pets, and children away from the workspace. Resin cures best in a dust-free room within the temperature range listed on the bottle, often around 70–75°F. Too cold can cause bubbles or soft curing; too hot can shorten working time. Have everything ready before mixing because epoxy has a limited pot life.
Gather Your Supplies
Choose a shallow silicone coaster, round mold, or small tray mold for your first project. Deep molds can trap heat and make the petri effect harder to control. Use alcohol inks made for resin when possible, especially for white, because not all white inks sink well.
| Supply | Notes |
|---|---|
| Two-part epoxy resin | Use the exact mix ratio on the label |
| Silicone mold | Clean, dry, and flexible |
| Alcohol inks | 2–4 colors are easiest to control |
| White alcohol ink | Often called sinker white or piñata white |
| Mixing cups and stir sticks | Use graduated cups for accuracy |
| Nitrile gloves | Latex can react with some resin systems |
| Torch or heat gun | Use lightly for surface bubbles |
| Dust cover | A plastic bin or box works well |
Step 1: Prepare the Mold and Workspace
Place the silicone mold on a level surface. Check it with a small level if you are making coasters or pieces that need even thickness. Wipe the mold with tape or a lint-free cloth to remove dust; avoid water unless the mold can fully dry before pouring.
Arrange your inks with the caps loosened but not open yet. Put stir sticks, cups, paper towels, and a trash bag within reach so you are not searching after the resin is mixed.
Step 2: Measure and Mix the Resin
Measure resin and hardener exactly according to the product instructions. Some resins are 1:1 by volume, while others are 2:1 or measured by weight. Guessing the ratio is one of the fastest ways to create sticky, bendy, or uncured art.
Pour both parts into a clean cup and stir slowly, scraping the sides and bottom. Mix for the full recommended time, usually two to five minutes. Avoid whipping the resin, which adds bubbles. If the instructions recommend transferring to a second cup and mixing again, do it to prevent unmixed streaks.
Step 3: Pour a Clear Resin Layer
Pour the mixed resin into the mold until it is about one-third to one-half full. Leave room for ink movement and a possible thin clear topcoat later.
Let the resin settle for a minute. Pop surface bubbles with a quick pass of a torch or heat gun, keeping the heat moving. Do not overheat the resin or silicone mold. Excess heat can warp the mold, create ripples, or accelerate curing too quickly.
Step 4: Add Alcohol Ink Colors
Add color one drop at a time. Hold the bottle close to the resin surface so the drops land gently instead of splashing. Start with three to six drops per color in a small coaster mold, spacing them around the piece.
For cleaner results, leave clear gaps between colors. Too many drops can turn muddy as the inks spread. If you want layered blooms, add one color, then place a second color beside or partly over it. Do not stir; the petri effect comes from sinking and movement.
Step 5: Add White Ink to Create the Petri Dish Effect
White alcohol ink is the driver of the classic petri dish look. Drop white ink directly on top of some colored drops. The white pigment is heavier, so it sinks through the resin and pulls the colored ink with it, forming cells, tendrils, and cloudy trails.
Use restraint. For a small coaster, start with one white drop over each colored area, then wait 30–60 seconds before adding more. If you cover every color drop with too much white, the piece may become chalky or opaque. For more movement, add a second white drop only in selected areas.
Step 6: Let the Design Move, Then Cover and Cure
After adding white ink, watch the design for a few minutes. You should see the drops spread, sink, or branch. Do not stir or tilt aggressively once the pattern begins forming, or you may blur the cells.
Pop only obvious surface bubbles, using minimal heat. Alcohol ink is flammable, so keep flames brief and away from wet, ink-heavy areas. Cover the mold with a dust cover that does not touch the resin. Let it cure undisturbed for the full time recommended by your resin, usually 24–72 hours.
Step 7: Demold and Finish the Petri Dish Piece
Demold only when the resin is firm, no longer tacky, and not bending easily. Pull the silicone mold away from the resin rather than forcing the resin out. If the piece feels soft, wait another day.
Trim thin flashing with small scissors or a craft knife. Sand sharp edges with fine-grit sandpaper while wearing a dust mask. If the back is rough or uneven, add a thin clear flood coat after sanding and cleaning away dust.
Result Check: How to Know Your Petri Dish Art Worked
Your piece worked if it cured hard, releases cleanly, and has visible color movement inside the resin. The top should be glossy and mostly smooth, with no wet, sticky, or oily patches. The design should show sinking action from the white ink, even if the strongest pattern appears on the back.
Check the edges for warping and the surface for trapped debris. A few bubbles are normal, but large soft spots or cloudy uncured areas mean the resin ratio or curing conditions need correction.
Common Mistakes and Troubleshooting
Sticky or bendy resin: The most common causes are inaccurate measuring, incomplete mixing, cold temperatures, or too much ink. Use graduated cups, scrape the cup while mixing, and keep ink amounts low. If the piece remains sticky after several days, it may not be salvageable.
Alcohol ink stayed on top: The resin may be too thick in its cure stage, or the white ink may not be a good sinker ink. Add inks soon after pouring, while the resin is still fluid, and use a reliable white alcohol ink.
Muddy colors: Too many colors or too many drops blended together. Limit your first pour to two or three colors plus white, and leave clear spaces.
Too many bubbles: Stir more slowly, warm resin bottles slightly in a water bath if the manufacturer allows it, and use light heat after pouring.
White ink took over: Use fewer white drops next time. Add white only to selected color areas.
Warping or ripples: The resin got too hot, the mold was too thin, or the pour was too deep. Use less heat and pour shallower.
Simple Variations to Try After Your First Pour
Once you can make a clean basic piece, try one controlled change at a time. Use one color family, such as blue, teal, and purple, for a softer look. Add metallic alcohol ink sparingly for shimmer, but do not replace the white sinker ink with metallic.
You can also pour a thin clear topcoat after curing to create extra depth. For coasters, test heat resistance and add cork or silicone feet to protect surfaces.
FAQ
What Kind of Resin Is Best for Petri Dish Art?
Use a clear, low-viscosity epoxy resin with enough working time for ink movement. Casting resin or art resin made for shallow pours usually works well. Avoid fast-curing resin for your first attempt because it may thicken before the alcohol ink can sink.
Why Did My Alcohol Ink Stay on Top of the Resin?
The resin may have been too thick, the ink may not have been heavy enough, or you may not have used white sinker ink. Add ink earlier in the working time and place white drops over the color to help pull pigment downward.
Can I Use Regular Alcohol Ink in Resin?
Yes, many regular alcohol inks work in resin, but results vary by brand and color. Some fade, spread poorly, or do not sink. For the petri effect, the white ink matters most, so choose a white alcohol ink known to create sinking cells.
How Long Should Resin Petri Dish Art Cure Before Demolding?
Follow your resin label, but most pieces need at least 24 hours before demolding and up to 72 hours for a harder cure. If the piece bends, feels rubbery, or leaves fingerprints, keep it in the mold longer.
Which Side of Resin Petri Dish Art Is the Front?
Either side can be the front. The mold side is usually glossier and smoother, while the back often shows stronger petri cells and tendrils. Look at both sides after demolding and choose the side with the best pattern for display.