
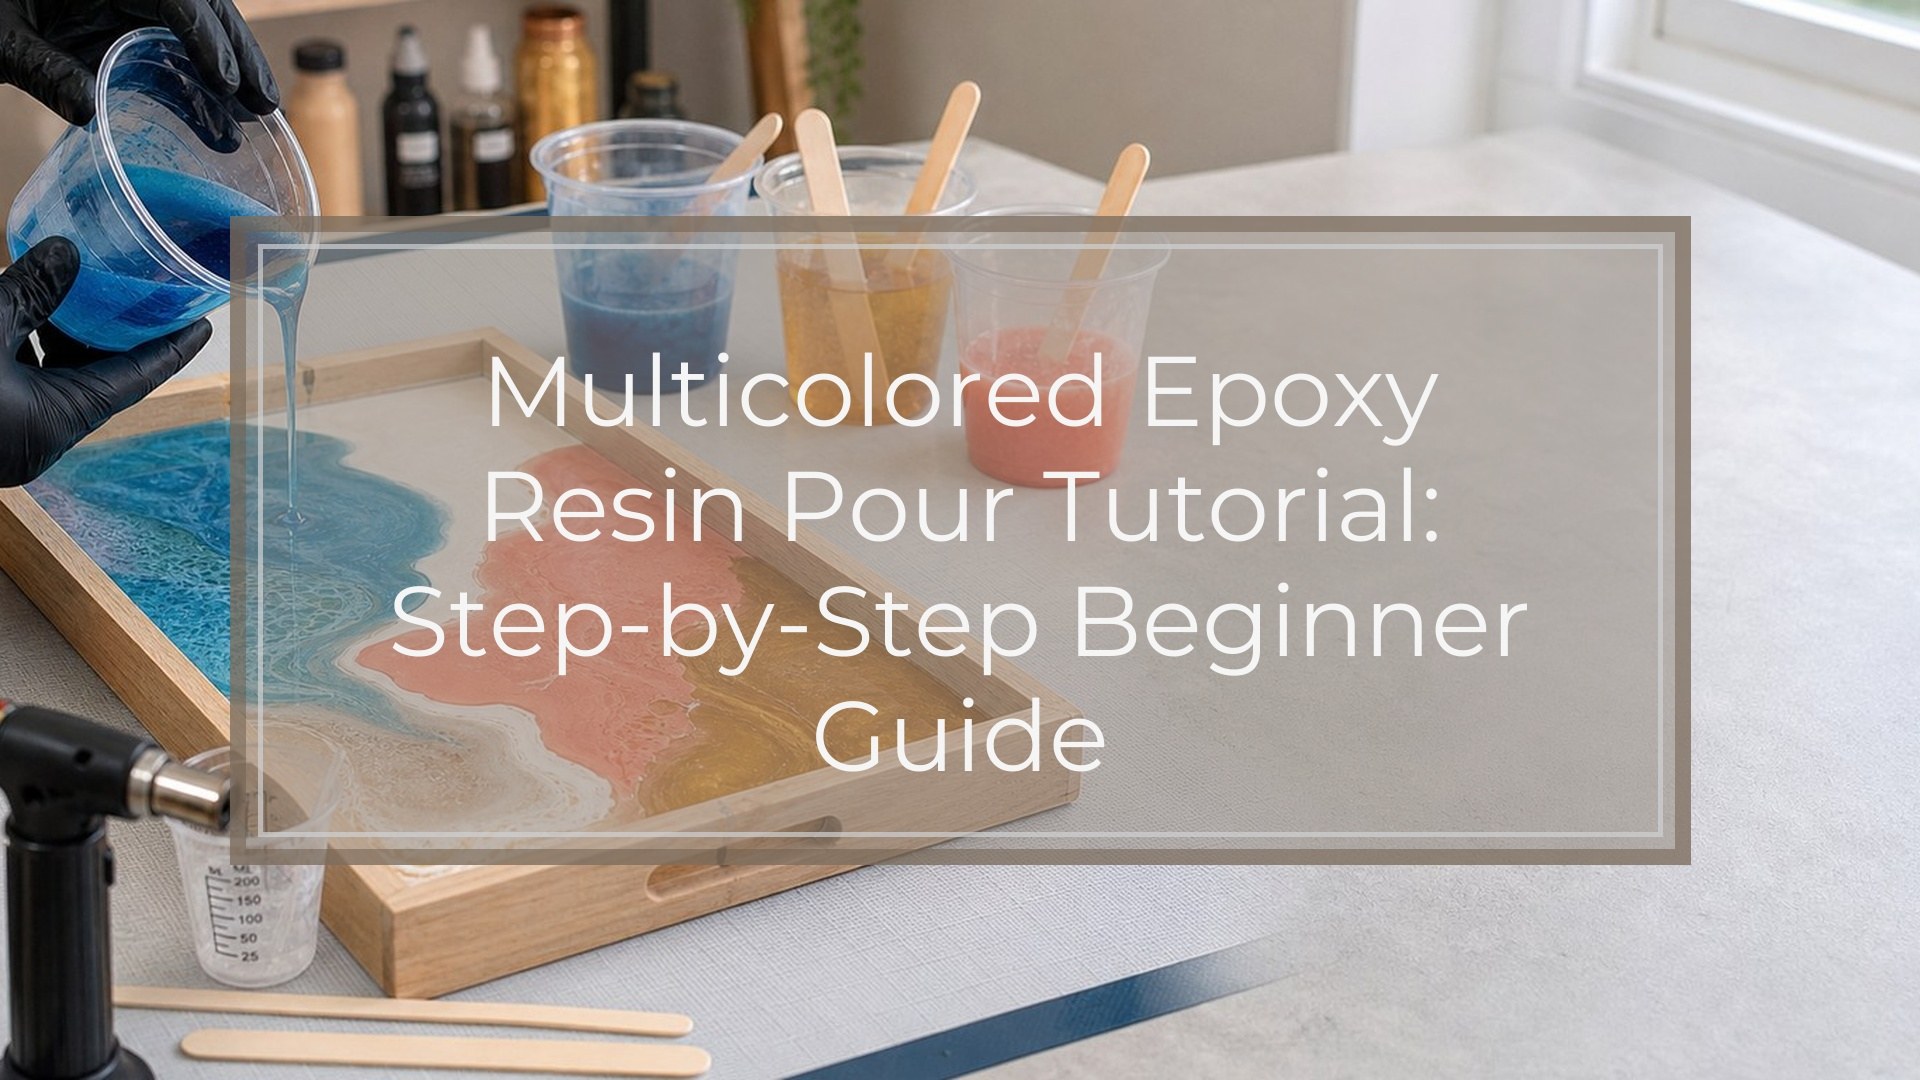
A multicolored epoxy resin pour starts with choosing a shallow project, measuring resin and hardener exactly, mixing thoroughly, then dividing the mixed resin into cups for pigment. Pour a base color first, add accent colors in ribbons, drops, or layers, and gently move the colors with a stir stick, skewer, or heat tool. Work within the resin’s pot life, avoid adding too much pigment, and protect the piece from dust while it cures. A successful pour cures hard, glossy, and clear or evenly colored, with no sticky patches, soft spots, or oily streaks. The key is accuracy first, color movement second.
Once accuracy feels comfortable, these beginner epoxy resin pour tutorials show how the same basic steps can lead to basic, ocean, and geode effects.
Before You Start: Choose the Right Project and Resin
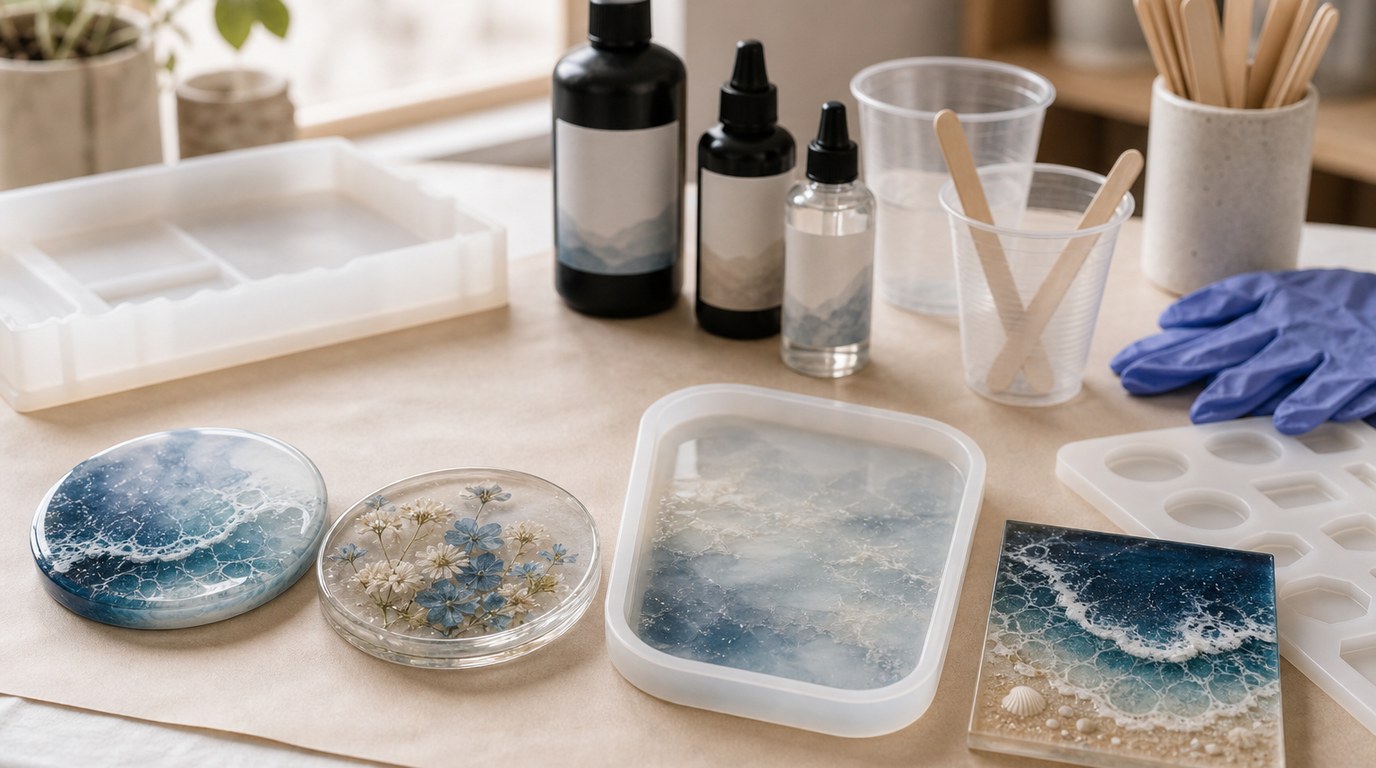
For your first multicolored epoxy resin pour, choose a small, flat project such as coasters, a tray, a small art panel, or a shallow silicone mold. Avoid deep molds until you understand working time and heat buildup.
Use the resin type recommended for your project depth. Coating resin works well for thin surface pours, while casting resin is better for deeper molds. Check the label for mix ratio, maximum pour depth, working time, and cure time before opening the bottles.
Gather resin, hardener, mixing cups, stir sticks, pigments, gloves, a level surface, a cover, and paper towels before you begin.
Safety and Workspace Setup
Work in a well-ventilated area and wear nitrile gloves. If your resin instructions recommend respiratory protection, use the correct respirator cartridges. Keep resin away from food surfaces, pets, and children.
Cover your table with a silicone mat, plastic sheet, or disposable covering. Level the work surface before pouring; resin will flow toward the low side. Keep alcohol wipes or paper towels nearby for drips, but do not use water to clean uncured resin.
Set out all color cups before mixing. Once resin and hardener are combined, the clock starts.
Plan Your Color Palette and Pour Style
Choose two to five colors for a beginner pour. Too many colors can turn muddy, especially if you overwork the design. A simple palette might include one base color, two accent colors, and a small amount of metallic or white for contrast.
Decide on the pour style before mixing. Ribbons create flowing lines, drops create blooms or spots, and layered pours create depth in molds. For a cleaner result, place similar colors near each other and keep strong opposites, such as purple and yellow, from blending too much.
Step 1: Measure the Resin and Hardener Accurately
Read the manufacturer’s ratio carefully. Some epoxy is measured 1:1 by volume, while others require 2:1, 3:1, or measurement by weight. Do not guess.
Pour the resin and hardener into a clean mixing cup according to the instructions. Scrape bottle edges neatly to avoid spills, but do not swap caps between bottles. Inaccurate measuring is one of the main causes of sticky, uncured resin, so slow down here.
Step 2: Mix the Resin Slowly and Thoroughly
Stir slowly for the full time listed on the resin instructions, often three to five minutes. Scrape the bottom and sides of the cup as you mix. Fast whipping adds bubbles, but lazy mixing leaves uncured streaks.
For extra insurance, use a two-cup method: after the first mix, pour the resin into a second clean cup and mix again for about one minute. The mixture should look uniform, with no cloudy ribbons or separate-looking streaks.
Step 3: Divide the Resin Into Color Cups
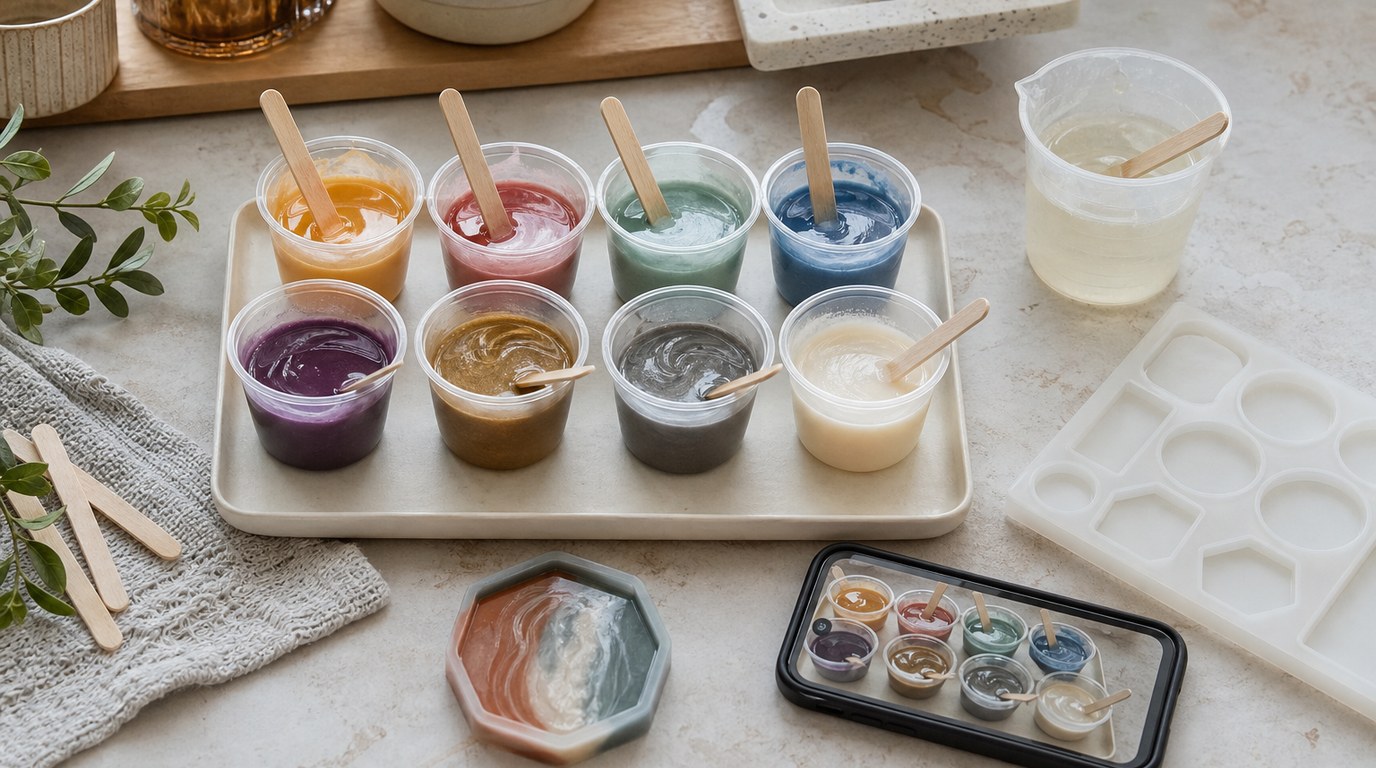
Once the resin is fully mixed, divide it into smaller cups for each color. Pour more into the cup for your base color and smaller amounts into accent cups.
Keep your working time in mind. If the resin has a 30-minute pot life, you do not have 30 minutes for detailed color testing. Arrange cups in the order you will use them. If your room is warm, resin may thicken faster, so work efficiently and avoid holding the cups in your hands too long.
Step 4: Add Pigments Without Overloading the Resin
Add pigment a little at a time. Resin colorants, mica powders, alcohol inks, and paste pigments can all work, but they behave differently. Use colorants made for resin when possible.
A common beginner mistake is adding too much pigment. Excess liquid colorant can interfere with curing, and too much powder can make resin thick or clumpy. As a general practice, keep pigment additions low and follow the colorant maker’s guidance. Mix each cup until the color is even, scraping the sides and bottom.
Step 5: Pour the Base Color
Pour the base color first to create a foundation. For a flat panel or tray, pour near the center and let the resin spread outward. Use a stir stick or gloved finger to guide resin toward corners and edges.
For molds, pour slowly into the lowest part of the mold and let resin settle. Do not overfill. Leave enough space for accent colors if you want visible layers or movement. Check that the piece is still level before adding more colors.
Step 6: Add Accent Colors in Ribbons, Drops, or Layers
Add accent colors with intention. For ribbons, pour thin lines across the base color, then vary the direction to create movement. For drops, use a stir stick to drip color in small areas. For layers in a mold, pour one color, wait briefly if needed for slight thickening, then add another.
Keep some negative space or base color visible. If every color is poured everywhere, the design can lose definition. Add metallics sparingly because they often sink, spread, or dominate the finished piece.
Step 7: Create Swirls and Movement
Use a toothpick, skewer, silicone tool, or stir stick to move the colors. Drag through the resin in slow S-curves, loops, or feathered lines. Stop before the colors fully blend.
A heat gun can also push color, but use it carefully. Too much heat can create ripples, blow resin over the edge, damage silicone molds, or increase bubbles later. Hold the tool moving above the surface and use short bursts rather than long blasts.
Step 8: Remove Bubbles Carefully
Let the pour sit for a few minutes so bubbles can rise. Then use a heat gun, torch, or fine mist of 91% isopropyl alcohol only if your resin instructions allow it.
If using a torch, keep it moving quickly above the surface. Do not hold flame in one spot, especially near silicone molds, alcohol inks, dried flowers, paper, or wood. You can also pop stubborn bubbles with a toothpick. Avoid overworking the surface after bubble removal, or you may create more bubbles.
Step 9: Cover and Cure the Pour
Cover the project with a clean box, plastic dome, or dust cover that does not touch the resin. This prevents dust, hair, and lint from settling into the surface.
Leave the pour undisturbed for the full cure window. Do not move it once it starts to thicken, because shifting can cause waves, uneven edges, or color migration. Keep the room within the temperature range listed by the resin manufacturer. Cold rooms can slow curing; excessive heat can shorten working time or affect the finish.
Result Check: How to Know Your Resin Pour Worked
Your cured resin should feel hard, dry, and smooth, not tacky or rubbery. The surface should look glossy unless you used matte additives or sanded it. Colors should appear intentional, with no cloudy unmixed streaks.
Check the edges and thickest areas, not just the top. If the back, corners, or deep spots are soft after the full cure time, the mix ratio, mixing, temperature, or pigment load may have caused a curing problem.
Common Mistakes and How to Fix Them
Sticky resin usually comes from inaccurate measuring, poor mixing, cold temperatures, or too much pigment. If it is only slightly tacky on the surface, you may be able to apply a properly mixed fresh coat after the original layer has cured as much as it can. If it is liquid or gummy throughout, removal is often necessary.
Muddy colors happen when too many colors are stirred together. Next time, use fewer colors and stop swirling earlier. Bubbles come from fast mixing, porous materials, or overuse of heat; seal porous items first and mix slowly.
Uneven surfaces usually mean the work area was not level. Cloudy patches can come from moisture, cold resin, or incompatible additives. Fish eyes, or small spots where resin pulls away, often mean the surface had oil, dust, or silicone contamination.
Beginner Tips for Better Multicolored Resin Pours
Mix a little more resin than you think you need, but not so much that you waste a large batch. Keep a small backup mold nearby for leftover resin.
Photograph your color cups before pouring so you can repeat successful combinations. Test new pigments in a small mold before using them on an important piece. Warm sealed resin bottles in a lukewarm water bath if allowed by the manufacturer, but dry them completely before opening. Water in resin can ruin clarity and cure.
FAQ
What Is the First Step Someone Should Take with Multicolored Epoxy Resin Pour Tutorial?
Start by choosing a small, shallow project and reading the resin instructions. Confirm the mix ratio, working time, maximum pour depth, and cure time. Then set up your workspace, colors, cups, gloves, and cover before mixing anything.
What Can Go Wrong When Following Multicolored Epoxy Resin Pour Tutorial Advice?
The most common problems are sticky resin, muddy colors, bubbles, uneven curing, and dust in the surface. Most come from inaccurate measuring, incomplete mixing, too much pigment, overworking the colors, using too much heat, or pouring on an unlevel surface.
How Long Does It Usually Take to Work Through Multicolored Epoxy Resin Pour Tutorial?
The active process usually takes 30 to 60 minutes, depending on project size and resin working time. Curing takes much longer. Many resins need 24 hours before handling and up to 72 hours or more for a full cure.
How Can a Beginner Tell Whether Multicolored Epoxy Resin Pour Tutorial Worked?
The pour worked if the resin cured hard, dry, and smooth with no sticky patches, soft areas, oily streaks, or cloudy unmixed lines. The colors should look set in place, and the piece should release or handle according to the resin’s cure instructions.