
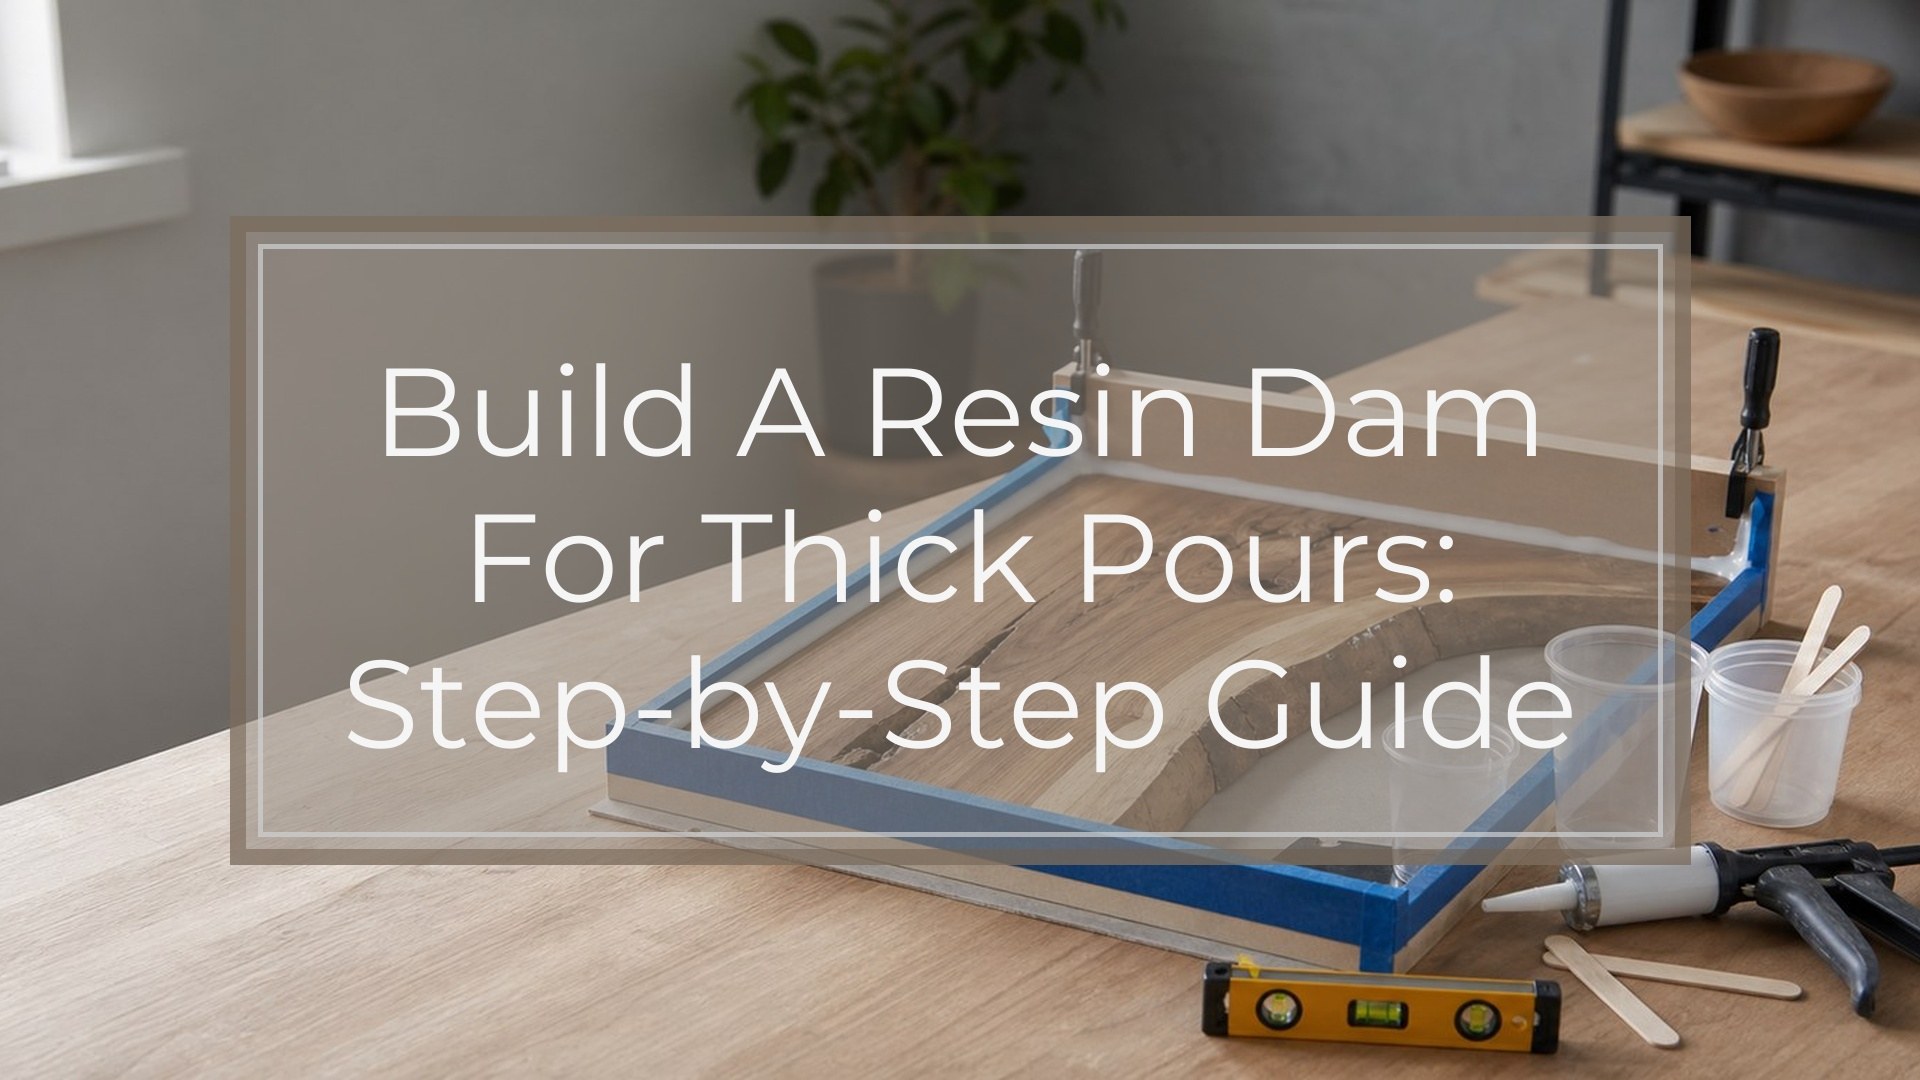
To build a resin dam for thick pours, use a rigid temporary wall, cover every resin-facing surface with a release layer, seal the bottom edge and corners, then brace the wall so it cannot bow. Thick pours create more outward pressure than thin resin coatings, so tape alone is usually not enough except for very small pours. The best time to prevent leaks is before mixing resin: measure carefully, seal every gap, and leak-test the setup. A good dam holds the resin at the intended height, releases cleanly after curing, and leaves only minor edge cleanup.
Before You Build: Choose the Right Resin Dam Setup
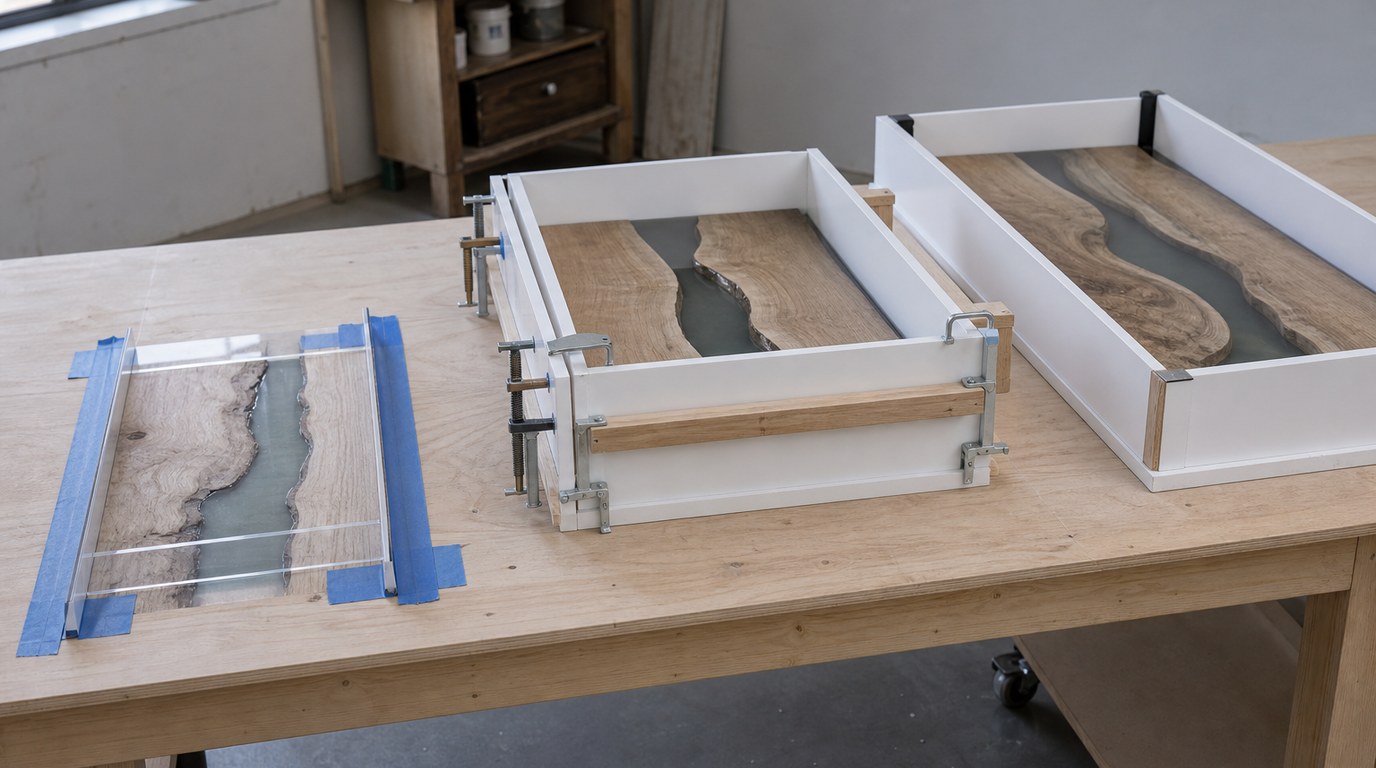
Your setup depends on pour depth, pour length, and project shape. A small coaster edge may need only a firm plastic strip and tape, while a river table, tray, or deep open edge needs rigid walls, clamps, and bracing.
For thick pours, choose materials that stay straight under pressure: HDPE, melamine, acrylic sheet, sealed plywood, or smooth boards covered with release tape. Avoid bare wood, cardboard, MDF edges, and other porous materials unless they are fully sealed and protected.
Also confirm your resin is designed for your planned depth. A strong dam cannot prevent overheating, cracking, or cure problems if the resin exceeds the manufacturer’s maximum pour depth.
Tools and Supplies You Need
Gather everything before opening resin bottles:
- Rigid dam wall material, such as HDPE, melamine, acrylic, or sealed boards
- Sheathing tape, packing tape, Tyvek tape, mold-release film, or mold-release spray
- Silicone caulk, hot glue, or modeling clay
- Clamps, screws, weights, blocks, or braces
- Measuring tape or ruler
- Level
- Utility knife or scissors
- Mixing cups and sticks
- Disposable gloves
- Paper towels and isopropyl alcohol
- Drop cloth or plastic sheet
Silicone seals well but needs curing time. Hot glue is fast but may miss tiny gaps. Modeling clay is useful for corners, live edges, and temporary leak plugs.
Step 1: Measure the Pour Area and Plan the Dam Height
Measure the length, width, and target resin depth before cutting dam pieces. Make the dam taller than the planned resin level. For most thick pours, add at least 1/2 inch of extra height; for large or deep pours, add 1 inch.
Check that the work surface is level. Resin self-levels, so a tilted table can make resin pool against one side and increase pressure there. Mark the fill line on the inside of the dam so you do not overpour.
Step 2: Prepare the Dam Surface so Resin Will Release
Resin bonds strongly to many surfaces, so prepare the dam before assembly. Cover the inside face of each wall with sheathing tape, packing tape, mold-release film, or a compatible mold-release spray.
Overlap tape strips slightly and press them down firmly. Avoid wrinkles, bubbles, torn spots, and exposed seams where resin can reach the wall underneath. HDPE often releases well, but cut edges, screw holes, melamine edges, and rough spots still need protection.
Do not assume a surface is “smooth enough.” If resin reaches bare wood, MDF, or rough plastic, the dam may stick and damage the cured edge during removal.
Step 3: Position and Secure the Dam Walls
Place the dam walls tight against the pour area. If you are damming an open edge, make sure the wall sits flat without rocking. At corners, overlap wall pieces or butt them tightly so resin cannot push through the seam.
Secure the walls before sealing. Use clamps, screws outside the visible area, weights, or blocks attached to the work surface. The dam should not move when you press on it by hand.
If the project surface is delicate, pad clamp contact points. If you use screws, keep them away from areas that will show after the pour.
Step 4: Seal Every Bottom Edge, Corner, and Gap
This is the most important leak-prevention step. Run a continuous bead of silicone caulk, hot glue, or firmly pressed modeling clay along the entire bottom edge where the dam meets the project surface. Seal vertical corners, wall joints, screw holes, live-edge gaps, knots, and any crack that could form a resin path.
Seal from the outside whenever possible so the resin-facing edge stays cleaner. For risky areas, seal both inside and outside, but keep inside beads neat because they can leave a shape in the cured resin.
Press sealant into the joint instead of laying a thin bead on top. A decorative-looking line is not enough for a deep pour. If using silicone, let it cure fully according to the label before leak-testing or pouring resin.
Step 5: Brace the Dam for Thick Pour Pressure
Thick resin pushes outward on dam walls. A wall that looks solid when empty can bow after resin is added, changing the pour shape and breaking the bottom seal.
Brace long runs, not just corners. Use clamps, wood blocks, straight boards, cross supports, or heavy weights outside the dam. For long river-table-style pours, add braces every 8 to 12 inches if the wall material has any flex.
Check the top edge by hand. If you can pull the wall outward, resin pressure may do the same.
Step 6: Leak-test Before Mixing Resin
Do not make your first test with mixed resin. If the project surface can handle moisture, pour in a shallow layer of water and wait 10 to 20 minutes. Watch the underside, corners, and dam ends for seepage. Mark leaks, dry the area completely, reseal, and test again.
If water could damage the project, inspect seams with a bright light, run a thin probe along joints, or use a compatible test liquid only if it will not stain, swell, or contaminate the surface.
Do not skip this step because the dam “looks tight.” Freshly mixed resin can find very small gaps.
Step 7: Pour Resin Slowly and Watch the Dam
Mix resin exactly as directed and stay within the maximum pour depth. Pour slowly into the lowest area and let the resin spread. Do not dump a full batch hard against one wall, because the force can disturb the seal.
After the first shallow layer covers the bottom, pause and inspect every outside seam. If you see a small leak, stop pouring and press modeling clay, tape, or hot glue onto the outside leak path. For a major leak, contain the resin, scrape back what you can, and repair before continuing.
During the first hour, keep checking for bowing, lifted tape, corner movement, and weeping resin.
Step 8: Remove the Dam After the Resin Cures
Remove the dam only after the resin reaches the demold or full-cure stage recommended by the resin manufacturer. Removing it too soon can dent, slump, or tear the resin edge.
Take off braces and clamps first. Score along caulk lines with a utility knife if needed, then gently pry the dam away from the release-covered face. Work along the full length instead of forcing one corner.
If the dam resists, do not yank it. Try gentle warmth on the outside, flex the wall if possible, or slide in a plastic wedge. Sand or trim thin flashing after removal.
Troubleshooting: Fix Common Resin Dam Problems
If resin leaks from the bottom, the edge was not sealed continuously or the surface had a hidden gap. Stop pouring, clean away uncured resin if possible, dry the area, and apply a thicker outside bead of silicone, hot glue, or clay.
If resin leaks through a corner, patch the outside of the joint with tape, then seal over the tape edge. For the next pour, overlap wall pieces instead of relying on a simple butt joint.
If the dam bows outward, stop adding resin and add braces immediately. Clamp a straight board against the outside to flatten the wall, but do not push so hard that resin spills.
If resin bonds to the dam, the release layer failed or had exposed gaps. Remove slowly, sand the edge if needed, and next time overlap tape, cover cut edges, and test release on scrap.
If the cured edge is rough, trim flashing and sand progressively.
Final Result Check: How to Know the Dam Worked
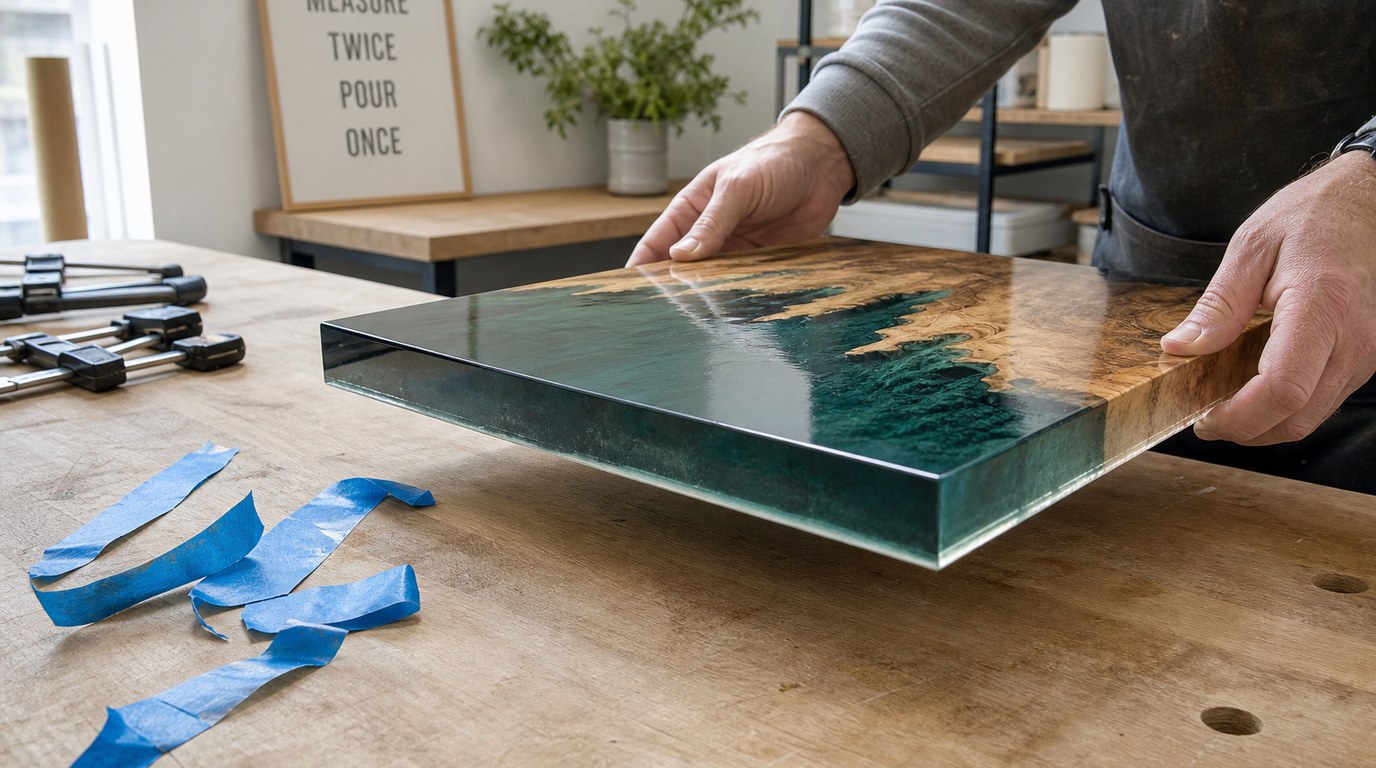
A successful resin dam keeps the pour at the intended height and shape. The cured resin should show no major resin loss, no bowed sides, and no permanent bonding to the wall.
Check the underside and corners for seepage trails. Look across the resin line to confirm it stayed level and did not creep under the dam. Minor flashing is normal and can be sanded away. Large voids, curved sides, or missing resin mean the dam needed better sealing, leveling, or bracing.
FAQ
What Is the Best Material for a Resin Dam for Thick Pours?
HDPE and melamine are popular choices because they are rigid and smooth. HDPE releases especially well, while melamine is easy to cut and source. For best results, still use release tape or mold release on seams, cut edges, screw holes, and any surface resin might touch.
Can I Use Tape as a Resin Dam?
Tape can work for very small or shallow pours, but it is risky for thick pours. Resin pressure can stretch tape, lift adhesive, and bow the edge. For deep resin, use tape as a release liner or seam helper, not as the main structural wall.
What Should I Use to Seal a Resin Dam?
Silicone caulk is reliable because it fills gaps and usually peels away after curing. Hot glue is faster for outside seams. Modeling clay works well for temporary plugs and irregular areas. Whatever you choose, apply it in one continuous seal with no breaks.
How Tall Should a Resin Dam Be?
Make the dam taller than the planned resin depth. A good minimum is 1/2 inch above the fill line. For large, long, or deep pours, 1 inch of extra height is safer and helps prevent spills if the table is slightly off-level.
How Do I Stop Resin from Leaking Under the Dam?
Start with a flat, clean contact surface. Seal the entire bottom edge with silicone, hot glue, or clay, pressing the sealant into the joint. Brace the wall so movement does not break the seal, then leak-test before mixing resin.