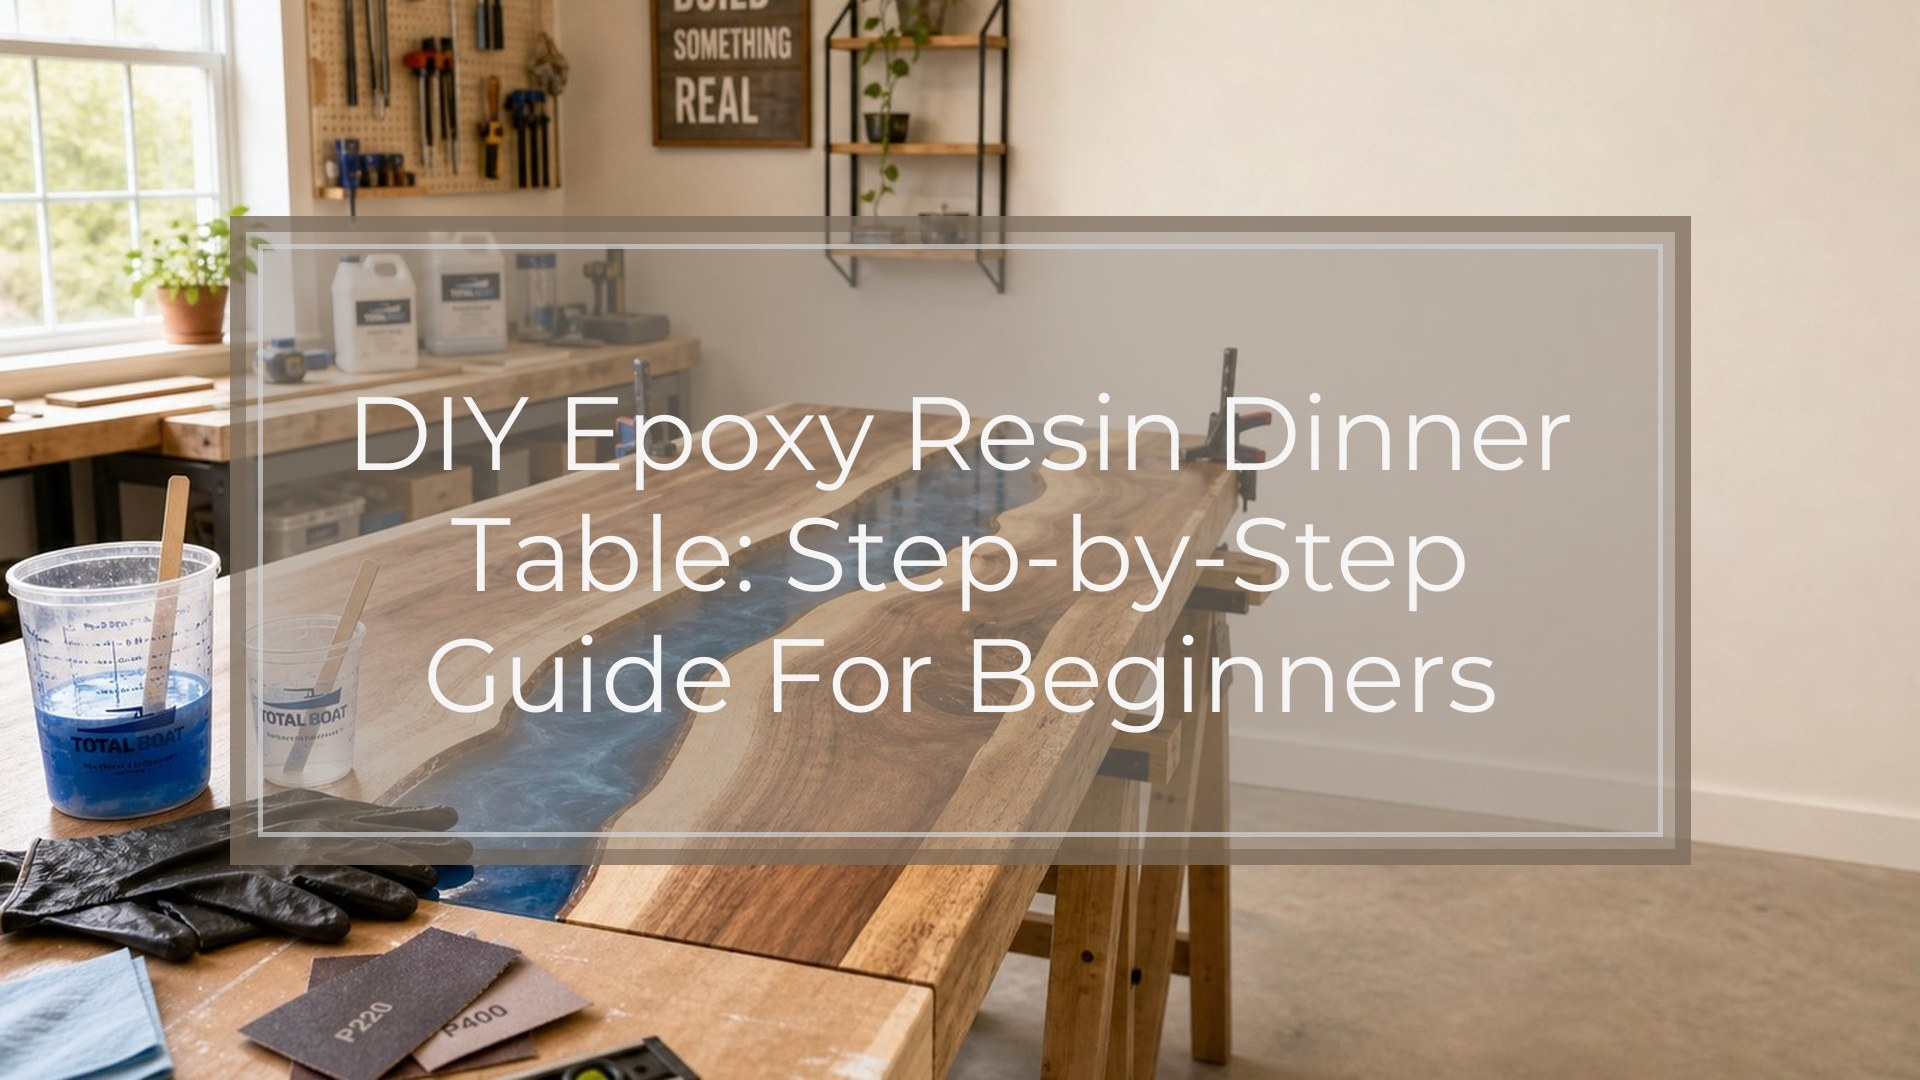
A DIY epoxy resin dinner table is made by preparing a solid tabletop, sealing the wood, building a leakproof barrier or mold, measuring the epoxy volume, mixing carefully, pouring in controlled layers, curing fully, sanding flat, and applying a durable protective finish. The most important parts are moisture control, accurate resin ratios, temperature stability, and patience during curing. For a dining table, do not rely on raw cured epoxy alone as the final working surface. Add a suitable topcoat for scratch resistance, heat resistance, and easier cleaning. Whether you are making a river table, filling cracks, or coating an existing table, the process works best when every step is measured, level, and dust-free.
Before You Start: Choose the Right Table Style
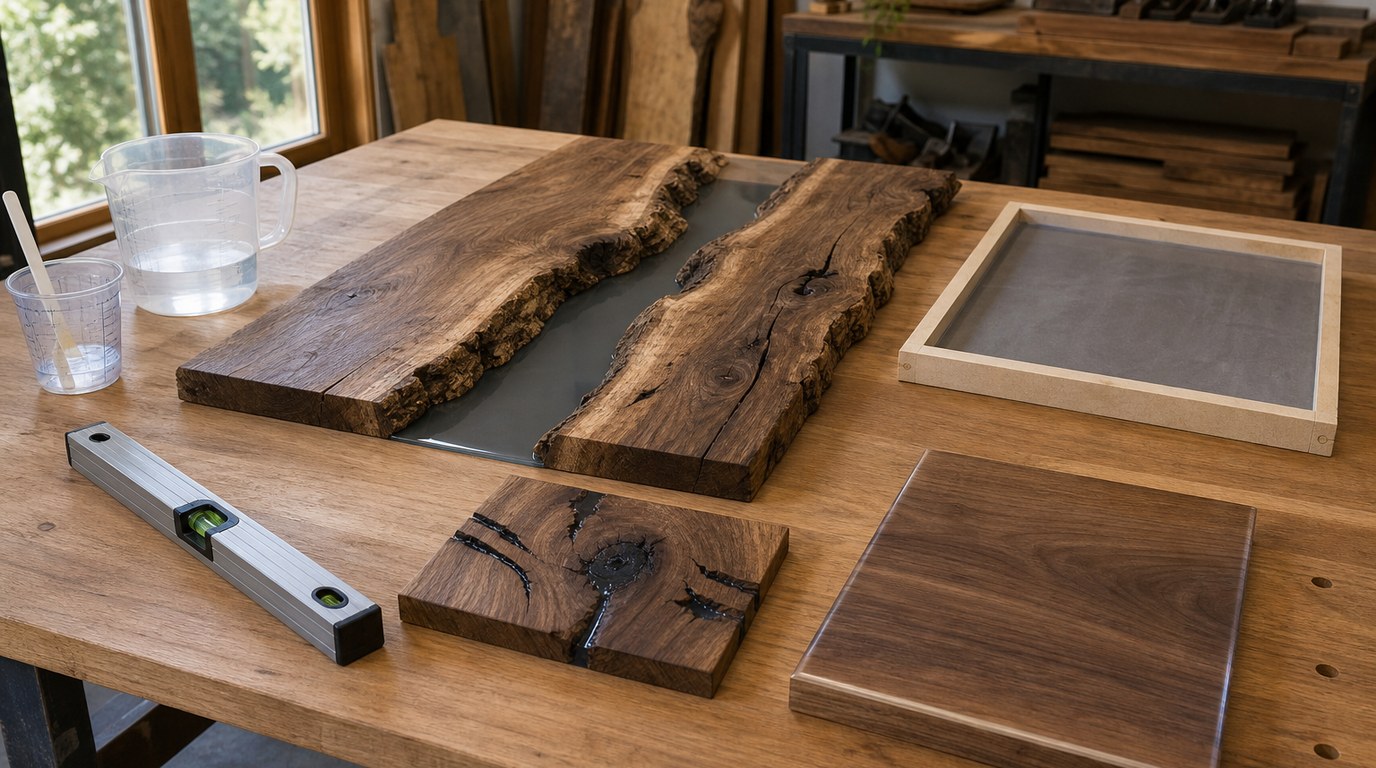
Decide what kind of epoxy table you are making before buying materials. A river table needs two wood slabs, a mold, deep-pour epoxy, and careful leveling. A crack-fill table uses epoxy only in knots, voids, and splits. A full tabletop coating uses a thinner flood coat over an existing surface.
For a first DIY epoxy resin dinner table, a crack-fill or coating project is easier than a large river pour. River tables are beautiful, but they require more epoxy, stronger molds, longer cure times, and more sanding.
Prerequisites: Workspace, Safety, and Project Conditions
Work in a clean, dry, ventilated space where the table can stay undisturbed for several days. Most epoxies cure best around 70°F to 75°F, but always follow the manufacturer’s temperature range. Cold resin cures slowly; hot resin can cure too fast and overheat.
Wear nitrile gloves, eye protection, and a respirator rated for organic vapors if ventilation is limited. Protect the floor with plastic sheeting. Keep pets, dust, food, and open flames away. Your table must be level before any resin is poured, or the epoxy will pool to one side.
Step 1: Prep the Tabletop
Remove legs or hardware if they block sanding or leveling. Clean the tabletop with a degreasing cleaner, then let it dry completely. Strip old wax, silicone polish, failing varnish, or oily finish; epoxy will not bond reliably to contaminated surfaces.
Sand the wood evenly, usually starting around 80 or 120 grit. Remove loose bark, crumbly edges, and soft rotten wood. Vacuum thoroughly and wipe with a lint-free cloth. If the wood has cracks or voids, make sure they are dry and stable before filling. Moisture trapped under epoxy can cause cloudy spots, bubbles, or bond failure.
Step 2: Seal the Wood and Porous Edges
Wood releases air into epoxy, especially end grain, knots, cracks, and live edges. To reduce bubbles, apply a thin seal coat of epoxy before the main pour. Brush it into porous areas and let it become tacky or cure as directed.
For river tables, seal the live edges and underside areas that might leak. For a coating project, seal any exposed wood, screw holes, seams, and end grain. Do not skip this step to save time. A seal coat often prevents the most frustrating bubbles and resin loss.
Step 3: Build a Leakproof Mold or Edge Barrier
For a river table, build a flat mold from melamine, HDPE, or another nonstick mold surface. Seal all seams with silicone caulk, then apply mold release or sheathing tape where needed. Clamp the wood slabs so they cannot float when epoxy is poured.
For a crack fill, tape the underside of every crack and void. For a flood coat, create a temporary edge barrier with tape or a raised form if you want to contain the resin. Test the setup with a small amount of water only if the wood is fully protected and can dry completely afterward.
Step 4: Calculate How Much Epoxy You Need
Measure length, width, and average depth of the area being filled. For rectangular areas, multiply length × width × depth. Convert cubic inches to fluid ounces by dividing by 1.805. Add 10% to 15% extra for waste, uneven voids, and resin left in cups.
For irregular cracks or river channels, estimate in sections instead of guessing one large volume. Buy the correct epoxy type: deep-pour resin for thick river fills, tabletop epoxy for thin flood coats, and casting resin for certain decorative pours. Never exceed the maximum pour depth listed by the product.
Step 5: Mix Epoxy Resin Correctly
Read the resin label before opening the bottles. Epoxy ratios vary by brand: some are 1:1 by volume, others require 2:1 or weight-based measuring. Use clean graduated containers and measure accurately.
Mix slowly but thoroughly, scraping the sides and bottom of the cup for the full recommended time. Fast whipping adds bubbles. For best results, pour the mixed resin into a second clean cup and mix again for one minute. Add pigment only after the resin and hardener are fully combined, unless the manufacturer says otherwise.
Step 6: Pour the Epoxy in Controlled Layers
Pour slowly into the lowest part of the void, river channel, or tabletop surface. Use a spreader to guide the resin rather than forcing it. For deep areas, pour in layers within the product’s allowed depth. Let each layer reach the correct stage before adding the next one.
Use a heat gun or torch briefly to pop surface bubbles, keeping it moving to avoid scorching the resin or wood. Do not overheat the surface. For a flood coat, spread epoxy evenly across the tabletop and let it flow over the edges only if that is part of your plan. Watch corners and low spots closely.
Step 7: Monitor the Cure and Protect the Surface
After pouring, cover the table with a clean dust tent, plastic bin, or raised sheet that does not touch the resin. Check for leaks during the first hour. If resin escapes, plug the leak with fast-setting tape, hot glue, or silicone outside the visible area if possible.
Avoid moving the table while it cures. Keep the room temperature steady and prevent direct sunlight from heating one section. Do not touch the resin to “test” it too early; fingerprints and dents can become permanent.
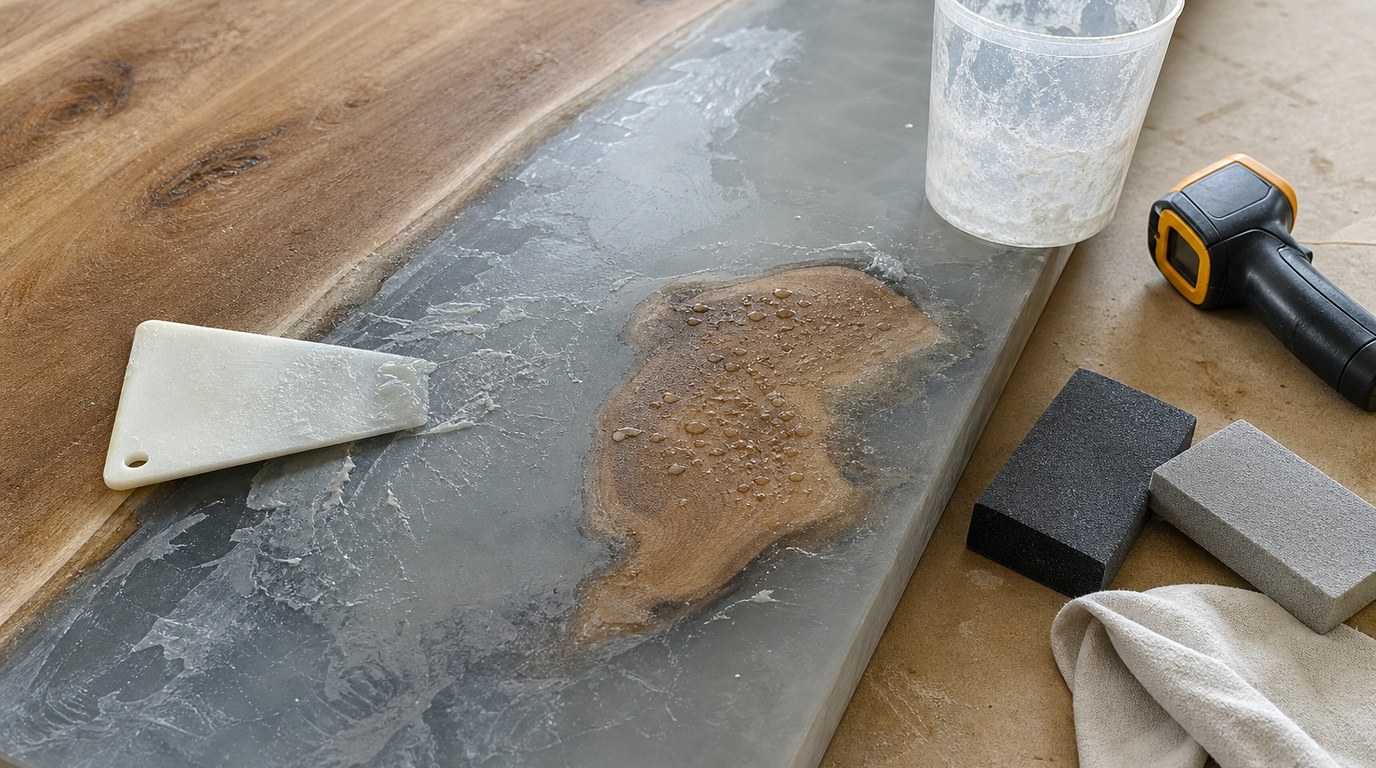
Step 8: Demold, Sand, and Level the Tabletop
Demold only after the epoxy has cured enough to handle. If the surface is uneven, start leveling with a router sled, planer, or coarse sanding method appropriate for the table. Move slowly; aggressive tools can chip resin or gouge wood.
Sand through progressive grits. A common path is 80, 120, 180, 220, and higher if needed for your finish system. Remove all sanding dust between grits. If you find pinholes or shallow gaps, fill them with a small batch of epoxy, let it cure, and sand again. The tabletop should feel flat and continuous before finishing.
Step 9: Apply a Durable Dining Table Finish
A dinner table needs more protection than a decorative resin piece. Cured epoxy can scratch, show heat marks, and degrade under UV exposure. Apply a compatible topcoat such as polyurethane, hardwax oil approved for tabletops, conversion varnish, or another furniture-grade finish.
Follow the finish manufacturer’s sanding and recoat instructions. Test compatibility on a scrap piece or hidden area if possible. Avoid placing hot pans directly on the epoxy, even after finishing. Use trivets, placemats, and gentle cleaners to extend the life of the surface.
Final Result Check: Is Your Epoxy Dinner Table Ready to Use?
Before bringing the table into daily use, confirm these points:
- The epoxy is fully cured, not rubbery, tacky, or soft.
- The tabletop sits level and does not rock.
- Filled cracks and river areas are bonded without gaps.
- The surface is smooth enough for plates and glasses.
- The protective finish has cured according to the label.
- There is no strong resin odor.
- Legs or bases are securely attached.
If any point fails, fix it before using the table for meals.
Common Mistakes and Troubleshooting
Soft or sticky epoxy usually means the resin ratio was wrong, mixing was incomplete, or the temperature was too low. Scrape away uncured material before repouring; do not simply coat over liquid resin.
Excess bubbles often come from unsealed wood, aggressive mixing, or overheating with a torch. Sand, fill, and seal better next time. Leaks happen when molds are not sealed or slabs are not clamped down. Cloudy epoxy may indicate moisture, cold conditions, or incompatible pigments.
If the surface cures wavy, level it by sanding or using a router sled, then refinish. If scratches appear later, clean the surface, lightly sand if the finish allows, and apply a maintenance coat.
FAQ
What Is the First Step Someone Should Take with Diy Epoxy Resin Dinner Table?
Choose the table style first: river table, crack fill, or full tabletop coating. That decision determines the epoxy type, mold setup, pour depth, budget, and difficulty. After that, inspect the wood for moisture, old finish, loose material, and structural stability.
What Can Go Wrong When Following Diy Epoxy Resin Dinner Table Advice?
The most common problems are leaks, bubbles, soft epoxy, uneven curing, and poor adhesion. These usually come from inaccurate measuring, weak mixing, unsealed wood, cold temperatures, moisture, or a table that was not level before pouring.
How Long Does It Usually Take to Work Through Diy Epoxy Resin Dinner Table?
Most projects take several days to two weeks, depending on size and epoxy type. Prep may take a day, pouring and layer timing can take one to three days, curing may take several more, and sanding plus finishing adds additional drying time.
How Can a Beginner Tell Whether Diy Epoxy Resin Dinner Table Worked?
The table worked if the epoxy is hard, clear or evenly pigmented, well bonded, level, smooth, and protected with a cured finish. Plates and glasses should sit steadily, cracks should be filled, and the surface should have no tacky spots, strong odor, or visible leaks.