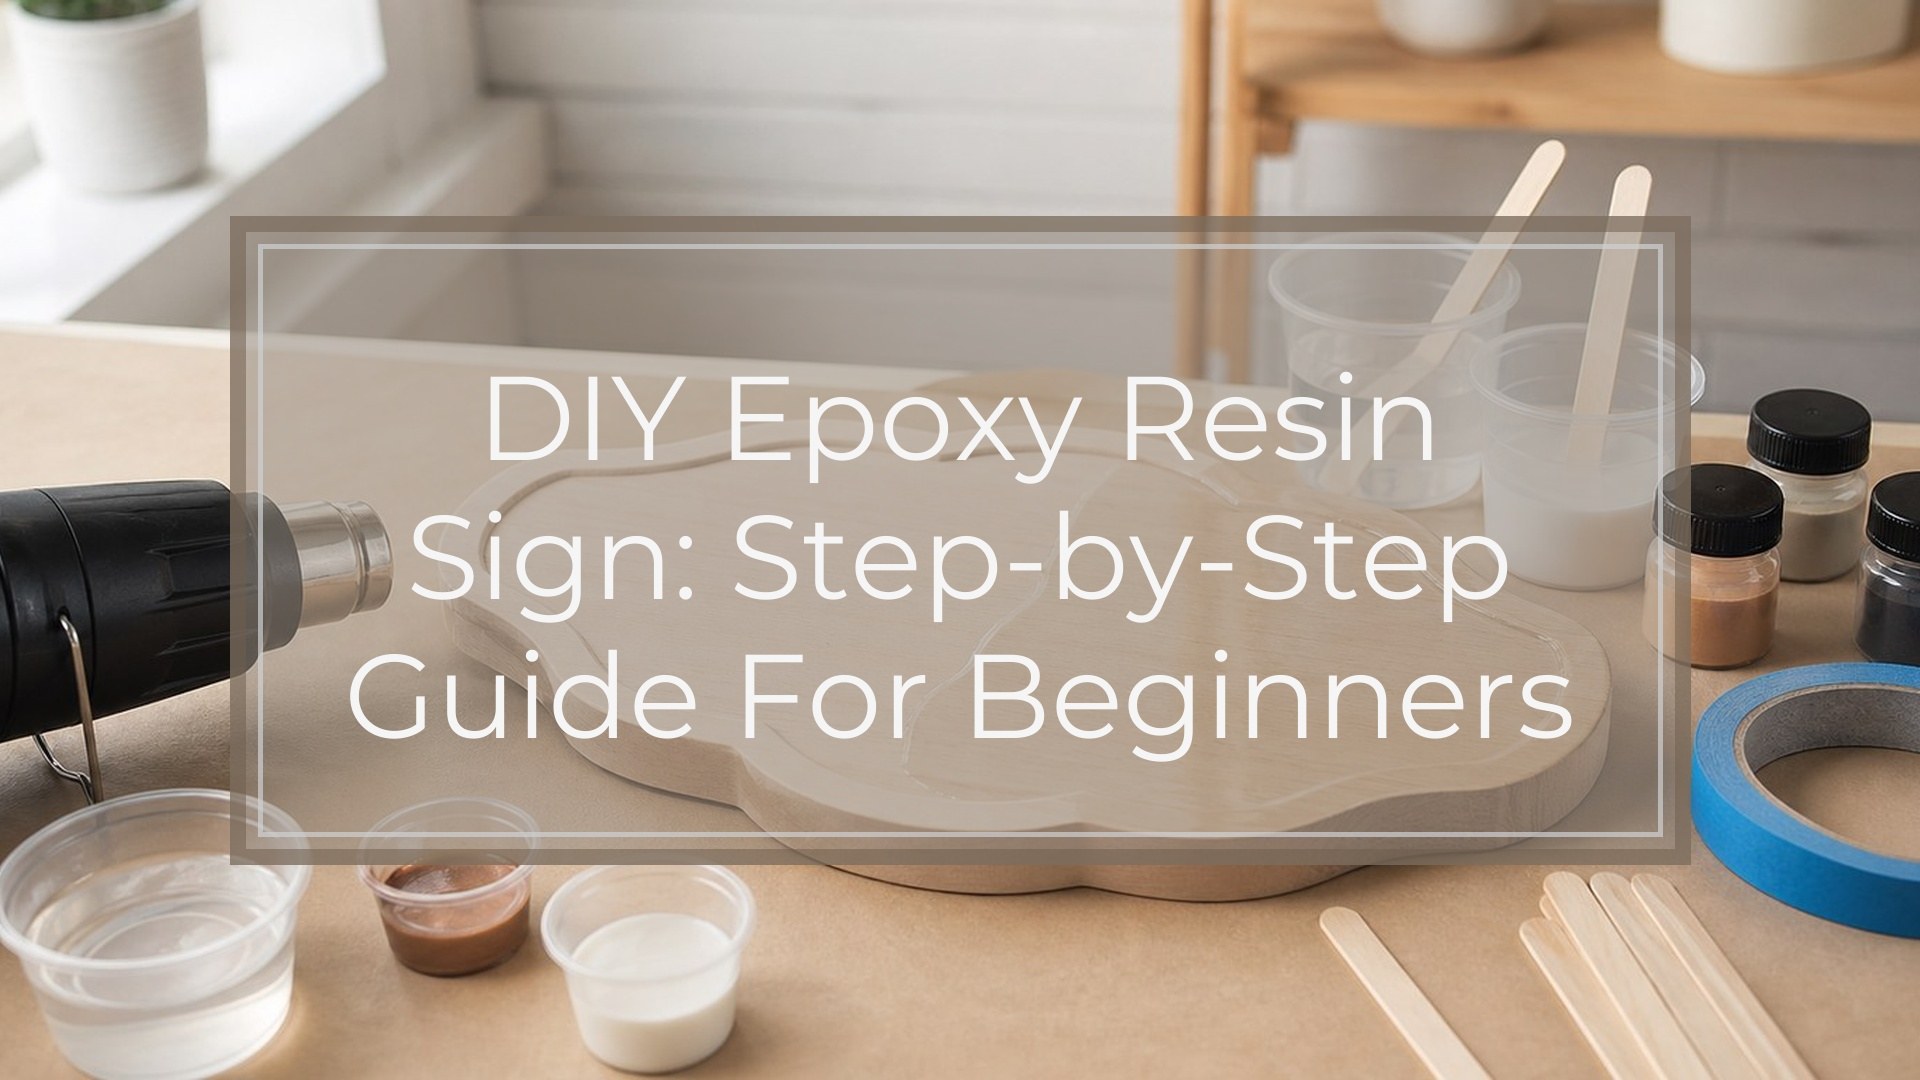
A DIY epoxy resin sign is made by preparing a wood, acrylic, or silicone mold base, adding lettering or a design, then pouring a thin layer of mixed epoxy resin over the surface. The key is careful measuring, slow mixing, bubble removal, and a dust-free cure. You can make a clear-coated welcome sign, a colorful name plaque, a wedding sign, or a small business display using vinyl, paint, dried flowers, glitter, pigments, or metallic flakes sealed under resin.
Before You Start: Choose the Type of Resin Sign
Pick your sign style before buying supplies because the base changes the process. A wood sign gives a rustic, sturdy look and works well for welcome signs, nursery plaques, and farmhouse decor. Acrylic creates a sleek modern sign, especially with vinyl lettering. A silicone mold is best if you want a fully resin sign, such as a small nameplate, desk sign, or decorative plaque.
Also decide whether the resin will be a clear protective coat, a colored background, or the main sign material. Beginners usually get the cleanest result with a sealed wood or acrylic base and a thin clear resin topcoat.
Prerequisites and Safety Setup
Work in a level, dust-free, well-ventilated area between the temperature range listed on your resin label. Cover your table with plastic sheeting, parchment paper, or a silicone mat. Gather nitrile gloves, protective eyewear, mixing cups, stir sticks, a heat gun or torch, painter’s tape, paper towels, and isopropyl alcohol for cleanup.
Wear gloves whenever handling uncured resin. Do not use resin near food, pets, or children, and avoid breathing concentrated fumes. If your resin requires a respirator, use one rated for organic vapors. Before opening the bottles, read the mix ratio, working time, cure time, and maximum pour depth.
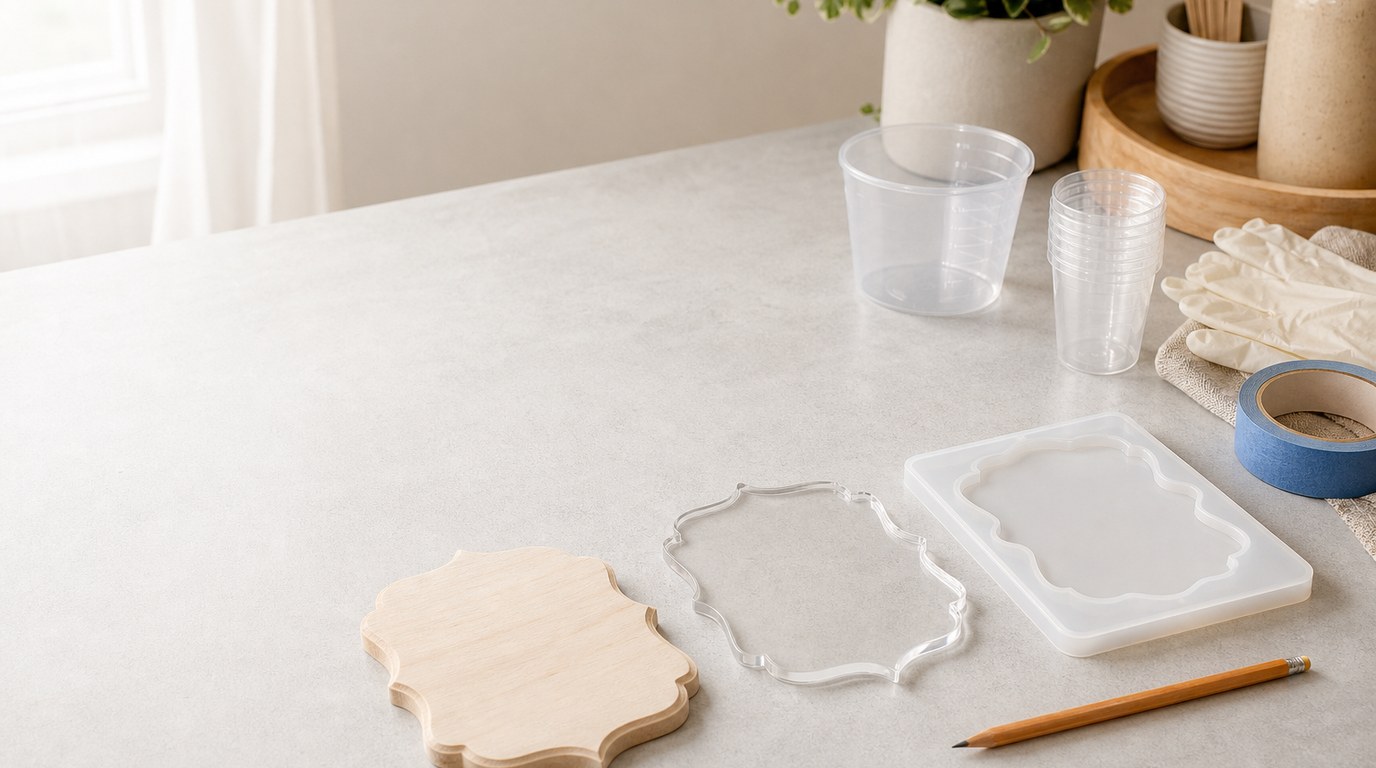
Step 1: Prepare the Sign Base
For a wood sign, sand the surface smooth, wipe away dust, and seal porous areas with a thin coat of acrylic sealer, clear resin, or decoupage medium. Unsealed wood can release bubbles and absorb resin unevenly. Let the sealer dry fully before continuing.
For acrylic, clean both sides with a lint-free cloth and remove protective film only when you are ready to work. For a silicone mold, make sure it is clean, dry, and free of dust. Place the base on risers if resin will drip over the edges, and use a level to check the surface.
Step 2: Add the Design, Lettering, or Stencil
Plan the layout before applying anything permanent. Lightly mark alignment points with pencil on wood, or use removable tape guides on acrylic. Vinyl lettering works well under resin as long as it is firmly burnished down with no lifted edges. Painted lettering should be completely dry before coating.
If using a stencil, press it down tightly and apply paint in thin layers to prevent bleeding. Remove the stencil before the paint forms a thick ridge. For flowers, paper, photos, or fabric, seal them first so resin does not darken, stain, or trap air inside them.
Step 3: Measure and Mix the Epoxy Resin
Choose a clear casting or coating epoxy suitable for art and craft signs. Measure resin and hardener exactly according to the manufacturer’s ratio, usually by volume or weight. Do not guess; incorrect ratios are a common cause of soft or sticky resin.
Pour both parts into a clean cup and stir slowly for the full recommended time, scraping the sides and bottom. Fast stirring adds bubbles. For best results, transfer the mixture into a second clean cup and stir again for about one minute. This “double cup” method helps prevent unmixed resin from creating tacky spots on your sign.
Step 4: Tint, Add Effects, or Keep It Clear
If you want color, add resin pigment, mica powder, alcohol ink, or glitter sparingly. Too much additive can interfere with curing, so follow the pigment maker’s recommended limits. A clear coat is best when you want vinyl text, natural wood grain, pressed flowers, or painted details to remain crisp.
For a marbled sign, divide resin into small cups, tint each cup, and pour in thin ribbons. Avoid overmixing colors on the surface, or they may turn muddy instead of patterned.
Step 5: Pour the Resin
Pour resin slowly into the center of the sign and guide it outward with a stir stick, gloved finger, or silicone spreader. For a topcoat, use just enough resin to cover the surface evenly. Push resin gently to the edges rather than dumping a large amount at once.
If coating wood, watch the edges and corners because they often need extra attention. For acrylic signs, avoid overworking the resin, which can create streaks. If using a mold, pour in a thin stream and pause occasionally so resin can settle into corners, letters, or detailed areas.
Step 6: Remove Bubbles and Cover While Curing
Let the resin sit for a few minutes so bubbles rise. Pass a heat gun or small torch quickly over the surface to pop bubbles. Keep the tool moving and do not hold heat in one spot, especially near vinyl, flowers, acrylic, or a silicone mold. Too much heat can warp materials or cause ripples.
Check again after five to ten minutes and pop any new bubbles. Use a toothpick to remove dust, hairs, or floating debris while the resin is still workable. Then cover the sign with a clean box, plastic bin, or dust cover and leave it undisturbed.
Step 7: Demold, Clean Edges, and Finish the Sign
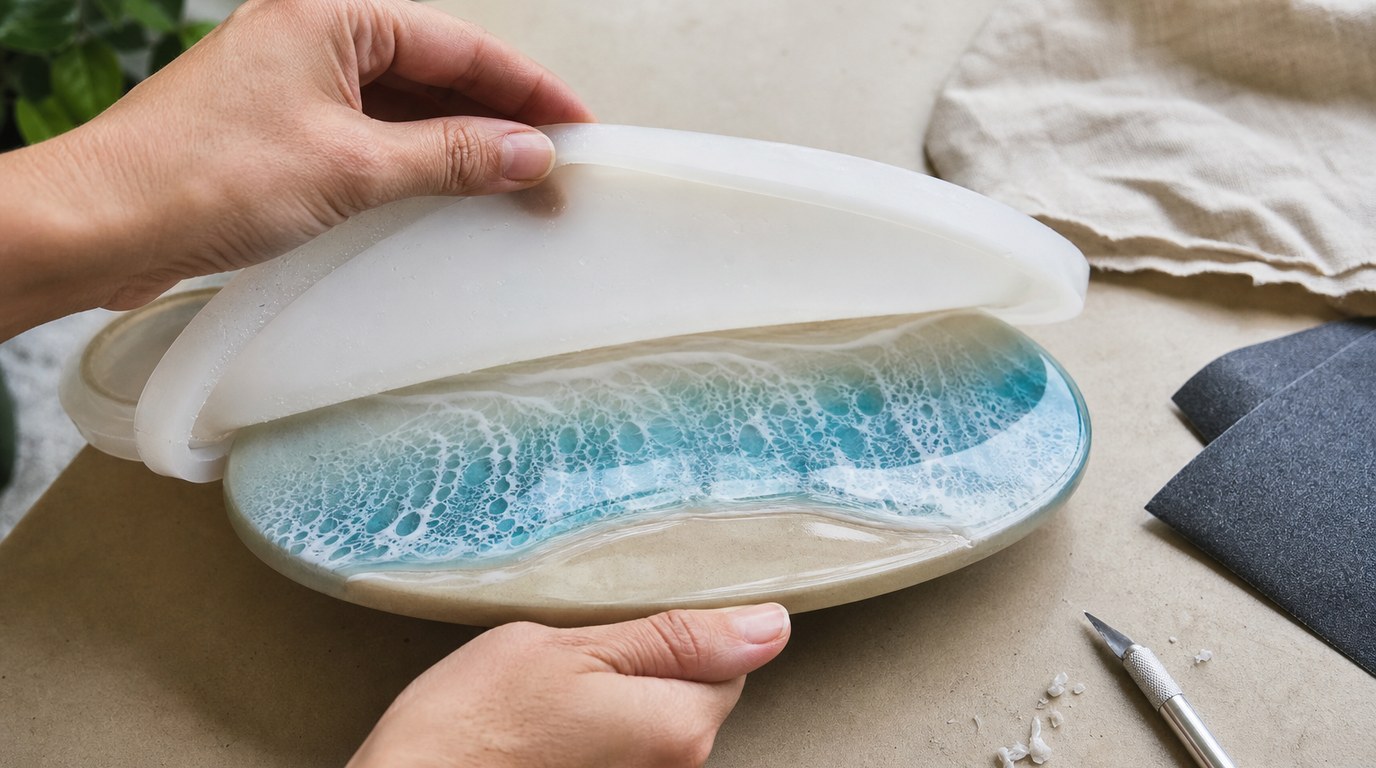
Wait until the resin reaches the demold or handling time listed on the label. Do not rush; resin that feels firm on top may still bend or mark underneath. If you used a mold, peel the silicone away gently instead of pulling the sign out forcefully.
Trim drips with a craft knife while they are slightly soft, or sand cured edges with fine-grit sandpaper. Wear a mask when sanding resin dust. Add hanging hardware, ribbon, a stand, or adhesive bumpers after the sign is fully cured. If you sanded any visible resin, polish it or add a thin clear coat to restore shine.
Result Check: How to Know Your Resin Sign Turned Out Right
Your resin sign is successful if the surface is hard, smooth, glossy or evenly satin, and no longer tacky. Lettering should be readable, edges should be clean, and decorative items should be sealed without large trapped bubbles. The sign should sit flat unless the design intentionally has dimension. If you press a fingernail lightly into an inconspicuous area after full cure, it should not leave a dent.
Common Mistakes and Troubleshooting
Sticky resin usually means the resin and hardener were measured incorrectly, mixed too briefly, or scraped from an unmixed cup. If only a few spots are tacky, remove the soft areas and recoat with properly mixed resin. If the entire sign is gummy, it may need to be remade.
Bubbles often come from porous wood, unsealed paper, dried flowers, or aggressive stirring. Seal materials first and mix slowly. Cloudy resin can happen when moisture enters the project or when the workspace is too cold.
If vinyl lifts, it was not pressed down firmly or the resin was overworked. Burnish vinyl well and pour gently. If resin runs off the edges, use less product, tape the underside, or create a temporary tape dam.
Simple Design Ideas for Your Next Diy Epoxy Resin Sign
Try a clear-coated wood “welcome” sign with white vinyl lettering for a beginner-friendly project. Make a nursery name sign with soft mica pigments and pressed flowers. Create a wedding sign with acrylic, gold vinyl, and a clear resin coat. For a small business display, use black acrylic, metallic lettering, and a glossy topcoat.
You can also make ocean-style signs with blue and white resin, geode-inspired plaques with crushed glass, or seasonal signs with leaves, glitter, or mini dried botanicals.
FAQ
What Kind of Resin Should I Use for a Diy Epoxy Resin Sign?
Use a clear two-part epoxy resin labeled for art, coating, or casting, depending on your project. For wood or acrylic topcoats, choose a coating resin. For a fully resin sign in a mold, choose a casting resin that suits your mold depth.
Can I Put Vinyl Letters Under Epoxy Resin?
Yes, vinyl letters can go under epoxy resin. Apply them to a clean, dry surface and burnish firmly so all edges stick down. Permanent adhesive vinyl works better than removable vinyl. Avoid blasting heat directly over vinyl, as it can shrink, wrinkle, or lift.
How Long Does an Epoxy Resin Sign Take to Cure?
Most epoxy resin signs are firm enough to handle within 24 to 48 hours, but full cure can take 72 hours or longer. Always follow your resin’s label. Temperature, humidity, pour thickness, and resin type all affect cure time.
Why Is My Resin Sign Still Sticky?
A sticky resin sign usually comes from inaccurate measuring, incomplete mixing, cold temperatures, or using too much pigment or ink. If the sticky area is small, scrape or wipe away uncured resin and recoat. If it is soft everywhere, the batch likely failed.
Can an Epoxy Resin Sign Be Used Outside?
Some epoxy resin signs can be used outside, but standard craft epoxy may yellow or degrade in sunlight. Choose a UV-resistant resin or add an outdoor-rated clear coat. For best durability, keep the sign under cover and avoid constant rain, heat, and direct sun.