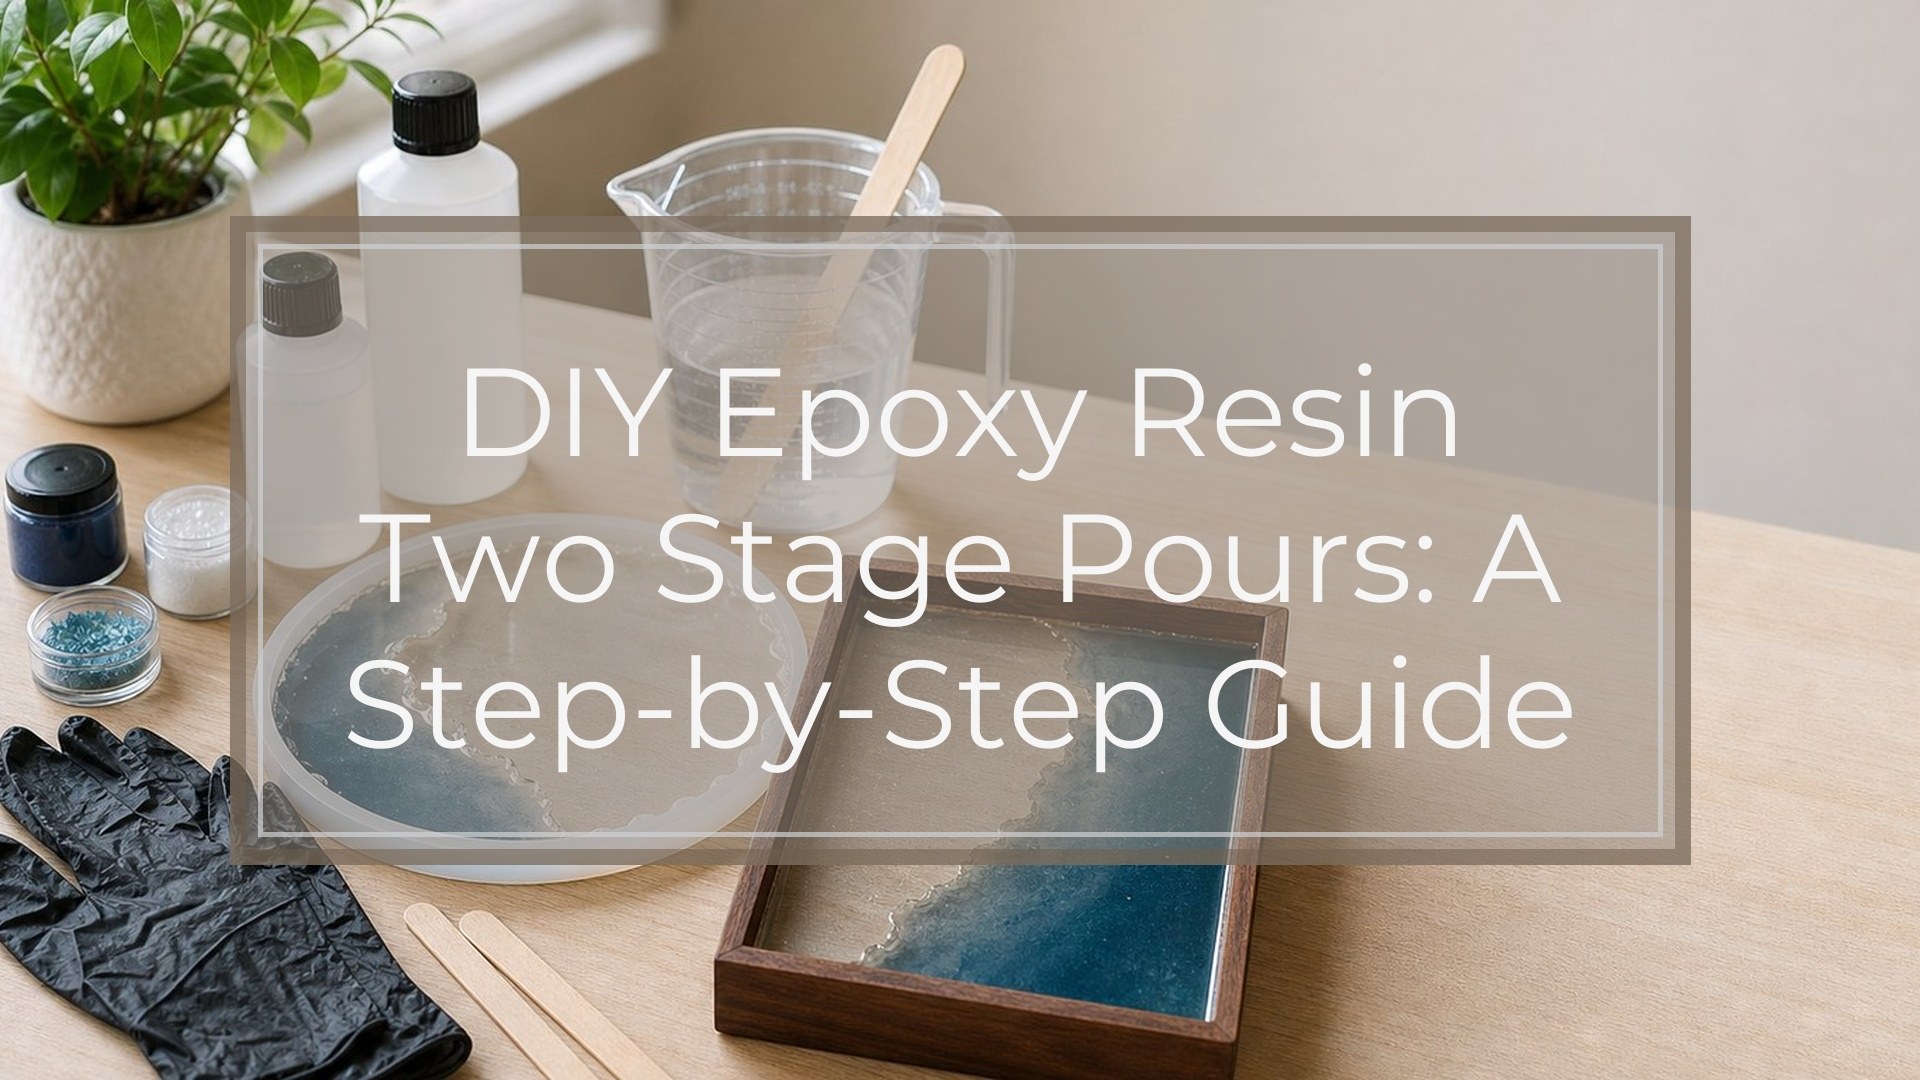
DIY epoxy resin two-stage pours are useful when one pour is not the safest or cleanest way to build a project. Instead of filling a mold, tray, tabletop, or artwork in one thick layer, you pour resin in two controlled stages. This can reduce overheating, floating inclusions, trapped bubbles, cloudy layers, and uneven color placement.
The key to success is timing. The second pour bonds best when the first layer is firm but still slightly tacky. If the first layer has fully cured, you can still add resin, but you must clean and lightly sand the surface first. Plan your layers, follow your resin’s maximum pour depth, and check each stage before moving on.
When to Use a Two-stage Resin Pour
Use a two-stage pour when your project needs depth, separation, or better control. Common examples include embedding flowers, shells, photos, glitter, pigments, wood, or small objects. Two pours also help when your mold is deeper than the resin’s recommended pour depth.
This technique is especially helpful for clear projects because you can place inclusions between layers rather than letting them sink or float. It also reduces heat buildup in thick castings, which can cause yellowing, cracking, bubbles, or warped molds.
Prerequisites: Resin, Workspace, and Safety Setup
Before mixing, confirm that your epoxy is suitable for your project depth. Coating resin is usually designed for thin layers, while casting resin handles deeper pours. Always follow the brand’s mix ratio, working time, cure time, and maximum pour thickness.
Set up a level, dust-free workspace within the temperature range recommended on your resin label. Most epoxy problems start with a cold room, bad measurements, or rushing the cure.
Wear nitrile gloves, protect your table, and work with good ventilation. If your resin instructions require a respirator, use one rated for organic vapors. Keep pets, children, food, and drinks away from uncured resin.
Materials and Tools Checklist
Have everything ready before you open the resin bottles:
- Epoxy resin and hardener
- Clean mixing cups
- Stir sticks or silicone mixing tools
- Nitrile gloves and table covering
- Level mold, tray, panel, or surface
- Mold release if needed
- Pigments, glitter, or inclusions
- Tweezers or toothpicks
- Heat gun, torch, or alcohol spray if appropriate
- 220- to 400-grit sandpaper
- Isopropyl alcohol and lint-free cloth
- Dust cover or box
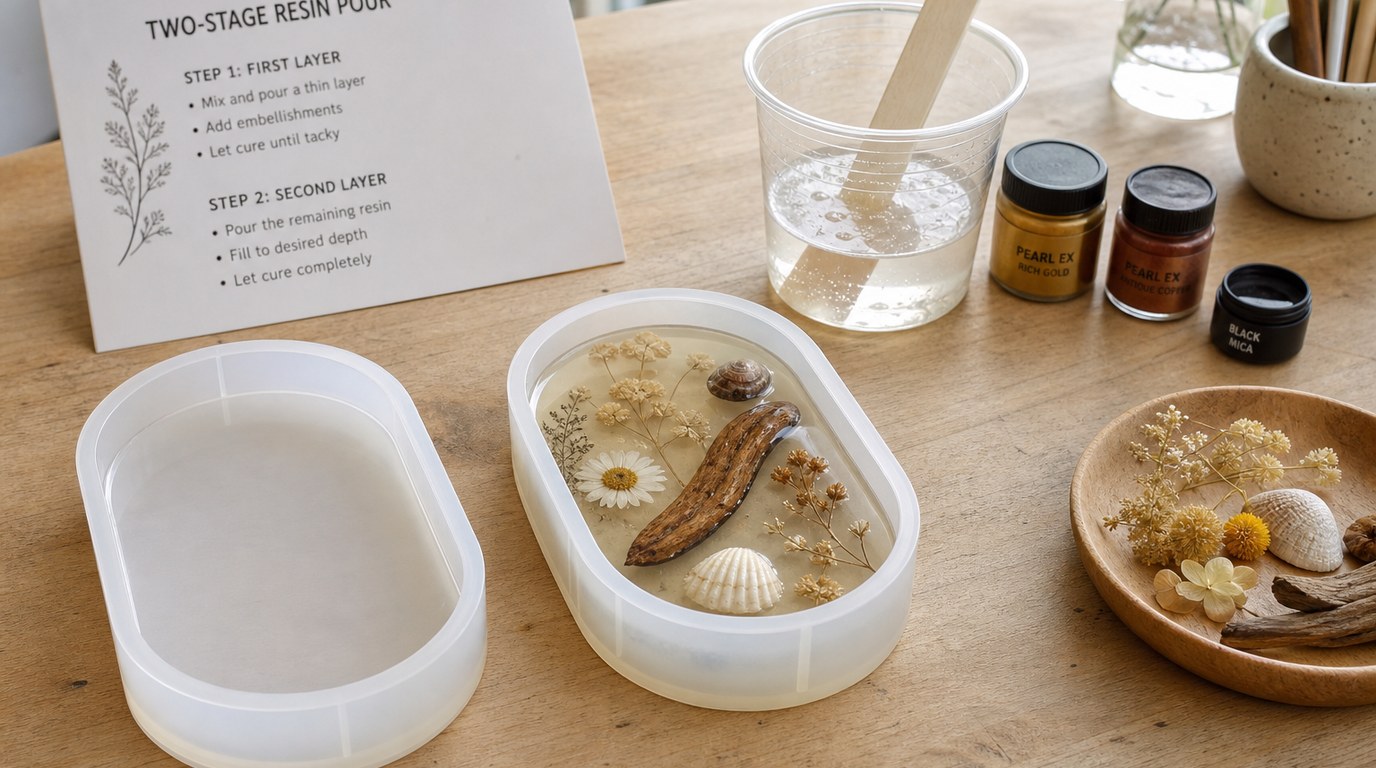
Step 1: Plan the Layer Design and Pour Depths
Decide what each stage will do before mixing resin. The first pour might be a clear base, colored background, seal coat, or anchor layer. The second pour might add depth, finish the surface, or seal inclusions.
Measure your mold or surface and divide the total depth into two safe pours based on your resin’s instructions. Do not guess. If your resin allows 1/4 inch per pour, do not pour 1 inch just because the mold can hold it.
Also decide where inclusions will go. Heavy items may need the first layer partially cured so they do not sink.
Step 2: Prepare the Mold or Surface
Clean the mold or surface thoroughly. Dust, oil, silicone residue, fingerprints, and moisture can prevent proper bonding or create fish eyes. Wipe nonporous surfaces with isopropyl alcohol and let them dry completely.
If you are pouring over wood, paper, fabric, or another porous material, seal it first with a thin resin seal coat or compatible sealer. This prevents bubbles from escaping into your main pour.
Make sure the mold or project is level in both directions. A slight tilt can make one side too thick and the other too thin.
Step 3: Mix and Pour the First Resin Stage
Measure resin and hardener exactly according to the manufacturer’s ratio. Inaccurate measuring is one of the most common causes of soft or sticky resin.
Stir slowly but thoroughly, scraping the sides and bottom of the cup. Avoid whipping air into the mix. If your resin instructions recommend a two-cup method, pour the mixed resin into a second cup and stir again.
Pour the first stage in a thin, controlled stream. Spread it gently with a stir stick or gloved finger. Add pigments or inclusions planned for this layer. Remove bubbles with a heat gun or torch only if your resin and mold can tolerate heat.
Cover the project to keep dust out.
Step 4: Know When the First Stage Is Ready
The best time for the second pour is usually during the first layer’s tacky stage. The resin should be firm enough that the second layer will not disturb it, but slightly sticky enough to create a chemical bond.
Check the resin instructions for the recoat window. This might be several hours, but it varies by formula, room temperature, layer thickness, and humidity.
A useful test is to touch a hidden edge with a gloved finger or toothpick. If it leaves a slight mark but does not pull up liquid resin, it is often ready. If it is still runny, wait. If it is hard and slick, treat it as fully cured.
Step 5: Prepare for the Second Pour
If the first stage is still tacky and within the recoat window, you can usually pour the second layer directly on top. Remove dust or loose debris carefully without dragging fibers across the surface.
If the first layer has fully cured, create a mechanical bond. Lightly sand the surface with 220- to 400-grit sandpaper until it looks evenly dull, not glossy. Clean away sanding dust with a lint-free cloth and isopropyl alcohol. Let it dry completely before pouring.
Do not pour over moisture, oily residue, or uncured sticky patches.
Step 6: Mix and Pour the Second Resin Stage
Mix a fresh batch of resin using the same careful measuring and stirring process. Do not reuse partially cured resin from the first pour. If you are adding color, mix pigment thoroughly, but avoid overloading the resin with powders, alcohol inks, or additives.
Pour slowly over the first layer. If you are covering delicate flowers, glitter, photos, or small objects, pour beside them and let the resin flow over naturally. Direct pouring can move lightweight inclusions.
Use a toothpick or tweezers to reposition items before the resin thickens. Remove bubbles in short passes. Too much heat can distort molds, scorch inclusions, or make bubbles expand from underneath.
Cover the project again and leave it undisturbed.
Step 7: Final Cure, Demolding, and Finishing
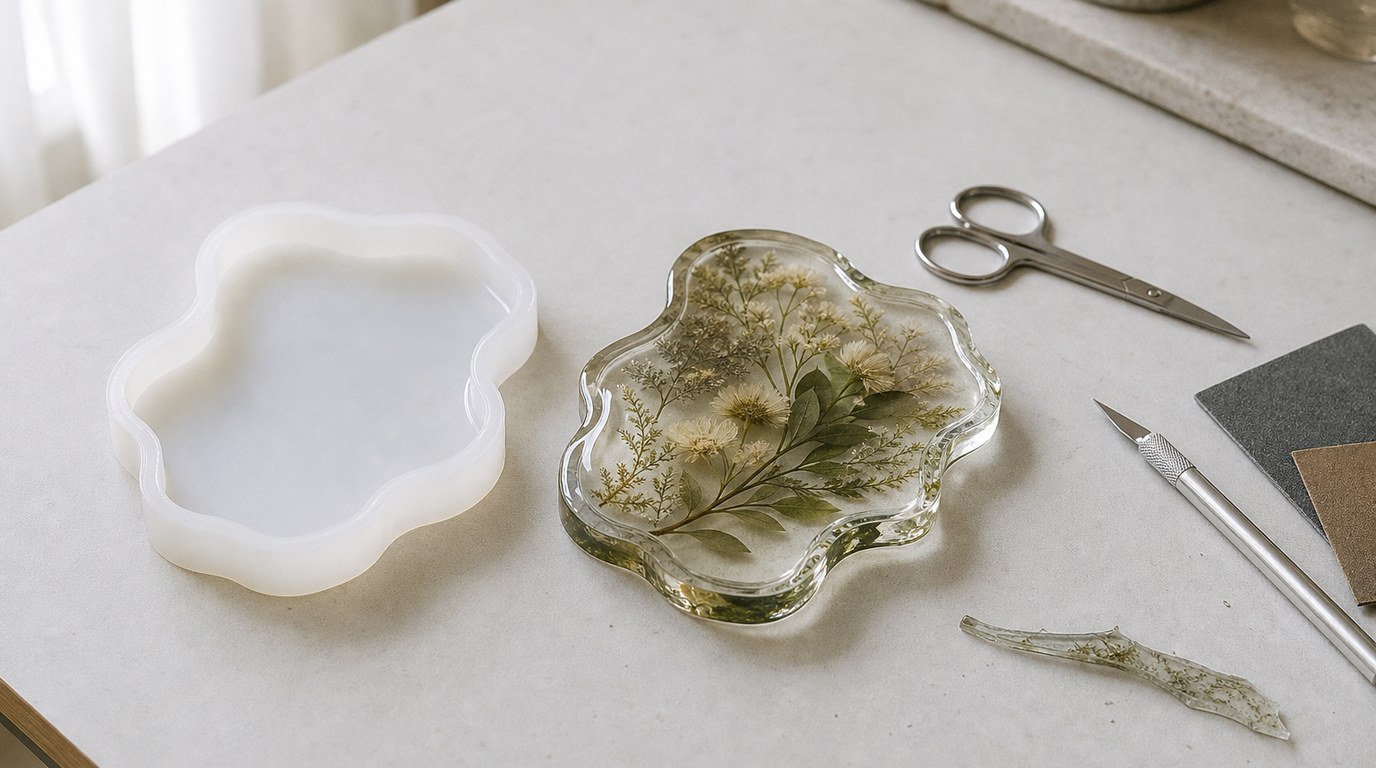
Let the full project cure for the time listed by the resin manufacturer. Demolding too soon can bend edges, leave fingerprints, or cause a cloudy surface. A piece can feel firm while still being too flexible to handle.
Once fully cured, demold gently. Trim sharp edges with scissors or a craft blade if the resin is still slightly workable, or sand after full hardness. For a glossier edge, sand progressively and polish, or add a thin clear topcoat if appropriate.
Avoid heavy use until the resin reaches its final hardness.
Result Check: How to Tell the Two-stage Pour Worked
A successful two-stage resin pour should look and feel like one solid piece. Check for:
- No visible gap or cloudy line between layers
- No lifting, peeling, or separation at the edges
- Hard, non-tacky surface after full cure
- Inclusions held where you intended
- Minimal trapped bubbles
- Even thickness across the project
- Clear or intentional color separation
If the layer line is visible but the resin is bonded, the issue is usually cosmetic. If the layers peel apart, the bond failed.
Common Mistakes and Troubleshooting
Layers separated: The first layer was likely fully cured, glossy, dusty, oily, or outside the recoat window. Sand, clean, and repour if the project can be saved.
Second pour sank into the first: The first stage was too soft or undercured. Wait longer next time before recoating.
Bubbles appeared between layers: Air was trapped around inclusions, porous materials were not sealed, or heat pulled air upward. Seal porous items and pour slowly.
Sticky spots remain: Resin was measured wrong, mixed poorly, or scraped from an unmixed cup. Remove uncured resin if possible and repour with a properly mixed batch.
Cloudy layer line: Moisture, dust, sanding residue, or incompatible additives may be the cause. Clean thoroughly and keep the project covered.
Objects floated: Add them during a tacky stage or secure them in a shallow first layer.
Practical Warnings for Better Two-stage Pours
Never exceed your resin’s maximum pour depth. Thick pours can overheat, yellow, smoke, crack, or damage molds. Do not assume all epoxy formulas behave the same.
Avoid pouring cold resin in a cold room; it thickens, traps bubbles, and cures slowly. Also avoid overheating with a torch, especially near silicone molds, dried flowers, paper, or plastic.
Do not sand uncured resin. Wait until it is hard enough to create dry dust, then wear appropriate protection and clean thoroughly before recoating.
FAQ
How Long Should I Wait Between Epoxy Resin Pours?
Wait until the first pour is firm but still slightly tacky, or follow the recoat window on your resin label. This often falls within several hours, but it varies by formula, room temperature, and pour thickness. If it fully cures, sand before recoating.
Can I Pour a Second Layer of Resin After the First Layer Is Fully Cured?
Yes. A fully cured first layer needs surface preparation. Lightly sand it until the gloss is removed, clean off all dust with a lint-free cloth and isopropyl alcohol, and let it dry. This creates a mechanical bond for the new resin layer.
Why Did My Two Resin Layers Separate?
Layer separation usually happens when the second pour cannot bond to the first. Common causes include a fully cured glossy surface, dust, oil, moisture, sanding residue, or pouring outside the recoat window. Sanding and cleaning are essential when the first layer is no longer tacky.
Can I Add Flowers or Glitter Between Two Resin Pours?
Yes, and two-stage pouring is ideal for that. Let the first layer become slightly tacky so flowers or glitter stay in place, then pour the second layer gently. Seal dried flowers first if they are porous or fragile to reduce bubbles and discoloration.
Do I Need to Sand Between Every Resin Layer?
No. If the previous layer is still tacky and within the resin’s recoat window, sanding is usually not needed. Sand only when the layer has fully cured, feels hard and slick, or has surface contamination that must be removed before the next pour.