
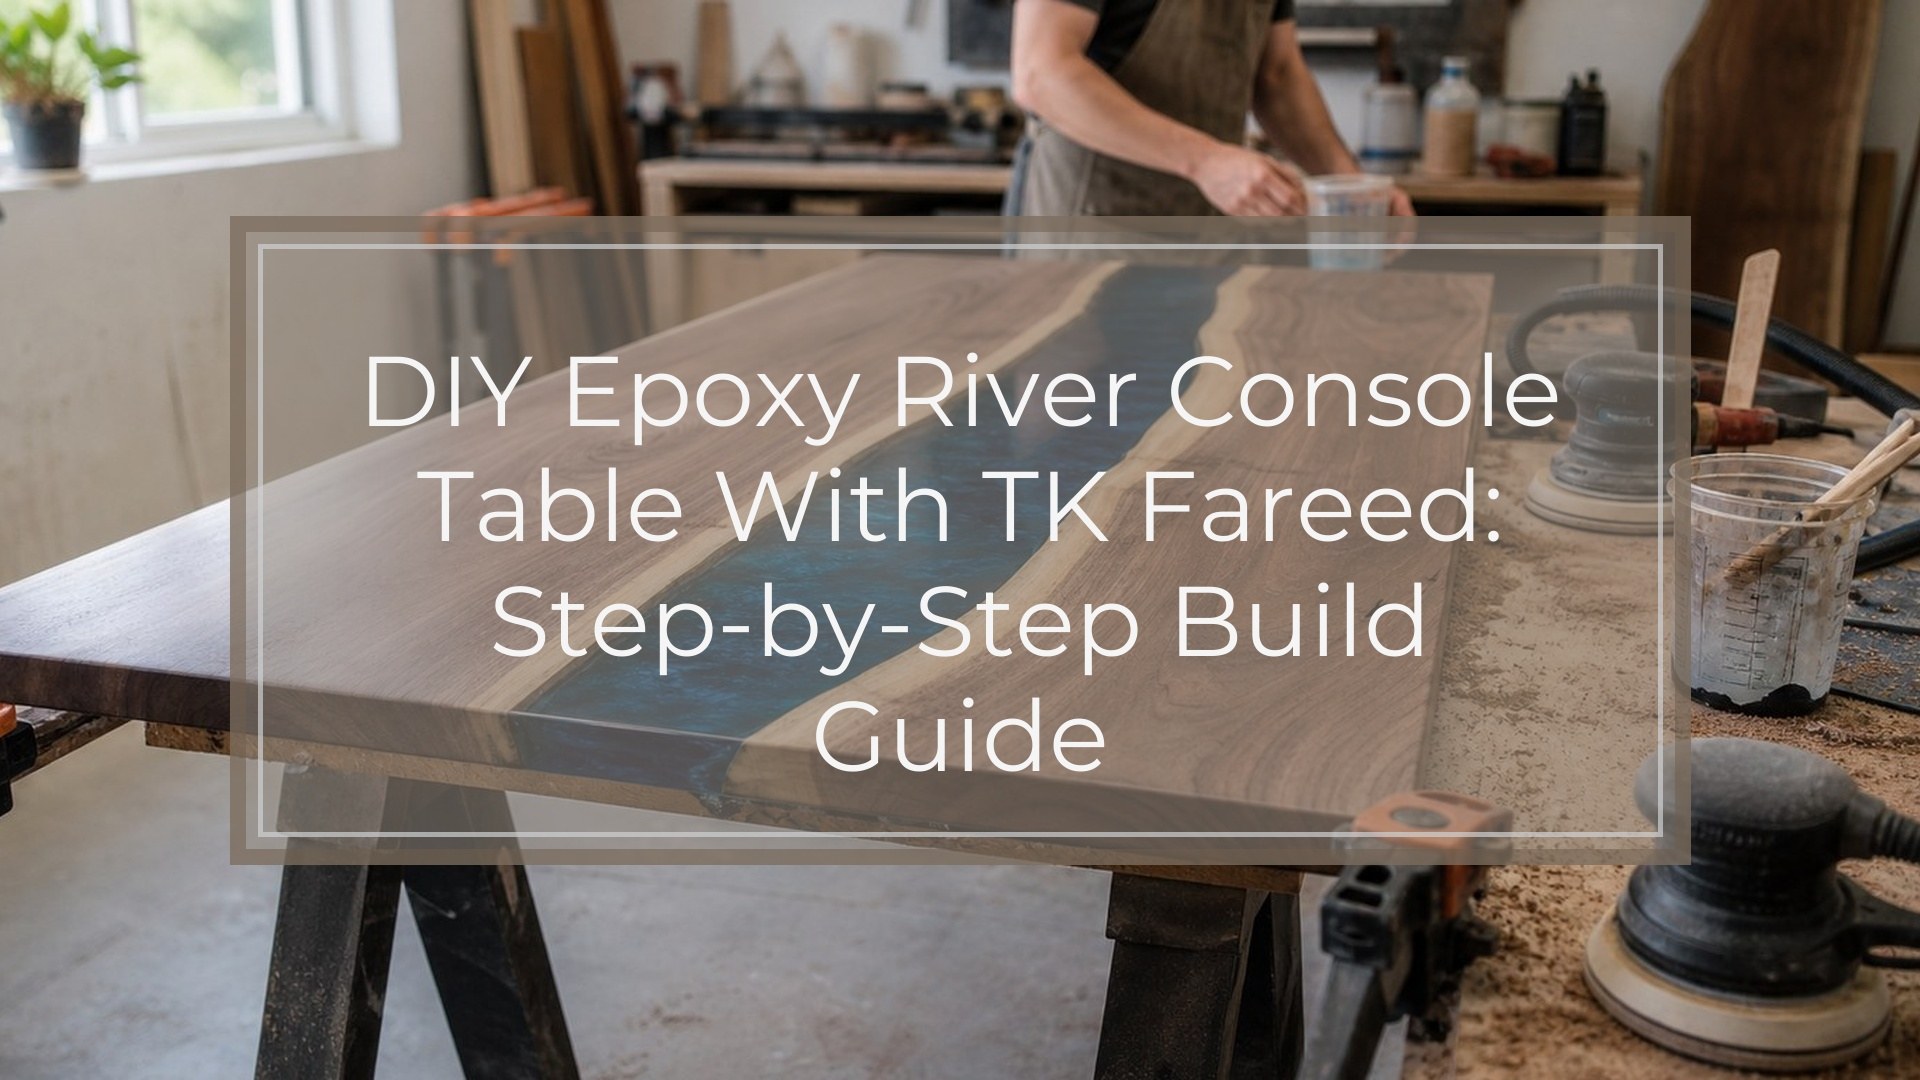
A DIY epoxy river console table is made by placing two prepared wood slabs in a sealed mold, pouring tinted deep-pour epoxy between them, curing the slab, then flattening, sanding, finishing, and attaching a stable base. For a TK Fareed-inspired look, focus on clean live edges, strong wood-and-resin contrast, and a polished furniture-grade finish. The biggest success factors are dry wood, a leak-proof mold, the correct epoxy type, accurate mixing, controlled pour depth, and patient curing. Do not rush flattening or sanding; those stages determine whether the finished table looks professional or unfinished.
Introduction: What You’re Building
This project creates a narrow console table with an epoxy “river” running between two pieces of wood. It is similar to the dramatic resin furniture builds often seen in TK Fareed-style videos: natural live edges, glossy depth, and bold color movement.
The same river layout also appears in this river-style epoxy furniture build, where the wider surface brings extra focus to containment and finishing.
A console table is a manageable furniture-scale resin project because it is smaller than a dining table, but it still requires careful setup, safety, and finishing.
Before You Start: Skill Level, Time, and Workspace
This is an intermediate DIY project. You should be comfortable measuring, cutting, sanding, mixing resin accurately, and using power tools safely.
Plan for several days. Wood prep and mold building may take a day, epoxy curing can take two to seven days, and flattening, sanding, and finishing add more time.
Work in a dust-controlled, well-ventilated space at the temperature listed on your epoxy label, often around 70°F to 75°F. Wear gloves, eye protection, and an organic-vapor respirator when mixing and pouring.
Materials and Tools You’ll Need
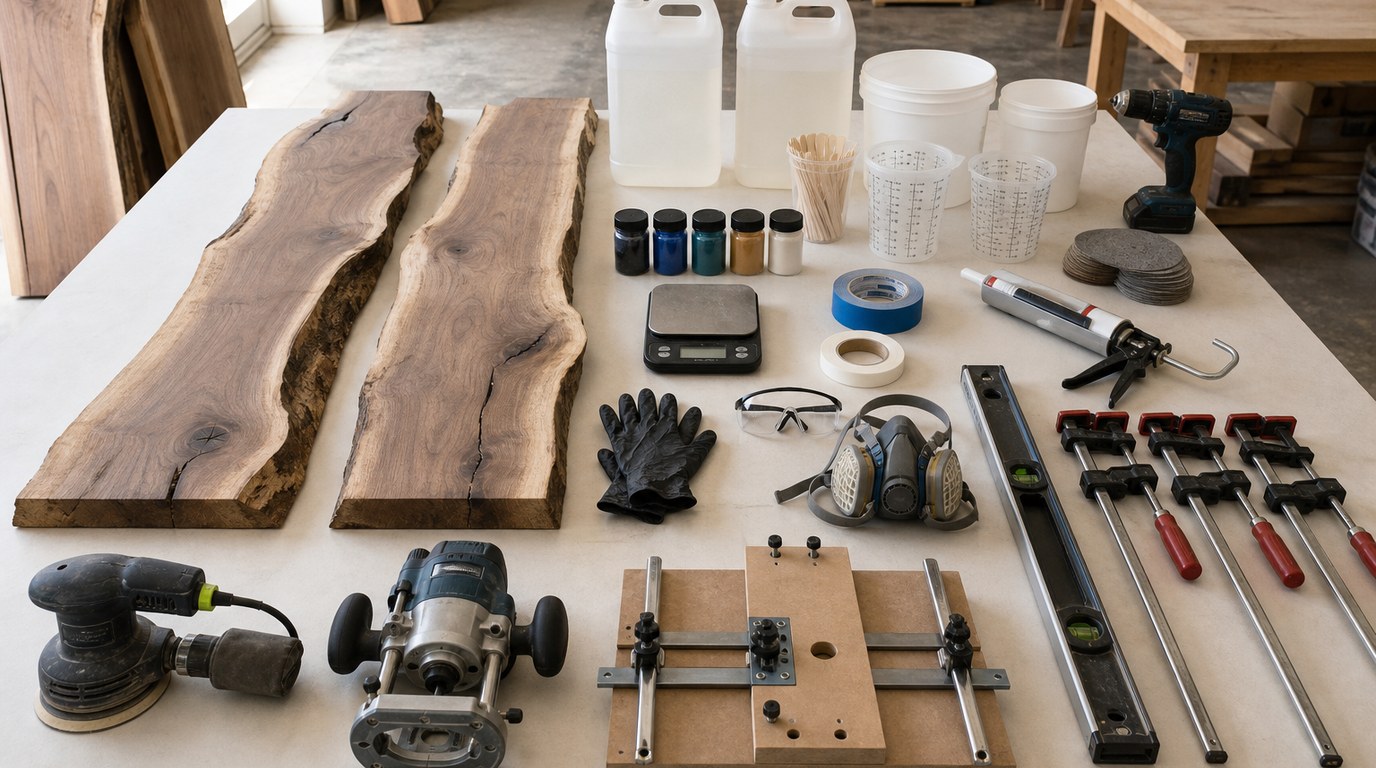
You will need two dry wood slabs or boards, deep-pour epoxy, resin-safe pigment or mica powder, mold material, sheathing or mold-release tape, silicone caulk, mixing buckets, stir sticks, a scale or measuring containers, clamps, a level, and PPE.
For tools, prepare a drill, sander, router sled or flattening option, circular saw or track saw, screws or brad nails for the mold, and polishing pads if you want a glossier resin surface.
Use deep-pour epoxy for the river. Tabletop coating epoxy can overheat, bubble, or crack when poured too thick.
Step 1: Choose and Prepare the Wood
Pick straight, stable wood that is kiln-dried or properly air-dried. Moisture matters: wet wood can cause bubbles, cloudiness, poor bonding, and later warping. If you have a moisture meter, aim for wood under about 10%.
Cut the boards to rough length. Remove loose bark, dirt, punky wood, and crumbly live-edge material because epoxy bonds to solid wood, not debris.
Dry-fit the pieces with the live edges facing inward. Adjust the river gap until the shape looks balanced from end to end.
Step 2: Build a Leak-proof Mold
Build the mold slightly larger than the final tabletop. Melamine, HDPE, or plywood covered with sheathing tape can work. Do not let epoxy touch raw wood or porous mold surfaces, or it may bond permanently.
Seal all inside corners with silicone caulk and let it cure before pouring. Clamp or screw the wood pieces down so they cannot float when epoxy is added.
Before mixing resin, test the empty mold for leaks with a little water, then dry it completely. Even a pinhole leak can waste a full pour.
Step 3: Measure, Tint, and Mix the Epoxy
Read the epoxy instructions before opening the bottles. Follow the exact resin-to-hardener ratio by volume or weight. Do not guess, and do not add extra hardener to speed curing.
Tint the mixed epoxy with resin-safe pigment, dye, or mica powder. Add color slowly; too much pigment can affect curing or make the river look muddy.
Mix slowly, scraping the sides and bottom of the bucket. Fast whipping adds bubbles. For a large river, mix several batches that fit your epoxy’s working time.
Step 4: Pour the Epoxy River
Make sure the mold is level in both directions. Pour slowly into the lowest part of the river channel and let the epoxy flow naturally. Stay within the maximum pour depth listed on your epoxy. If the river is deeper, pour in layers at the recommended recoat stage.
Use a heat gun or torch lightly to pop surface bubbles, but do not overheat the resin. Too much heat can cause ripples, yellowing, smoke, or a runaway exothermic reaction.
Cover the mold while it cures to keep out dust, hair, and insects.
Step 5: Cure, Demold, and Inspect
Let the epoxy cure for the full time listed on the label. A surface that feels hard may still be soft underneath, so avoid demolding early.
Remove the mold sides carefully. If the mold was taped or made from release-friendly material, the slab should lift out with moderate effort.
Inspect the river for soft spots, tackiness, large bubbles, cracks, or areas where resin pulled away from the wood. Mark defects with painter’s tape before sanding.
Step 6: Flatten the Tabletop
The slab must be flat before it becomes a usable console table. Use a router sled, wide-belt sander, CNC flattening service, or planer if the slab size and grain direction are safe for your equipment.
Take shallow passes. Epoxy and wood cut differently, and aggressive cuts can chip the resin or tear out the wood.
Flatten both sides if needed. The bottom does not need to be beautiful, but it should sit evenly on the base.
Step 7: Sand Through the Grits
Start with the grit needed to remove tooling marks, often 80 or 120. Sand the entire surface evenly, then progress through 150, 180, 220, and higher if your finish requires it.
Do not skip grits. Deep scratches become obvious after finish is applied, especially across the epoxy.
Vacuum between grits and wipe with a clean cloth. For a clear polished resin look, continue much higher, such as 800 to 2000, then buff.
Step 8: Apply the Finish
Choose a finish based on use. Hardwax oil gives a natural furniture look and is easy to repair. Polyurethane adds more protection. A flood coat of tabletop epoxy creates a glossy surface but adds another resin step.
Remove all dust before finishing. Apply thin, even coats according to the product instructions. Heavy coats can stay gummy, collect dust, or show streaks.
Finish the underside too. Balanced finishing helps reduce uneven moisture movement and warping.
Step 9: Attach the Legs or Base
Choose legs that match the table’s weight and style. Hairpin legs, trapezoid legs, or a narrow console base can work, but stability matters more than appearance.
Mark leg positions carefully. Keep screws away from the epoxy river when possible, especially near thin resin edges. Pre-drill pilot holes to reduce the chance of splitting the wood.
After attaching the base, place the table on a flat floor and check for wobble. Add adjustable feet or shims if needed.
Result Check: How to Know the Table Turned Out Right
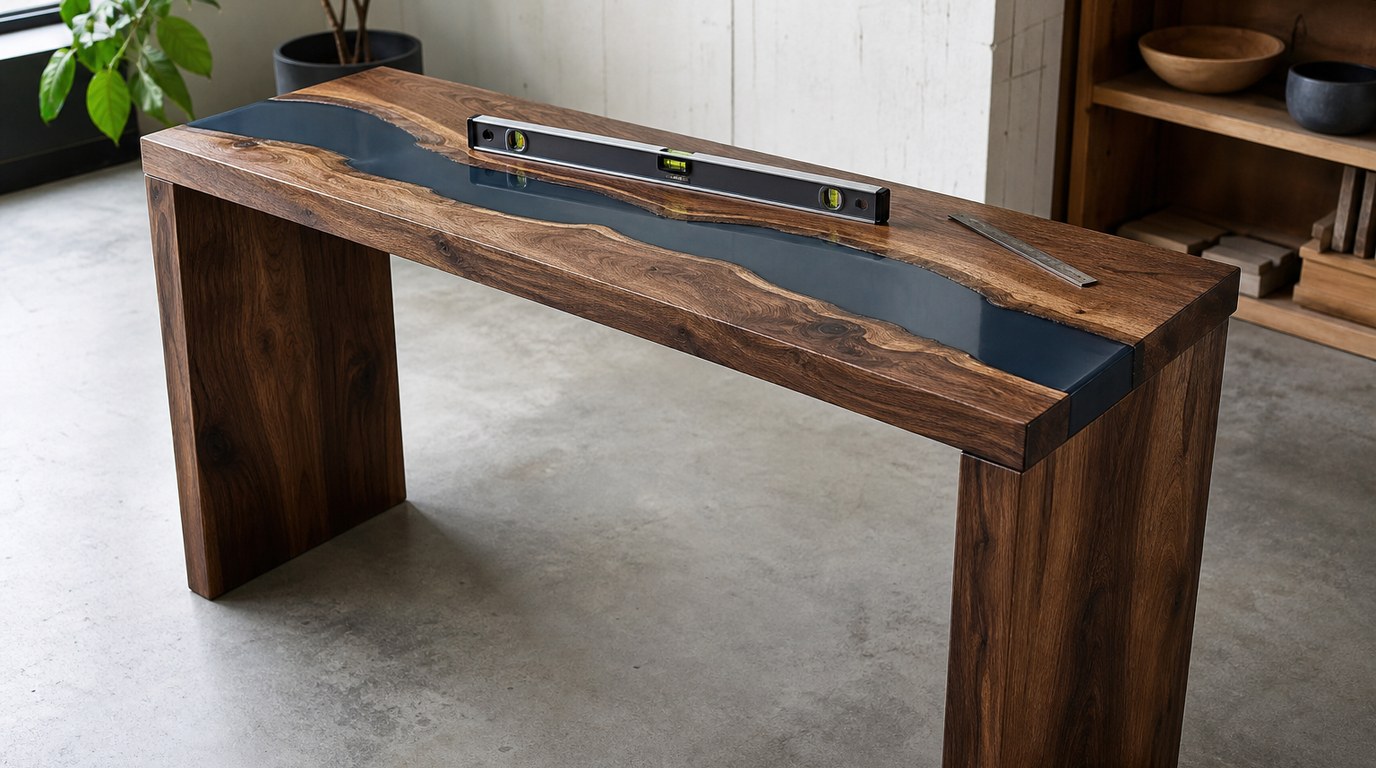
Your epoxy river console table is successful if the slab is flat, the finish feels smooth, and the table stands without rocking. The epoxy should be fully cured, not rubbery, sticky, or soft.
Look for a clean bond where the resin meets the wood. Small bubbles are normal in handmade work, but large voids, cloudy patches, or separated edges need repair.
Run your hand across the surface under bright side lighting. If you feel ridges, scratches, or dull patches, return to sanding or polishing before calling it finished.
Common Mistakes and Troubleshooting
If epoxy leaks from the mold, stop the pour if possible and plug the leak from the outside with hot glue, silicone, or strong tape. Prevention is better: seal and test the mold before mixing.
If resin stays sticky, the ratio may have been wrong, the mix was incomplete, or the temperature was too low. Scrape off uncured resin and repour only after the surface is clean and stable.
If bubbles appear, likely causes include wet wood, aggressive mixing, porous live edges, trapped air, or too much torch heat. Seal porous wood with a thin epoxy coat before the main pour.
If the slab warps, the wood may have been too wet or unevenly finished. Flatten again if possible, then finish both sides.
Care Tips for Your Epoxy River Console Table
Clean the table with a soft cloth and mild soap. Avoid abrasive cleaners, harsh solvents, and scouring pads, which can dull the finish or scratch the epoxy.
Use coasters under drinks and pads under sharp decor. Epoxy is durable, but it can still scratch.
Keep the table out of strong direct sunlight when possible. UV exposure can yellow some resins over time. If the finish becomes dull, lightly sand and refresh it according to the finish manufacturer’s instructions.
FAQ
Can a Beginner Make a Diy Epoxy River Console Table?
A careful beginner can make one, but it is not the easiest first resin project. Practice with a small epoxy board or tray first. The main challenges are building a leak-proof mold, measuring epoxy accurately, controlling bubbles, and flattening the cured slab.
What Kind of Epoxy Should I Use for a River Table?
Use deep-pour epoxy designed for thick castings. Check the maximum pour depth, cure time, working time, and recommended temperature range. Do not use thin tabletop coating epoxy for a deep river because it can overheat, bubble, crack, or cure improperly.
How Thick Should an Epoxy River Console Table Be?
Most console table slabs look and perform well around 1.25 to 2 inches thick. Thinner tops can feel delicate and may warp more easily. Thicker tops are heavier and need stronger legs, better support, and careful attention to epoxy pour-depth limits.
Do I Need a Router Sled to Make This Table?
You do not strictly need one, but you need a reliable way to flatten the slab. A router sled is common for home shops. Alternatives include a CNC service, professional wide-belt sanding, or other flattening equipment suited to the slab size.
Why Did My Epoxy River Table Get Bubbles?
Bubbles usually come from porous wood, moisture, fast mixing, trapped air under the live edge, or overheating with a torch. Seal the wood first, mix slowly, pour within the recommended depth, and use gentle heat only on the surface to release bubbles.